Caramelized honey butter chicken earns its spot at the table fast: golden seared chicken breasts, a glossy amber sauce, and just enough garlic and vinegar to keep the whole pan from tasting flat. The glaze clings to every bite instead of puddling at the bottom of the skillet, and that balance of sweet, salty, and buttery is what makes people go back for seconds before the pan even leaves the stove.
The trick is building the sauce in the same skillet after the chicken has browned. Those browned bits on the pan are the backbone of the finished sauce, and the tiny splash of apple cider vinegar keeps the honey from turning cloying. A quick simmer is enough here; if you boil it hard, the butter can separate and the honey can taste burnt instead of rich.
Below, I’m walking through the sear, the sauce, and the small details that keep the glaze glossy. I’ve also included a few ways to adapt it when you want the same sticky finish with a different cut of chicken or a lighter skillet dinner.
The sauce thickened into the prettiest glossy glaze, and the chicken stayed juicy even after I basted it for a few minutes. My husband kept picking at the caramelized edges straight from the skillet.
Save this honey butter chicken for the nights when you want a glossy skillet glaze and juicy chicken without a long ingredient list.
The Seared Chicken Matters More Than the Sauce
Honey butter sauce sounds like the whole story, but the chicken has to earn the glaze. If the skillet is crowded or the heat is too low, the chicken steams and the sauce never gets the deep golden edges that make this dish taste restaurant-worthy. You want a hard, confident sear on both sides before the sauce ever goes in.
That first browning step does two jobs at once. It builds flavor in the pan, and it gives the chicken enough structure to finish in the sauce without falling apart. Pull it out once it hits 165°F, because overcooked chicken breast turns dry fast and the final basting won’t rescue it.
What Each Ingredient Is Actually Doing in the Skillet
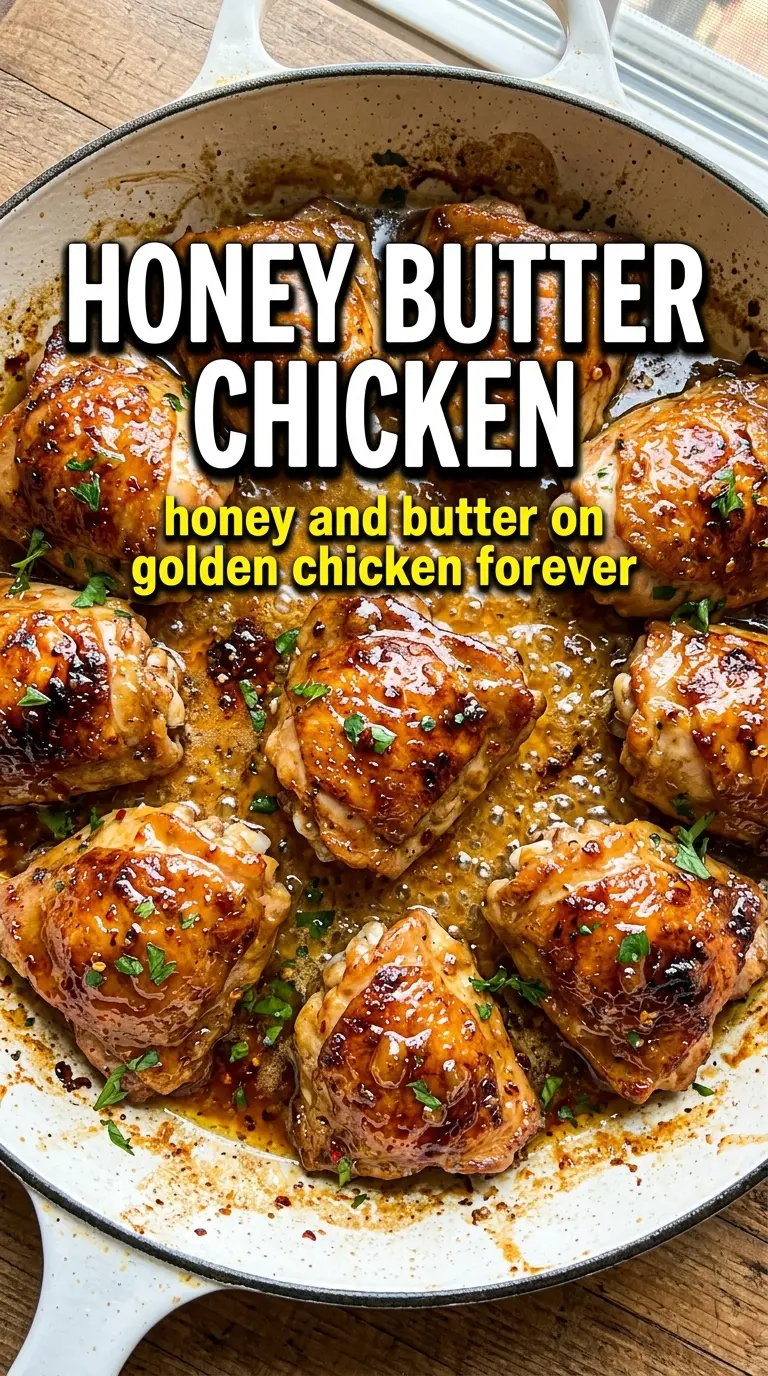
- Chicken breasts — Boneless, skinless breasts give you a clean canvas for the glaze and cook fast enough for a weeknight. If yours are thick, pound them to an even thickness so the outside doesn’t dry out before the center is done.
- Butter — This is what makes the sauce feel plush and clingy. Use the real stuff here; margarine won’t give you the same body or finish.
- Honey — Honey brings the sticky gloss and the caramelized edges. A mild honey works best because darker varieties can overpower the garlic and vinegar.
- Soy sauce and apple cider vinegar — Soy sauce adds salt and depth, while vinegar keeps the glaze from tasting one-note sweet. That tiny bit of acid is what makes the sauce pop instead of sit heavy on the tongue.
- Garlic — Fresh minced garlic matters more than garlic powder in the sauce because it perfumes the butter as it cooks. Let it go just until fragrant; if it browns, it turns bitter fast.
Getting the Glaze to Coat Instead of Separate
Building the First Sear
Season the chicken well before it hits the pan. You want the surface dry and coated with salt, pepper, garlic powder, and smoked paprika so it browns instead of shedding moisture. Heat the oil until it shimmers, then lay the chicken down and leave it alone long enough to form a crust. If you move it too early, it sticks and tears instead of releasing cleanly.
Making the Sauce in the Same Pan
After the chicken comes out, lower the heat and melt the butter in the same skillet. The garlic only needs about a minute; once it smells sweet and nutty, stir in the honey, soy sauce, and vinegar. The sauce should look smooth and glossy, not oily. If it looks separated, the pan is too hot, so pull it off the burner for a few seconds and stir again.
Finishing with the Baste
Return the chicken and spoon the sauce over the top until every piece is lacquered. This last stage is short because you’re not cooking the chicken from raw anymore; you’re letting the glaze thicken and cling. Turn the chicken a couple of times so the sauce gets into every side and the edges pick up a caramelized finish. Once it looks shiny and a little sticky, it’s done.
How to Adapt This Without Losing the Sticky Finish
Chicken thighs for a richer result
Swap in boneless skinless chicken thighs if you want a juicier cut with a little more forgiveness on the stove. They take a few extra minutes to cook through, but they handle the glaze beautifully and stay tender even if the pan runs hot.
Dairy-free version that still feels rich
Use a good plant-based butter with a neutral flavor. The sauce won’t taste exactly the same, but you’ll still get a glossy coating and that sweet-salty balance as long as you keep the heat low and don’t rush the simmer.
Gluten-free adjustment
Use tamari instead of soy sauce. It gives you the same salty depth without gluten, and the glaze behaves the same way in the skillet.
Less sweet, more savory
Cut the honey back by a tablespoon and add a little extra vinegar. That gives the sauce a sharper edge and keeps it from feeling heavy, especially if you’re serving it with rice or mashed potatoes.
Storage and Reheating
- Refrigerator: Store leftovers in an airtight container for up to 3 days. The glaze thickens as it chills, and the chicken stays best if you keep it with the sauce.
- Freezer: It freezes, but the sauce can lose a little of its silky finish after thawing. If you freeze it, cool it completely first and thaw overnight in the fridge.
- Reheating: Warm it gently in a skillet over low heat with a splash of water to loosen the sauce. Don’t blast it in the microwave on high or the chicken can turn rubbery before the glaze loosens.
Answers to the Questions Worth Asking
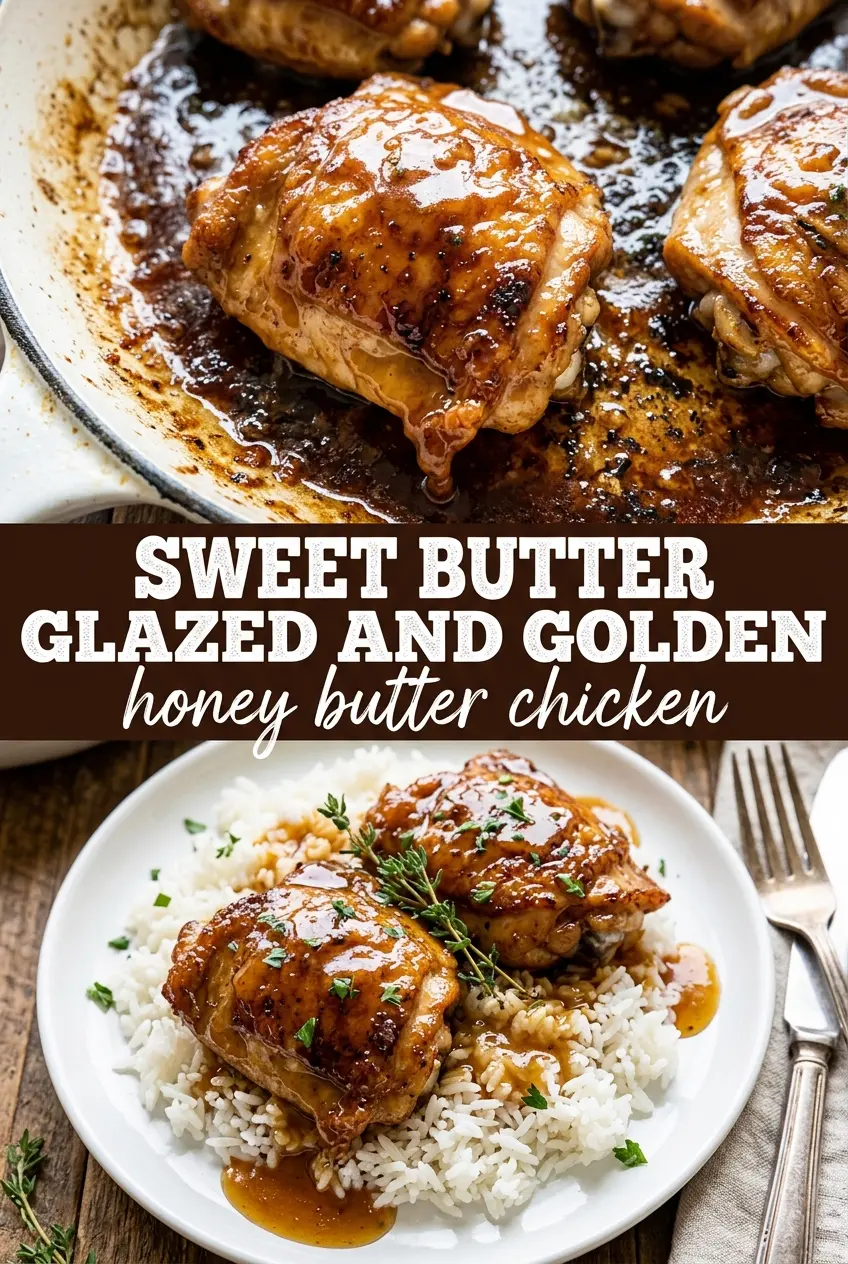
Honey Butter Chicken
Ingredients
Equipment
Method
- Season the chicken breasts all over with salt, pepper, garlic powder, and smoked paprika, then add olive oil to a large skillet and heat over medium-high until shimmering. Sear for 5-6 minutes per side until deep golden, reaching 165°F internal temperature, then remove to a plate.
- Melt the butter in the same pan over medium heat, scraping up browned bits as it foams. Add the minced garlic and cook for 1 minute until fragrant (visual cue: lightly golden garlic).
- Stir in honey, soy sauce, and apple cider vinegar, then bring the mixture to a simmer. Continue simmering until it looks glossy and cohesive (visual cue: small bubbling across the surface).
- Return the chicken to the pan and cook for 2-3 minutes, turning and basting as the sauce thickens. Keep going until the sauce caramelizes and coats the chicken (visual cue: amber glaze clings to the surface).
- Plate the chicken and drizzle with any remaining sauce from the skillet. Finish with fresh thyme leaves and flaky sea salt for a bright, savory top note.