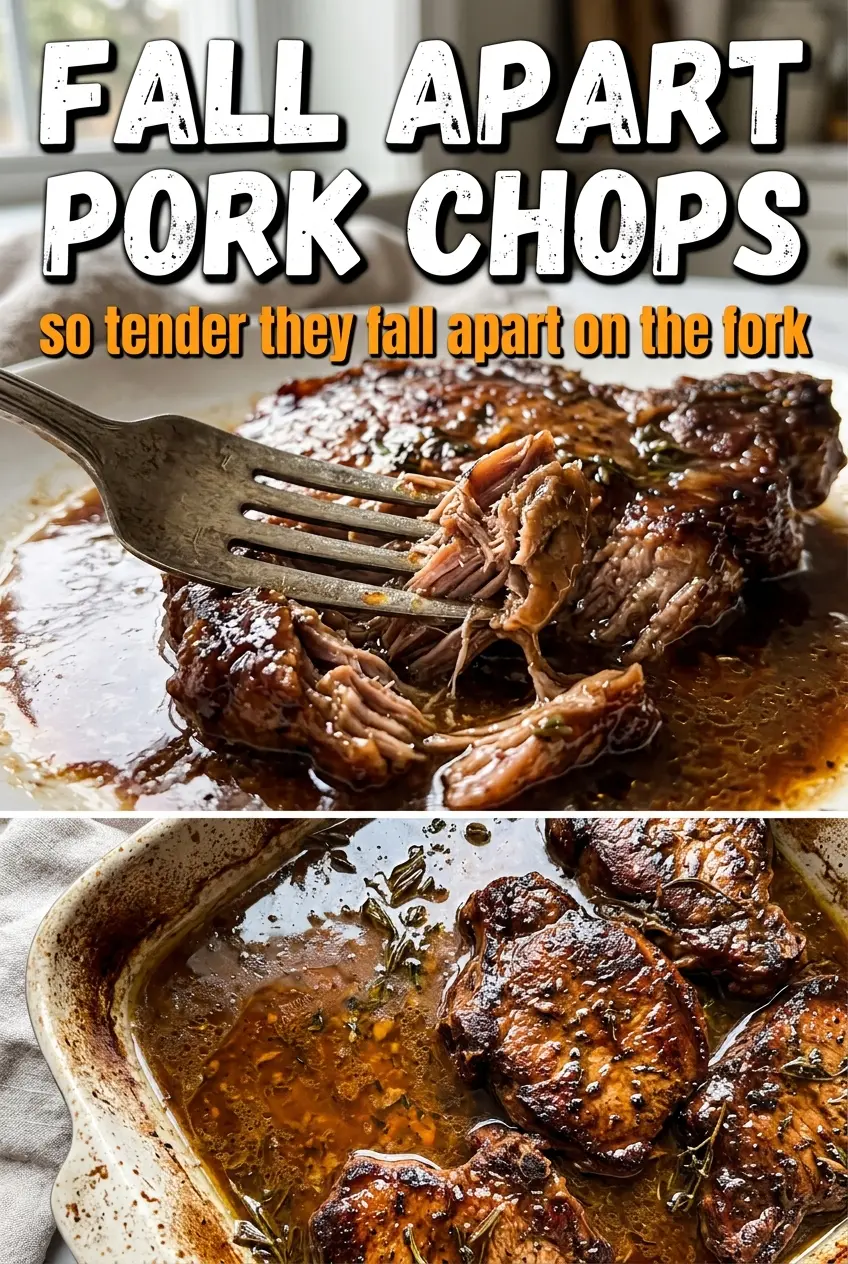
Pork chops turn into something completely different when they’re braised low and slow. Instead of drying out and turning stringy, they relax into tender, pull-apart meat that soaks up every bit of the rich mushroom gravy around them. The edges stay savory from the sear, and the sauce finishes silky enough to spoon over mashed potatoes without feeling heavy.
The key here is using thick bone-in chops and giving them time. Thin chops don’t have enough structure for this kind of braise, and boneless chops can work, but they lose a little of that deep, meaty flavor. Searing first builds the base of the gravy, then the covered oven time does the work that stovetop cooking never quite can. The low temperature matters too. It keeps the pork from tightening up before the collagen has time to soften.
Below, I’ve laid out the details that matter most: how to avoid a broken gravy, what to do if your chops are smaller than the ones I used, and the best way to reheat leftovers without drying them out.
The pork was fork-tender after about 1 hour 45 minutes, and the gravy turned out smooth and flavorful without breaking. I served it over mashed potatoes and the chops literally fell apart on the plate.
Save these fall apart pork chops for the night you want fork-tender meat and silky mushroom gravy with almost no fuss.
The Sear Is Important, But The Braise Is What Makes These Pork Chops Collapse
The sear gives you flavor, but it doesn’t make the pork tender. That part happens only after the chops are tucked into the sauce, tightly covered, and cooked low enough that the meat has time to soften instead of seize up. If your chops come out chewy, the usual problem is rushing the oven time or cooking at too high a temperature. Pork chops need a gentle braise, not a fast roast.
Bone-in chops hold onto moisture better than thin boneless cuts, and the bone adds a little insurance against overcooking. The mushroom soup and broth form a gravy that stays stable during the long oven time, and the Worcestershire deepens it just enough to keep it from tasting flat. Covering the pan tightly matters more than people think. If steam escapes, the sauce reduces too much and the pork can dry at the edges before the center turns tender.
- Thick bone-in pork chops — These hold up to the long braise much better than thin chops. If you only have boneless chops, cut the bake time back and start checking much earlier, because they can go from tender to dry fast.
- Cream of mushroom soup — This is the backbone of the gravy. It gives the sauce body without needing a separate roux, and it stays smooth in the oven.
- Chicken broth — This loosens the soup into a braising liquid. Use a low-sodium broth if yours is salty, since the soup and Worcestershire already bring plenty of seasoning.
- Worcestershire sauce — A small amount adds depth and a little tang. There isn’t a perfect substitute, but soy sauce with a splash of vinegar can stand in if that’s what you have.
Building The Pan Sauce Before The Oven Takes Over
Season and Sear the Chops
Season the pork chops well with salt, pepper, and garlic powder before they ever hit the pan. Sear them over medium-high heat until they’re deeply browned on both sides, about 3 to 4 minutes per side, and don’t move them around or the crust won’t form. The chops won’t be cooked through yet, and that’s fine. You’re looking for color, not doneness.
Cook the Onion Until It Softens
Use the same pan so the onion picks up all the browned bits left behind by the pork. Cook it until it turns soft and translucent and starts to smell sweet, which usually takes about 4 minutes. If the pan looks dry, add a small splash of oil; if you rush this stage, the onions stay sharp and the gravy tastes flat.
Stir the Sauce Until It’s Smooth
Whisk the cream of mushroom soup, broth, and Worcestershire together until the mixture looks fully smooth before it goes into the pan. That helps the braising liquid cook evenly instead of leaving little lumps of concentrated soup. Add the thyme at the same time, nestle the chops into the sauce, and cover the pan tightly with foil so the steam stays trapped inside.
Braise Low and Slow Until the Meat Gives
Slide the pan into a 300°F oven and let the chops braise for 1.5 to 2 hours. The exact timing depends on thickness, but the real test is texture: a fork should slide in easily and the meat should start to separate at the edges. If they still feel tight, give them more time. Pulling them early is the fastest way to end up with pork that’s cooked but still chewy.
How To Change These Pork Chops Without Losing The Tender Texture
Make It Gluten-Free
Use a gluten-free cream of mushroom soup and check the Worcestershire label, since some brands contain gluten. The braise will still turn out creamy and rich, because the texture here comes from the soup and the long covered cook, not from flour.
Use Boneless Chops in a Pinch
Boneless chops will work, but they need less time and a closer eye because they don’t have the same protection from drying out. Start checking them around the 1-hour mark and stop as soon as they’re fork-tender. The gravy still works the same, but the meat won’t taste quite as deep or stay as juicy as bone-in chops.
Swap the Mushroom Flavor
If mushroom soup isn’t your thing, cream of chicken gives a milder gravy and cream of celery brings a lighter, slightly herbal note. Both keep the same braising texture, but you’ll lose the earthy depth that makes the original version taste so full-bodied.
Storage and Reheating
- Refrigerator: Store in an airtight container for up to 4 days. The pork gets even softer as it sits, and the gravy may thicken in the fridge.
- Freezer: These freeze well for up to 2 months. Cool completely, pack the chops with plenty of gravy, and thaw overnight in the refrigerator before reheating.
- Reheating: Warm gently on the stovetop or in a covered baking dish at 300°F with a splash of broth. High heat is the mistake to avoid here, because it tightens the meat and makes the sauce separate.