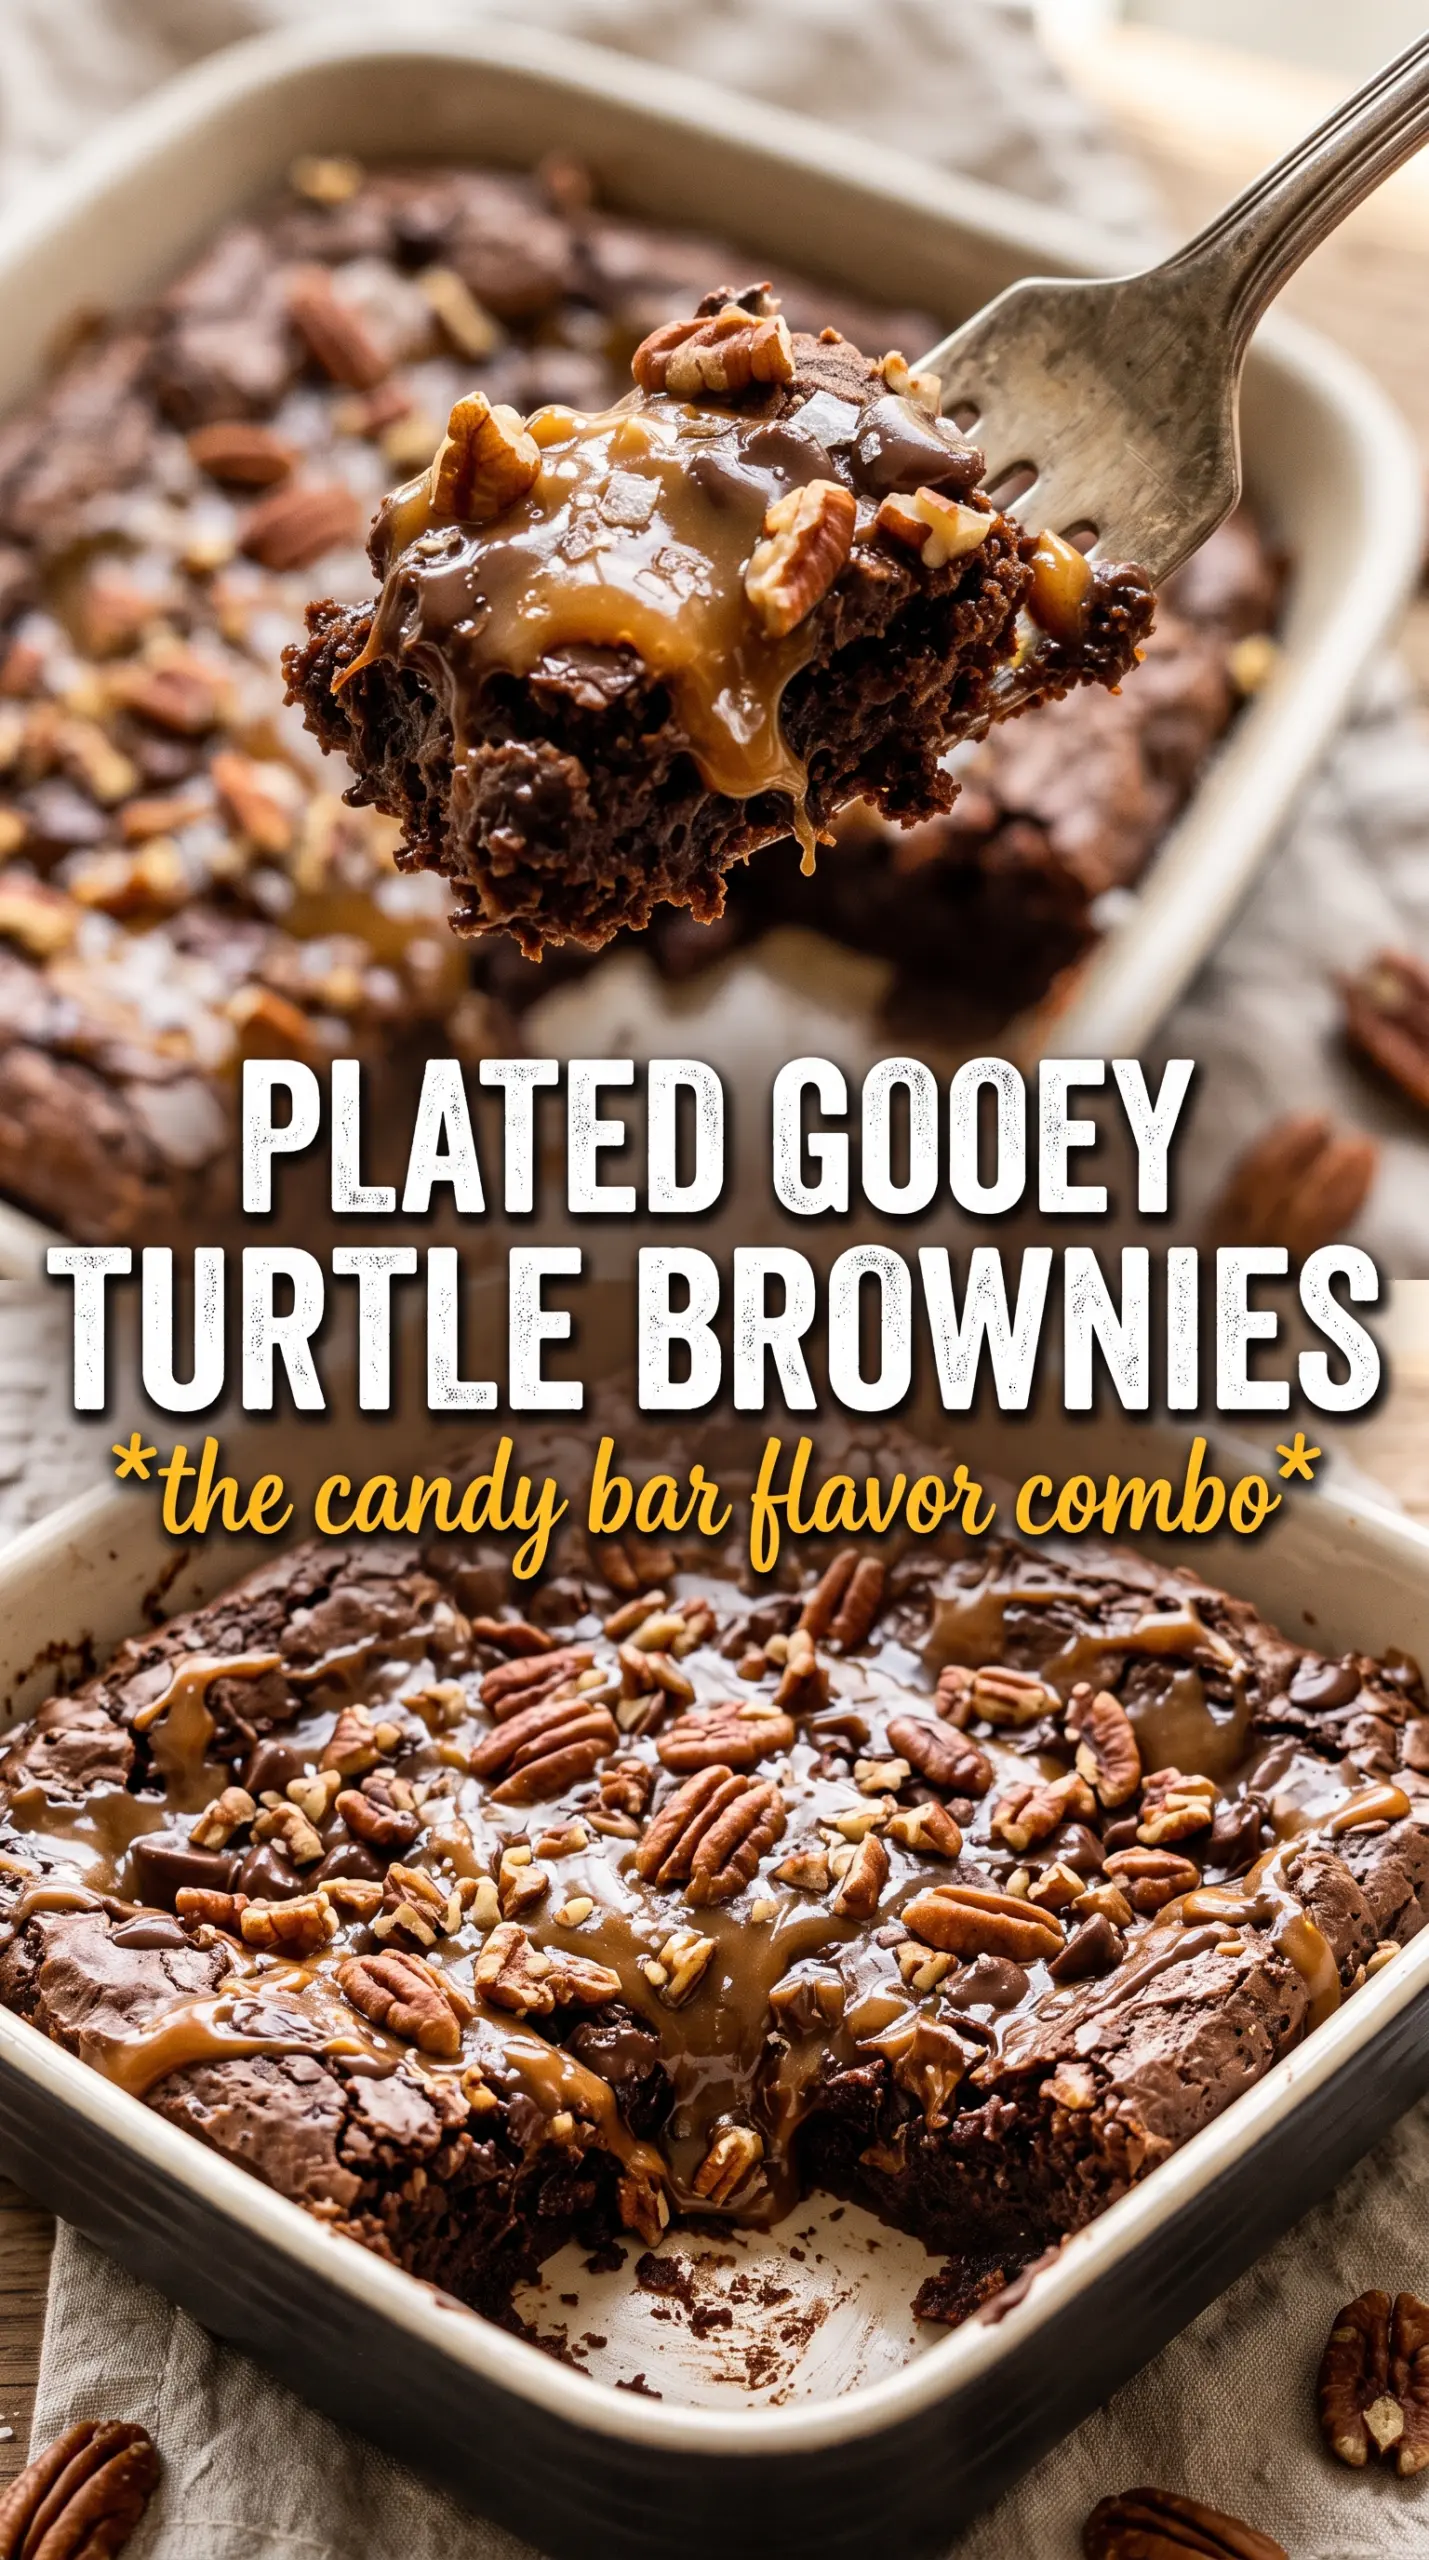
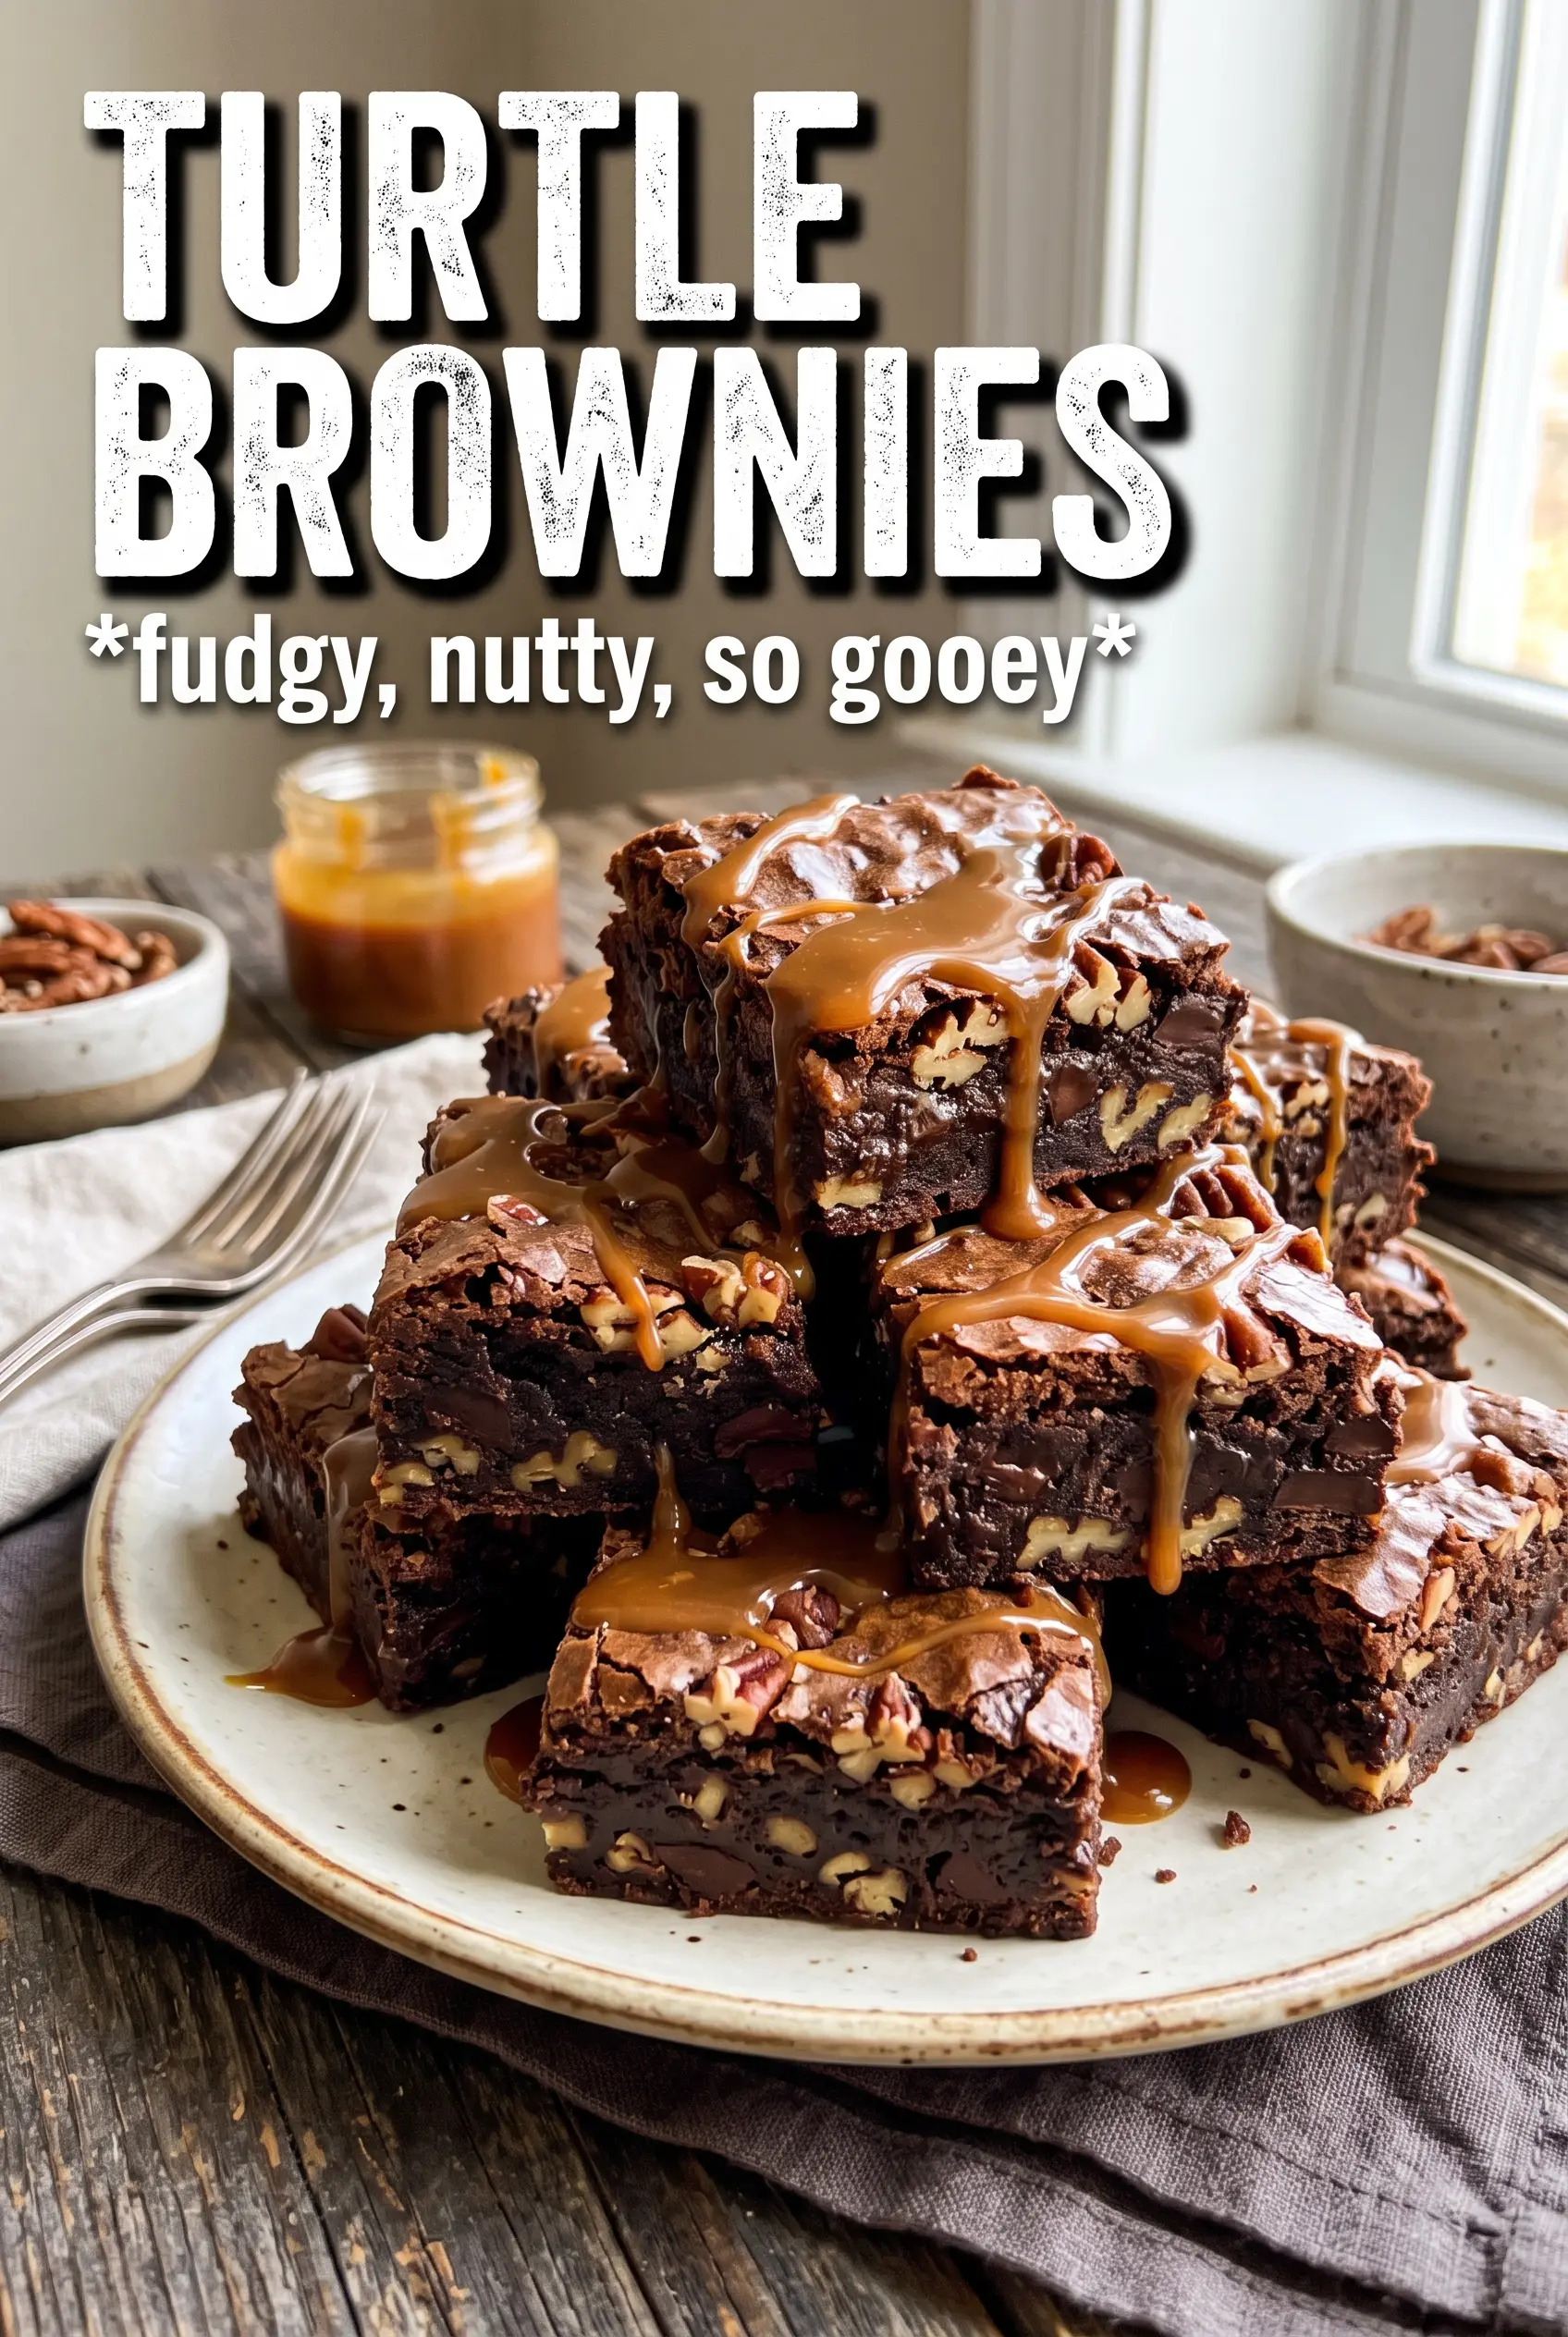
Fudgy turtle brownies deliver the kind of dense, glossy crumb that holds up under a thick caramel swirl without turning cakey or dry. Every square has that deep chocolate base, toasted pecan crunch, and a little hit of salt that keeps the sweetness in check. The best part is how the caramel settles into ribbons across the top instead of disappearing into the batter.
This version works because the brownies start with melted butter and chocolate, which gives you that rich, almost truffle-like texture before anything else gets added. The batter stays tight and fudgy because the flour is folded in just long enough to disappear, and the caramel goes on top rather than mixed through, so it keeps its own distinct layer. Toasting the pecans first matters too; it wakes up their flavor and keeps them crisp against the soft brownies.
Below you’ll find the small details that keep the brownies from baking up dry or grainy, plus a few smart ways to adapt them if you need to swap the nuts or make them ahead.
The brownies came out dense and fudgy, and the caramel stayed in those pretty ribbons on top instead of sinking to the bottom. I baked mine for 30 minutes and the center was still soft but set just right.
Save these turtle brownies for the nights when you want fudgy chocolate, caramel ribbons, and toasted pecans in every square.
The Trick to Keeping the Caramel on Top, Not Gone in the Batter
The biggest mistake with turtle brownies is stirring the caramel into the batter or adding it before the brownie base is set enough to support it. Caramel is heavier than it looks, and if it gets mixed too deeply, you lose those distinct ribbons that make these brownies taste like turtles instead of plain chocolate squares. Swirl it lightly across the surface after the batter is spread in the pan, then stop while you can still see clear streaks.
Brownies like this also punish overbaking. Pull them when the center still looks a touch underdone and a toothpick comes out with moist crumbs, not clean batter. They finish setting as they cool, and that resting time is what keeps the crumb dense and fudgy instead of dry at the edges.
What Each Ingredient Is Actually Doing in These Brownies
- Unsalted butter — Butter carries the chocolate and helps create that dense, rich texture. Unsalted is the better choice here because it lets you control the final salt level, especially once the flaky sea salt goes on top.
- Dark chocolate — Use a chocolate you’d actually enjoy eating on its own. That flavor drives the whole pan, and if the chocolate is flat or overly sweet, the brownies taste one-note.
- Cocoa powder — This deepens the chocolate flavor without adding more fat. Natural cocoa works fine, but use a good-quality one; it makes a real difference in something this chocolate-forward.
- Thick caramel sauce — Thick matters. A thin sauce tends to sink and spread too far, while a thicker caramel stays where you swirl it and gives you those glossy, chewy pockets on top.
- Pecan halves — Halves are better than chopped pecans here because they sit neatly on the surface and give you that classic turtle look. Toast them first so they taste nutty instead of raw.
- Semi-sweet chocolate chips — These melt into a drizzle that helps finish the brownies without overwhelming the caramel. Chips are fine for the drizzle because the texture doesn’t matter once they’re melted.
- Flaky sea salt — Don’t skip it. A light sprinkle sharpens the caramel and keeps the brownies from leaning too sweet.
Building the Brownie Base Without Losing the Fudgy Center
Melt and Cool the Chocolate
Melt the butter and chocolate together until the mixture is smooth and glossy, then let it cool for a few minutes before adding the eggs. If it’s too hot, it can scramble the eggs or make the sugar grainy. You want warm, not steaming, so the batter stays silky and the eggs blend in cleanly.
Whisk the Batter Just Until It Comes Together
Once the sugar, eggs, and vanilla go in, whisk until the mixture looks thick and slightly shiny. That shiny look tells you the sugar has started dissolving and the batter will bake up with a better crust. Fold in the flour, cocoa, and salt only until no dry streaks remain; extra mixing works air into the batter and pushes these brownies toward cakey.
Swirl the Caramel and Press on the Pecans
Spread the batter evenly in the prepared pan, then drizzle the caramel over the top in ribbons. Use a knife or skewer to make a few loose swirls, not a full mix, and the caramel will stay visible after baking. Press the pecan halves lightly into the surface so they set into the top instead of rolling off after the brownies come out of the oven.
Watch for Moist Crumbs, Not a Dry Center
Bake just until the edges look set and the center no longer sloshes when you gently nudge the pan. A toothpick should come out with moist crumbs attached. If it comes out clean, the brownies are already past their best texture, and they’ll lose that dense, fudgy bite once they cool.
Cool Completely Before the Chocolate Drizzle
Let the pan cool all the way before drizzling on the melted chocolate. If the brownies are still warm, the drizzle sinks in and turns dull instead of sitting in sharp little lines on top. The full cool-down also makes cutting much cleaner, especially when the caramel is still soft.
How to Adapt Turtle Brownies for Different Kitchens and Different Needs
Dairy-Free Turtle Brownies
Use a good dairy-free butter and a dark chocolate that doesn’t contain milk solids. The texture stays close to the original because the structure comes from the eggs, flour, and melted chocolate, not from cream. Just check the caramel too, since some store-bought versions contain butter or cream.
Walnut Swap for the Pecans
Walnuts work if that’s what you have, but they bring a more bitter, earthier edge than pecans. Toast them the same way and use the same amount. The brownies will still taste like turtle brownies, just a little less sweet and a little more robust.
Gluten-Free Version
A cup-for-cup gluten-free flour blend usually works well here because the brownies don’t rely on much structure from the flour. Stir gently and don’t overbake, since gluten-free batters can dry out faster at the edges. The center should still look a touch soft when you pull the pan.
Storage and Reheating
- Refrigerator: Store in an airtight container for up to 5 days. The brownies firm up in the fridge, which actually makes the fudgy texture even more pronounced.
- Freezer: These freeze well. Wrap individual squares tightly and freeze for up to 2 months, then thaw in the refrigerator or at room temperature.
- Reheating: Warm a square for 10 to 15 seconds in the microwave if you want the caramel slightly soft again. Go gently, since overheating will dry out the brownie and make the chocolate drizzle greasy.
Answers to the Questions Worth Asking
Turtle Brownies
Ingredients
Equipment
Method
- Preheat the oven to 350F, then line a 9x13 pan with parchment so it overhangs for easy lifting.
- Melt the butter and dark chocolate together, then cool until just warm.
- Whisk in the sugar, eggs, and vanilla until glossy and well combined.
- Fold in the flour, cocoa, and salt just until no dry streaks remain.
- Spread the batter evenly into the lined pan.
- Drizzle the thick caramel sauce over the top and swirl it through the batter with a knife.
- Press the toasted pecan halves across the surface so they adhere.
- Bake for 28-32 minutes, until the brownies are set with moist crumbs in the center.
- Cool the brownies completely before drizzling with the melted semi-sweet chocolate.
- Sprinkle with flaky sea salt right before serving for a crisp salty finish.