Sticky teriyaki chicken earns its place in the regular dinner rotation when the sauce clings to the meat instead of sliding off and pooling sadly on the plate. The best version has glossy, caramelized edges on the chicken thighs, a sweet-salty glaze that tightens up in the pan, and enough ginger and garlic to keep the sauce from tasting flat.
This recipe works because the marinade does double duty. Half seasons the chicken, while the other half becomes the sauce, which means the flavor stays layered instead of watered down. A quick cornstarch slurry gives you that takeout-style sheen without turning the sauce gummy, and thighs stay juicy even when the pan runs hot enough to blister the edges.
Below, I’m walking through the little details that matter: when to stop marinating, how to know the sauce has reduced enough, and what to do if you want a gluten-free version without losing that sticky finish.
The sauce thickened up exactly right and coated every piece without turning gluey. I served it over rice with broccoli and my husband went back for seconds before I even sat down.
Love a glossy teriyaki glaze? Save this chicken thighs recipe for a fast rice bowl dinner with deep caramelized edges.
The Reason Teriyaki Gets Sticky Instead of Watery
The biggest mistake with teriyaki chicken is treating the sauce like a passive marinade. If all the sugar, soy, and aromatics go straight into the pan at full strength, you end up with a thin, sharp sauce that never quite reduces before the chicken is overcooked. Splitting the marinade fixes that. One half seasons the meat; the other half stays clean enough to simmer into a proper glaze.
Chicken thighs are the right cut here because they stay tender through the high heat needed for caramelization. Breasts can work, but they need a gentler hand and a shorter cook time, or they dry out before the sauce is ready. The other part that matters is the cornstarch slurry. Add it after the marinade comes to a simmer, not before, or it can clump and turn the sauce cloudy instead of glossy.
- Soy sauce — This is the salt and backbone of the dish. Use regular soy sauce for the most balanced result; low-sodium works if that’s what you keep on hand, but don’t switch to a sweetened teriyaki bottle or the sauce gets muddy.
- Brown sugar and honey — The brown sugar gives depth, while honey helps the glaze cling and shine. You need both for that lacquered finish. If you use all honey, the sauce can taste thin and a little floral.
- Mirin or rice vinegar — Mirin brings gentle sweetness and roundness. Rice vinegar is the cleaner swap if that’s what you have, but use the same amount and keep the honey in place so the sauce doesn’t turn sharp.
- Sake or dry sherry — Optional, but it gives the sauce a fuller, more restaurant-style edge. If you skip it, the recipe still works; the flavor is just a little less layered.
- Ginger and garlic — Fresh is worth it here. Powder won’t give you the same brightness, and this sauce depends on that lift to balance the sugar.
What Each Ingredient Is Actually Doing in This Glazed Chicken
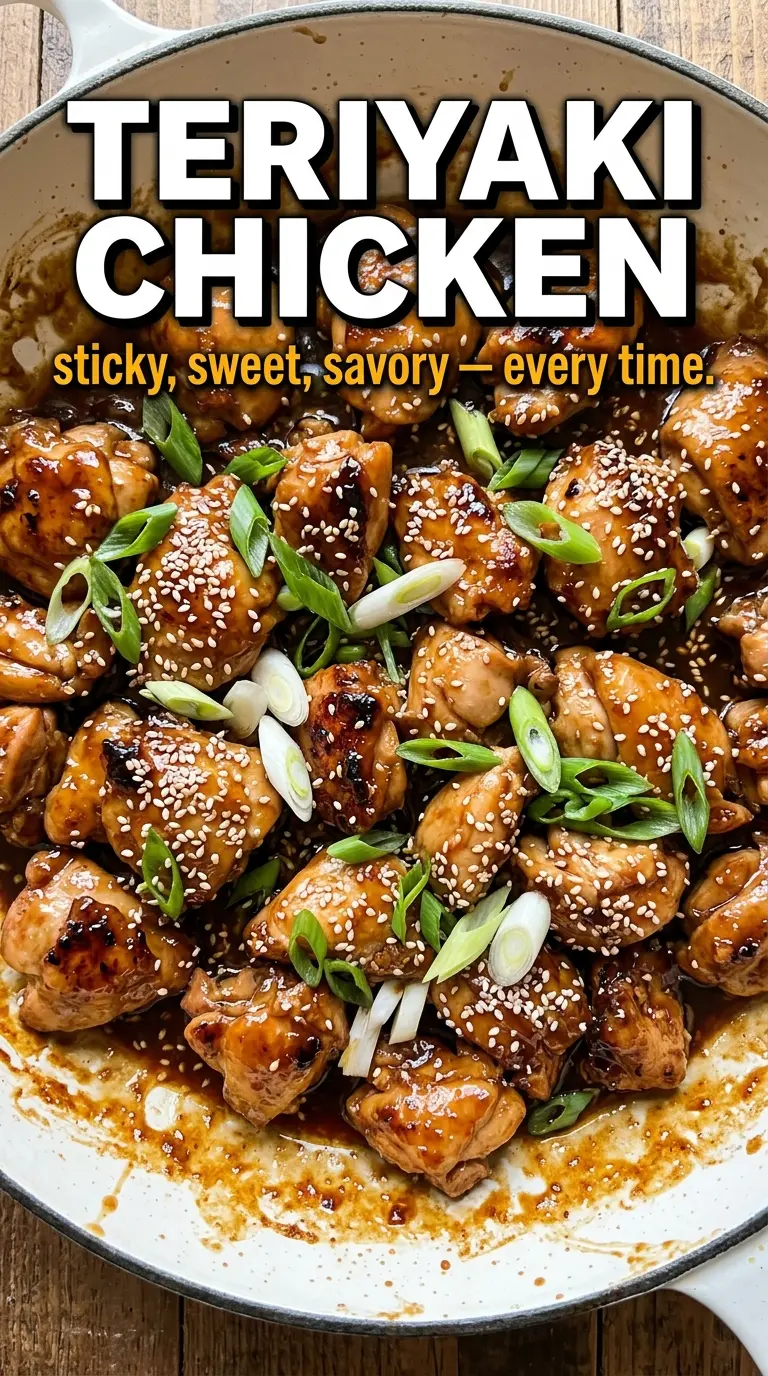
- Chicken (the protein center) — Pat dry so it browns instead of steams. Even thickness ensures uniform cooking.
- Oil or butter (the browning medium) — This helps the chicken develop a crust. High-heat oil is essential.
- Garlic (the aromatic foundation) — Fresh minced garlic becomes sweet and mellow when cooked. Cook with oil first to bloom the flavors.
- Soy sauce or base sauce (the savory backbone) — This adds depth and umami. Choose quality soy sauce for better flavor.
- Sweetener (honey, brown sugar, or mirin) — This creates the glaze and balances savory elements. Too much creates candy-like results.
- Acid (vinegar, lime, or ginger) — This prevents the glaze from tasting one-dimensional. Add near the end to preserve brightness.
- Thickener (cornstarch slurry or reduction) — This creates a glossy glaze that coats the chicken. Too much makes it gummy.
- Final finish (green onion, sesame seeds, fresh herbs) — These add color, texture, and fresh flavor. Add right before serving.
Getting the Chicken Glossy Without Burning the Sauce
Marinate for Just Enough Time
Whisk the soy sauce, brown sugar, honey, mirin, sake if you’re using it, garlic, and ginger until the sugar dissolves. Take half out for the sauce first, then add the chicken to the remaining half and let it sit for 20 minutes. Longer isn’t better here because the salt in the soy can start to cure the outside of the thighs and make the texture less juicy.
Sear Over Medium-High Heat
Heat the oil in a large skillet until it shimmers, then lay in the chicken pieces in a single layer. You want a loud sizzle and darkening at the edges, not a slow stew. Cook about 5 to 6 minutes per side, depending on thickness, until the surface is deeply caramelized and the internal temperature hits 165°F. If the pan smokes aggressively, the heat is too high and the sugar will scorch before the chicken cooks through.
Turn the Reserved Marinade Into Sauce
Move the cooked chicken to a plate, then pour in the reserved marinade. Bring it to a steady simmer and stir in the cornstarch slurry while whisking or stirring constantly. In 2 to 3 minutes, it should turn from thin and glossy to thick enough to coat a spoon. If it stays loose, give it another minute; if it gets pasty, it was cooked too hard or too long.
Coat and Rest Before Serving
Return the chicken to the skillet and turn it through the sauce until every surface is lacquered. The sauce should cling in shiny layers, not disappear into the pan. Let it sit for a minute off the heat so the glaze settles onto the chicken instead of running off the second it hits the rice. Finish with sesame seeds and sliced green onions while the sauce is still tacky.
Make It Gluten-Free Without Losing the Shine
Swap the soy sauce for tamari or a certified gluten-free soy sauce in the same amount. The texture stays the same because the thickening comes from the cornstarch, not the soy sauce, and the glaze still turns glossy and sticky.
Use Chicken Breasts When That’s What’s in the Fridge
Boneless skinless chicken breasts work, but slice them into cutlets or pound them to an even thickness so they finish cooking at the same time. They won’t stay as juicy as thighs, so pull them from the pan as soon as they hit 165°F and don’t leave them simmering in the sauce.
Lower-Sugar Teriyaki
Cut the brown sugar to 2 tablespoons and keep the honey in place. The sauce will be a little less deeply caramelized and a touch less sticky, but it will still reduce into a clean, glossy coating without tasting flat.
Storage and Reheating
- Refrigerator: Store leftovers in an airtight container for up to 4 days. The sauce will thicken more as it chills.
- Freezer: It freezes well for up to 2 months. Cool completely first, then freeze portions with plenty of sauce so the chicken doesn’t dry out on thawing.
- Reheating: Warm gently in a skillet over medium-low heat with a splash of water if needed. Microwaving works, but do it in short bursts so the sugar in the glaze doesn’t catch and turn sticky in the wrong way.
Questions I Get Asked About This Recipe
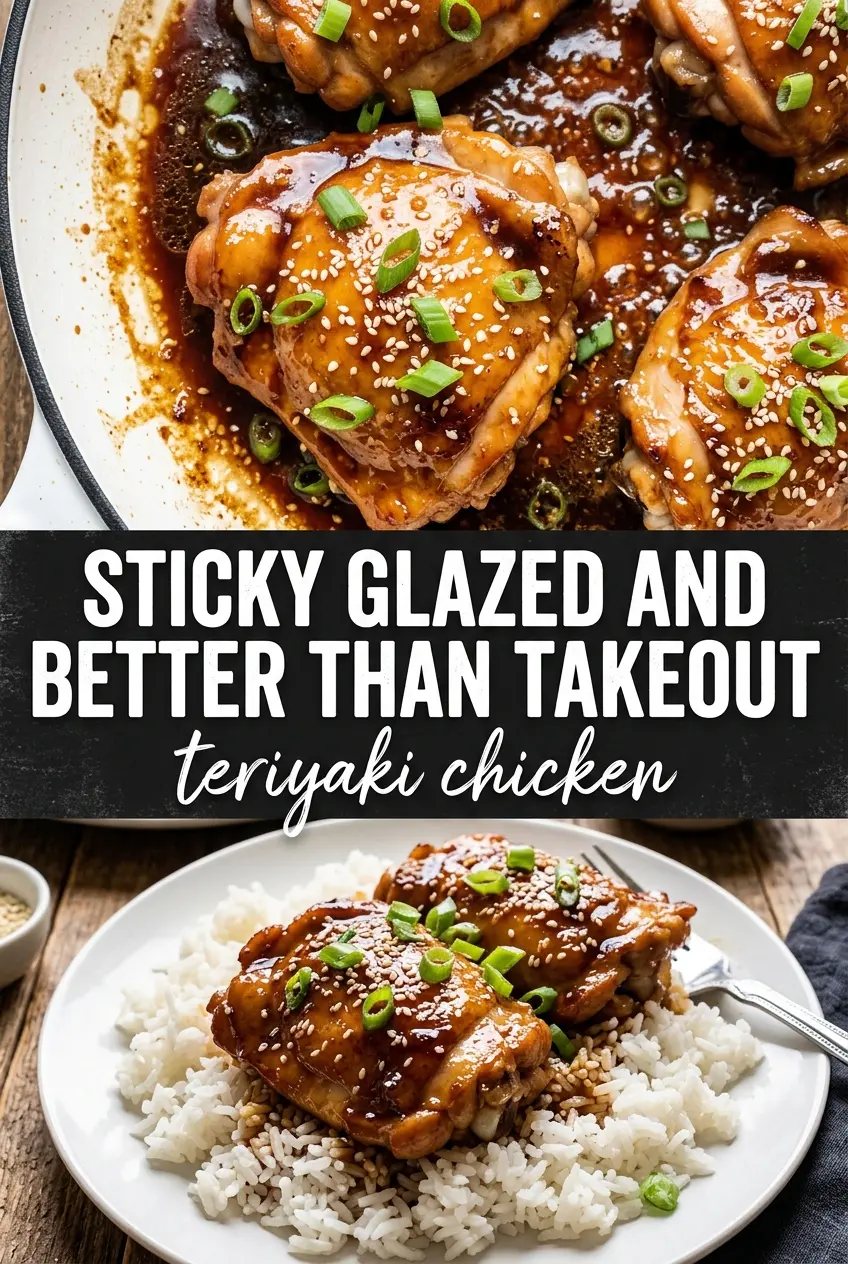
Teriyaki Chicken
Ingredients
Equipment
Method
- In a bowl, whisk together soy sauce, brown sugar, honey, mirin, sake, garlic, and ginger, then reserve half for the sauce.
- Add the chicken thighs to the remaining half, toss to coat, and marinate for 20 minutes, turning once halfway for even flavor.
- Heat the vegetable oil in a large skillet over medium-high heat until shimmering.
- Cook the marinated chicken for 5–6 minutes per side until caramelized and the thickest part reaches 165°F, then remove to a plate (reserve any juices in the pan).
- Pour the reserved marinade into the skillet and bring it to a simmer.
- Stir in the cornstarch slurry and cook 2–3 minutes, until the sauce turns thick, glossy, and dark amber at the edges.
- Return the chicken to the skillet and turn to coat thoroughly in the teriyaki sauce, letting it cling as it heats through.
- Serve the teriyaki chicken over steamed rice and drizzle with any extra sauce.
- Finish with sesame seeds and green onions so the sticky glaze looks glossy in the final plating.