Crunchy, salty chips turn into a built-in bowl here, and that’s what makes taco salad in a bag such a smart meal for camping, cookouts, or any night when you want dinner with almost no cleanup. The hot taco meat softens the chips just enough on the bottom while the lettuce, cheese, tomatoes, and cold toppings keep every bite fresh and layered.
The trick is balance. You want the beef cooked and seasoned well enough to stand on its own, because the chip bag is doing the serving but not the flavor work. I also like to keep the wet toppings on top and add them right before eating so the chips stay crisp instead of turning soggy halfway through the meal.
Below, I’ve included the layering order that keeps each bag sturdy, plus a few swaps that work when you’re packing this for a crowd or making it with what you already have in the pantry.
The chips stayed crunchy longer than I expected, and the layering made it easy for everyone to grab their own bag without a mess.
Taco Salad in a Bag is the easiest way to keep crunchy chips, seasoned beef, and cool toppings all in one grab-and-go meal.
Why the Chip Bag Has to Stay in Charge
The bag is more than a gimmick. It keeps the salad portable, but it also changes the order you need to think in. Once the warm beef goes in, the chips at the bottom soften first, so the best version of this dish is the one that gets eaten soon after it’s assembled.
If you pile on the salsa too early, the chips turn soft fast and the whole thing gets clumsy to eat. That’s why the drier ingredients go in first and the wetter toppings stay at the top until the fork hits the bag. It’s a small thing, but it’s the difference between a crisp, layered taco salad and a soggy pile in chip packaging.
What Each Layer Is Actually Doing Here
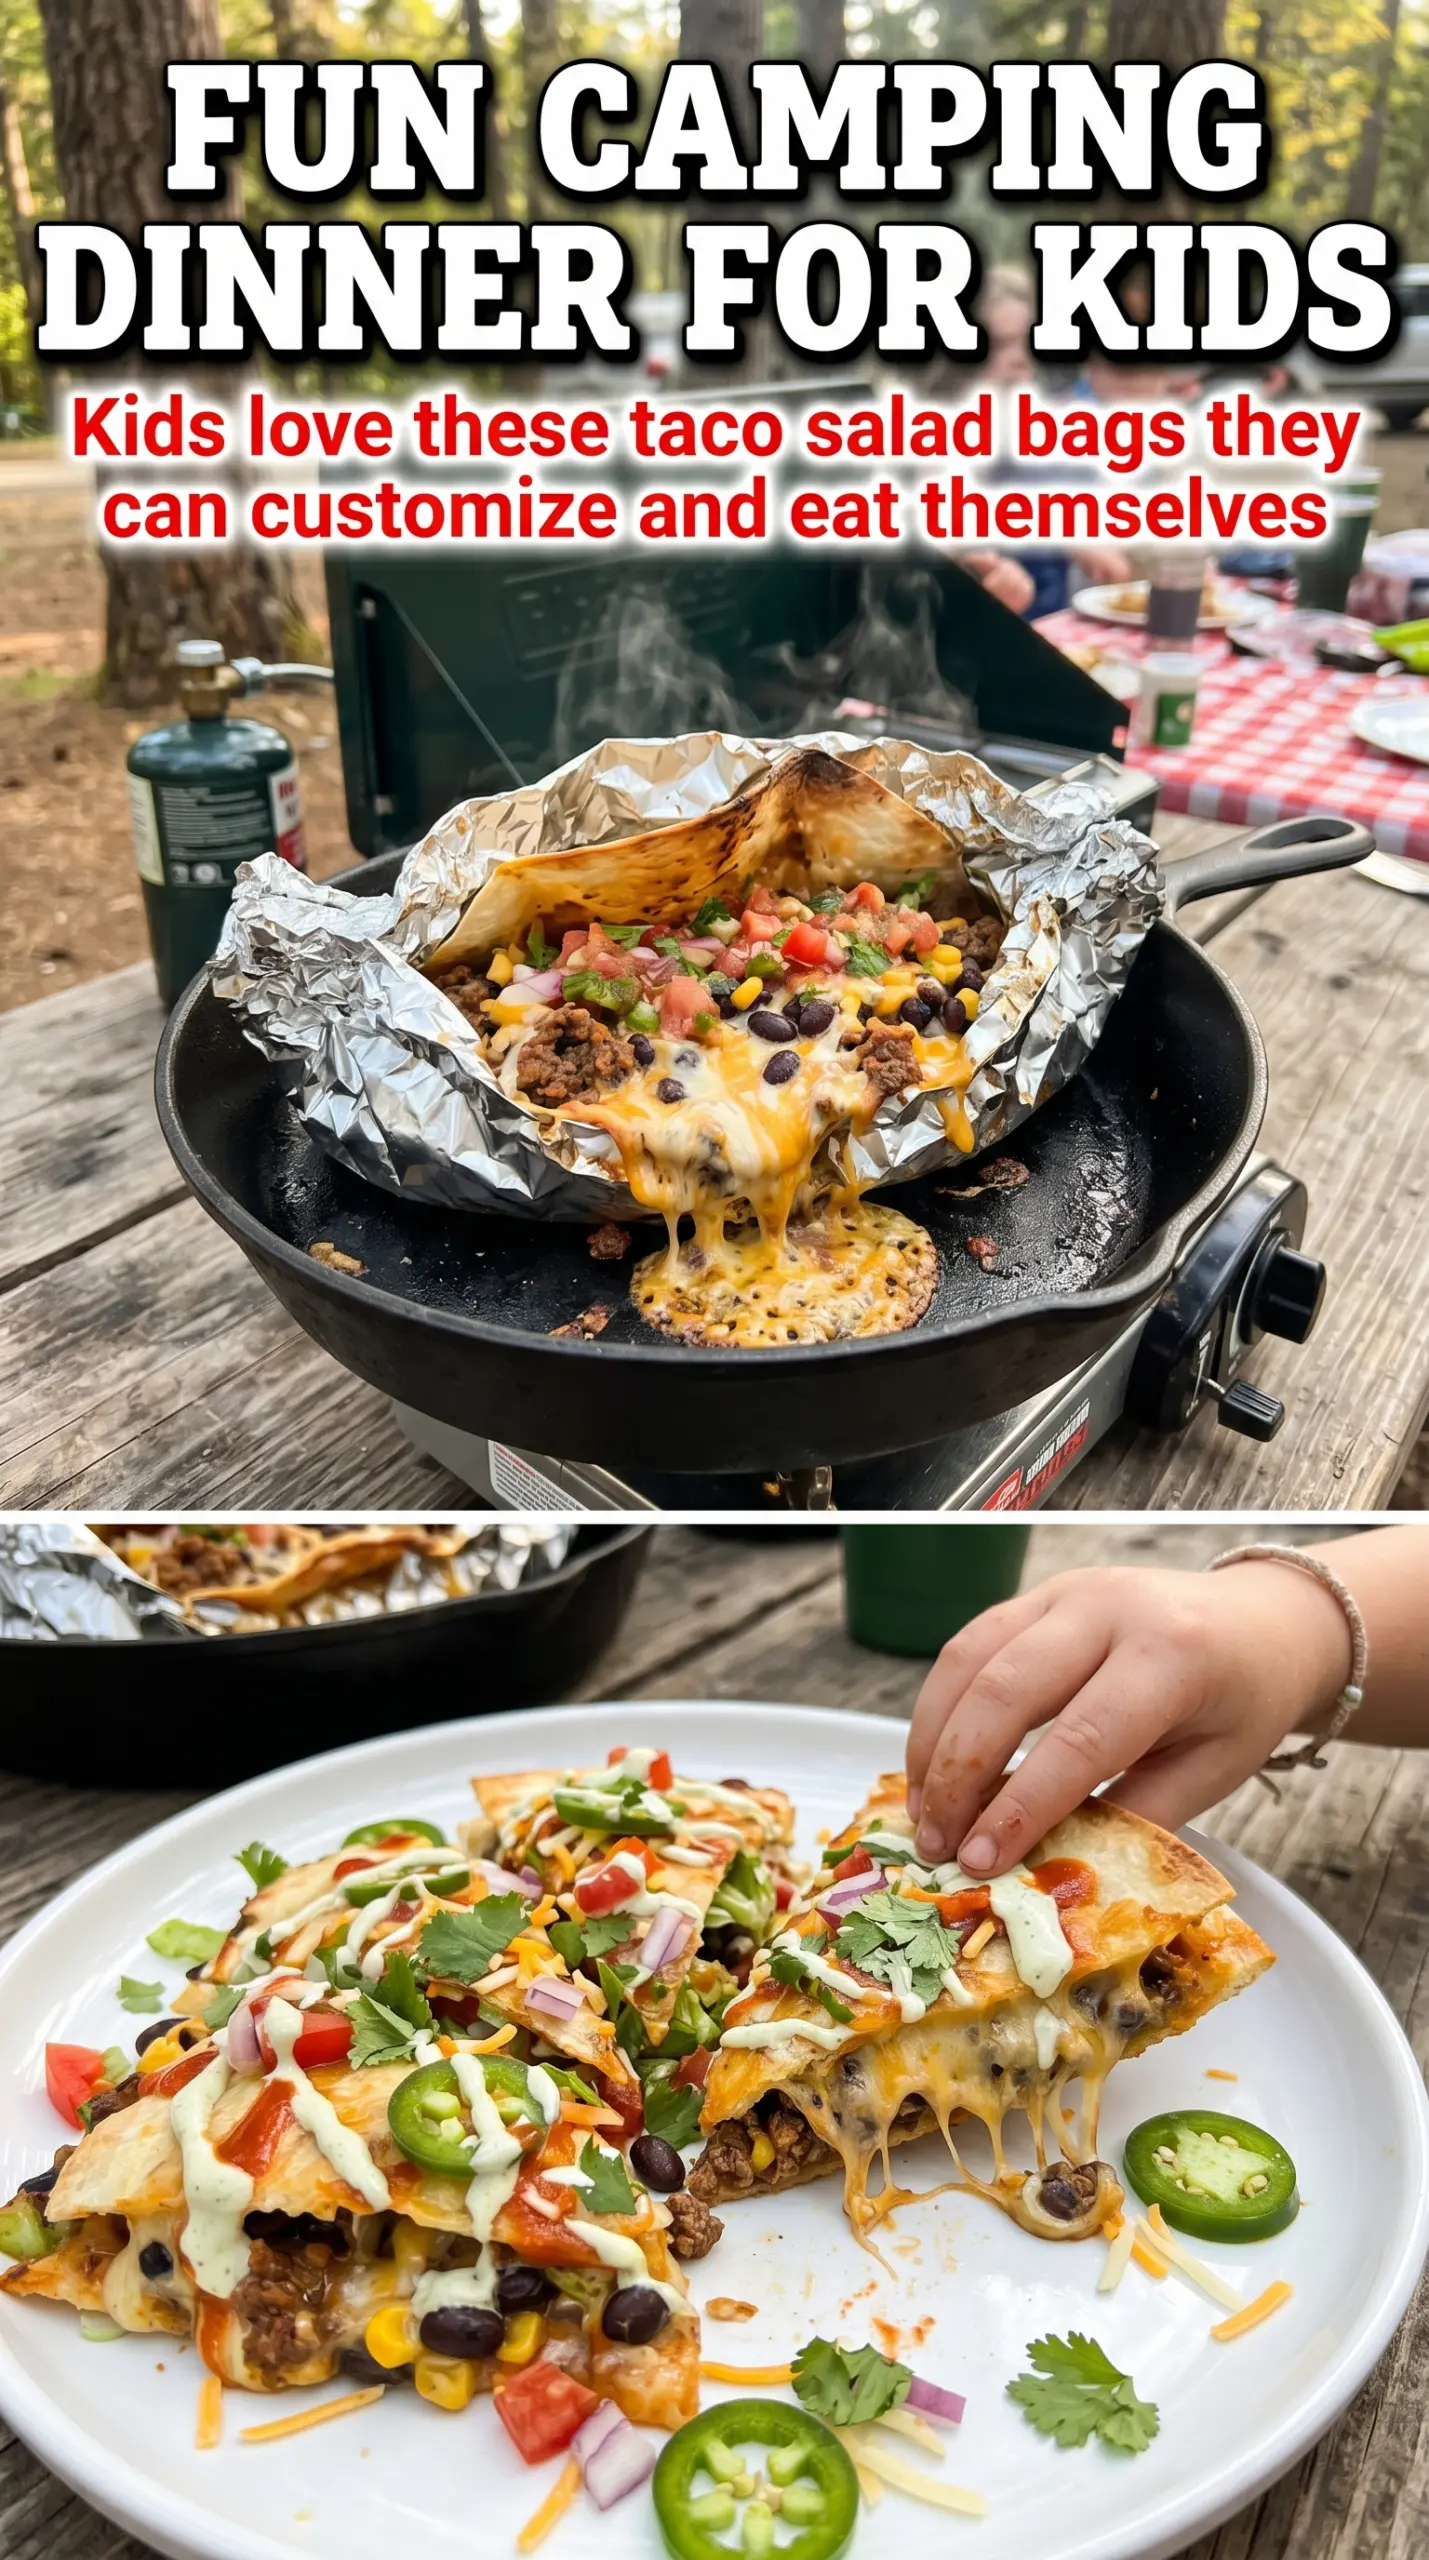
- Doritos or Fritos — Doritos bring a stronger cheesy seasoning, while Fritos give you a more neutral corn flavor with a firmer bite. Either works, but use individual bags, not a big bowl of chips, because the bag is what keeps everything contained.
- Ground beef — This is the main source of warmth and seasoning. Taco seasoning gives it the bold, salty backbone the chips need, and you want the meat cooked until the moisture has mostly evaporated so it doesn’t flood the bag.
- Lettuce — Shredded lettuce adds cold crunch and helps buffer the hot meat from the chips. Chop it fine enough that it layers easily; big pieces tend to poke out and make the bag awkward to eat from.
- Cheese — Shredded cheese melts a little against the warm beef, which helps bind the layers together. A pre-shredded blend is fine here, though freshly grated cheese melts a little more cleanly if you’re making these at home.
- Sour cream and salsa — These belong on top because they’re the wettest ingredients. If you stir them in too early, you lose the crunch that makes the dish worth making in a bag.
Building the Bag So It Eats Cleanly
Cook the Beef Down Until It’s Not Watery
Brown the ground beef in a skillet until there’s no pink left, then drain off any excess grease before adding the taco seasoning. If the meat looks loose or soupy, keep it on the heat a little longer so the seasoning clings to the meat instead of pooling at the bottom of the bag. You want a spoonable filling, not a wet one, because extra liquid is what turns the chips soft too fast.
Cut the Bags Open Without Ruining Them
Use kitchen scissors to slice across the top or down one side of each chip bag, then gently open it wide enough to layer the fillings. Don’t tear the bag by hand if you can help it; ragged edges make it harder to eat neatly and can split once the ingredients go in. A clean cut also gives you more room to add the toppings without spilling them all over the table.
Layer From Heaviest to Lightest
Spoon the taco meat in first, then add lettuce, cheese, tomatoes, and finish with sour cream, salsa, and olives. The heavier filling settles into the chips and the lighter toppings stay visible at the top, which helps the bag hold its shape. If you add the wet toppings before the lettuce and cheese, the whole thing starts collapsing into one soft layer.
Eat Right Away While the Chips Still Snap
Give everyone a fork and dig in as soon as the bags are assembled. The chips will slowly soften from the heat of the beef, and that’s normal, but the texture is at its best in the first few minutes. If you’re feeding a crowd, set up a topping station and fill each bag just before serving so nobody gets a limp chip bag.
How to Make This Work for Camp, Crowd, or Pantry Night
Turkey Taco Bag Salad
Swap the ground beef for ground turkey if that’s what you have on hand. It’s a little leaner and milder, so you may want to cook it with a splash of oil and a pinch more seasoning to keep the filling from tasting flat.
Vegetarian Chip Bag Taco Salad
Use seasoned black beans or crumbled meatless taco filling in place of the beef. You still get the hearty center and the salty taco flavor, but the texture will be softer, so keep the beans well-drained before layering them into the bag.
Gluten-Free Version
Choose certified gluten-free chips and check that your taco seasoning is gluten-free too, since some blends use additives that contain wheat. The rest of the ingredients fit naturally, so this is an easy swap as long as you check the label on the seasoning packet.
Storage and Reheating
- Refrigerator: Store the beef separately for up to 4 days. Once the bag is assembled, the chips soften quickly and don’t hold well.
- Freezer: The cooked taco meat freezes well for up to 2 months. Freeze it flat in a sealed bag or container, then thaw before reheating and assembling fresh bags.
- Reheating: Reheat only the meat, not the full salad. Warm it gently in a skillet or microwave until hot, then build the bags right before serving so the chips stay crisp.
Answers to the Questions Worth Asking
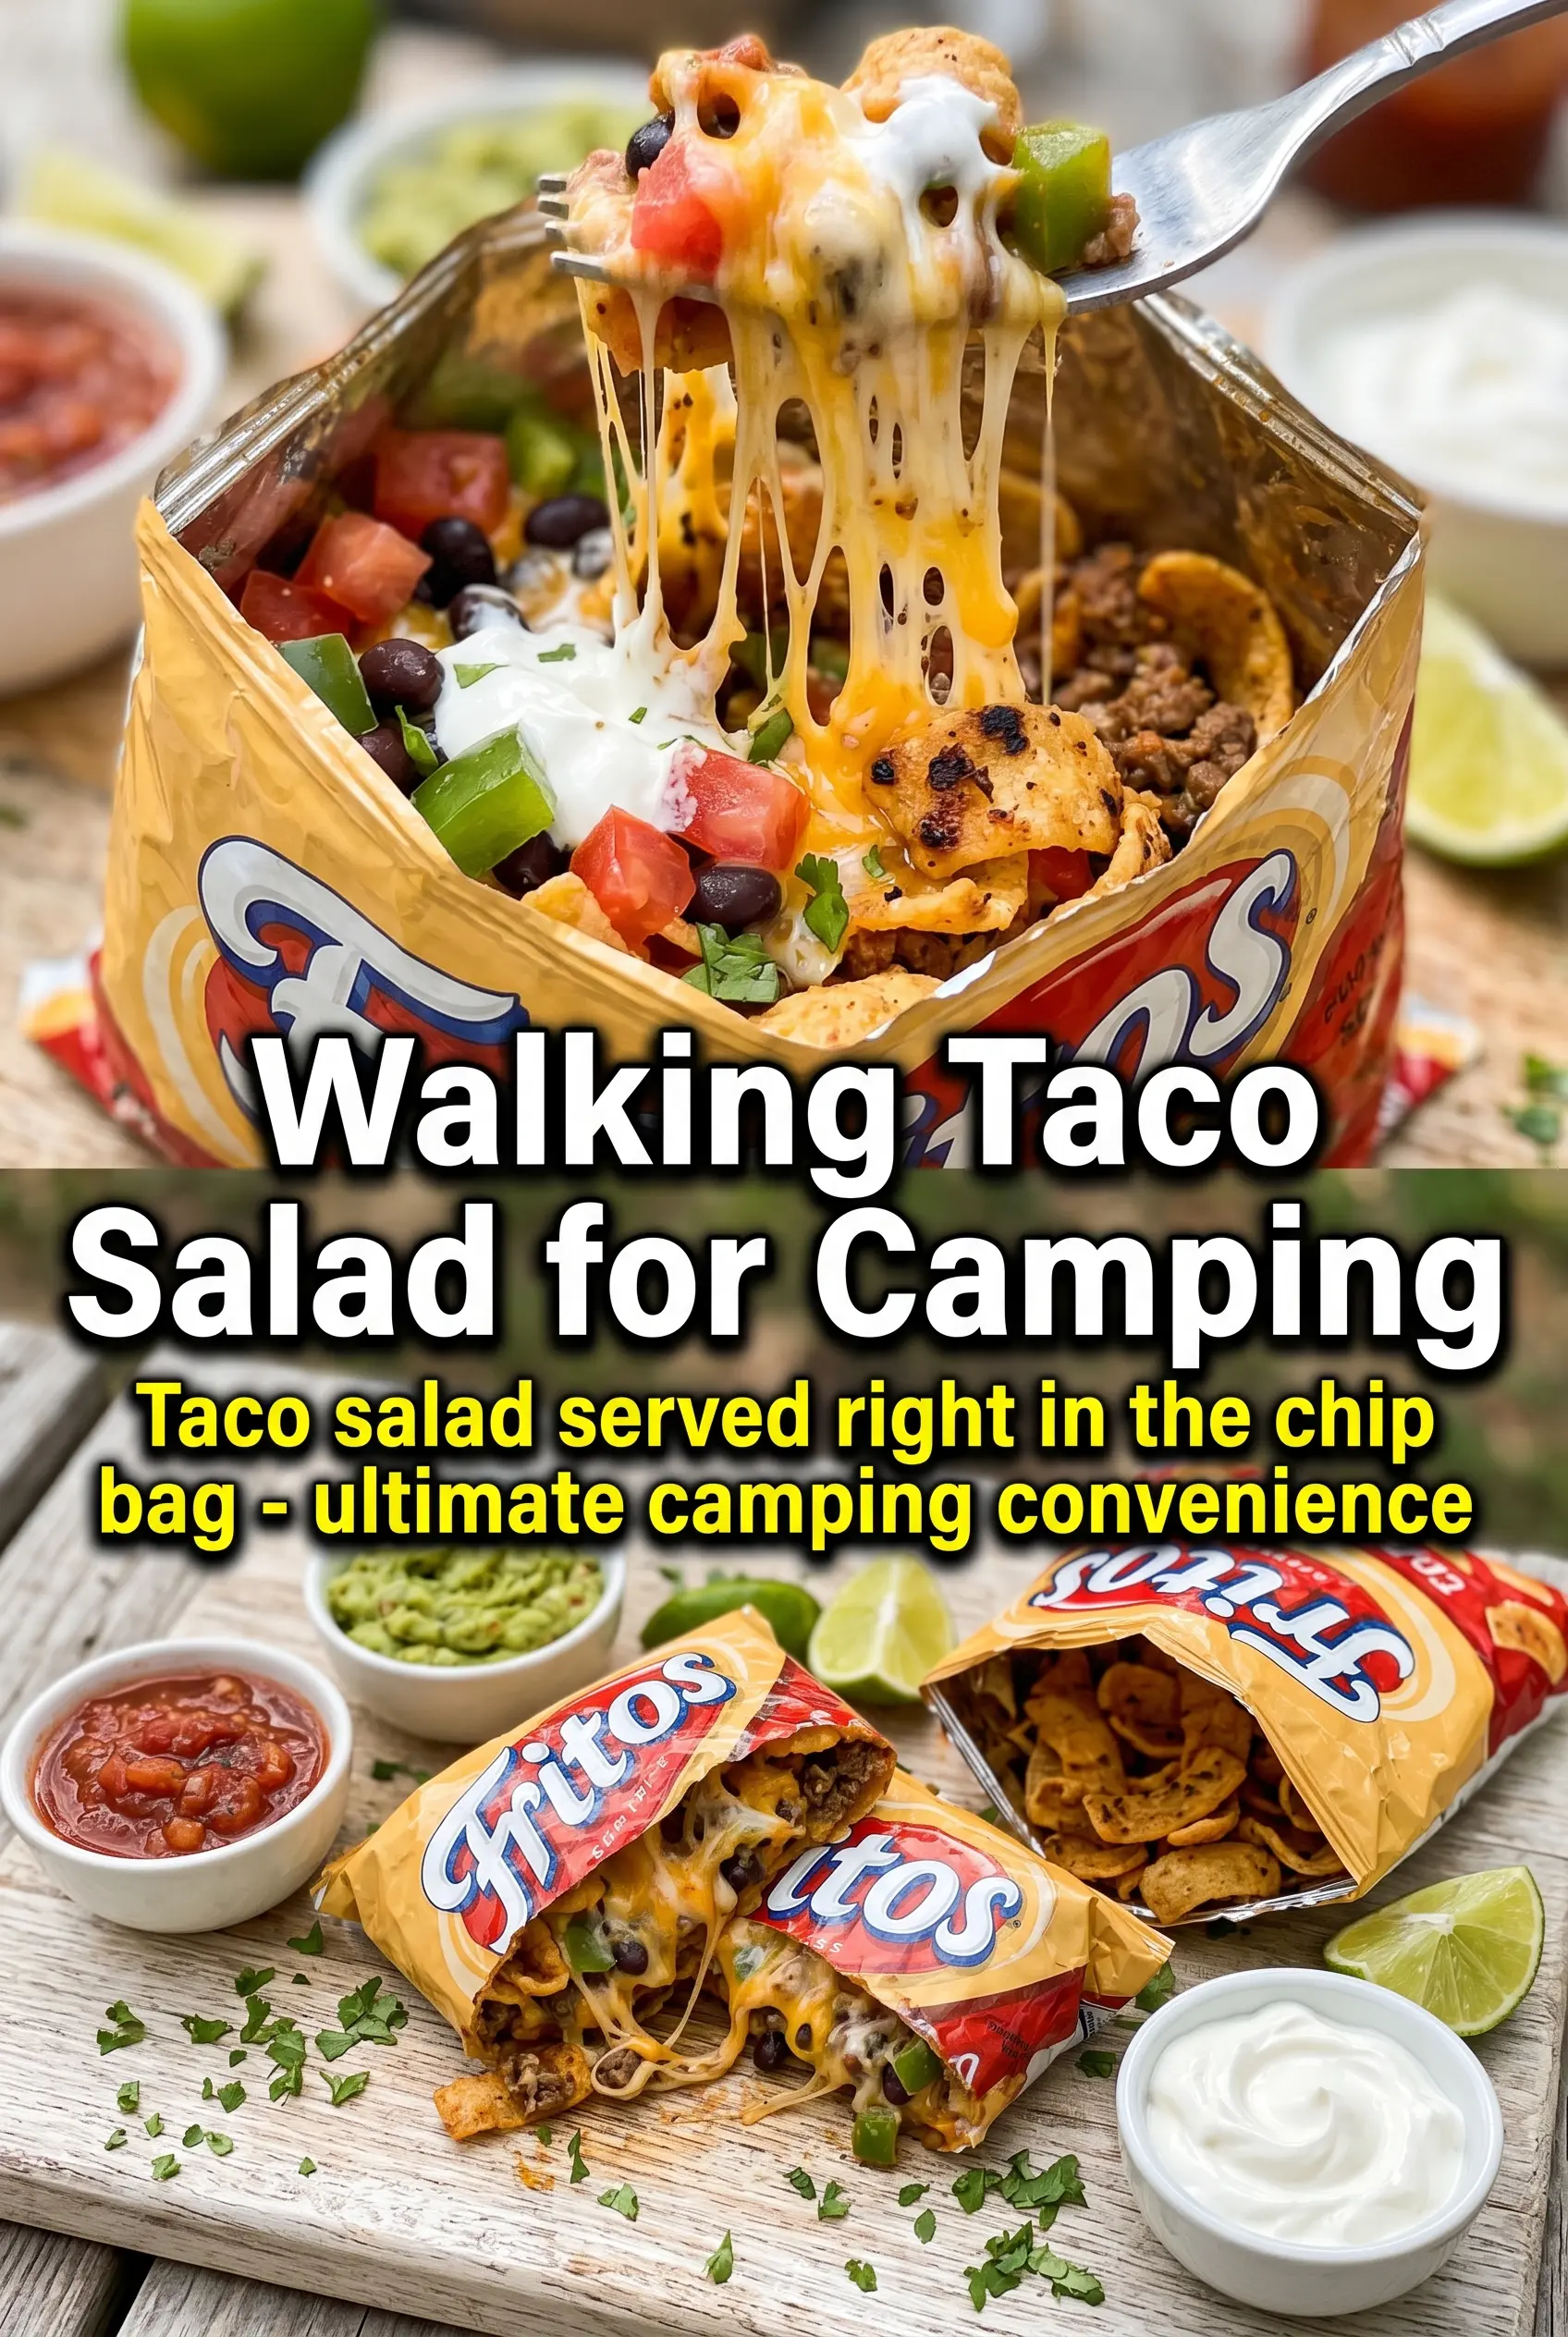
Taco Salad In A Bag
Ingredients
Equipment
Method
- Heat a skillet over the campfire, then cook the ground beef until browned, stirring occasionally. Season with taco seasoning during cooking so the meat is evenly flavored.
- Cut along the top or side of each individual chip bag to open it for layering. Keep the opening facing up so toppings stay inside.
- Layer cooked taco meat into each chip bag, then add shredded lettuce and shredded cheese on top. Press the layers down lightly so everything fits.
- Add diced tomatoes to each bag as the next layer, distributing evenly among all 6 bags. This helps keep the topping mix balanced in every bite.
- Top each bag with sour cream, then spoon salsa over the top. Finish with sliced black olives so the flavor shows in every scoop.
- Eat directly from the bag with a fork. Open each bag fully and dig in while the chips still have crunch.