Golden seared stuffed chicken breast is the kind of dinner that looks like you spent all day on it, then gives you that creamy, savory center the second you cut in. The outside turns deeply browned in the skillet, while the filling stays lush and melty with spinach, mozzarella, and sun-dried tomatoes tucked inside every slice. It’s the contrast that makes this one worth keeping in rotation.
The trick is in the pocket and the heat. A deep horizontal cut gives you enough room for the filling without tearing the breast open, and the quick sear builds color before the chicken goes into the oven to finish gently. That two-stage method keeps the exterior from drying out while the center heats through evenly. Let the cream cheese soften fully first, and chop the spinach fine so the filling packs neatly instead of falling apart.
Below you’ll find the exact timing that keeps the chicken juicy, the step that prevents the filling from leaking out, and a few smart swaps if you want to change the filling without wrecking the texture.
The filling stayed inside the chicken and the mozzarella melted into the spinach instead of turning greasy. I followed the sear-first method and the breasts came out juicy all the way through.
Save this stuffed chicken breast for the nights when you want a crisp, golden crust and a creamy spinach center without babysitting the pan.
The Part That Stops the Filling From Leaking Out
Most stuffed chicken fails before it even hits the oven. The pocket gets cut too shallow, the filling goes in loosely, and the breast splits open as soon as it sears. A deep horizontal pocket gives the filling somewhere to sit, and a tightly packed center holds together better once the heat starts moving through the meat.
The other mistake is pushing the heat too hard for too long on the stovetop. You want a fast, confident sear for color, not a full cook. If the filling starts oozing in the skillet, the pocket is overfilled or the toothpicks aren’t placed low and snug enough to close the seam.
- Chicken breasts — Look for breasts that are similar in size so they finish at the same time. If one is much thicker than the others, pound the thicker end lightly so the pocket cooks through without drying the thin side.
- Cream cheese — This is the binder that keeps the filling creamy and stable. It needs to be softened all the way, or you’ll end up with lumps that don’t spread evenly inside the pocket.
- Fresh spinach — Chop it finely so it blends into the filling instead of bunching up. Frozen spinach can work, but it has to be thawed and squeezed almost dry or the filling turns watery.
- Sun-dried tomatoes — They add sharp, concentrated sweetness that cuts through the richness. Oil-packed tomatoes are fine; just blot off excess oil so the filling doesn’t get greasy.
What Each Ingredient Is Doing Inside the Pocket
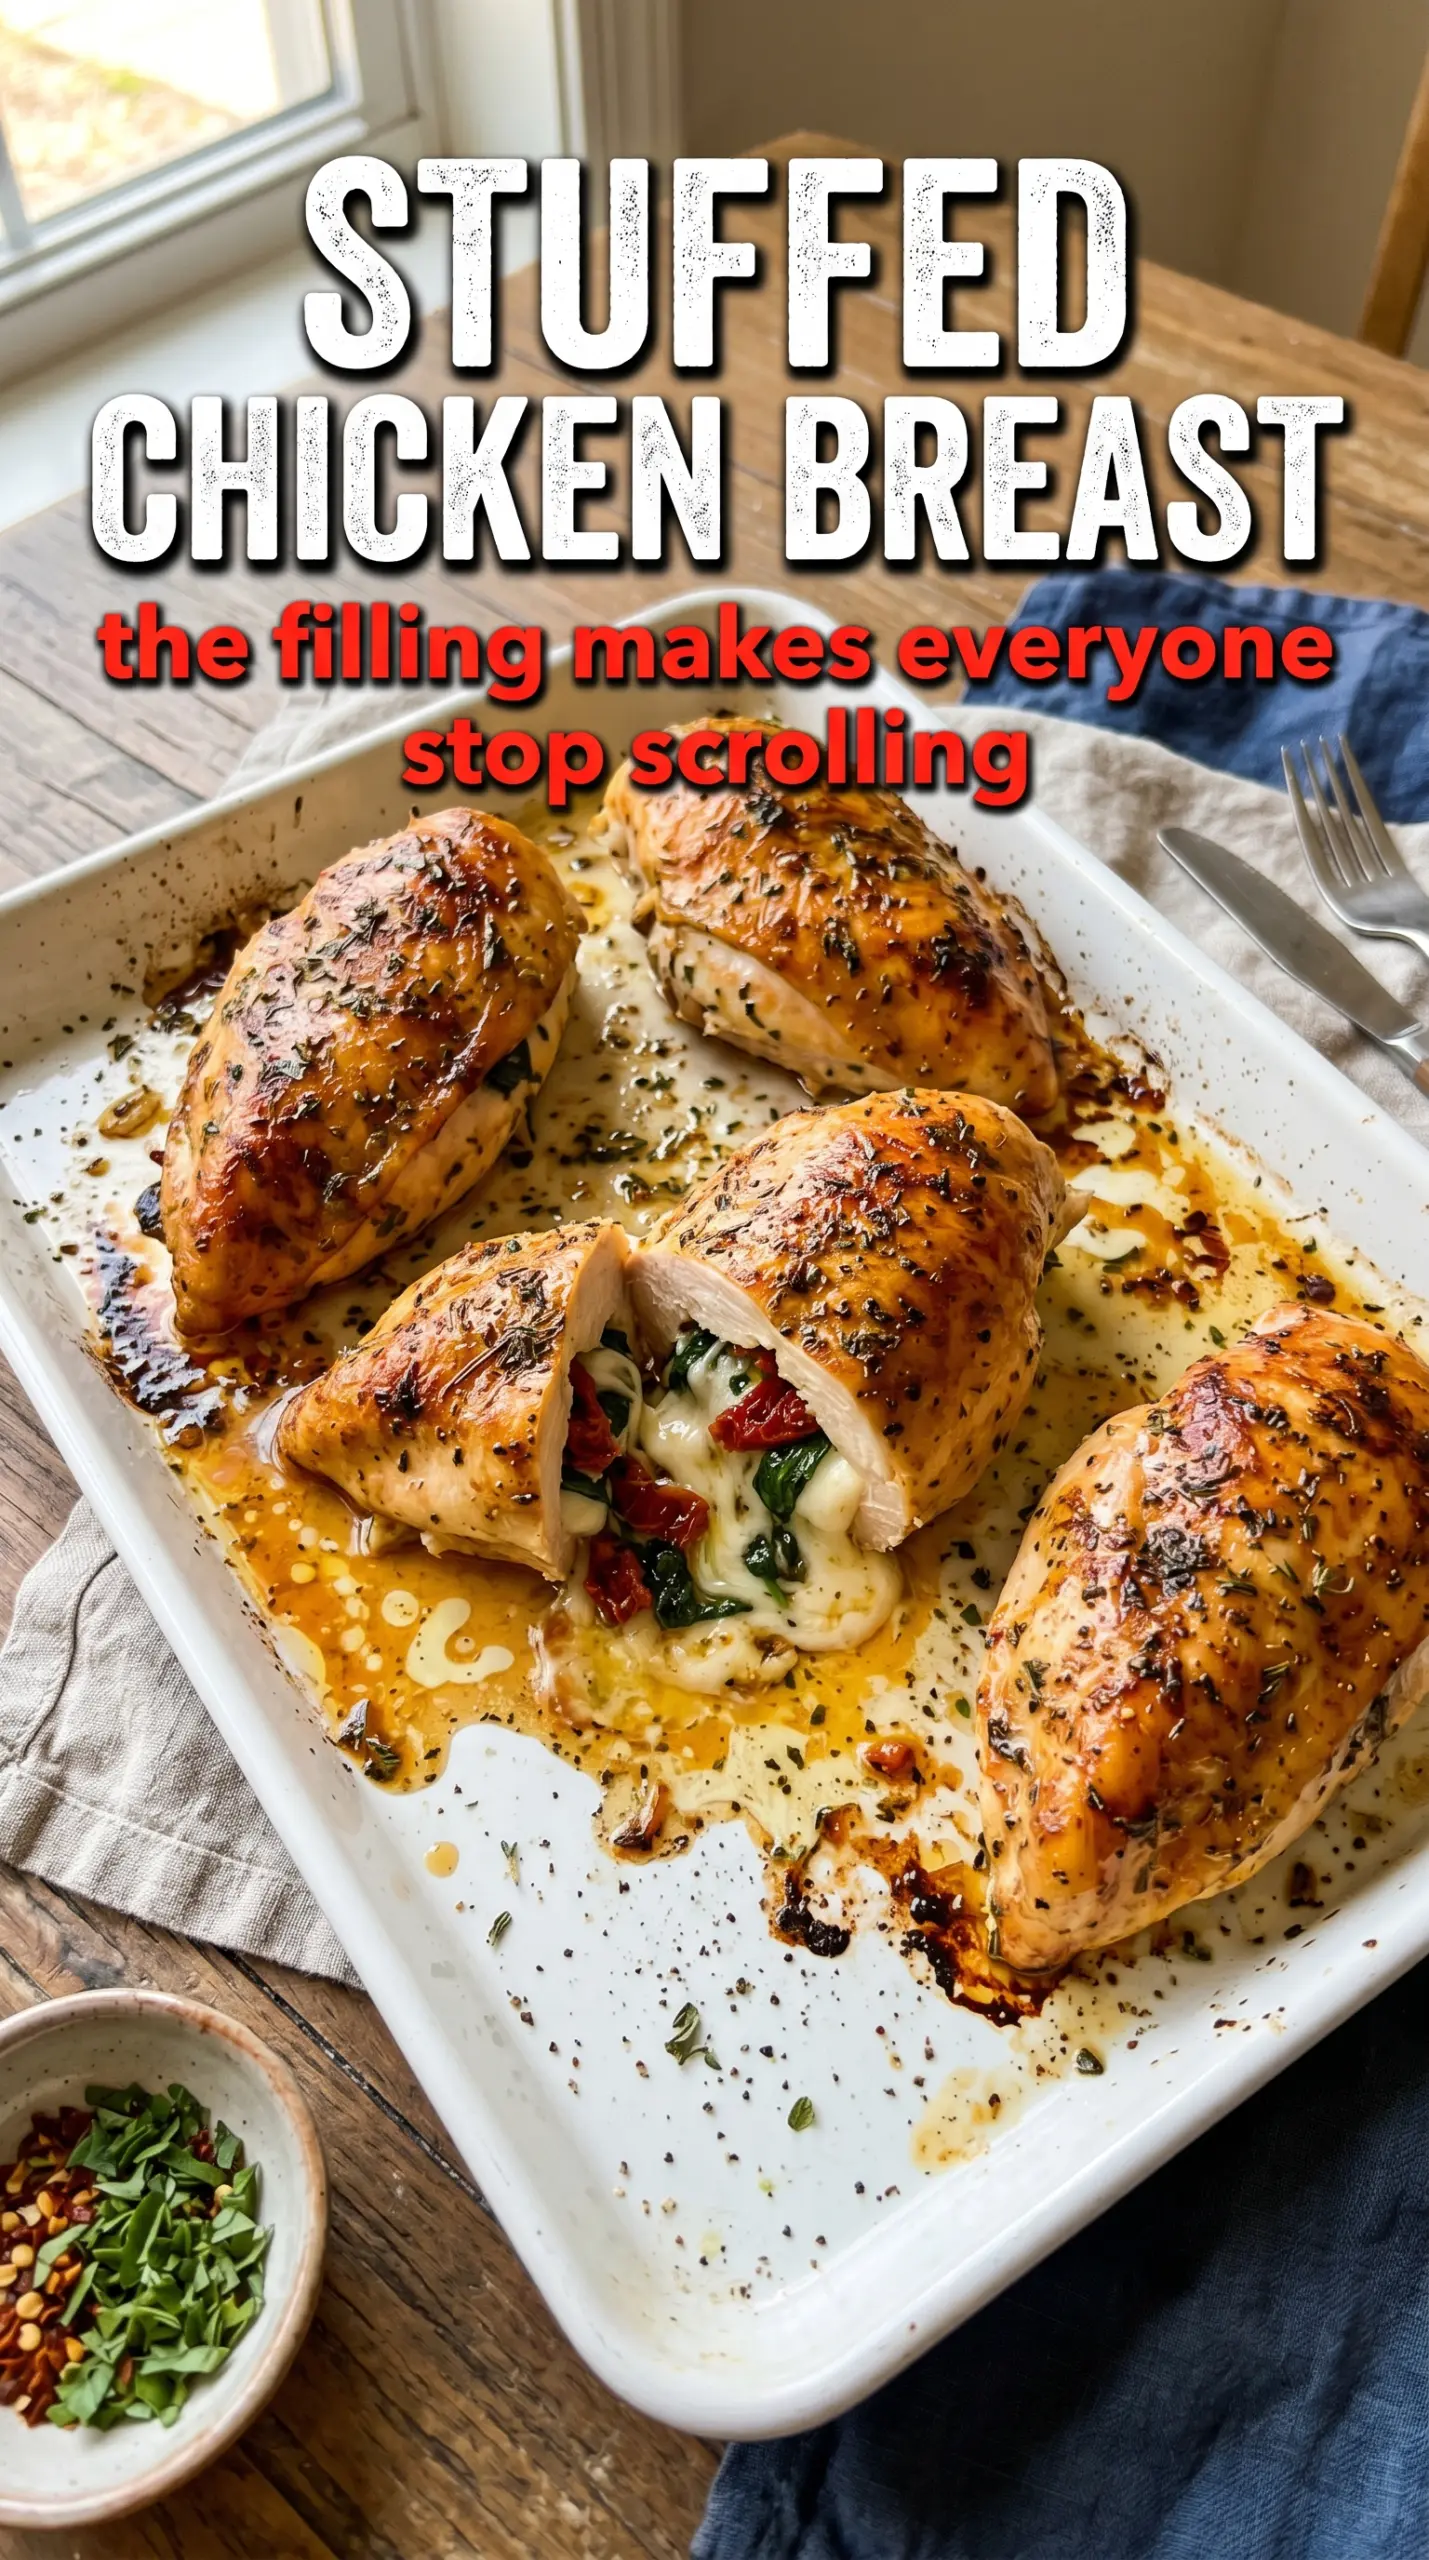
- Mozzarella — This gives you the pull when the chicken is sliced. Use shredded mozzarella, not a big thick slice, so it melts evenly into the cream cheese instead of creating a separate layer.
- Garlic and Italian seasoning — These carry the savory backbone of the filling and keep it from tasting flat. Fresh garlic brings the best punch here, but if you use garlic powder, the flavor will be softer and less sharp.
- Olive oil — A thin coating in the pan helps the breast brown before the oven takes over. Don’t skip the sear or the chicken can bake up pale and a little dry on the outside.
- Smoked paprika on the outside — This is what gives the crust that warm, roasted edge. It’s a small touch, but it adds depth that keeps the chicken from tasting like plain baked breast.
From Sear to Slice Without Drying the Chicken Out
Building the Filling
Mix the cream cheese, spinach, mozzarella, sun-dried tomatoes, garlic, Italian seasoning, salt, and pepper until everything is evenly distributed. The filling should hold together on a spoon and look thick, not loose. If it feels runny, the spinach probably held too much moisture, and that extra liquid will leak into the pan while it bakes.
Cutting and Stuffing the Breasts
Slice a deep pocket horizontally through the thickest side of each breast, but don’t cut all the way through. Season the inside and outside generously so the meat itself doesn’t taste bland around the rich filling. Pack the filling in firmly, then secure the opening with toothpicks placed across the seam, not just at the edge.
Getting the Color Before the Oven Takes Over
Heat the oil in an oven-safe skillet until it shimmers, then sear the stuffed chicken over medium-high heat for 3 to 4 minutes per side. You’re looking for a golden crust that lifts from the pan without sticking. If the heat is too low, the chicken steams and stays pale; if it’s too high, the outside burns before the center warms through.
Finishing in the Oven
Move the skillet to a 400°F oven and bake until the thickest part of the chicken reaches 165°F, usually 18 to 22 minutes. The filling should be hot and the juices should run clear, not pink. Rest the chicken for 5 minutes before removing the toothpicks so the juices settle back into the meat instead of spilling onto the cutting board.
Three Ways to Change the Filling Without Losing the Creamy Center
Dairy-Free Stuffed Chicken
Use a dairy-free cream cheese and a good melting plant-based cheese. The filling will be a little softer and less stretchy, but it still holds inside the pocket if you keep the spinach dry and don’t overstuff the breasts.
Keto-Friendly Version
This recipe already fits low-carb cooking as written, so the main move is keeping the tomato amount moderate if you’re tracking carbs closely. You can also add chopped cooked bacon or extra mozzarella for a richer filling without changing the method.
Swap the Sun-Dried Tomatoes for Mushrooms
Finely chop sautéed mushrooms and cool them before mixing them in. They bring a deeper, earthier flavor, but they also add moisture, so cook off every bit of liquid first or the filling will turn loose.
Storage and Reheating
- Refrigerator: Store leftovers in an airtight container for up to 3 days. The filling will firm up a bit as it chills, but the flavor holds up well.
- Freezer: You can freeze cooked stuffed chicken, wrapped tightly and packed in a freezer-safe container, for up to 2 months. Thaw overnight in the refrigerator before reheating so the center warms evenly.
- Reheating: Reheat covered in a 325°F oven until hot through, or use short bursts in the microwave at medium power. High heat is what dries out the chicken and makes the filling separate.
Questions I Get Asked About This Recipe

Stuffed Chicken Breast
Ingredients
Equipment
Method
- Preheat the oven to 400°F and set out an oven-safe skillet for searing.
- In a bowl, beat together cream cheese, spinach, mozzarella, sun-dried tomatoes, garlic, Italian seasoning, salt, and pepper until evenly mixed.
- Cut a deep horizontal pocket in each chicken breast, then season inside and out with salt, pepper, garlic powder, Italian seasoning, and smoked paprika.
- Spoon the filling into each pocket and secure the opening with toothpicks.
- Heat olive oil in the oven-safe skillet over medium-high heat and sear the chicken for 3-4 minutes per side until golden.
- Transfer the skillet to the oven and bake at 400°F for 18-22 minutes, until the internal temperature reaches 165°F.
- Remove the toothpicks and rest the chicken for 5 minutes before slicing to let the molten filling settle slightly.