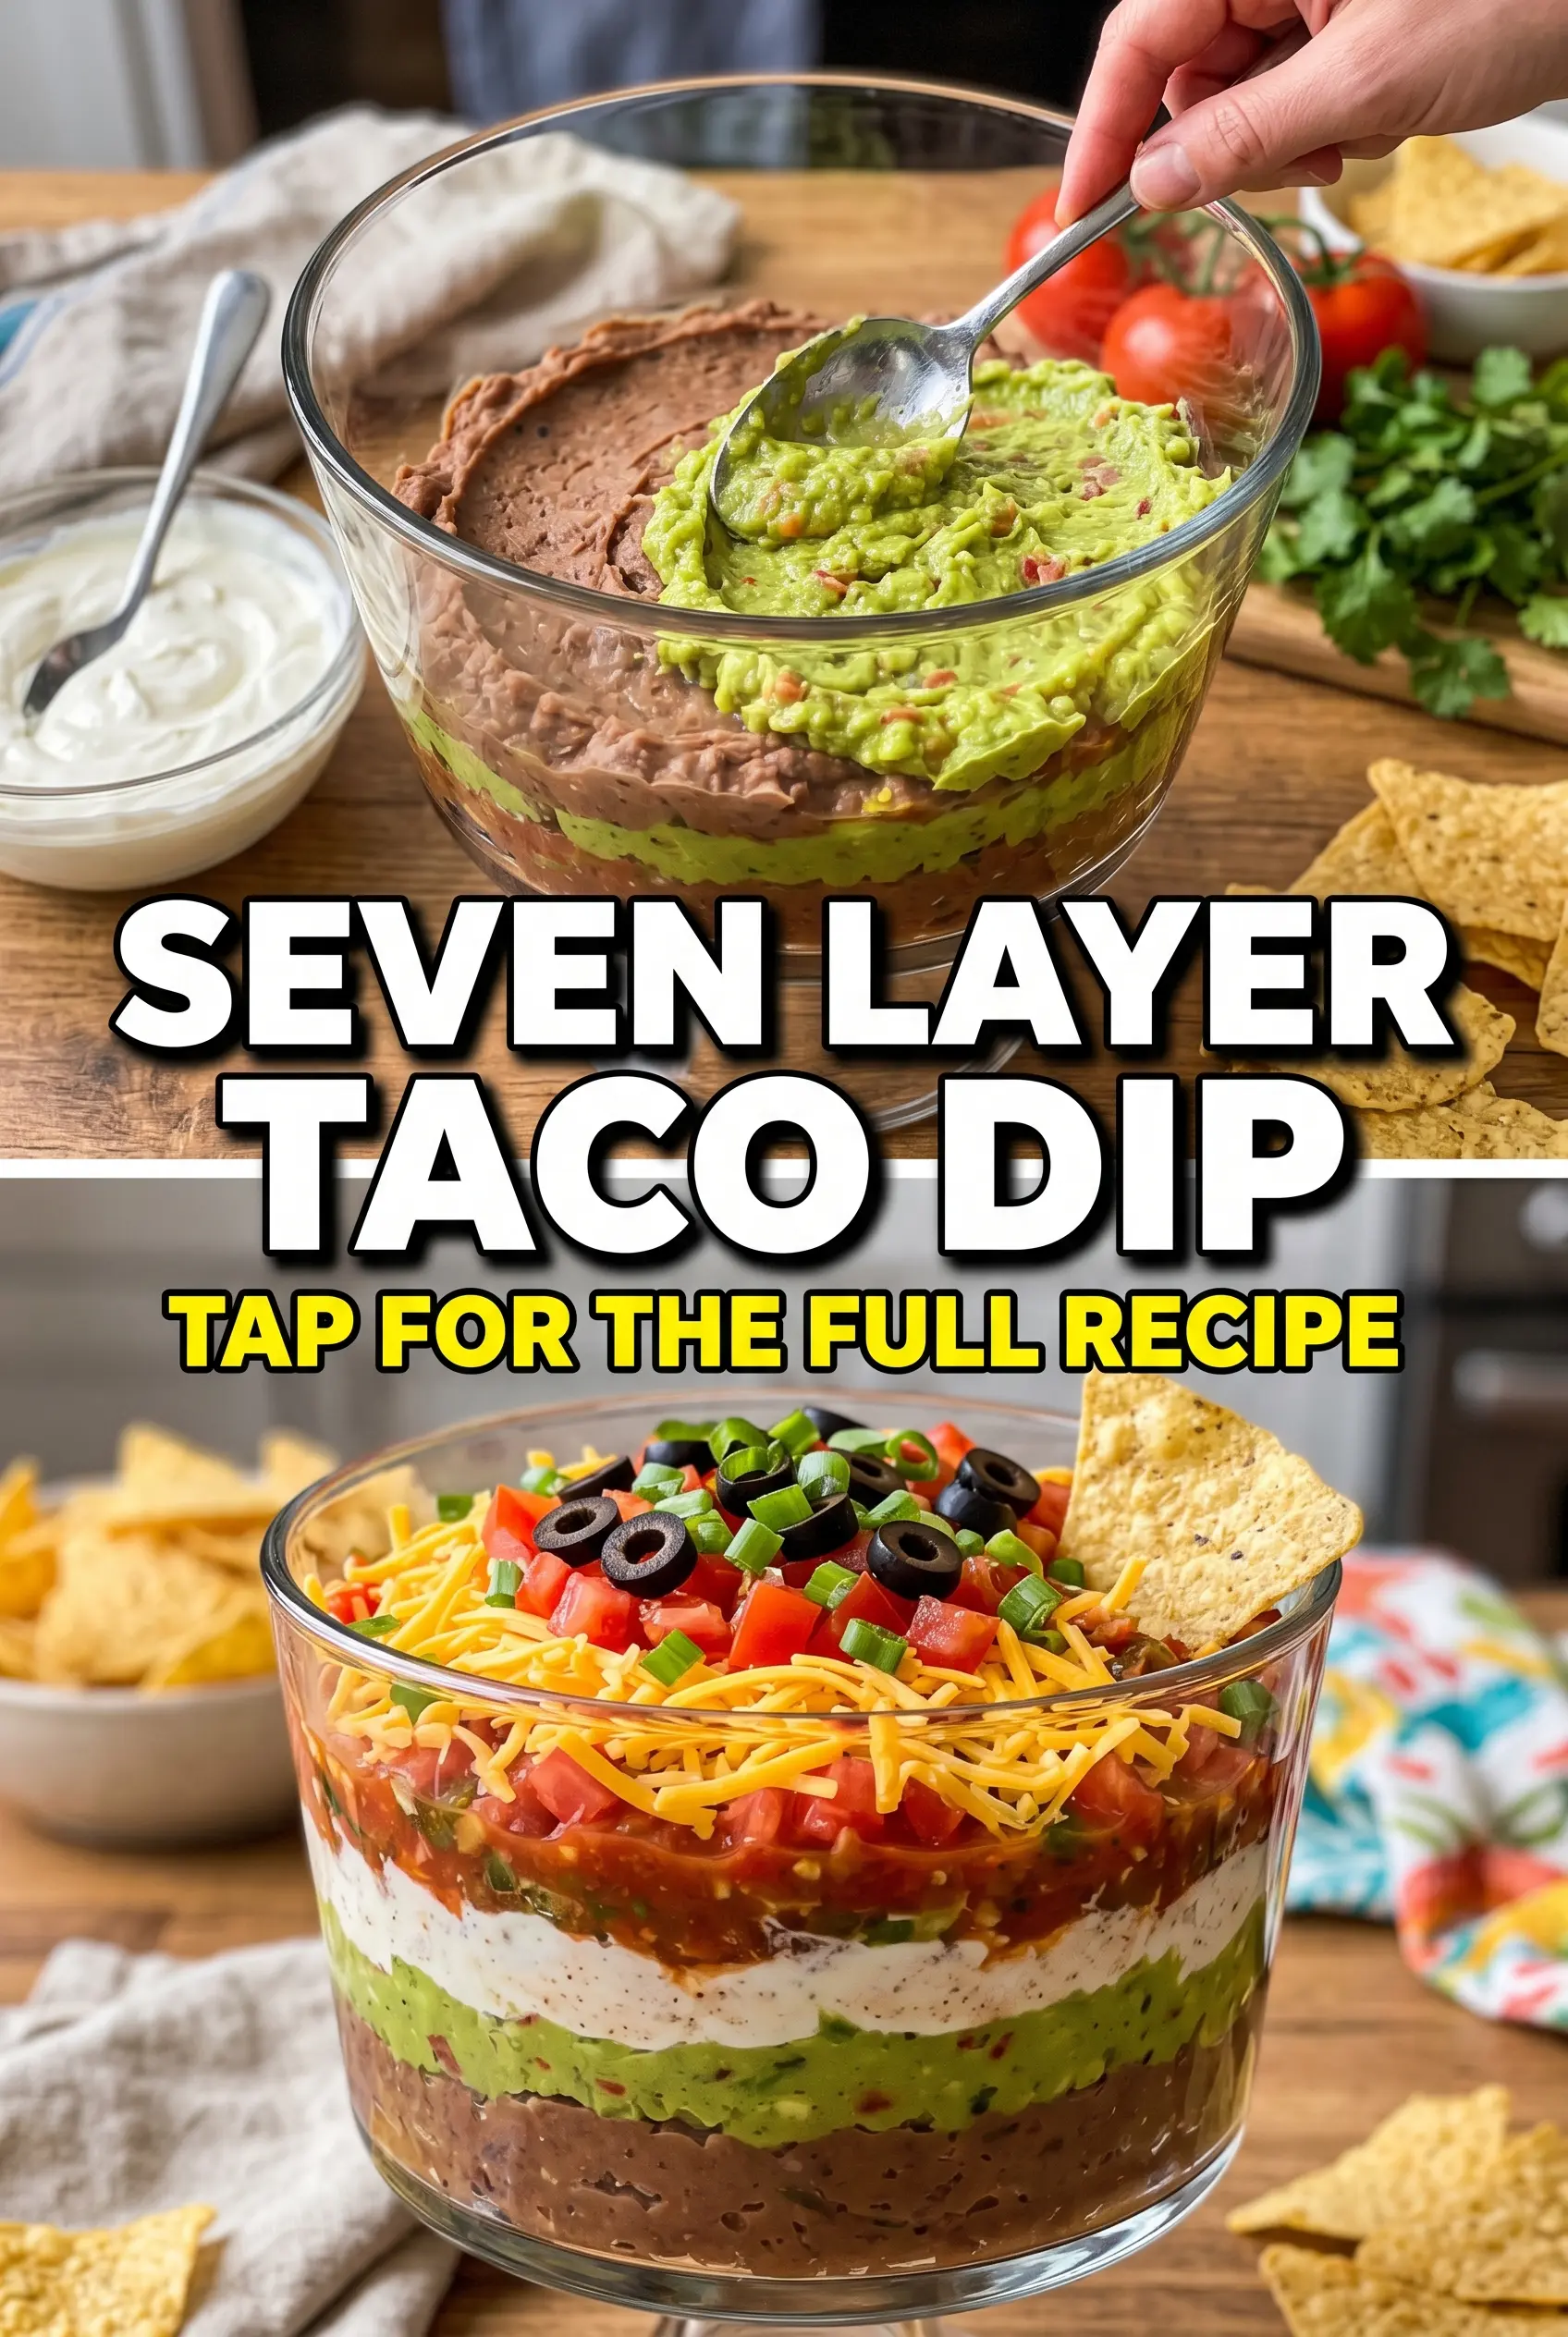
The best seven layer taco dip is the kind that disappears before the chips basket makes it back to the table. You get that cold, creamy middle, the salty chew of refried beans, sharp cheddar, juicy tomatoes, and the briny little pop of black olives all in one scoop. Done right, the layers stay distinct enough to look striking in the dish, but they still eat together like one balanced bite.
The trick is keeping the sour cream layer thick enough to hold its shape and not overloading the top with wet ingredients too early. A spoonful of taco seasoning stirred into sour cream gives you a seasoned middle that tastes like more than just a plain dairy layer, and the cheddar works as a barrier between the creamy base and the tomatoes. I also like draining the tomatoes well and adding the cilantro at the very end so the top stays bright instead of watery.
Below you’ll find the layering order that keeps this dip neat, plus a few smart swaps if you want to make it vegetarian, a little lighter, or easier to prep ahead for a party.
The sour cream and taco seasoning layer tasted like a dip on its own, and the tomatoes stayed put because I patted them dry first. Mine held those clean layers even after sitting out for a bit at our game night.
Love the bright layers and creamy taco flavor? Save this seven layer taco dip for game day, potlucks, and any time you need a no-cook appetizer that looks good in a glass dish.
The Layer That Keeps the Dip from Turning Soggy
The mistake most people make with seven layer taco dip is treating it like a free-for-all and piling on the wet toppings too soon. Once tomatoes and olives hit the surface, they start shedding moisture. If the beans and sour cream aren’t giving the dip structure, the whole thing turns loose and muddy instead of clean and scoopable.
The fix is simple: build from the bottom up and use the cheese as a buffer. Refried beans hold the base together, the seasoned sour cream makes a sturdy middle, and the cheddar gives you a dry-ish layer that protects the dairy from the juicier toppings. If you want the layers to stay distinct, serve it cold and add the cilantro right before it goes out.
- Refried beans — This is the foundation. A thick, spreadable canned version works best because it holds the rest of the dip up without needing extra cooking. If your beans are stiff, stir in a spoonful of salsa or a little warm water until they spread without tearing the layer below.
- Sour cream — Full-fat sour cream gives the cleanest, richest layer and the best stability. Light sour cream works, but it can loosen faster once salted seasoning goes in. If you want a tangier edge, use plain Greek yogurt, but expect a sharper flavor and a slightly less plush texture.
- Taco seasoning — This does the heavy lifting for flavor in the creamy layer. A packet is convenient and consistent, but if you’re using homemade seasoning, add it gradually because some blends are saltier than others. Stir it in until the sour cream tastes seasoned on its own, not bland and buried under cheese.
- Diced tomatoes — Tomatoes add freshness, but they also bring the most moisture. Seed them lightly and drain them on paper towels before layering if you want the top to stay neat. Cherry tomatoes work too, chopped small and dried well.
- Black olives, green onions, and cilantro — These are the finishing layers that give the dip its taco-salad feel. The olives add salt, the onions add bite, and the cilantro wakes everything up at the end. Cilantro should go on just before serving so it stays bright instead of collapsing into the tomatoes.
Building the Layers So Each One Still Shows
The Bean Base
Spread the refried beans in an even layer across the bottom of a 9×13-inch dish, pressing gently into the corners so there aren’t thin spots. A glass dish shows off the layers best, but any shallow baking dish works. If the beans are cold and hard to spread, let them sit at room temperature for a few minutes or stir them first so they don’t drag up the bottom of the dish.
The Seasoned Cream Layer
Stir the taco seasoning into the sour cream until no dry pockets remain, then spread it over the beans in a smooth layer. Use the back of a spoon and work from the center outward so the bean layer stays intact. If you scoop too aggressively, you’ll mix the layers and lose that clean stripe of color that makes the dip look finished.
The Cheese and Toppings
Sprinkle the cheddar evenly over the sour cream, then add the tomatoes and olives in separate layers instead of dumping everything together. The cheese helps keep the tomatoes from sinking, and the olive layer gives the top a little extra salt. Finish with green onions and cilantro right before serving so the herbs stay fresh and don’t wilt into the tomatoes while the dip sits.
Make It Vegetarian Without Losing the Taco Flavor
This dip is already vegetarian as written, which is part of why it works so well for a crowd. The key is using a taco seasoning packet without added animal-based ingredients if that matters to you. The flavor stays bold because the beans, sour cream, and cheese do the work, not any meat substitute.
How to Make It Lighter Without Making It Watery
Use plain Greek yogurt in place of some or all of the sour cream for extra tang and more protein. The texture will be a little less lush, so keep the layer thick and don’t thin it with extra seasoning liquid. I wouldn’t swap in low-fat versions of everything at once, because that’s when the dip starts tasting flat and loose.
When You Need to Assemble It Ahead
You can build the beans, seasoned sour cream, cheese, olives, and tomatoes a few hours in advance and refrigerate the dish covered. Hold back the green onions and cilantro until right before serving so the top stays fresh and the herbs don’t darken. If the tomatoes release a little liquid in the fridge, blot the surface lightly with a paper towel before adding the final garnish.
How to Stretch It for a Bigger Crowd
Use a larger shallow platter or double the recipe in two dishes instead of piling it unusually high in one pan. A thicker dip looks dramatic, but it becomes harder to scoop cleanly and the lower layers get crushed. Two flat dishes keep the presentation sharp and the chips from breaking halfway through the party.
Storage and Reheating
- Refrigerator: Store covered for up to 3 days. The tomatoes and herbs will soften a bit, but the dip still tastes good.
- Freezer: I don’t recommend freezing this dip. Sour cream and fresh toppings don’t thaw back into a good texture, and the tomatoes turn watery.
- Reheating: This dip is meant to be served cold, so don’t reheat it. If it has been chilled hard, let it sit out for 10 to 15 minutes so the beans and sour cream soften slightly and the chips can scoop it without cracking the top.
Questions I Get Asked About This Recipe
Seven Layer Taco Dip
Ingredients
Method
- Spread the refried beans evenly in the bottom of a 9x13 inch baking dish, creating a smooth base layer (no gaps). Press lightly so the layer is even when you add the next topping.
- Mix the sour cream and taco seasoning until fully combined, then spread the mixture over the beans as the second layer. Aim for an even coverage so the flavor runs through every scoop.
- Sprinkle the shredded cheddar cheese over the sour cream layer in a uniform layer. Cover the surface completely so each scoop gets a cheesy bite.
- Add a layer of diced tomatoes on top of the cheddar. Spread them out evenly to create a bright red layer across the dish.
- Layer the drained sliced black olives over the tomatoes. Distribute them so you see black specks throughout rather than in one spot.
- Top with diced green onions as the final savory layer. This adds a fresh crunch layer that contrasts with the creamy base.
- Sprinkle the chopped fresh cilantro just before serving. Add it at the end so the color stays vibrant and the aroma is fresh.
- Serve the dip with tortilla chips on the side. Arrange chips around the edges so scooping is easy and the layers stay visible.