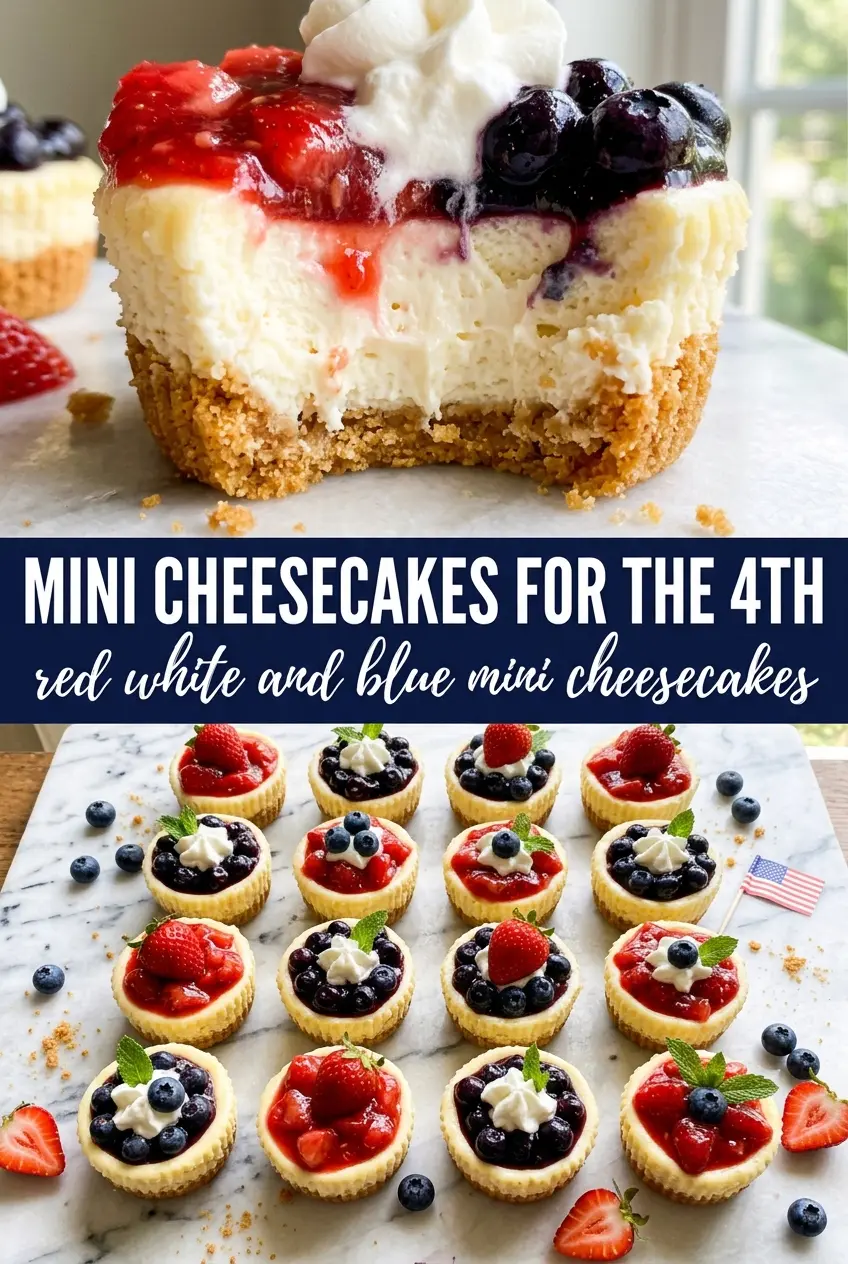
These red, white and blue mini cheesecakes bake up with a neat, creamy center and a cookie base that stays sturdy under the fruit topping. Each one feels like a little party dessert without the fuss of slicing a full cheesecake, and the individual portions make them easy to serve cold straight from the fridge.
The texture comes from a gentle hand with the batter and a short bake. Cream cheese, sugar, eggs, vanilla, and sour cream make a filling that sets with a soft wobble instead of puffing and cracking, and the Oreo or Golden Oreo base gives you a fast crust with no extra steps. The cooling time matters here; if you rush the chill, the centers can taste loose instead of silky.
Below, I’m walking through the part that keeps these mini cheesecakes smooth, plus the topping order that keeps the berries looking fresh right up to serving. There’s also a few variation ideas if you want to swap the cookie base or make the dessert a little easier to prep ahead.
The cheesecake centers baked up smooth and creamy, and the Oreo crust held together perfectly when I lifted them out of the liners. I topped them right before serving and they looked just like the photos.
Love these creamy red, white and blue mini cheesecakes with their crisp cookie base? Save them to Pinterest for your next patriotic dessert spread.
The Trick to Keeping Mini Cheesecakes Smooth Instead of Puffy
Mini cheesecakes can look simple, but they pick up the same bad habits as a full-size cheesecake: overmixed batter, overbaking, and a fast chill. The goal is a filling that looks glossy and thick before it goes into the oven, then sets just enough in the center that it still has a slight wobble when you pull the pan out. That wobble is what gives you a creamy bite later.
The other mistake is baking until the tops look completely firm. By the time a mini cheesecake looks dry all the way across, it’s already past the point of best texture. Pull them when the centers are just barely set and let the carryover heat finish the job. If you skip the chill, the filling won’t slice cleanly from the liners and the cookies won’t have time to settle into the base.
What the Cream Cheese, Sour Cream, and Cookie Base Are Each Doing

- Cream cheese — This is the structure and the flavor. It has to be softened all the way through or you’ll get little lumps that never fully mix out. Full-fat cream cheese gives the best set and the cleanest texture.
- Sour cream — This softens the filling just enough so the cheesecakes taste creamy instead of dense. Plain Greek yogurt can work in a pinch, but it brings a sharper tang and a slightly firmer finish.
- Oreo or Golden Oreo cookies — The cookie base is what makes these fast and easy. A whole cookie in the bottom of each liner gives you a neat crust with almost no effort, and Golden Oreos keep the look lighter if you want the filling to stay front and center.
- Fresh berries — Add these after chilling, not before. Strawberries and blueberries stay brighter and stop bleeding into the whipped cream when you wait until the end.
- Whipped cream and sprinkles — These are for the finish, not the bake. Pipe or spoon them on just before serving so the tops keep their shape and the sprinkles stay crisp.
Getting the Batter, Bake, and Chill Right
Building the Filling
Beat the cream cheese and sugar until the mixture looks smooth and glossy, with no grainy streaks. Add the eggs one at a time, mixing just until each one disappears, then blend in the vanilla and sour cream. If you beat hard after the eggs go in, you’ll whip in extra air and the cheesecakes can rise too much, then sink as they cool.
Filling the Muffin Tin
Place one cookie flat in each lined cup, then divide the batter evenly among the 12 wells, filling each one about three-quarters full. The batter should sit thick and level, not slosh around like pancake mix. Tap the pan lightly on the counter to release any big bubbles and help the tops settle before baking.
Watching for the Right Bake Point
Bake at 325°F until the edges look set and the centers still have a slight jiggle, about 18 to 20 minutes. They should not look wet, but they should still tremble a little if you move the pan. If the tops start to crack, the oven ran too hot or they stayed in too long.
Cooling Before the Topping
Let the cheesecakes cool in the pan for 30 minutes first, then move them to the fridge for at least 2 hours. That first cool-down helps them contract gently instead of collapsing, and the chill is what gives you that clean, creamy bite. Add the whipped cream, strawberries, blueberries, and sprinkles only after they’re fully cold.
How to Change the Topping, Crust, or Make-Ahead Plan Without Messing Up the Texture
Use Golden Oreos for a lighter-looking dessert
Golden Oreos keep the crust sweet and buttery without the dark cookie contrast. They’re the best choice if you want the red berries and white topping to pop, especially for a patriotic dessert table.
Make them gluten-free with a GF sandwich cookie
Use a gluten-free chocolate or vanilla sandwich cookie in place of the Oreo. The crust will still hold because the whole cookie acts as the base, though the flavor may be a little less rich than the original.
Swap the fruit for a different color theme
Raspberries work in place of strawberries if you want a sharper berry flavor, and blackberries add a deeper color contrast. Use the same amount, but add them just before serving so the juices don’t stain the whipped cream.
Make them a day ahead
Bake, cool, and chill the cheesecakes the day before, then top them shortly before serving. The texture actually improves overnight, but the berries stay fresher and the whipped cream looks better if you wait on the garnish.
Storage and Reheating
- Refrigerator: Store covered for up to 4 days. The crust stays firm, but the whipped cream is best added fresh.
- Freezer: Freeze the baked, un-topped cheesecakes for up to 1 month. Wrap each one tightly and thaw in the refrigerator overnight before garnishing.
- Reheating: Don’t reheat these. Cheesecake is meant to be served cold, and warming it softens the filling and makes the crust soggy.
Answers to the Questions Worth Asking
Red, White and Blue Mini Cheesecakes
Ingredients
Equipment
Method
- Preheat the oven to 325°F and line a 12-cup muffin tin with cupcake liners.
- Place one Oreo cookie flat in the bottom of each liner.
- Beat the cream cheese and granulated sugar until smooth.
- Add the eggs one at a time, mixing well after each addition.
- Beat in the vanilla extract and sour cream until combined.
- Divide the batter evenly among the 12 cups, filling each about 3/4 full.
- Bake for 18–20 minutes, until the centers are just barely set (they will firm up as they cool).
- Cool the cheesecakes in the pan for 30 minutes.
- Refrigerate for at least 2 hours to fully chill and set.
- Before serving, swirl whipped cream on each cheesecake.
- Top each with a strawberry slice, a few blueberries, and a pinch of red and blue sprinkles.