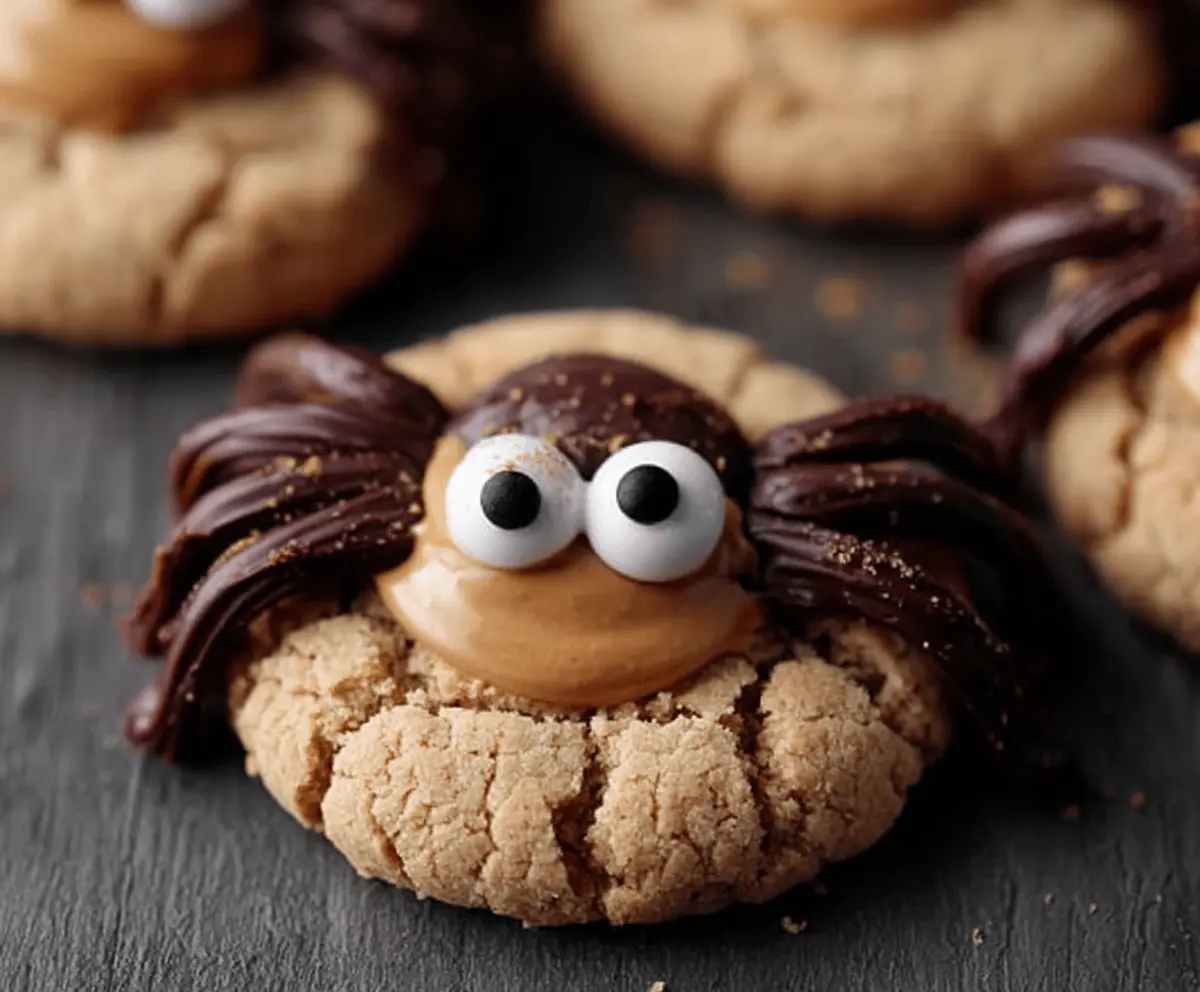
Peanut Butter Spider Cookies are a sweet treat that makes you smile! These cookies are soft, chewy, and filled with that classic peanut butter flavor, topped with chocolate candies to look like cute little spiders.
Honestly, who wouldn’t want a cookie that doubles as art? I love making these with the kids; it’s fun to see who can create the spookiest spider! Plus, they disappear fast at our house!
Key Ingredients & Substitutions
Peanut Butter: You can use creamy or chunky peanut butter based on your preference. Creamy gives a smooth texture, while chunky adds a bit of crunch. If you have nut allergies, try sunflower seed butter as a great alternative!
Sugar: Granulated sugar is key for sweetness and chewiness. If you’re looking for a healthier option, coconut sugar or a sugar substitute like monk fruit can work, but the texture might be slightly different.
Licorice: Chocolate licorice is fun but not everyone’s favorite. Feel free to use chocolate candy melts, pretzel sticks, or even thin chocolate bars cut into strips for spider legs.
Candy Eyeballs: While candy eyeballs are cute, you can also use mini chocolate chips or even small marshmallows if you can’t find them. They will still give your spider cookies a fun look!
How Do You Get the Perfect Cookie Texture?
A key factor is not overbaking! Here’s how to achieve that perfect cookie consistency:
- Mix the dough until just combined. Overmixing can make cookies tough.
- When baking, keep an eye on the cookies! The edges should be lightly golden while the centers are slightly soft.
- Let the cookies cool completely on a wire rack. This helps them firm up without getting hard.
Perfecting this will make your cookies soft and chewy, perfect for enjoying or sharing! Happy baking!
Peanut Butter Spider Cookies
Ingredients You’ll Need:
- 1 cup peanut butter (creamy or chunky)
- 1 cup granulated sugar
- 1 large egg
- 1 tsp vanilla extract
- 1/2 tsp baking soda
- 1/4 tsp salt
- About 1 cup chocolate licorice or black licorice ropes, cut into short pieces for spider legs
- 2 tbsp peanut butter or frosting (for spider body “glue”)
- Candy eyeballs (available at baking supply stores or craft stores)
How Much Time Will You Need?
This delightful recipe will take about 15 minutes for preparation and around 8-10 minutes for baking. Let the cookies cool for a bit before decorating, which will take about 10 minutes. So in total, you’re looking at around 35-40 minutes from start to finish!
Step-by-Step Instructions:
1. Preheat and Prepare:
Start by preheating your oven to 350°F (175°C). Meanwhile, line a baking sheet with parchment paper to make clean-up easier and help the cookies bake evenly.
2. Mix the Dough:
In a large mixing bowl, combine the peanut butter, sugar, egg, vanilla extract, baking soda, and salt. Mix everything together using a spoon or a hand mixer until well combined and the mixture is smooth. This makes a deliciously rich dough!
3. Shape the Cookies:
Roll the dough into 12 evenly sized balls, about 1-1.5 inches in diameter. Place them spaced apart on the baking sheet, as they will spread a little while baking. Use the palm of your hand to flatten each ball slightly—they should be about 1/2 inch thick.
4. Bake the Cookies:
Pop the baking sheet into the preheated oven and bake for about 8-10 minutes. Keep an eye on them! They should look set around the edges and have a light golden color. Once done, take them out and let them cool on a wire rack. This will help them firm up beautifully!
5. Decorate Your Spiders:
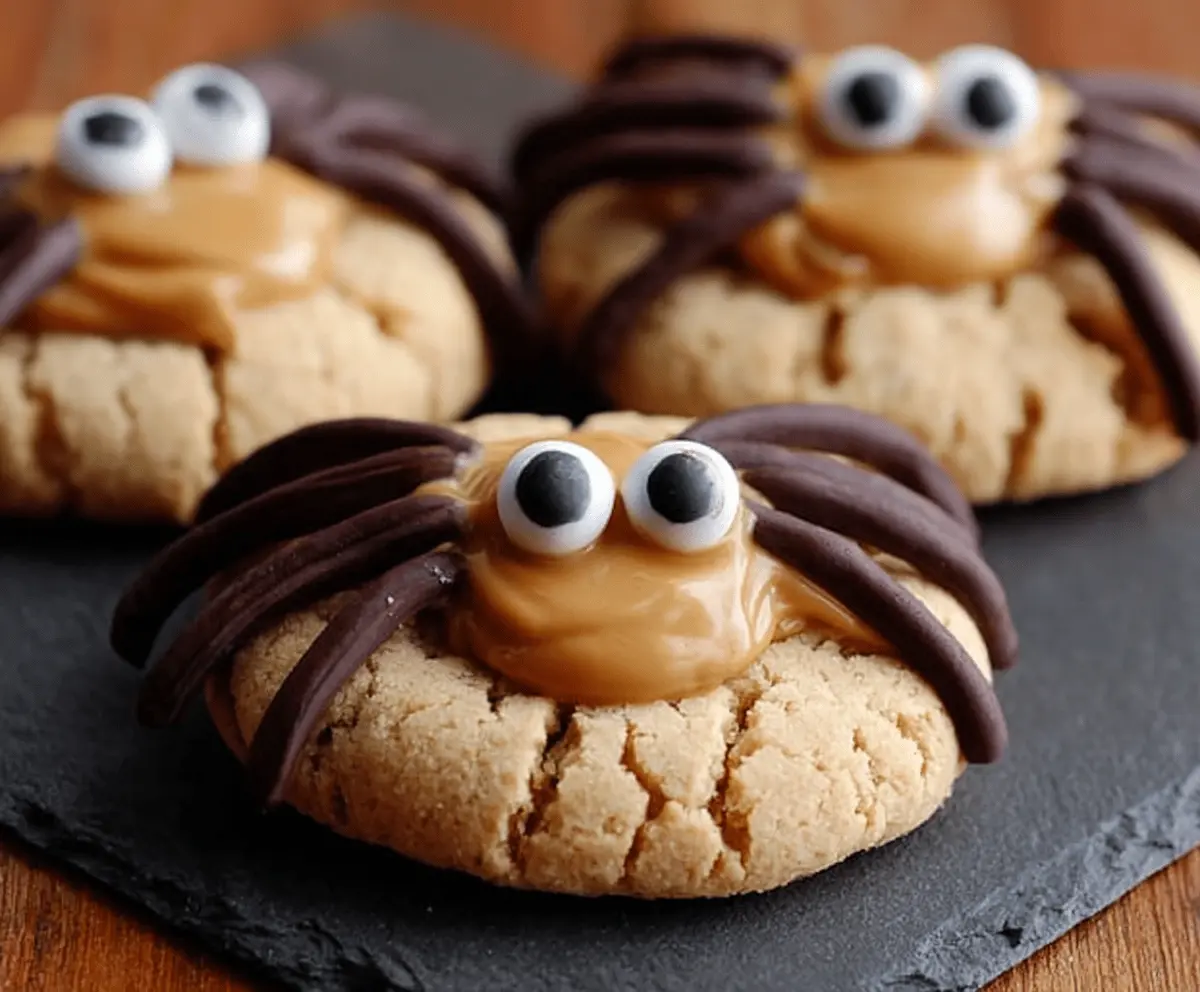
After the cookies have cooled completely, it’s time to make them spooky! Spread a small dollop of peanut butter or frosting in the center of each cookie—that’s going to be your spider’s body. Place two candy eyeballs on the dollop to give them that cute, creepy look.
6. Add the Spider Legs:
Now, take your cut pieces of licorice and use the peanut butter as glue to attach 8 pieces around the cookie for the spider legs—four on each side. Let these sit for a few minutes so the legs stick well and won’t fall off.
7. Serve and Enjoy!
Your Peanut Butter Spider Cookies are now ready! Serve them up at your next gathering, Halloween party, or just enjoy them yourself! Each bite is a sticky, sweet treat that’s sure to bring smiles.
Can I Use Natural Peanut Butter Instead of Regular Peanut Butter?
Absolutely! Natural peanut butter can be used, but keep in mind that it can be a bit thinner and may result in a slightly different texture. Make sure it’s well mixed and consider adding a bit more sugar to balance the flavor.
How Can I Store Leftover Cookies?
Store any leftover cookies in an airtight container at room temperature for up to 3 days. If you’d like them to last longer, you can refrigerate them for up to a week or freeze them in a freezer-safe container for up to 2 months—just thaw before enjoying!
What Can I Use Instead of Licorice for Spider Legs?
If licorice isn’t your thing, you can use pretzel sticks, chocolate-covered pretzel rods, or even thin strips of chocolate bars. Each will give your cookies a delightful spider look with a different flavor twist!
Can I Make the Dough Ahead of Time?
Yes! You can prepare the dough and refrigerate it for up to 24 hours before baking. Just make sure to let it sit at room temperature for about 10-15 minutes before rolling into balls and baking, as it may firm up in the fridge.