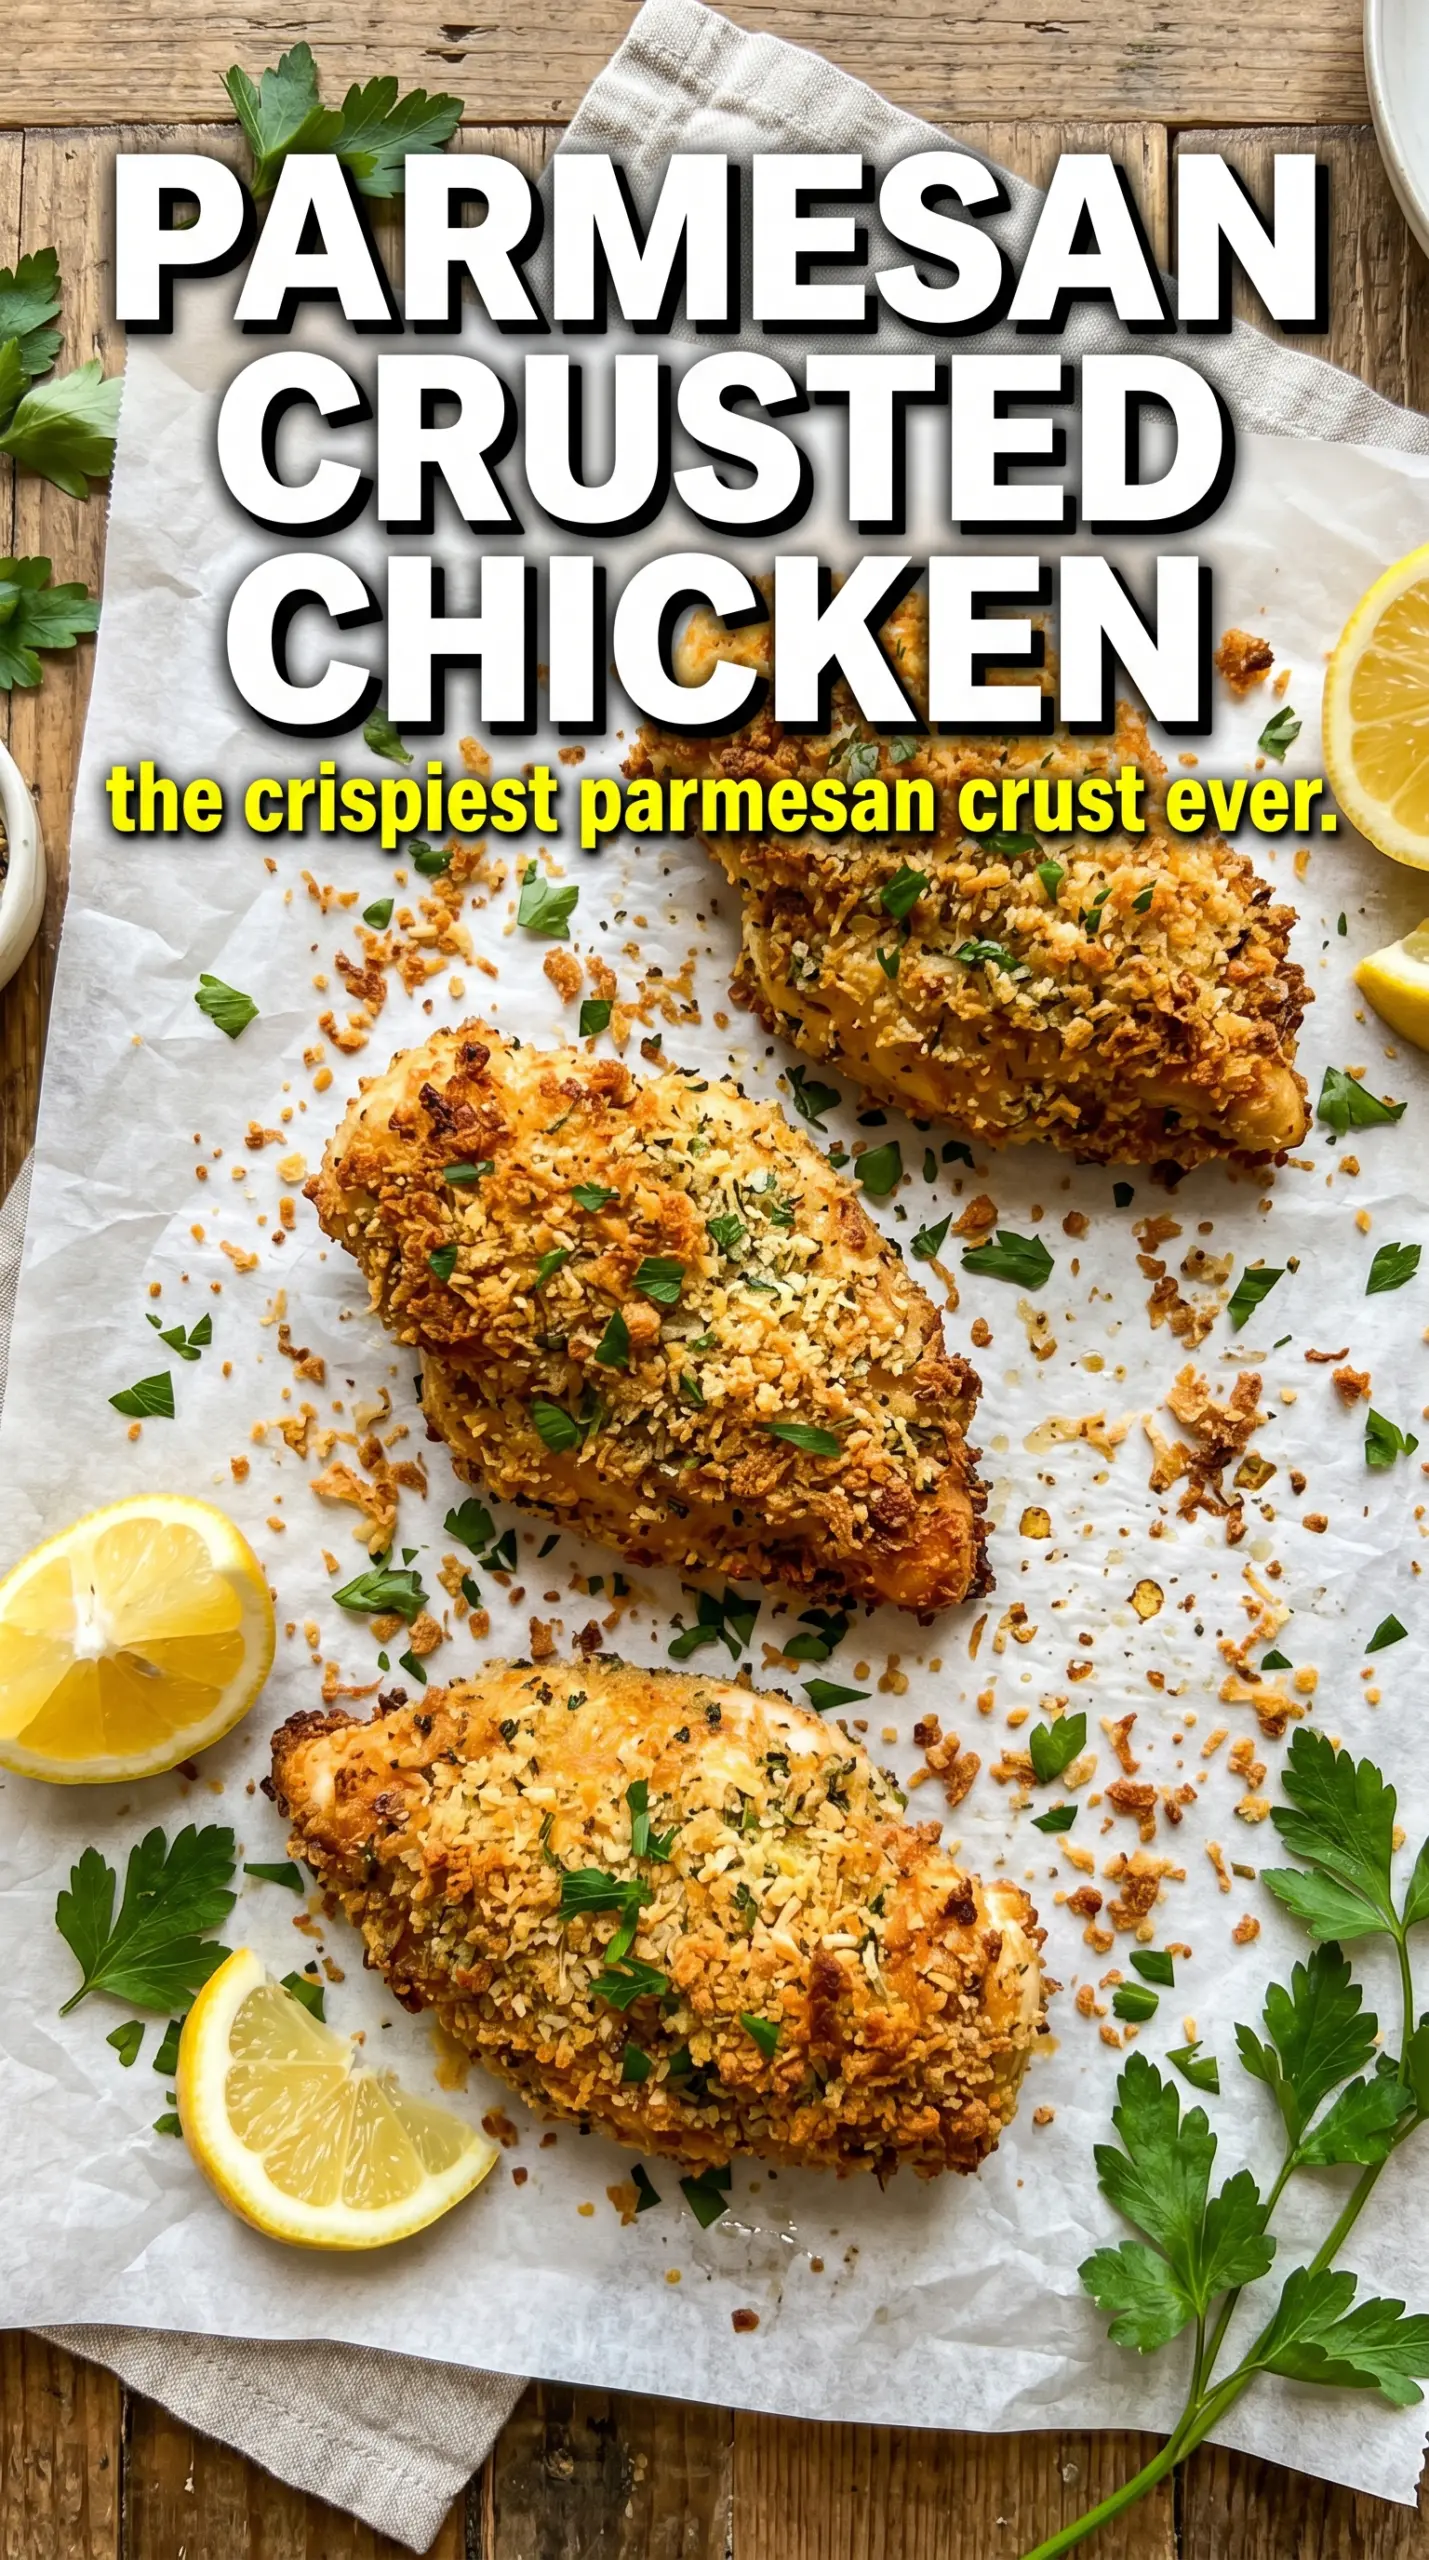
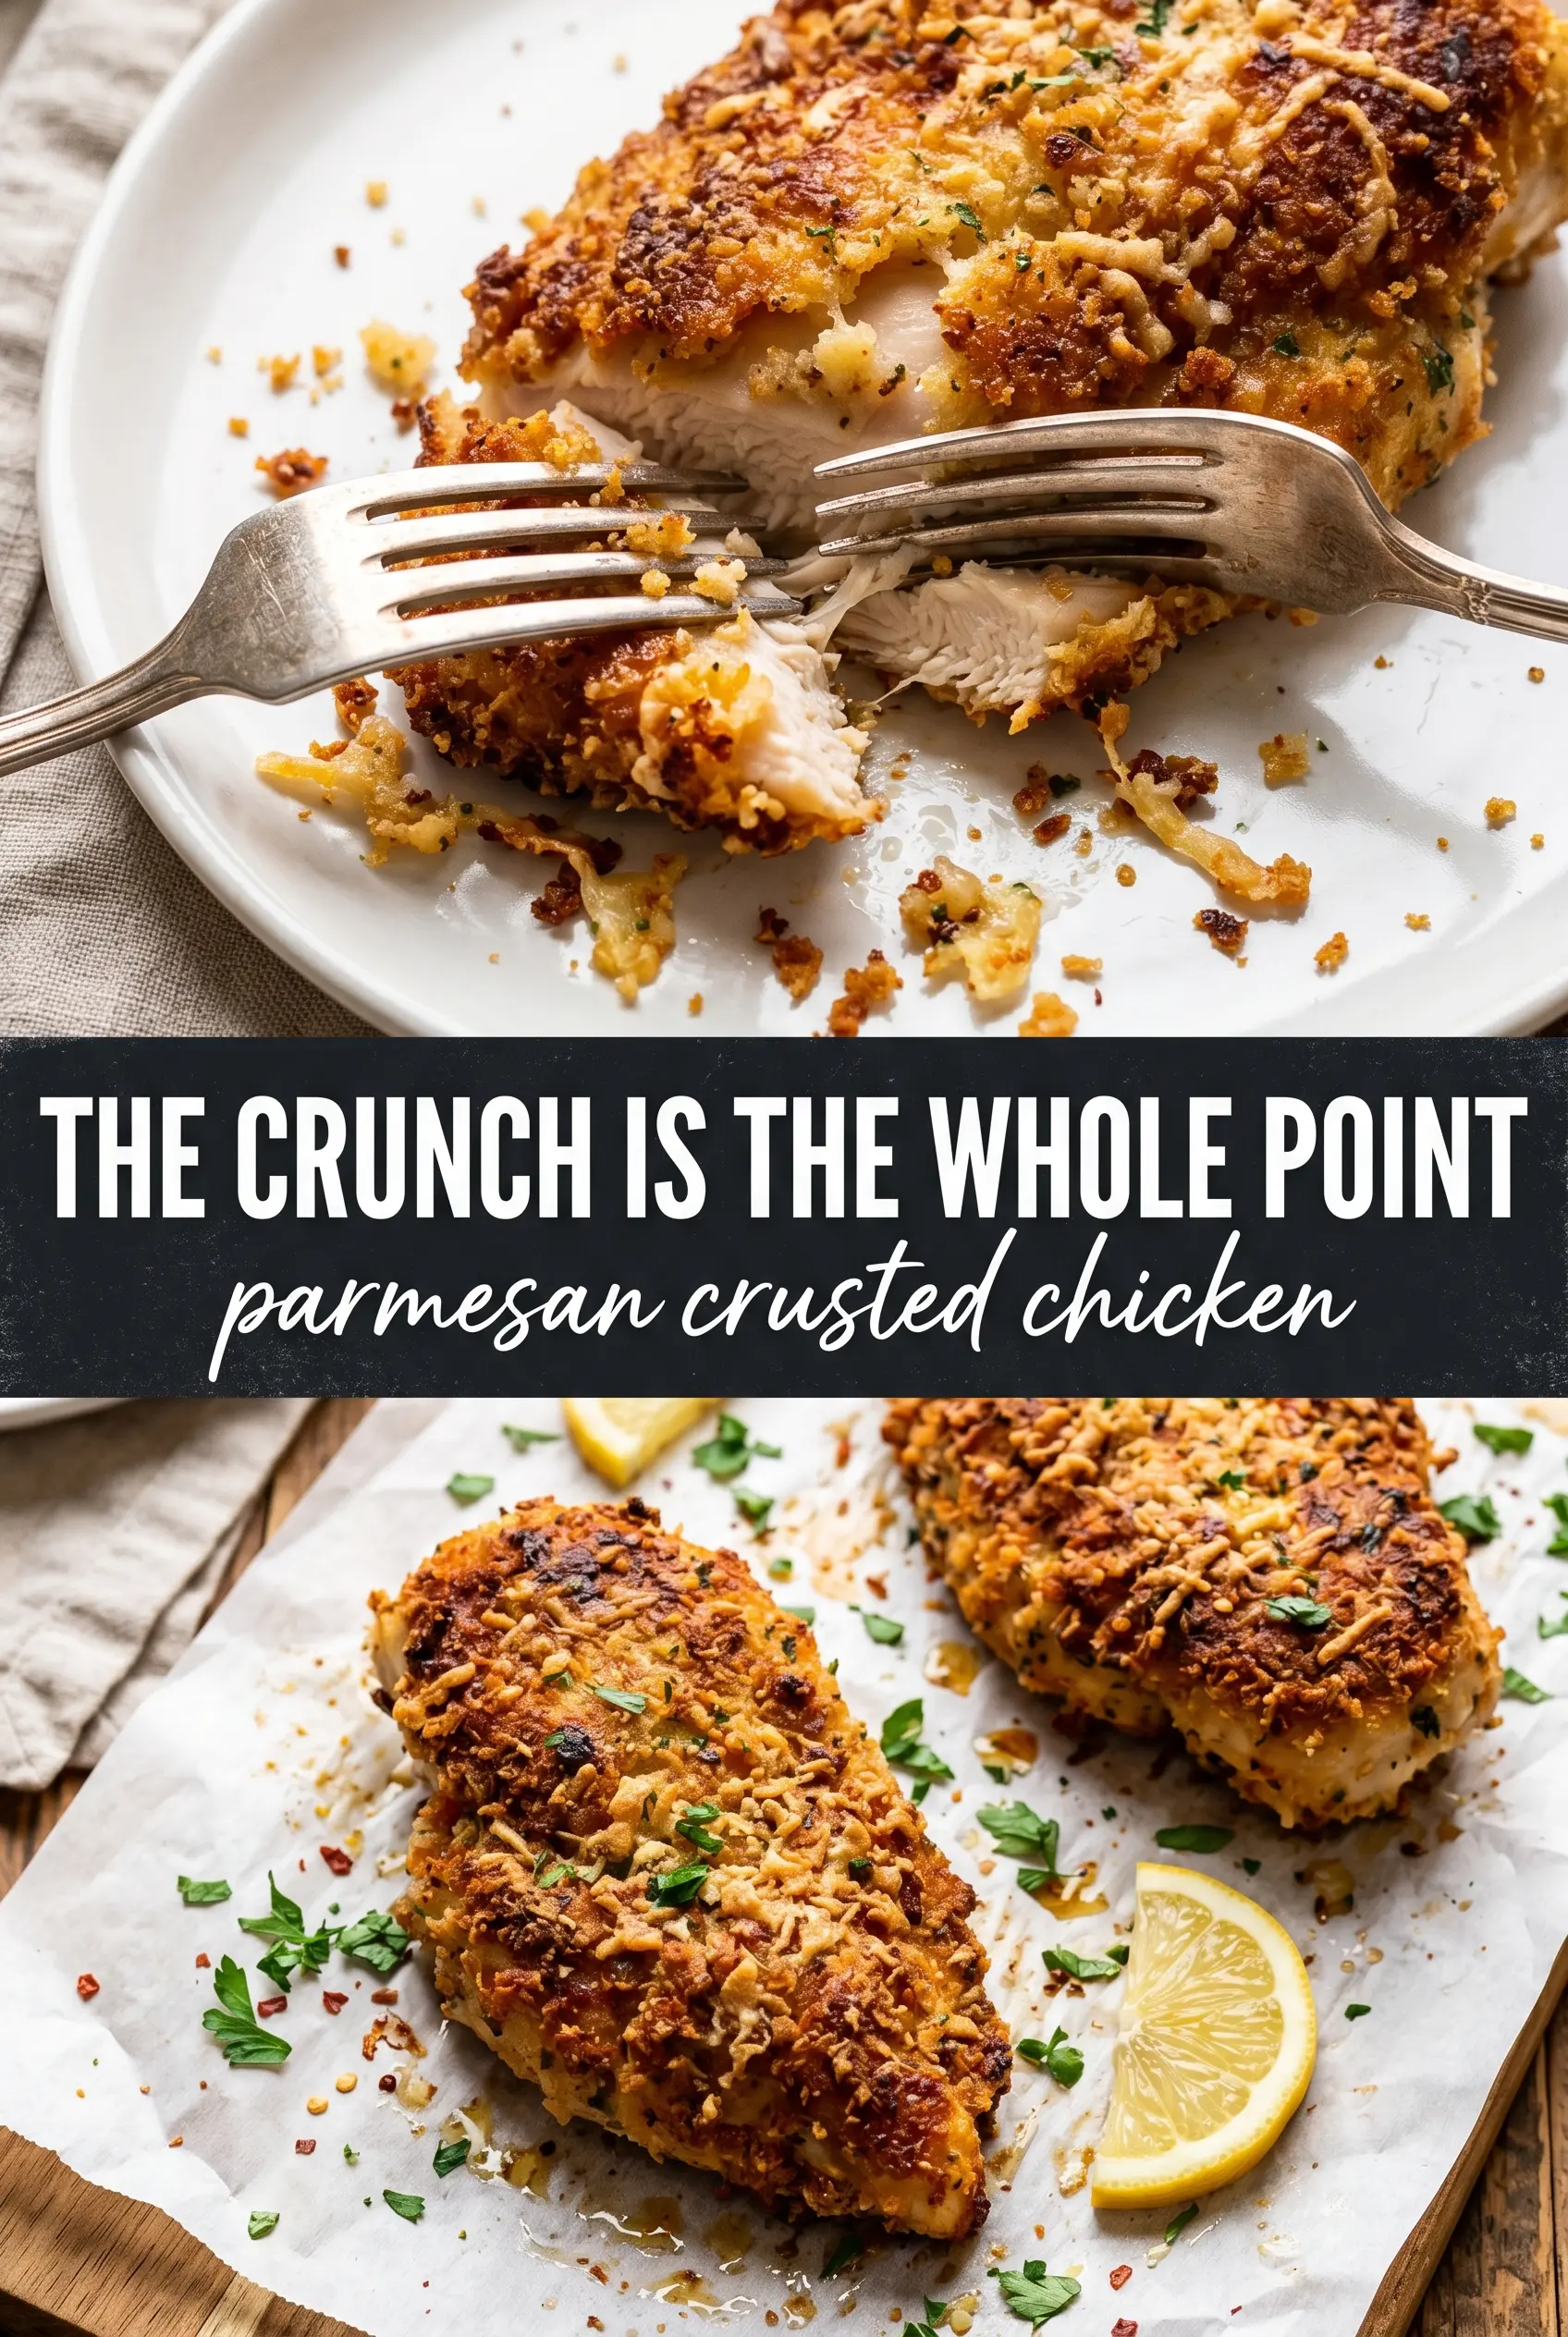
Parmesan crusted chicken earns its spot in the dinner rotation because it gives you that shatteringly crisp, golden coating without frying a panful of oil. The panko stays light and brittle, the Parmesan bakes into a salty, nutty shell, and the chicken underneath stays juicy if you give the breasts even thickness before they go in the oven.
The trick is in the breading order and the finish. Flour gives the egg something to grip, the egg helps the Parmesan-panko mixture cling, and a little olive oil on top encourages that crust to toast instead of turn dry and dusty. Freshly grated Parmesan matters here because the pre-shredded stuff doesn’t melt and cling the same way.
Below, I’ve laid out the parts that make the biggest difference: how to keep the coating from sliding off, which ingredient is worth buying fresh, and the small oven detail that gets you that deep golden crust every time.
The crust came out crisp all the way around, even on the bottom, and the chicken was still juicy after 22 minutes. I used the wire rack like you said and it made a huge difference.
Like this crispy Parmesan chicken? Save it to Pinterest for the nights when you want a crunchy baked coating, juicy chicken, and almost no cleanup.
The Step Most People Skip That Keeps the Crust Attached
The biggest failure with breaded chicken is a crust that slides off in one sheet, usually because the surface was wet, the breading was pressed on too lightly, or the chicken went into the oven without enough fat on the coating. The flour layer isn’t optional. It dries the surface just enough for the egg to grab, which is what holds the Parmesan and panko in place once the heat hits.
Using a wire rack matters here, too. If the chicken sits flat on a baking sheet, the underside steams and turns soft before it has a chance to crisp. On the rack, hot air can move around the whole piece, and the crust stays sandy-crisp instead of turning patchy.
- Pounded chicken breasts — Even thickness is what keeps the centers and edges done at the same time. If one end is much thicker, the thin end dries out while you wait for the middle to finish.
- Panko breadcrumbs — Regular breadcrumbs work, but panko gives you the lighter, crunchier crust you’re after. Don’t crush it too fine or you lose that brittle texture.
- Fresh Parmesan — Grate it yourself if you can. The packaged kind often has anti-caking agents that keep it from melting into the crumbs as cleanly.
- Olive oil — A light drizzle or spray helps the top brown and keeps the crust from tasting dry. Skip it and the coating can bake up pale and dusty.
What Each Layer Is Doing in This Chicken
- All-purpose flour — This is the glue layer. A thin coat is enough; too much flour turns gummy and makes the crust thick in the wrong way.
- Eggs — Beaten eggs create the tacky surface that lets the Parmesan mixture cling. If you’re worried about a loose breading layer, press the chicken firmly into the crumbs after the egg dip.
- Italian seasoning, garlic powder, and smoked paprika — These season the crust itself so the flavor doesn’t stop at the surface. Smoked paprika adds a little warmth and color without making the chicken taste smoky.
- Chicken breasts — Boneless, skinless breasts need attention because they dry out faster than thighs. Pounding them to even thickness is the difference between tender and stringy.
Building the Crust So It Bakes Crisp, Not Soggy
Set Up the Breading Line First
Get all three stations ready before you touch the chicken: flour in one shallow dish, beaten eggs in the next, and the panko-Parmesan mixture in the third. That keeps your hands from turning into a breaded mess and helps the coating go on in one clean pass. Season the chicken before dredging so the meat itself isn’t bland under the crust. If the chicken is damp, pat it dry first or the flour will clump.
Press the Coating On, Don’t Just Dip
After the egg, lay each breast into the crumbs and press down firmly with your palm. Turn it and press again so the whole surface is packed with crumbs and cheese. This is where people lose the crust later in the oven: a loose coating looks fine at first, then falls apart when the cheese melts. A solid press gives you a crust that bonds as it bakes.
Bake on a Rack for Real Crunch
Set the chicken on a wire rack over a sheet pan and give the tops a light spray or drizzle of olive oil. Bake at 425°F until the crust is deep golden and the thickest part hits 165°F, usually 20 to 22 minutes depending on the size of the breasts. If the crust is browning too fast before the center is done, move the pan to a lower oven rack and keep going. Let the chicken rest for 3 minutes so the juices settle before you slice.
How to Adapt This for Different Needs Without Losing the Crunch
Gluten-Free Swap with the Same Crisp Edge
Use a gluten-free flour blend for the first dredge and gluten-free panko for the crust. The breading still browns well, but the crumbs can be a little more fragile, so press them on firmly and don’t skip the oil on top.
Dairy-Free Version That Still Tastes Savory
Swap the Parmesan for a dairy-free Parmesan-style topping or a mix of nutritional yeast and extra seasoning. You’ll lose a little of the salty, nutty melt, but the crust still gets a good browned finish and plenty of savory depth.
Chicken Cutlets for Faster Weeknight Cooking
Slice the breasts into cutlets or pound them thinner for a faster bake. They’ll finish in less time and stay extra tender, but the crust-to-chicken ratio gets higher, which is great if you want more crunch in every bite.
Make-Ahead Breading for Smoother Dinner Prep
Bread the chicken up to 4 hours ahead and keep it uncovered on a rack in the fridge. That short chill helps the coating dry out a bit, which actually improves crisping, but don’t do it overnight or the crust can start to soften.
Storage and Reheating
- Refrigerator: Store leftovers in an airtight container for up to 3 days. The crust softens a bit, but the flavor stays strong.
- Freezer: Freeze after baking if needed, wrapped tightly and stored for up to 2 months. Reheat from thawed for the best texture, since freezing can dull the crunch.
- Reheating: Warm on a rack in a 375°F oven or air fryer until the coating crisps back up and the center is hot. The mistake to avoid is the microwave, which turns the breading soft and steamy in minutes.
Answers to the Questions Worth Asking
Parmesan Crusted Chicken
Ingredients
Equipment
Method
- Preheat the oven to 425°F and line a baking sheet with a wire rack; spray the rack with cooking spray so air circulates under the chicken.
- Season the chicken with salt, pepper, and garlic powder to taste, then set up a three-station breading line with flour, beaten eggs, and panko mixed with Parmesan, Italian seasoning, garlic powder, and smoked paprika.
- Dredge each chicken breast in flour, then dip into the beaten eggs so the crust sticks evenly.
- Press the chicken firmly into the Parmesan panko mixture, coating all sides for a thick, crackly crust.
- Drizzle or spray olive oil over the breaded chicken and place on the prepared rack.
- Bake for 20-22 minutes at 425°F until the crust is deep golden and the internal temperature reaches 165°F, with the cheese crust visibly set and fragrant.
- Rest the chicken for 3 minutes so juices settle and the crust stays crisp.
- Garnish with fresh parsley and serve with lemon wedges for a bright finish.