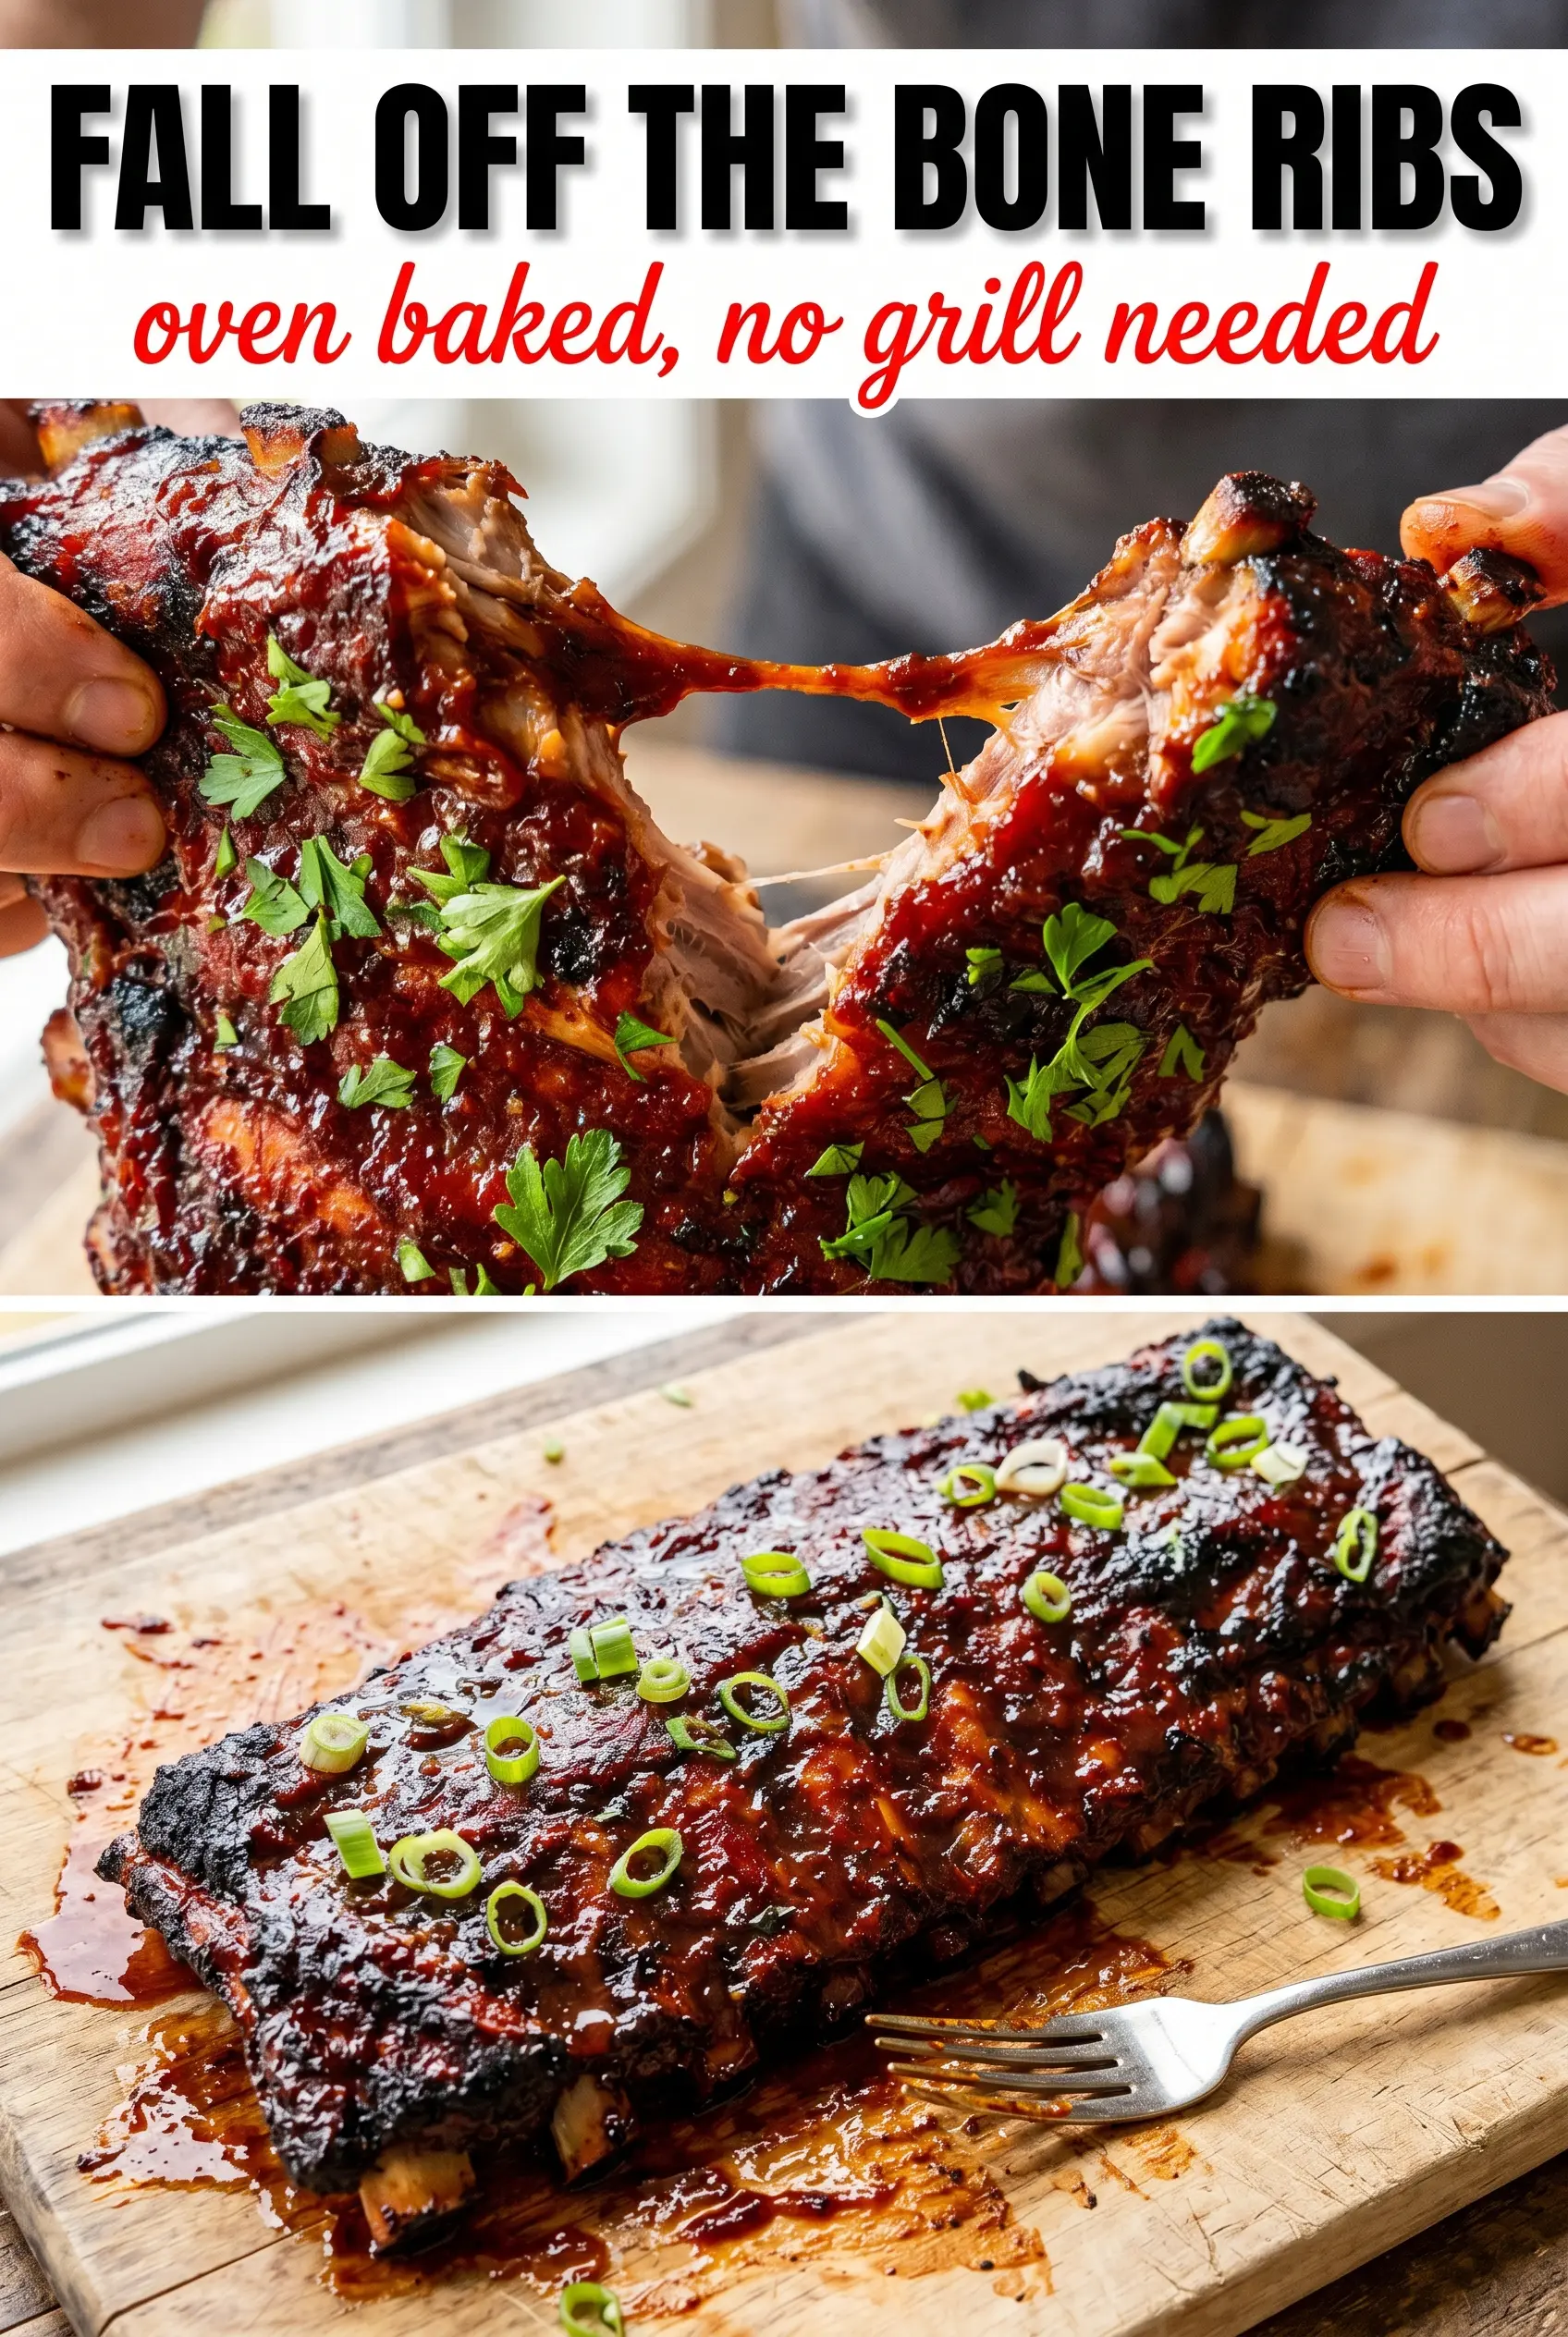
Sticky, tender oven baked BBQ ribs come out with the kind of deep, slow-cooked flavor people usually expect from a smoker, only without the weather, the fire, or the guesswork. The meat turns soft enough to pull cleanly from the bone, but it still keeps enough structure to slice into neat bones that don’t fall apart in the pan before they hit the table.
The trick is giving the ribs time at a low temperature under a tight foil wrap. That traps moisture while the spice rub melts into the pork and the meat slowly relaxes from tough to tender. A quick broil at the end builds the glossy, sticky finish that makes these taste finished instead of just cooked.
Below, you’ll find the one step that matters more than any sauce brand, plus a few smart ways to adapt the ribs if you want a little more heat, less sugar, or a different finish on the glaze.
The ribs were tender all the way through, and the glaze turned tacky and caramelized under the broiler without burning. Removing the membrane made a bigger difference than I expected.
Like these oven baked BBQ ribs? Save them to Pinterest for the nights when you want sticky, fall-off-the-bone ribs without firing up the grill.
The Step Most People Skip That Keeps These Ribs Tender
The membrane on the back of the ribs is the difference between ribs that eat cleanly and ribs that turn chewy at the bone. Once it’s removed, the rub can actually season the meat instead of sitting on top of a slick barrier, and the texture comes out noticeably better after the long bake.
Low heat matters here more than almost anything else. At 275°F, the collagen in the pork has time to loosen gradually while the foil traps steam, which is what gives you that tender bite without drying out the edges. If your ribs ever come out tough, the usual problem is too much heat and not enough covered cooking time.
- Membrane removal — Pulling this off gives you a better bite and better seasoning. If it tears, use a paper towel for grip and start at one corner.
- Brown sugar — This helps the rub caramelize later and adds a little balance to the smoky paprika. You can reduce it slightly, but skip it only if you’re fine with a drier, less glazed finish.
- Smoked paprika — This does a lot of the heavy lifting for that barbecue flavor in an oven recipe. Regular paprika works in a pinch, but you’ll lose some depth.
- BBQ sauce — Use a sauce you’d actually eat on a sandwich. Since it gets concentrated under the broiler, a sauce that’s too sweet can tip from sticky to burnt fast.
How to Layer the Rub, Bake the Ribs, and Finish with a Proper Glaze
Removing the Membrane Cleanly
Slide a knife under the thin silver membrane on the bone side of each rack, then grab it with a paper towel and pull it off in one piece if you can. If it slips, start again from a different bone edge; you want the surface exposed, not shredded. Leaving it on is the fastest way to get ribs that feel tight instead of tender.
Coating the Ribs Evenly
Mix the dry rub until the sugar and spices are fully blended, then press it onto all sides of the ribs with your hands. Don’t just dust the top. The rub needs real contact to build flavor through the long bake. If the ribs look heavily seasoned, they’re probably in the right zone, because some of that spice mellows inside the foil.
Wrapping and Slow-Baking
Wrap each rack tightly in heavy-duty foil so the juices stay trapped around the meat while it bakes. Place them on a baking sheet in case any fat leaks out, then cook until the meat has pulled back from the bone by about a quarter inch and a fork slides in with little resistance. If you rush this stage, the ribs stay rubbery; if you overbake them, the meat starts to dry out at the ends.
Broiling for the Sticky Finish
Unwrap the ribs carefully because hot steam escapes fast. Brush on a generous layer of BBQ sauce, then broil just until the surface bubbles and darkens in spots. Watch them closely in the last couple of minutes, because sauce that looks perfect can burn almost instantly under a broiler. Let the ribs rest for a few minutes before slicing so the glaze clings instead of running off.
How to Adjust These Ribs for Heat, Sweetness, or Different Sauces
Make Them Spicier
Add an extra 1/4 to 1/2 teaspoon cayenne to the rub, or finish with a spicy BBQ sauce. The ribs can handle it because the slow bake softens the heat, but the broiler will intensify any chile in the glaze.
Use a Less Sweet Glaze
Choose a tangier BBQ sauce or stir a spoonful of apple cider vinegar into your sauce before brushing it on. That keeps the finish sharp instead of candy-like, which works especially well if your rub already has plenty of brown sugar.
Gluten-Free Ribs
The ribs themselves are naturally gluten-free, so the only ingredient to check is the BBQ sauce. Use a sauce that’s labeled gluten-free, since some brands use thickeners or malt vinegar that can sneak in gluten.
Make-ahead for a Crowd
Bake the ribs until tender, then cool and refrigerate them before the final sauce and broil step. Right before serving, brush with sauce and broil until hot and glossy. That gives you the same sticky finish without tying up the oven for the full party window.
Storage and Reheating
- Refrigerator: Store leftovers in an airtight container for up to 4 days. The glaze will tighten up, but the meat stays tender.
- Freezer: Freeze the cooked ribs tightly wrapped and sealed for up to 2 months. Freeze before or after saucing, but if you freeze them sauced, expect the glaze to soften a bit after reheating.
- Reheating: Warm covered in a 300°F oven until heated through, then uncover for the last few minutes if you want the glaze tacky again. Microwaving works in a pinch, but it softens the texture and can make the edges dry at the same time.
Answers to the Questions Worth Asking
Oven Baked BBQ Ribs
Ingredients
Equipment
Method
- Preheat the oven to 275°F. Keep it steady so the ribs bake low and slow.
- Remove the silver membrane from the back of each rack. Slide a knife under the membrane, then pull it off for better tenderness.
- Mix the dry rub ingredients together and coat the ribs thoroughly on all sides. Press the rub in so it sticks evenly.
- Wrap each rack tightly in heavy-duty foil and place on a baking sheet. Make sure the foil is sealed to trap steam while baking.
- Bake at 275°F for 2.5–3 hours until the meat is tender and pulls away from the bone. You should see the ribs shrink slightly as the joints loosen.
- Unwrap the foil and let the ribs rest/dry for 30 minutes. The surface should look drier so the sauce clings and caramelizes.
- Brush the ribs generously with BBQ sauce. Cover all exposed surfaces for a glossy finish.
- Broil at high heat for 5–7 minutes until the glaze is caramelized. Watch closely for bubbly, darkened spots and a shiny, sticky coating.
- Serve the ribs with extra BBQ sauce. Plate each rack in individual pieces for fall-off-the-bone servings.