Crispy-skinned chicken thighs over creamy garlic Parmesan rice is the kind of pan dinner that earns a permanent spot in the rotation. The chicken stays juicy because it starts with a hard sear, and the rice picks up every bit of flavor from the skillet before it bakes under the chicken, so nothing tastes flat or separate.
The trick here is building the rice in the same pan after the chicken comes out. Those browned bits left behind from the sear matter, and the rice needs that quick toast before the broth goes in so it cooks up with a little more body instead of turning soft and heavy. Parmesan goes in with the broth, not at the very end, which helps it melt into the rice instead of sitting on top in clumps.
Below, I’ll walk through the small details that keep the chicken skin crisp and the rice creamy without turning mushy. There’s also a note on swaps and storage, because this one reheats well if you treat it right.
The rice came out creamy but not mushy, and the chicken skin stayed crisp even after baking. I used a little extra parsley at the end and the whole pan smelled amazing.
Save this one-pan garlic Parmesan chicken and rice for a night when you want crisp chicken skin and creamy rice from the same skillet.
The Step That Keeps the Chicken Skin Crisp
The sear does more than add color. It renders out some fat from the skin, which gives you that crackling top after baking instead of a soft, rubbery finish. Put the chicken skin-side down in a hot skillet and leave it alone until it releases on its own; if it sticks, it isn’t ready yet. Pull it out after it turns deeply golden, because the oven will finish the cooking later.
The other mistake people make is rushing the rice after the chicken comes out. The onion and garlic need a minute or two in the same pan to pick up that flavor, and the rice needs a short toast so the grains stay distinct. If you skip that part, the finished dish can taste a little muddy and the texture gets heavier than it should.
What Each Ingredient Is Actually Doing Here
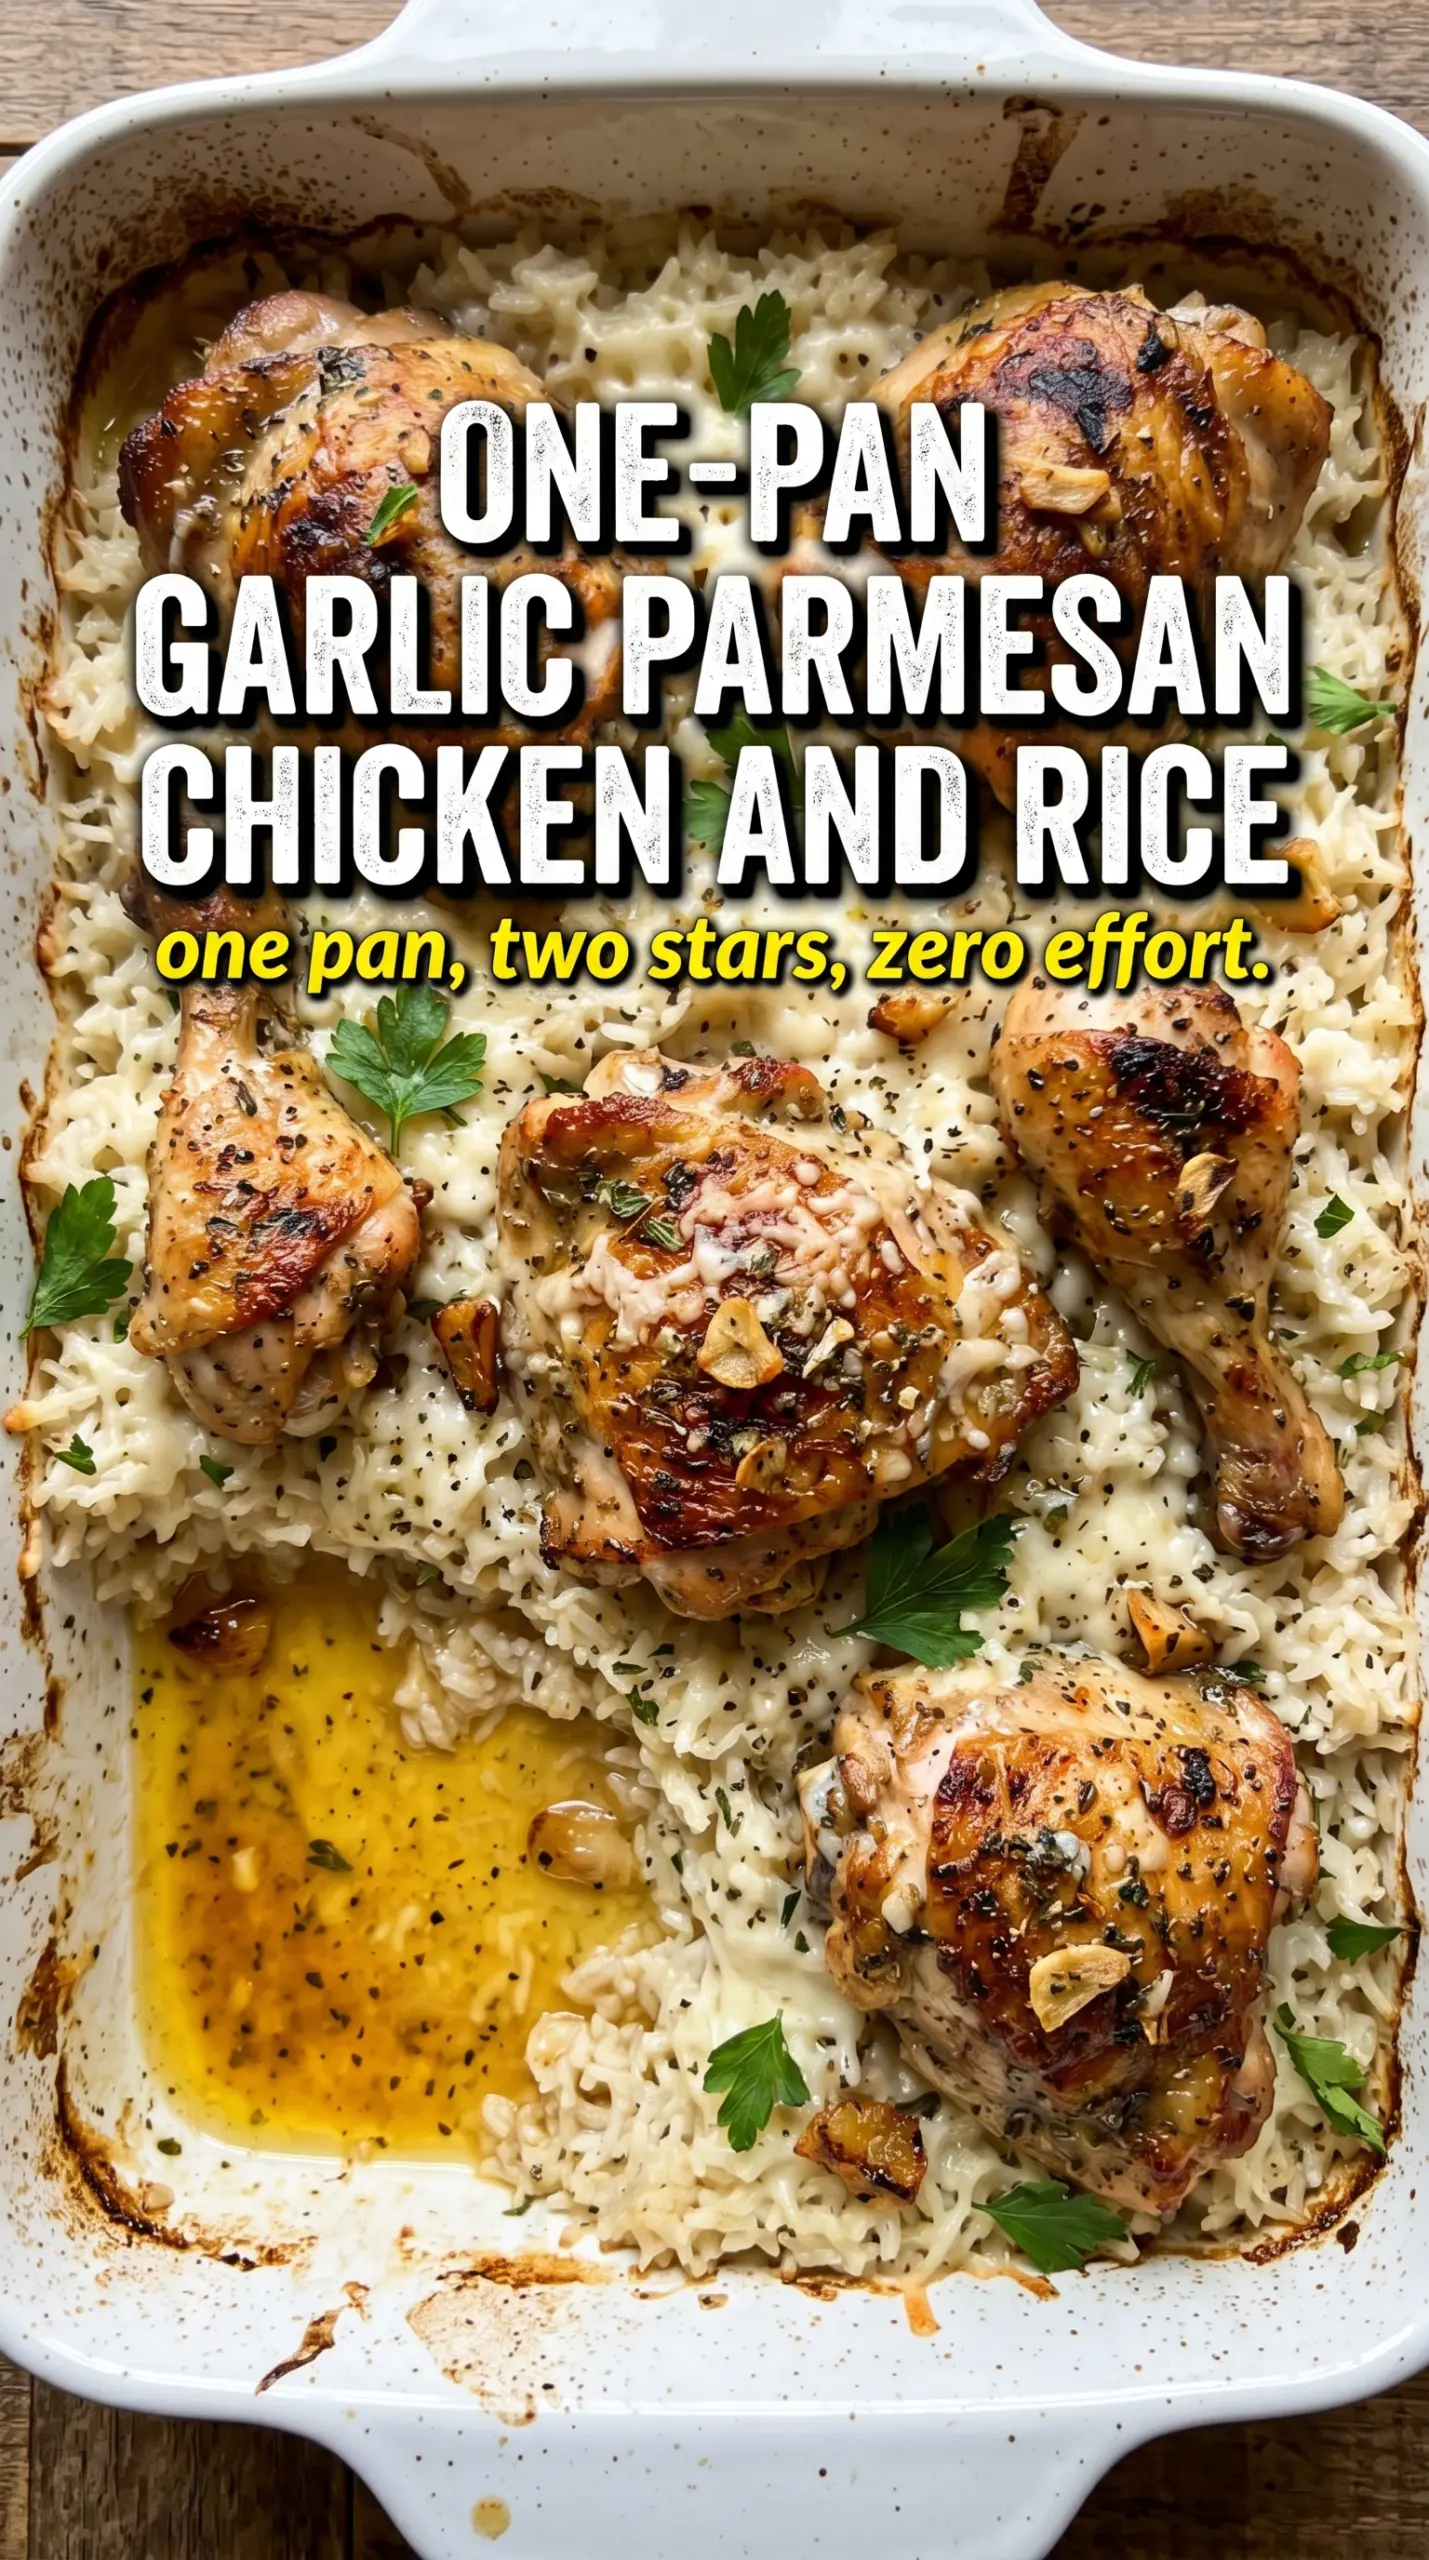
- Bone-in, skin-on chicken thighs — These stay juicier than boneless chicken and give you the crispy skin that makes the whole pan feel finished. You can use boneless thighs, but you’ll lose some of that richness and the rice won’t get the same drippings.
- Long-grain white rice — This is the right rice for the job because it cooks up fluffy and holds its shape under the chicken. Short-grain rice gets too sticky here, and brown rice needs a different liquid ratio and a longer bake.
- Parmesan cheese — Freshly grated Parmesan melts more evenly and tastes sharper than the shelf-stable canister version. If that’s what you have, it’ll still work, but use the finest grate you can so it blends into the broth instead of clumping.
- Chicken broth — This gives the rice its base flavor, and it matters more than plain water. Low-sodium broth is the easiest choice because the Parmesan adds salt of its own, so you can season with more control.
- Garlic, onion, and Italian seasoning — These build the backbone of the dish. The garlic goes in after the onion softens so it doesn’t burn, and the dried herbs bloom in the hot liquid and spread through the rice.
Building the Rice Under the Chicken So It Cooks Evenly
Brown the Chicken First
Heat the olive oil until it shimmers, then lay the thighs skin-side down and let them sear without moving them for 6 to 7 minutes. You want a deep golden crust and rendered fat in the pan, not pale skin that later steams in the oven. If the skillet feels crowded, the skin won’t crisp properly, so use a pan large enough for the thighs to sit in a single layer.
Wake Up the Rice in the Skillet
After the chicken comes out, cook the onion until it softens and turns translucent, then stir in the garlic just until fragrant. Add the rice and stir for about 2 minutes so the grains get lightly coated and toasted. That quick step helps the rice keep its shape during baking, and it gives the final dish a little more depth.
Let the Oven Finish the Work
Once the broth and Parmesan go in, bring everything to a simmer before the chicken goes back on top. Nestle the thighs skin-side up so they sit above the rice instead of burying it, then bake uncovered. Uncovered is important here; covered rice can cook, but you’ll lose the crisp skin and the top won’t brown the same way.
Check for the Right Finish
When it’s done, the rice should be tender and the liquid absorbed, with a creamy look around the edges from the melted cheese. If the rice is still a little firm and the pan looks dry, add a small splash of broth and give it 5 more minutes. Let it rest for a few minutes before serving so the rice settles and the chicken stays juicy when you cut into it.
How to Adapt This for a Different Pantry
Make It Dairy-Free
Skip the Parmesan and stir in a tablespoon of nutritional yeast for a savory note, then finish with extra herbs. The rice won’t have the same creamy, salty finish, but the dish still works well because the chicken and broth carry most of the flavor.
Use Boneless Chicken Thighs
Boneless thighs cook a little faster and are easier to serve, but they won’t give you quite the same crisp skin or rich drippings. Start checking them about 10 minutes earlier in the oven so they don’t dry out.
Make It Gluten-Free
This recipe is naturally gluten-free as written, as long as your broth is certified gluten-free. That’s the one label worth checking, since some broths use additives that aren’t safe for everyone.
Add Vegetables Without Messing Up the Texture
Stir in a handful of peas or chopped spinach near the end of baking so they stay bright and don’t water down the rice. Heartier vegetables like broccoli need to be cut small and added earlier only if you like them very tender.
Storage and Reheating
- Refrigerator: Store leftovers in an airtight container for up to 4 days. The rice firms up a bit as it chills, but the flavor holds well.
- Freezer: The rice and chicken freeze, though the skin won’t stay crisp. Cool completely, portion into freezer-safe containers, and freeze for up to 2 months.
- Reheating: Reheat covered in a 325°F oven with a splash of broth until hot, then uncover for the last few minutes to bring back some texture. Microwaving works in a pinch, but add a spoonful of broth and stop as soon as it’s heated through so the rice doesn’t dry out.
Questions I Get Asked About This Recipe
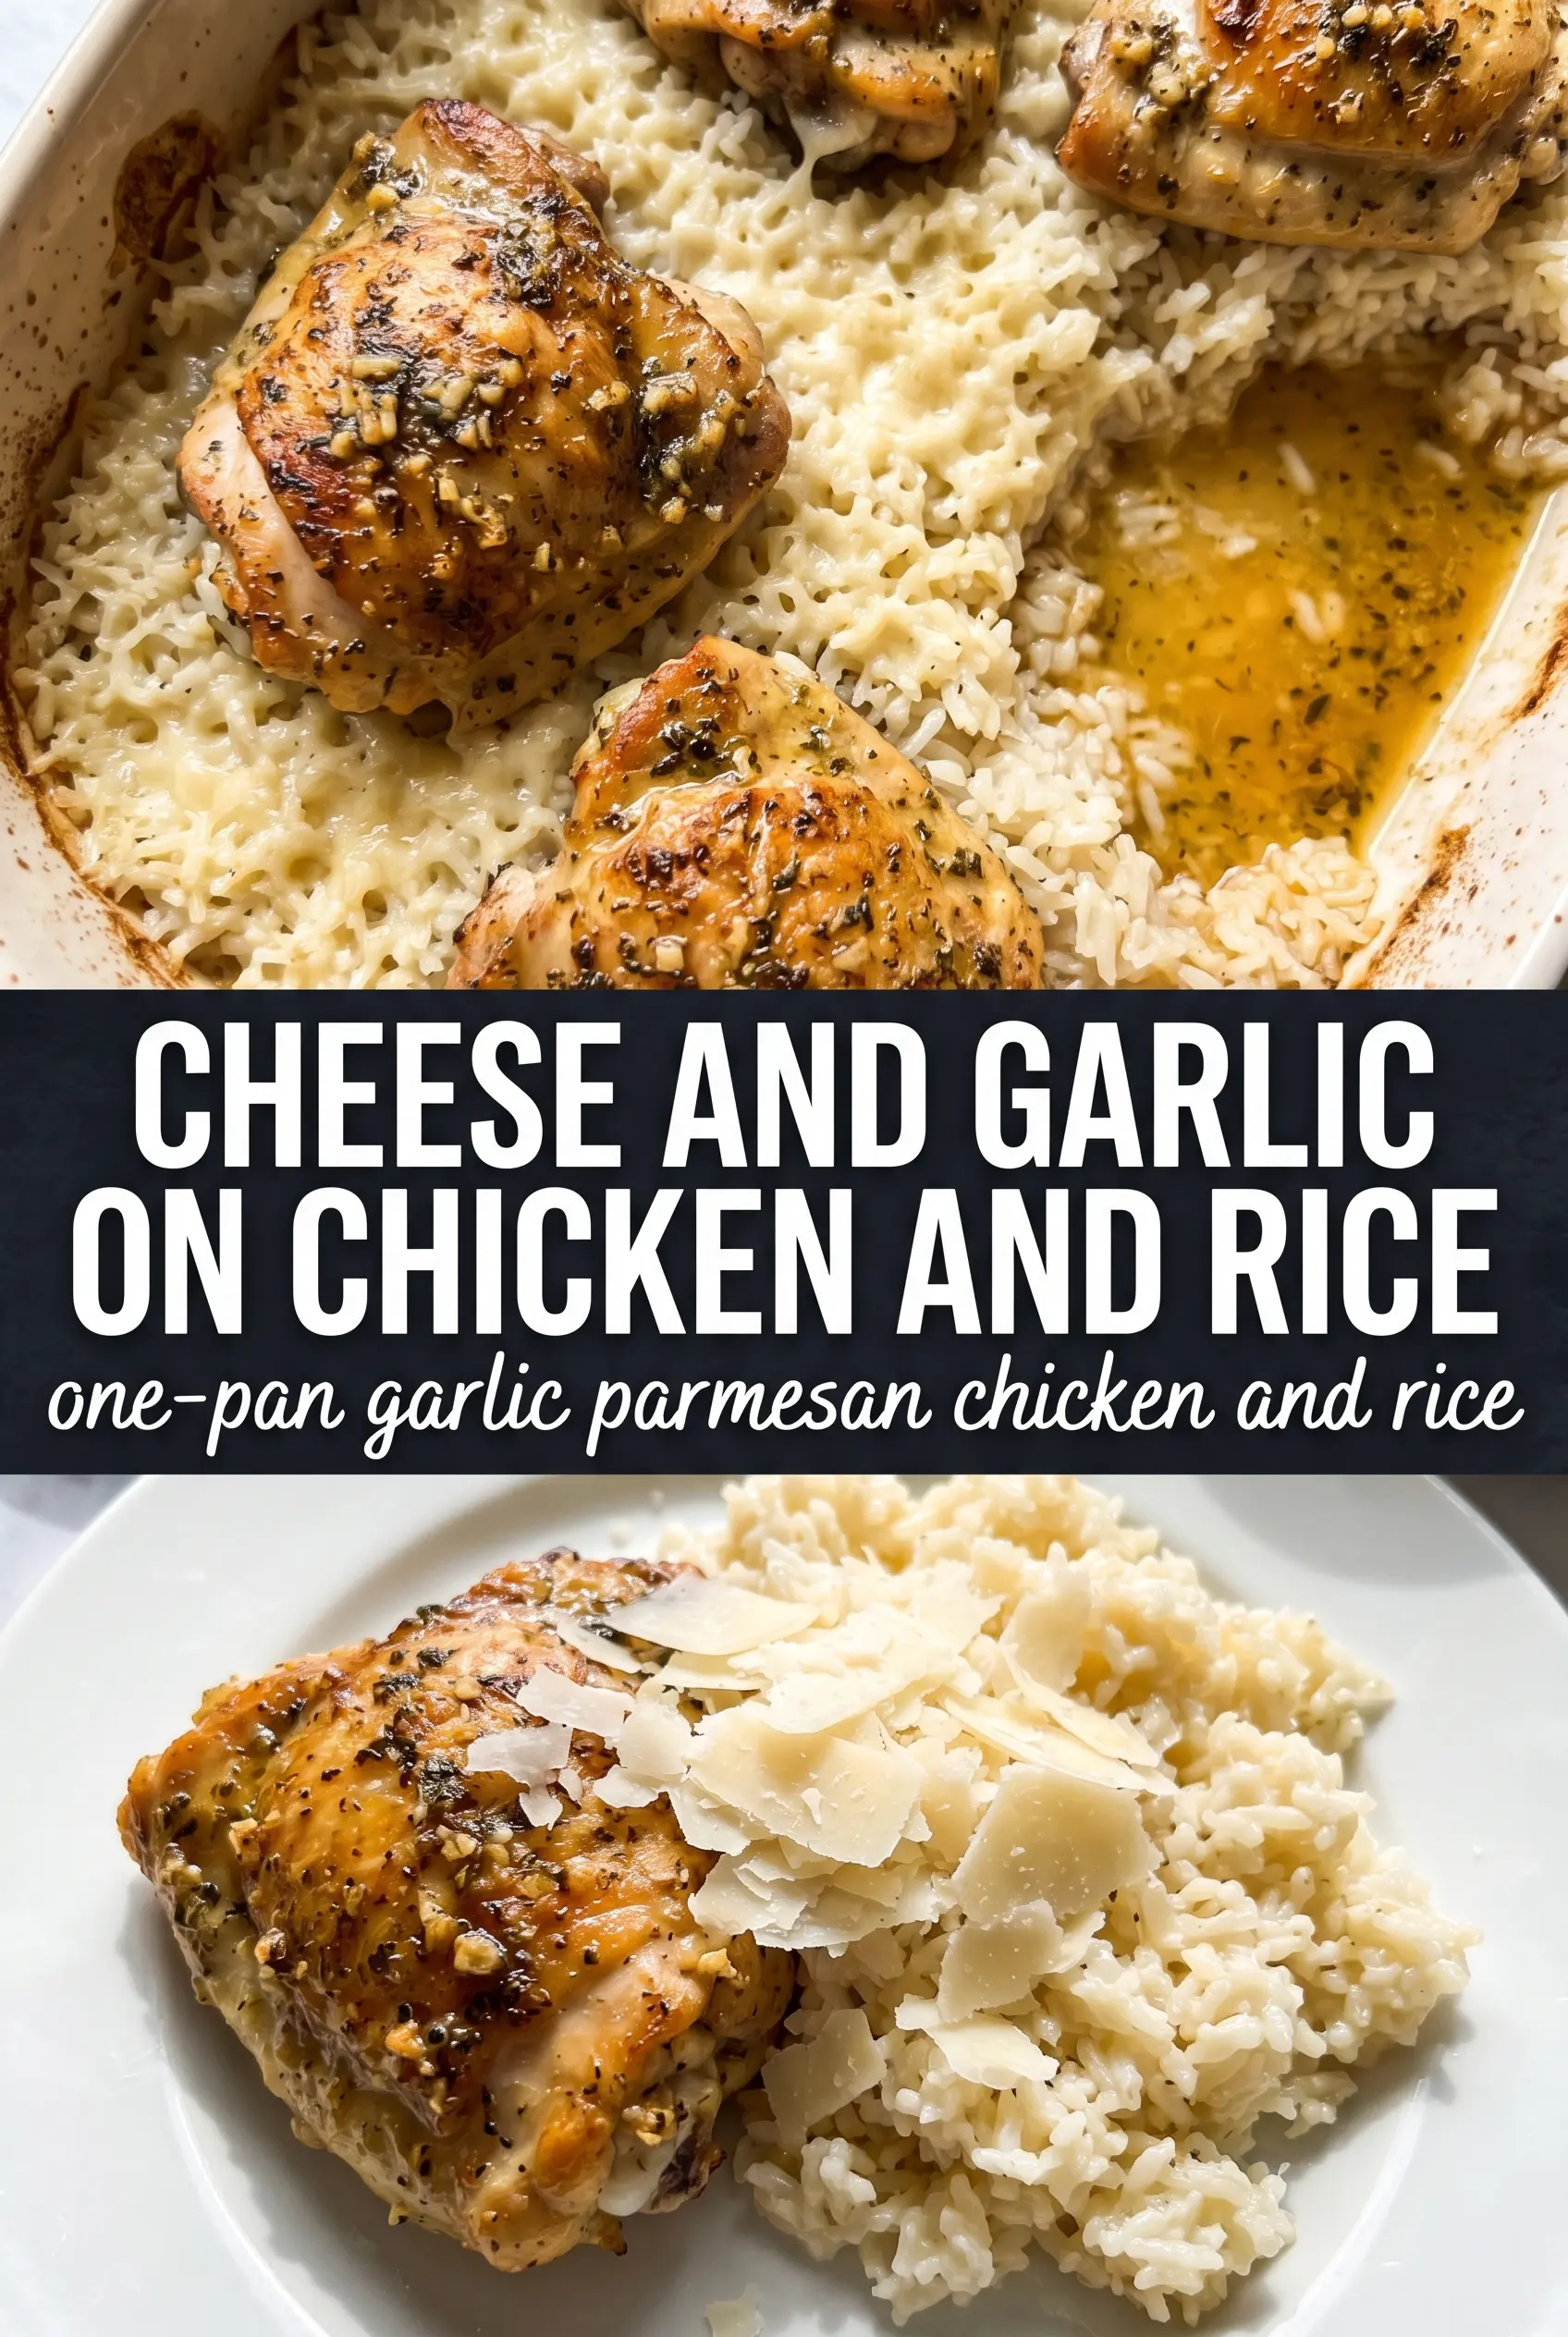
One-Pan Garlic Parmesan Chicken and Rice
Ingredients
Equipment
Method
- Preheat oven to 400°F and season chicken thighs with salt, pepper, garlic powder, Italian seasoning, and smoked paprika to taste. Pat the skin dry so it can brown.
- Heat olive oil in a large oven-safe skillet over medium-high heat. Sear chicken skin-side down for 6-7 minutes until golden, then remove to a plate.
- In the same skillet, cook diced onion for 3 minutes until softened. Scrape up any browned bits.
- Add minced garlic and cook 1 minute, stirring to prevent burning. Keep it fragrant, not dark.
- Stir in uncooked long-grain white rice and toast for 2 minutes. The grains should look slightly opaque at the edges.
- Pour in chicken broth, then stir in Parmesan and dried Italian seasoning. Bring to a simmer and cook until bubbling.
- Nestle chicken thighs skin-side up into the rice, then sprinkle with extra Parmesan. Press lightly so some rice rises around the sides.
- Transfer uncovered to the oven and bake for 30-35 minutes at 400°F until the rice is cooked through and the chicken skin is golden. Look for crackling, browned skin above the surface.
- Garnish with fresh parsley and serve immediately. Spoon the Parmesan rice under the chicken for the best texture contrast.