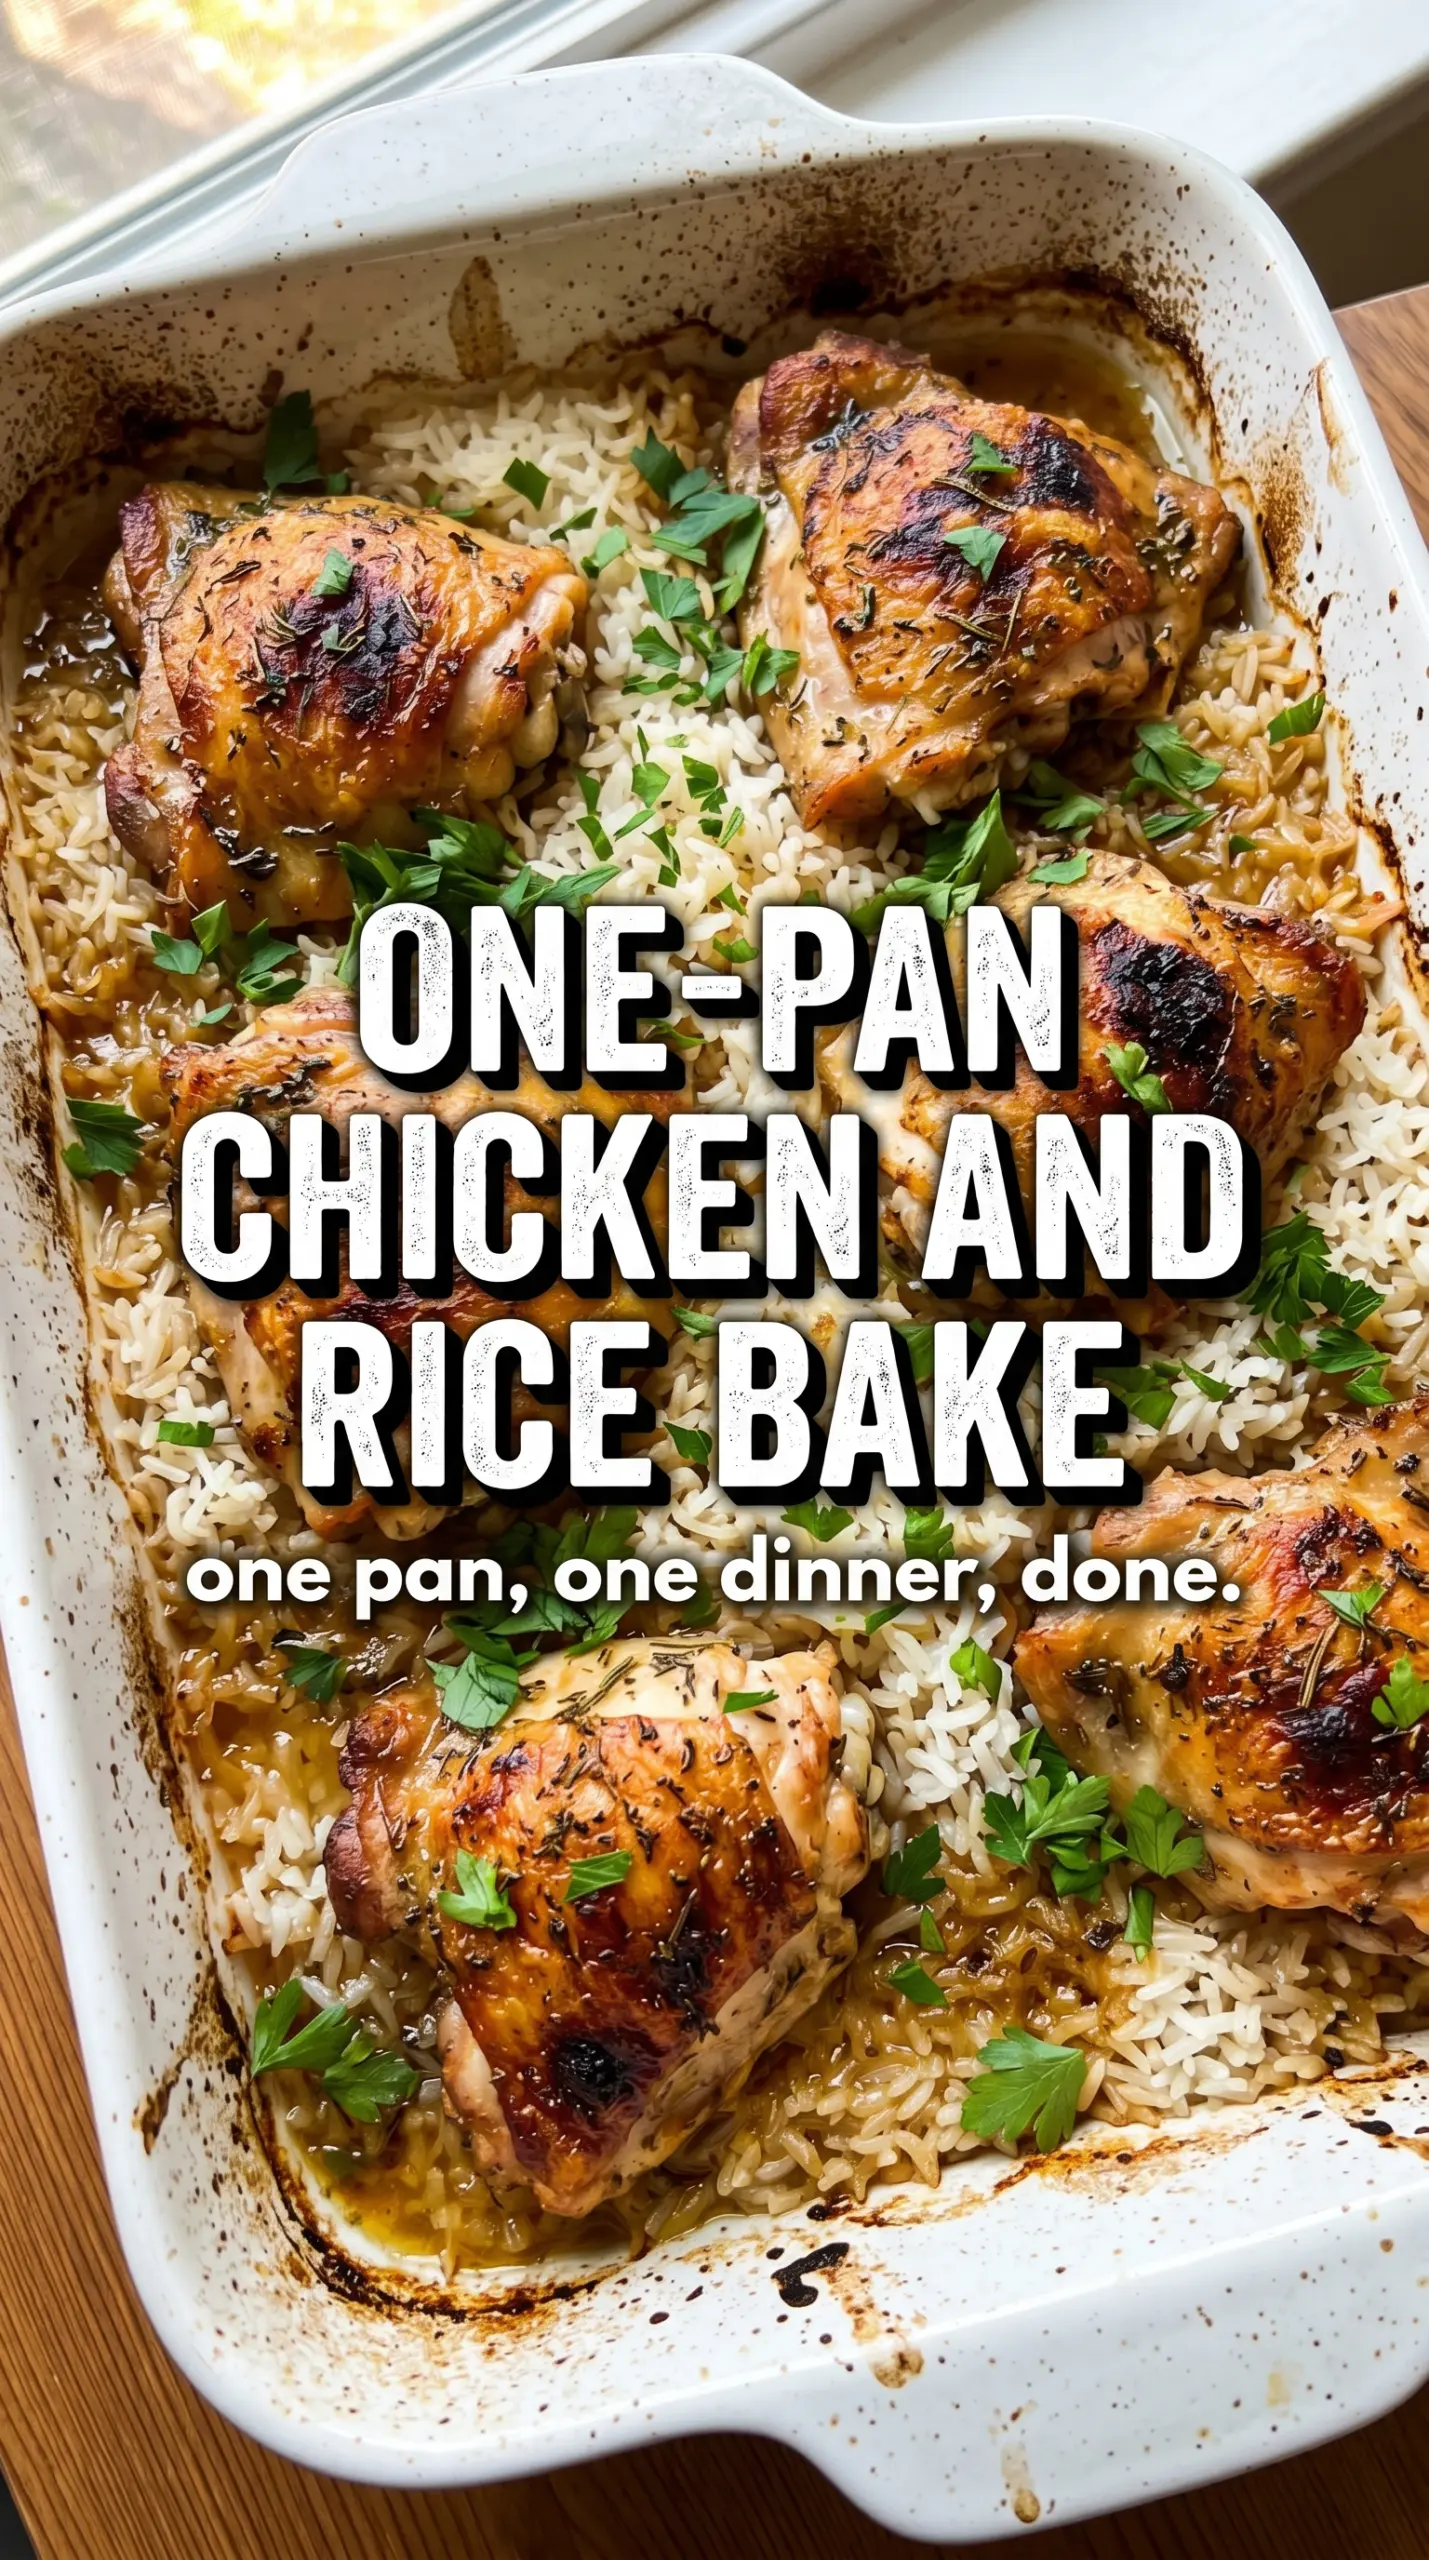
Golden chicken thighs tucked into fluffy rice make one of those dinners that feels bigger than the effort it takes to get there. The rice soaks up the broth, onion, garlic, and all the savory drippings from the chicken, while the skin stays above the surface long enough to turn crisp in the oven. You get a complete meal in one dish, and the best bites are the ones where the rice underneath the chicken is extra rich and seasoned from the pan itself.
What makes this version work is the order. The rice goes in raw with broth and aromatics, then the chicken rests on top instead of being buried where it would steam. Covering it first gives the rice time to cook evenly, and uncovering it at the end lets the skin brown and the top layer dry out a little. Bone-in, skin-on thighs are the right choice here because they stay juicy through the bake and give the rice more flavor than boneless pieces ever could.
Below you’ll find a few practical notes on getting the rice texture right, the swaps that still keep the dish sturdy, and what to do if your chicken skin isn’t browning the way you want.
The rice came out fluffy instead of mushy, and the chicken skin actually crisped up after uncovering it. I loved how the bottom layer tasted like it had been simmering in broth for hours.
Save this one-pan chicken and rice bake for the nights when you want crispy chicken, fluffy rice, and one dish to wash.
The Trick Most Chicken and Rice Bakes Get Wrong
The biggest mistake in a dish like this is treating the rice like it’s being cooked in a separate pot. It isn’t. It needs the right amount of liquid, tight coverage for the first stretch, and enough space around the chicken so the top can brown instead of turning rubbery from trapped steam.
If the rice turns out firm, it usually means the foil wasn’t sealed well enough or the oven ran hot and burned off moisture too quickly. If it turns gummy, the pan probably held too much liquid or the rice was stirred too aggressively before baking. Long-grain white rice gives you the best chance at separate, tender grains because it stays lighter than medium-grain or jasmine when baked this way.
- Bone-in, skin-on chicken thighs — These hold up in the oven and baste the rice as they cook. Boneless chicken cooks faster but gives you less flavor and can dry out before the rice is done.
- Long-grain white rice — This is the texture builder. It bakes up fluffy and distinct instead of sticky, which is what you want when the chicken is sitting right on top of it.
- Chicken broth — Broth gives the rice its backbone. Water will work in a pinch, but the final dish tastes flatter and less layered.
- Onion and garlic — They melt into the rice while it bakes and keep the whole pan from tasting one-note. Mince the garlic fine so it doesn’t sit in sharp little bursts.
What Each Ingredient Is Actually Doing in This Chicken Pasta Dish
- Pasta or rice (the vehicle) — Cook to al dente so it doesn’t turn mushy. Reserve water/broth for sauce adjustment.
- Chicken (the protein) — Cut into uniform pieces so they cook evenly. Don’t overcook or the chicken becomes dry.
- Butter or oil (the cooking medium) — This carries flavors and browns the chicken. Don’t skimp or the dish tastes incomplete.
- Cream or sauce (the richness base) — This brings everything together and coats the pasta. Balance richness with acid.
- Cheese (optional umami and binding) — This adds depth and helps the sauce cling to pasta. Add off heat so it melts smoothly.
- Garlic, herbs, and seasonings (the flavor layers) — Cook aromatics with oil to bloom the flavors. These define the dish’s personality.
- Acid (lemon, wine, or vinegar) — This prevents heavy cream sauces from tasting flat. Add at the end to preserve freshness.
- Final toss (the emulsification) — Toss gently so pasta stays al dente and every piece gets coated evenly.
Building the Pan So the Rice Cooks and the Chicken Browns
Mix the Rice Base First
Stir the uncooked rice, broth, diced onion, garlic, thyme, Italian seasoning, and salt directly in the baking dish. The liquid should look evenly distributed, with no dry pockets hiding in the corners. If the rice isn’t spread in a fairly level layer, some parts will cook faster than others and you’ll end up with uneven texture. A 9×13 dish gives the rice enough surface area to cook through without becoming packed and dense.
Season the Chicken Generously
Season the thighs on both sides with salt, pepper, garlic powder, paprika, and Italian seasoning. The skin needs enough seasoning to taste good on its own, because it sits above the rice and gets the most browning. Don’t bury the chicken under the liquid; nestle it into the rice mixture with the skin facing up so it roasts instead of poaching. Drizzling the tops with olive oil helps the skin brown more evenly once the foil comes off.
Cover, Then Uncover at the Right Time
Cover the dish tightly with foil for the first 40 minutes so the rice can steam and absorb the broth. If the foil is loose, the rice dries out before it finishes cooking. When you remove the foil, the top should look mostly set and the liquid should be nearly absorbed. The final 15 minutes are where the skin turns golden and the rice finishes with those savory baked edges that make the dish worth serving from the pan.
Finish with Fresh Parsley
Let the bake rest for a few minutes before serving so the rice settles instead of spilling out wet. A handful of parsley gives the dish a fresh finish and keeps the whole pan from tasting heavy. If the chicken skin isn’t as crisp as you want, give it a few more minutes uncovered rather than cranking the oven temperature up. Higher heat can scorch the rice before the top browns properly.
How to Adapt This One-Pan Chicken and Rice Bake Without Losing the Texture
Swap the Thighs for Chicken Breasts
You can use bone-in, skin-on chicken breasts, but they cook a little differently and dry out faster if they’re large. Start checking them early, and keep in mind that you won’t get quite the same rich drippings in the rice. The dish still works, but thighs give you the best balance of juiciness and flavor.
Make It Dairy-Free Without Changing Anything
This recipe is naturally dairy-free as written, which is one reason it’s such an easy dinner to keep in regular rotation. Stick with broth instead of cream or cheese, and the rice stays light while still tasting savory. If you want a richer finish, extra olive oil on top gives the chicken skin a little more help without changing the structure.
Use Brown Rice Only If You Change the Timing
Brown rice needs more liquid and a longer bake, so it can’t just slide into this recipe unchanged. If you try it with the same timing, the chicken will finish before the grains do. Add more broth and expect a longer covered bake, or stick with long-grain white rice for the most reliable result.
Add Vegetables Without Soaking the Rice
Soft vegetables like peas or chopped spinach should go in near the end so they don’t turn limp and disappear into the rice. Heartier vegetables like carrots need to be diced small and added with the onions so they cook through. The key is keeping the liquid ratio intact; too many vegetables can throw off the rice and leave the pan wet.
Storage and Reheating
- Refrigerator: Store leftovers in an airtight container for up to 4 days. The rice will firm up a little as it chills.
- Freezer: This freezes well in portions for up to 2 months. Wrap it tightly and thaw in the fridge before reheating so the rice warms evenly.
- Reheating: Reheat covered in the oven at 325°F with a splash of broth to loosen the rice. The usual mistake is blasting it uncovered in the microwave until the chicken dries out and the rice turns tough.
Questions I Get Asked About This Recipe
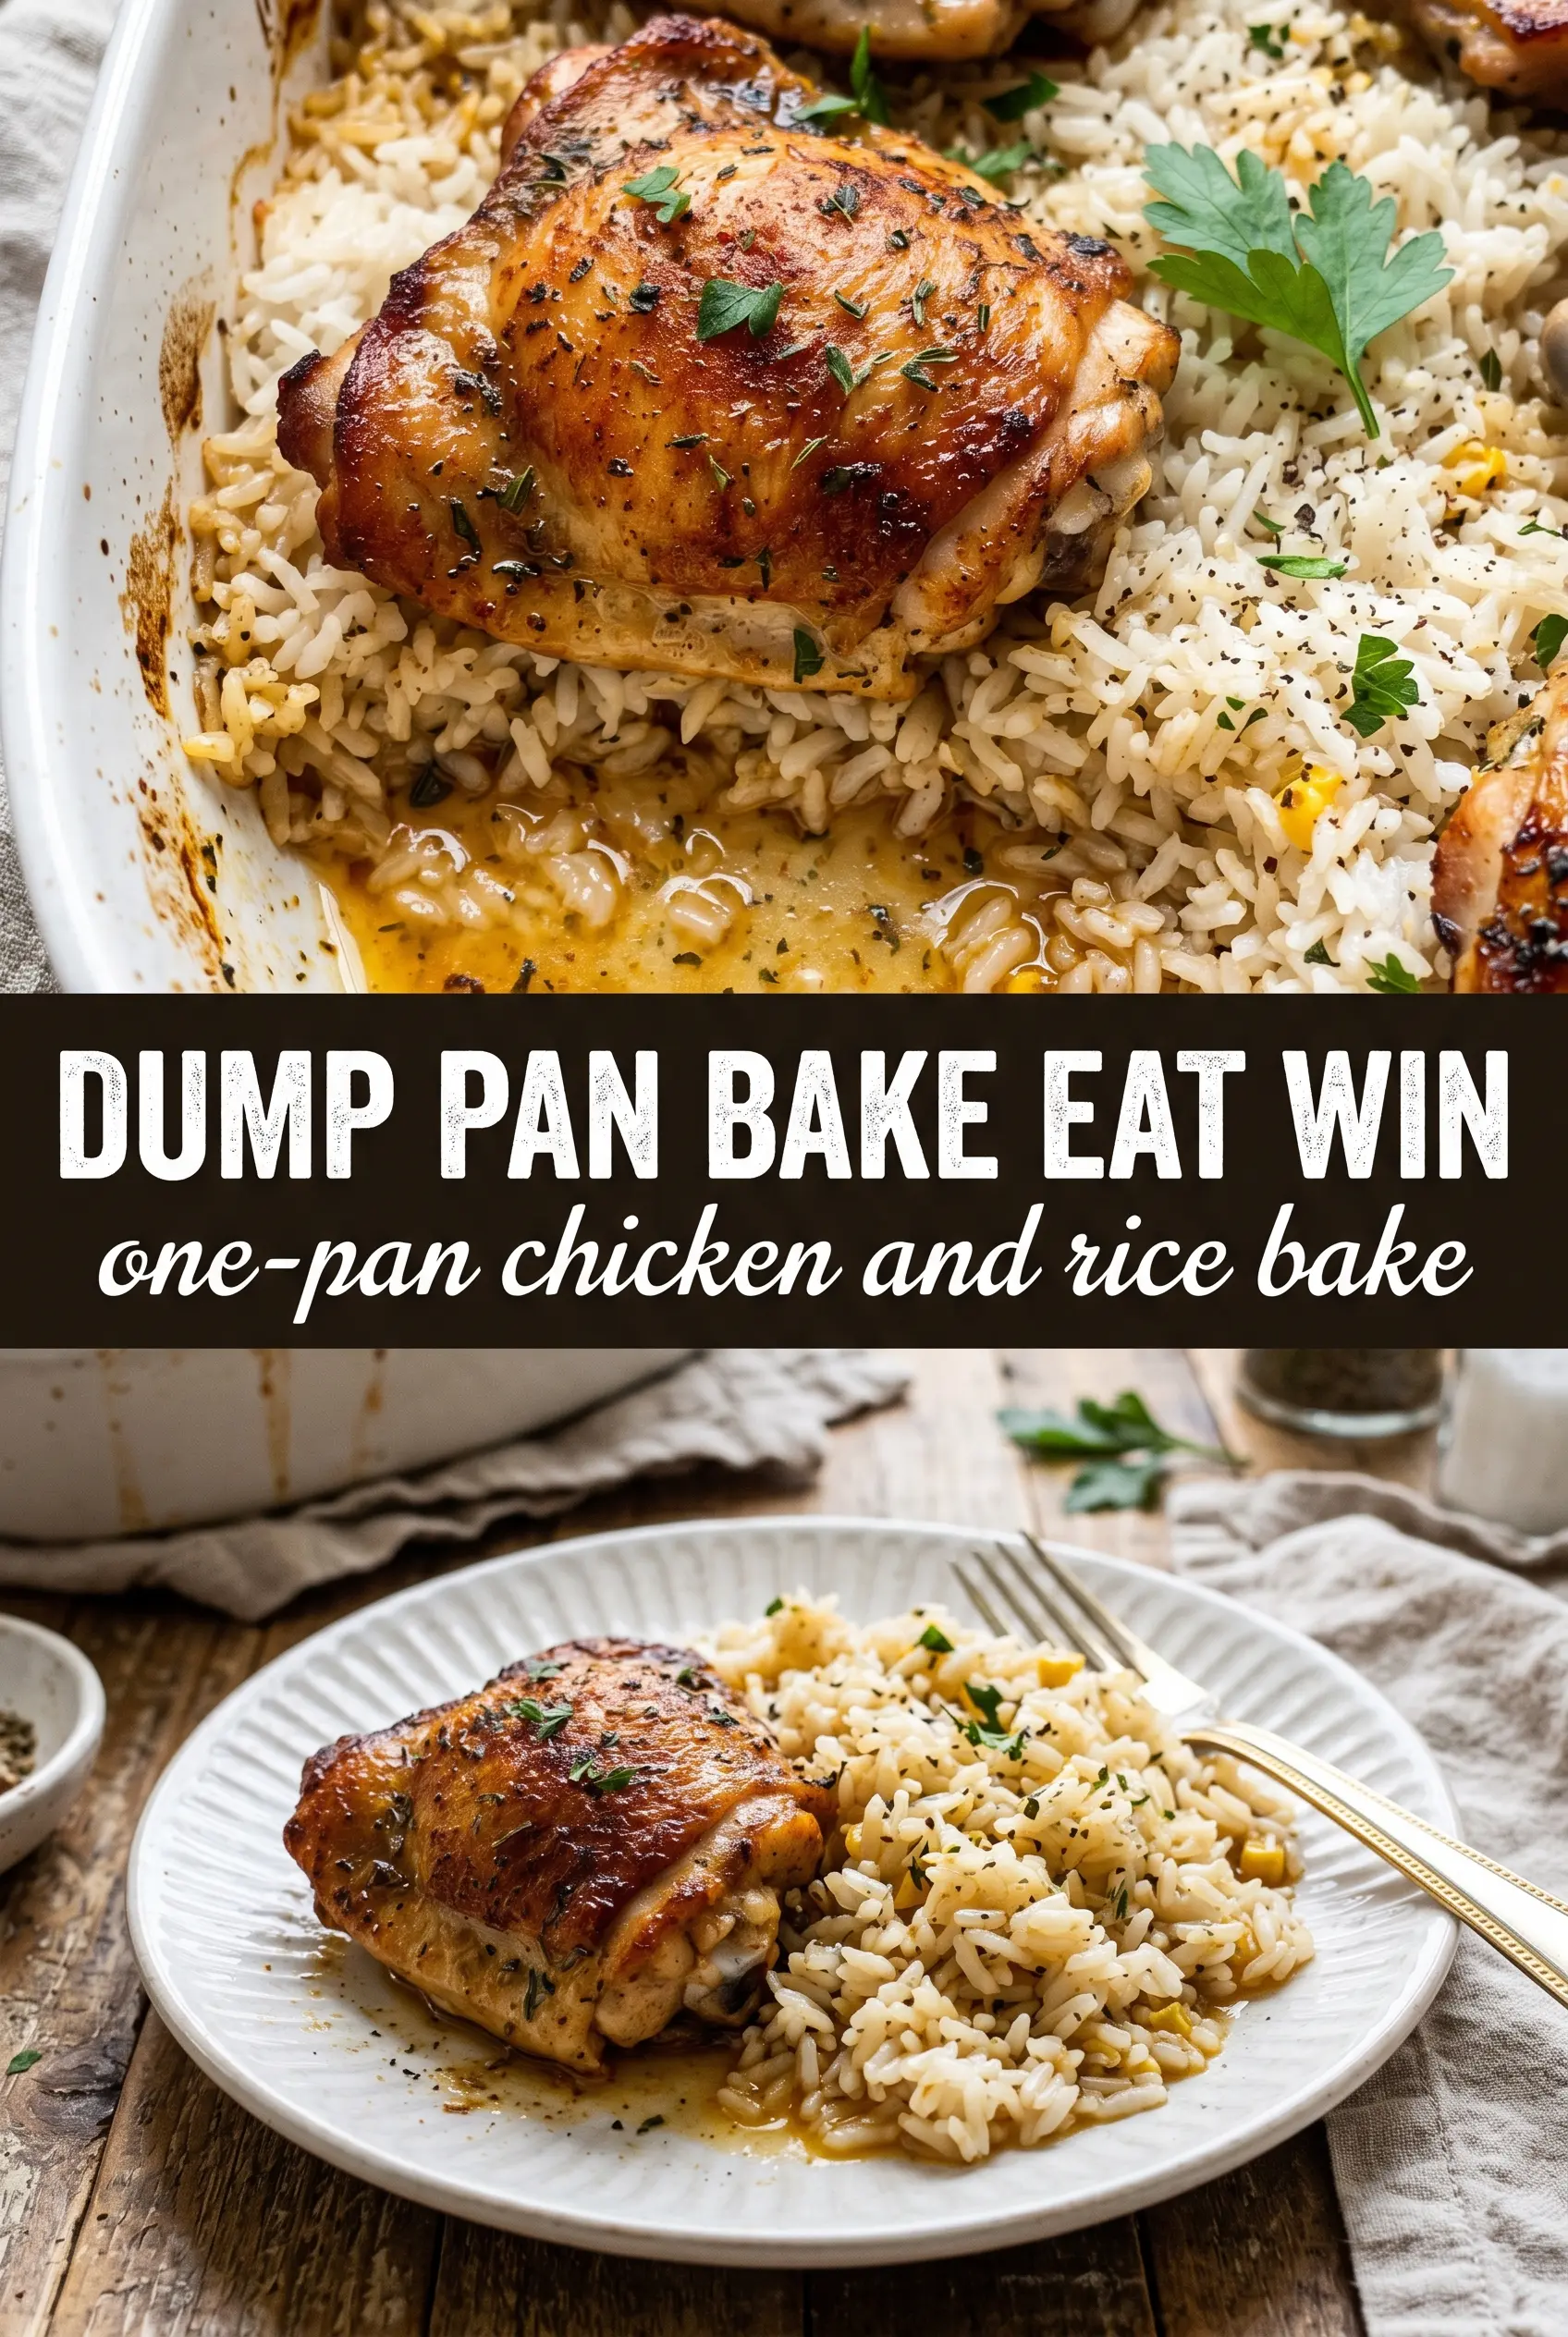
One-Pan Chicken and Rice Bake
Ingredients
Equipment
Method
- Preheat the oven to 375°F so it reaches a steady baking temperature before you load the dish.
- Mix the long-grain white rice, chicken broth, diced onion, minced garlic, dried thyme, dried Italian seasoning, and salt in a 9x13 baking dish and stir to combine.
- Season the bone-in skin-on chicken thighs generously on all sides with pepper, garlic powder, paprika, and Italian seasoning for an all-over flavor layer.
- Nestle the chicken skin-side up on top of the rice mixture, then drizzle olive oil over the chicken skin so it browns while baking.
- Cover tightly with foil and bake for 40 minutes, watching for the rice to become tender and the broth to bubble up around the chicken edges.
- Remove the foil and bake for 15 minutes at 375°F until the chicken skin is golden and the rice has absorbed all liquid.
- Garnish with fresh parsley and serve from the baking dish so the crispy skin stays on top of the rice.