Crispy-edged chicken coated in a dark, sticky Mongolian sauce has a way of disappearing fast. The best versions hit that sweet-savory balance without turning cloying, and the chicken still tastes like chicken instead of just sauce. When the pan is hot enough, the cornstarch turns the outside of the sliced chicken into a lightly crisp shell that catches the glaze instead of going soft right away.
This version keeps the ingredient list tight, but the method matters. The chicken gets coated before it ever hits the pan, which helps it sear instead of steaming. The sauce is built in the same skillet, so the garlic and ginger bloom in the browned bits left behind from the chicken, and the final cornstarch slurry gives the sauce that glossy finish you want on a weeknight stir-fry.
Below you’ll find the timing that keeps the chicken tender, the sauce thick without turning pasty, and a few easy swaps if you’re working with what you already have. The little details matter here, especially once the sauce hits the heat.
The sauce thickened up perfectly and the chicken stayed crisp around the edges even after tossing it back in. My husband went back for seconds before I’d even sat down.
Love that glossy, takeout-style Mongolian chicken? Save this one for the night you want crispy chicken and sticky soy-ginger sauce over rice in about 30 minutes.
The Secret to Mongolian Chicken That Stays Crisp Under the Sauce
The usual failure with Mongolian chicken is simple: the chicken goes pale and soft before the sauce is even finished. That happens when the pan isn’t hot enough, the chicken is crowded, or the sauce gets dumped in before the crust has a chance to form. Here, the cornstarch coating does double duty. It helps the chicken brown fast, and it gives the finished sauce just enough body to cling.
The other thing that matters is timing. The garlic and ginger only need a short hit of heat, and the sauce should come to a real boil before the slurry goes in. If you add the slurry too early, the sauce stays thin; if you boil it too hard after thickening, it can turn gluey instead of glossy.
What the Cornstarch, Soy Sauce, and Brown Sugar Are Doing Here
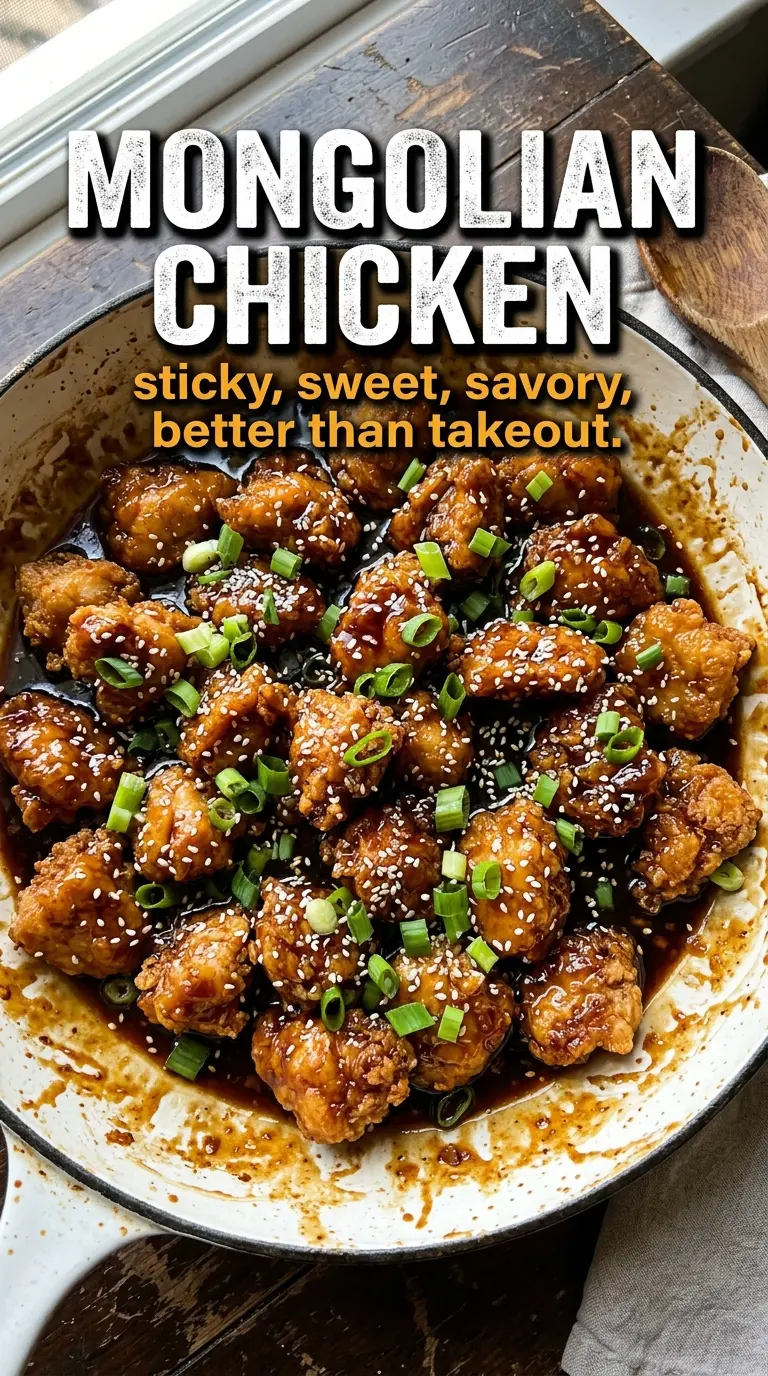
- Chicken breasts — Thin slicing is what keeps this dish fast and tender. If the pieces are thick, they’ll overcook before they brown. Chicken thighs work too and stay a little juicier, but breasts give you that lighter, takeout-style bite.
- Cornstarch — This is the coating that helps the chicken crisp and also the thickener that gives the sauce its shine. There isn’t a true one-to-one substitute that behaves the same way. Arrowroot can work in the slurry, but it softens faster and doesn’t brown the chicken quite as well.
- Soy sauce — Use a regular all-purpose soy sauce here, not a dark one. The sauce needs salt and color, but it still has to taste balanced after the sugar goes in. Low-sodium soy sauce works if that’s what you keep on hand; just know the finished sauce will taste a little softer and may need a pinch more salt.
- Brown sugar and hoisin — This is the sticky, lacquered part of the sauce. Brown sugar gives the caramel note, while hoisin adds depth and a little body. If you skip the hoisin, the sauce still works, but it tastes flatter and more one-dimensional.
- Fresh ginger and garlic — Fresh is worth it here. Powder won’t give you the same sharp, fragrant backbone once the sauce reduces. Mince the garlic finely and grate the ginger so they melt into the sauce instead of leaving little raw bits behind.
Getting the Chicken Browned Before the Sauce Ever Hits the Pan
Coating the Chicken
Toss the sliced chicken with cornstarch, salt, and pepper until every piece looks lightly dusted, not clumped. You want a dry, even coating because that surface is what browns in the hot oil. If the chicken sits too long after coating, the cornstarch can turn damp and gummy, so move straight from the bowl to the skillet.
Building the Sear
Heat the oil until it shimmers, then lay the chicken in without crowding the pan. Let it sit long enough to develop a deep golden edge before turning it. If you stir too soon, the crust tears and the chicken releases moisture, which is how you end up steaming instead of searing.
Making the Sauce Glossy
Once the chicken is out, add the garlic and ginger and stir just until fragrant, about 30 seconds. Pour in the sauce and bring it to a boil before adding the cornstarch slurry. The sauce should shift from thin and bubbling to visibly glossy within a minute or two; if it still looks watery, give it another short simmer rather than adding more slurry all at once.
Bringing It All Together
Return the chicken and add the green onions at the end so they keep some bite. Toss until every piece is coated and the onions are just softened around the edges. This is the moment the sauce should cling to the chicken in a shiny layer, not pool at the bottom of the pan.
How to Adjust This Mongolian Chicken for Thighs, Heat, or a Lighter Plate
Use chicken thighs for a richer bite
Boneless skinless thighs work well here and stay juicier if you like a little more forgiveness. They take about the same time, but the finished dish will taste a touch richer and less lean than the breast version.
Make it gluten-free with one smart swap
Use tamari in place of soy sauce and check that your hoisin is gluten-free. The texture stays the same, and the sauce still gets that deep, sticky finish.
Turn down the heat without losing the character of the dish
Leave out the red pepper flakes if you want a milder sauce, or add a pinch more if you like a little edge. The sugar and soy are still the lead flavors either way, so the dish stays balanced.
Serve it with vegetables instead of just rice
Steamed broccoli, snap peas, or sautéed bell peppers all work beside the chicken and soak up extra sauce. The bowl feels lighter, but you still get the sticky, savory-sweet payoff.
Storage and Reheating
- Refrigerator: Store leftovers in an airtight container for up to 4 days. The sauce will thicken a bit more as it chills.
- Freezer: It freezes well for about 2 months, though the chicken won’t stay quite as crisp. Freeze in portions with the sauce and thaw overnight in the fridge.
- Reheating: Warm it in a skillet over medium-low heat with a splash of water to loosen the sauce. The common mistake is blasting it in the microwave until the chicken turns rubbery and the glaze dries out.
Questions I Get Asked About This Recipe
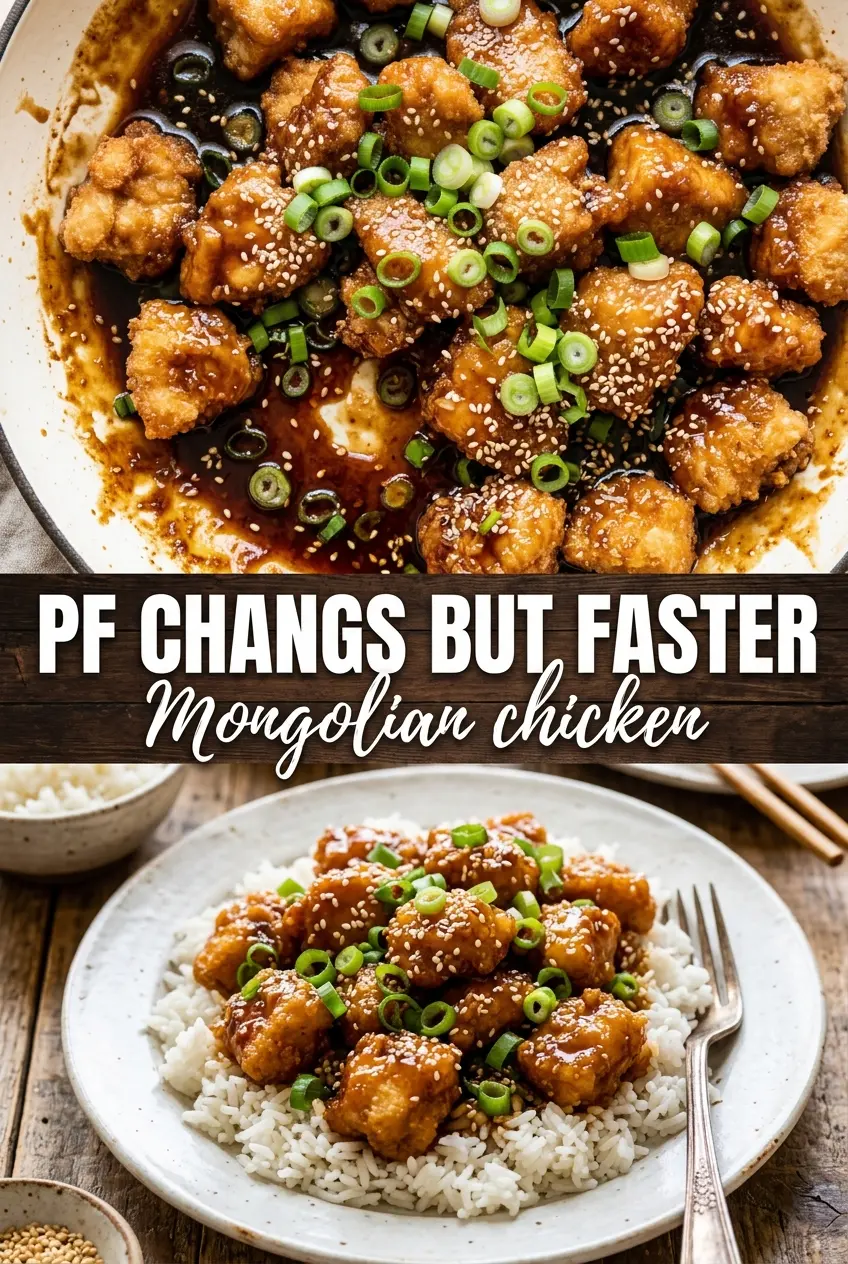
Mongolian Chicken
Ingredients
Equipment
Method
- Toss the thinly sliced chicken with cornstarch, salt, and pepper until every piece is coated and looks slightly dry on the surface.
- Whisk soy sauce, brown sugar, water, hoisin sauce, sesame oil, and red pepper flakes until the sugar dissolves and the mixture looks smooth.
- Heat the vegetable oil in a large skillet or wok over high heat until shimmering, then cook the chicken 3-4 minutes per side until deeply golden and cooked through; remove to a plate.
- Add the minced garlic and grated ginger to the same pan and stir-fry for 30 seconds until fragrant, watching closely so they don’t burn.
- Pour in the sauce mixture and bring it to a boil over high heat, so steam rises and the liquid bubbles vigorously.
- Stir in the cornstarch slurry (cornstarch mixed with water) and cook 1-2 minutes until thickened and glossy, coating the back of a spoon.
- Return the chicken to the pan and add the green onions, then toss 30-60 seconds until the sauce clings and the onions look lightly charred at the edges.
- Serve the sticky Mongolian chicken over steamed white rice and top with sesame seeds so the glaze clings as you eat.