Crispy little shells, cold cheesecake filling, and that hit of Oreo crunch make these Mini Oreo Cheesecake Tacos disappear fast. The contrast is the whole point: shatteringly crisp wonton wrappers on the outside, a cloud-like cheesecake center inside, and just enough cookie crumbs on top to keep every bite from tasting flat. They’re playful without being fussy, and they hold up better than you’d expect once the filling chills and settles into the shells.
The trick is treating each part like it has a job. The wonton wrappers need hot oil so they blister and turn golden before they absorb grease, and the cheesecake filling needs to be whipped in two stages so it stays light instead of dense. Folding the whipped cream into the cream cheese base is what gives the filling that mousse-like texture you want in a dessert taco.
Below you’ll find the timing that keeps the shells crisp, the filling smooth, and the tacos easy to assemble without tearing. I’ve also included a few swaps and storage notes, because these are the kind of treats people ask about once they’ve made them once.
The shells stayed crisp after chilling, and the filling was light but still held its shape when I piped it in. I used a little extra Oreo crumb on top, and my kids thought these were the coolest dessert I’ve made in a while.
These Mini Oreo Cheesecake Tacos are the kind of dessert that gets eaten with one hand and photographed with the other.
Why the Shells Need to Be Fried First and Filled Later
The biggest mistake with dessert tacos is trying to rush the order. If the shells sit too long after frying without support, they slump; if they get filled while warm, the cheesecake softens and starts to slide. Frying the wonton wrappers into a taco shape first, then letting them cool completely, gives you a shell that stays crisp long enough to serve and chill.
The other thing that matters here is fat content in the filling. Cream cheese gives the structure, but the whipped cream is what keeps it from eating like frosting. When you fold the whipped cream in after the cream cheese base is smooth, you get a filling that pipes cleanly and holds its shape without feeling heavy.
- Hot oil — You need enough heat for the wrappers to blister fast. If the oil is only warm, they’ll soak up grease before they crisp.
- Wonton wrappers — These give the taco its snap. Tortillas won’t fry up the same way, and phyllo is too delicate for this shape.
- Cream cheese — Full-fat cream cheese gives the filling body and tang. Low-fat versions can work, but the texture is looser and less rich.
- Oreos — The cookie crumbs bring the flavor and keep the filling from tasting one-note. Crush them finely, but leave a few small bits for texture.
What Each Ingredient Is Actually Doing in These Dessert Tacos
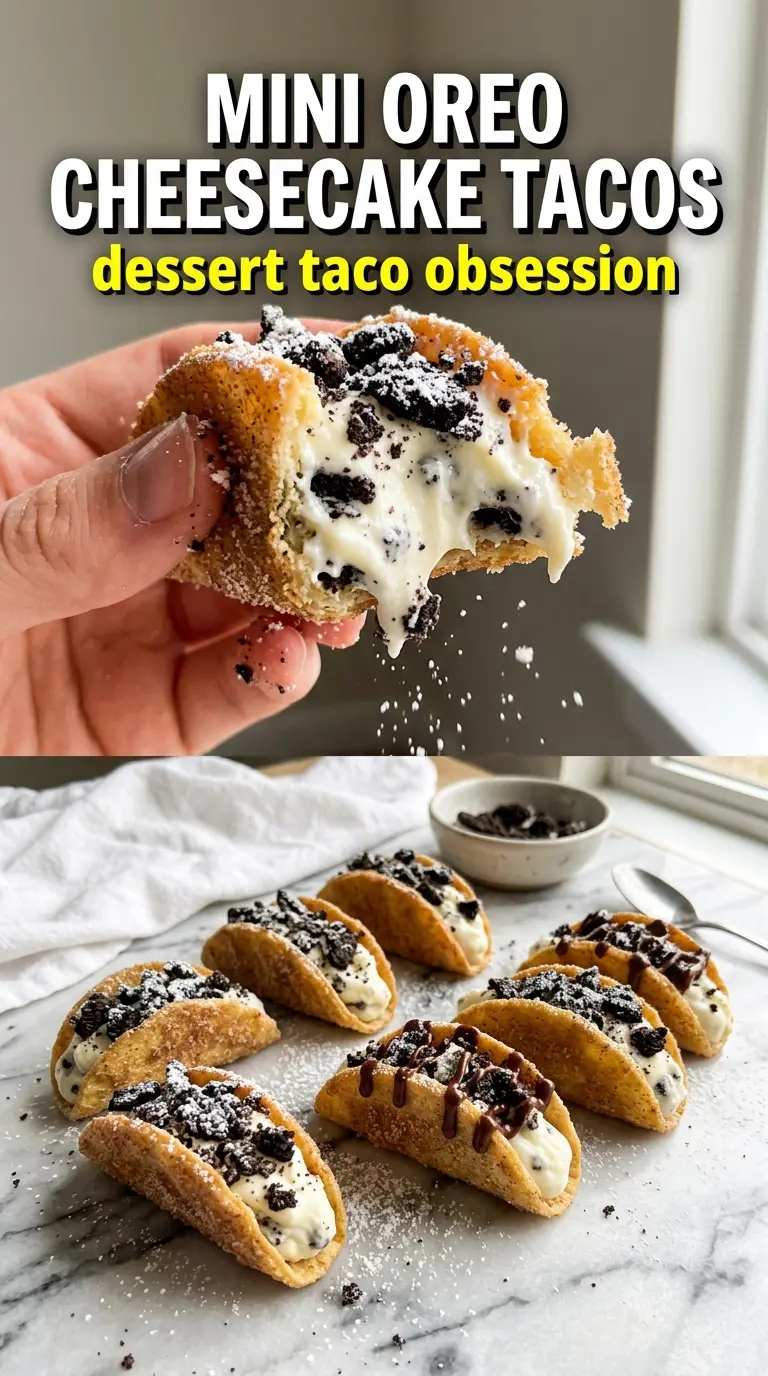
- Wonton wrappers — These fry into the thin, crisp shell that makes the whole dessert work. If you skip them or bake them instead, you lose that taco-style crunch. The wrappers should be folded over a spoon handle or metal rack edge while frying so they set in that curved shape.
- Cream cheese — Softened cream cheese beats smooth and prevents lumps. Cold cream cheese stays grainy, no matter how long you mix it, so let it sit out until it bends easily when pressed.
- Powdered sugar — This sweetens the filling without grittiness. Granulated sugar won’t dissolve the same way in a cold cheesecake filling.
- Heavy cream — Whipping the cream separately gives you a lighter texture than stirring it straight into the cheese. Half-and-half won’t whip, and the filling won’t set up with the same lift.
- Oreo cookies — The cookies bring the chocolate-and-cream flavor that defines the dessert. For a stronger cookie bite, save a few slightly larger crumbs for folding in at the end.
- Chocolate sauce and whipped cream — These are finishing touches, but they matter. The sauce adds a glossy finish, and the whipped cream softens the crunch so each bite feels layered instead of dry.
How to Keep the Shell Crisp While the Filling Stays Light
Frying the Wonton Shells
Heat the oil to 350°F and keep it there. Too cool, and the wrappers absorb oil before they turn golden; too hot, and they blister on the outside before the center sets. Fry each wrapper just long enough for pale gold spots to deepen and the shape to hold, then drain them on paper towels or a rack. If they feel fragile at first, that’s normal — they crisp as they cool.
Whipping the Cheesecake Base
Beat the cream cheese and powdered sugar until the mixture turns fluffy and there are no lumps left at the bottom of the bowl. That smooth base matters because once the whipped cream goes in, you won’t want to overmix. Whip the heavy cream to soft peaks separately, then fold it in gently with the vanilla and crushed Oreos. If you stir hard here, you’ll knock out the air and end up with a filling that’s heavy instead of mousse-like.
Filling and Chilling
Pipe or spoon the filling into completely cooled shells. Warm shells soften the filling fast and can even make the bottoms break if they’ve been sitting too long. Add the whipped cream, extra crumbs, and chocolate sauce after the filling is in place, then chill the tacos for at least an hour so everything firms up and slices cleanly with a spoon or bites cleanly by hand.
How to Adapt These Mini Oreo Cheesecake Tacos
Gluten-Free Version
Use gluten-free vanilla sandwich cookies or a gluten-free chocolate cookie for the crumb mixture, but keep the wonton shells in mind, since standard wrappers contain wheat. For a true gluten-free version, swap the shells for small baked tortilla cups made from gluten-free tortillas, though you’ll lose some of the shattering crispness of the fried wonton version.
Lighter No-Fry Option
If you don’t want to fry, brush wonton wrappers lightly with melted butter, drape them over an oven rack handle or taco mold, and bake until golden. The shells won’t have quite the same airy crunch, but they’ll still give you that taco shape with much less hands-on attention at the stove.
Chocolate Lover’s Version
Add a tablespoon or two of extra crushed Oreos to the filling and drizzle the inside of each shell with chocolate sauce before piping. That gives you a deeper cookie-and-cream flavor and a little extra moisture, which is nice if you’re serving these after the tacos have chilled for a few hours.
Storage and Reheating
- Refrigerator: Store assembled tacos in a single layer for up to 2 days. The shells soften a bit by day two, but they still taste great.
- Freezer: Don’t freeze the assembled tacos. The filling can separate and the shells lose their crunch. You can freeze the whipped cheesecake filling alone for a short time, but the texture won’t be as airy after thawing.
- Reheating: These aren’t meant to be reheated. If the shells have softened, the best fix is to fill fresh shells instead of trying to warm the finished tacos.
The Questions I Get Asked About These Oreo Cheesecake Tacos
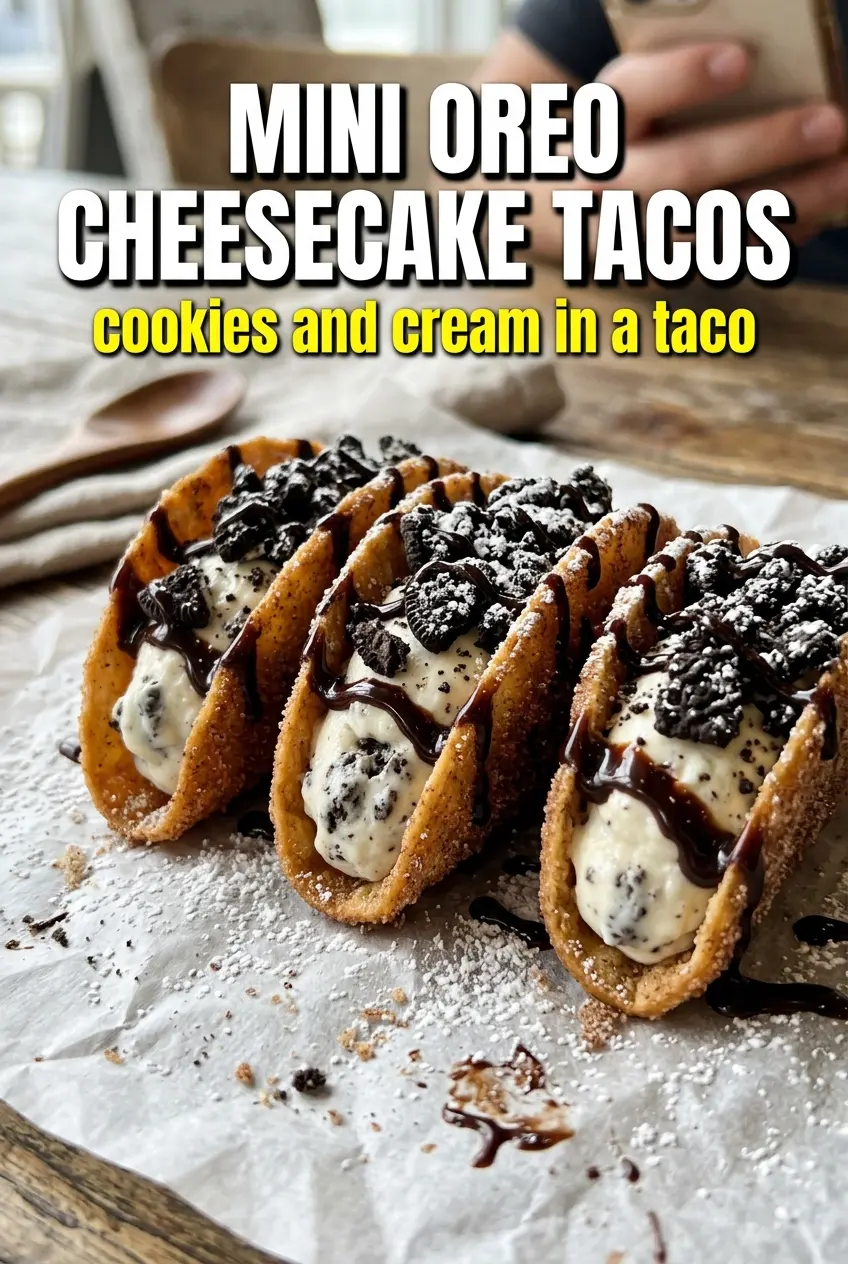
Mini Oreo Cheesecake Tacos
Ingredients
Equipment
Method
- Heat vegetable oil in a deep skillet to 350°F. Fry wonton wrappers shaped into a “taco” form for 2-3 minutes until golden and crispy, then drain on paper towels.
- Beat cream cheese and powdered sugar until fluffy, using a stand mixer on medium speed. Stop to scrape the bowl so the mixture turns smooth and light.
- Whip heavy cream to soft peaks, then fold it into the cheese mixture. Mix in vanilla extract and crushed Oreo cookies until evenly combined with no dry streaks.
- Pipe the cheesecake mixture into the cooled taco shells. Fill each shell evenly so the filling slightly mounds.
- Top each taco with whipped cream, extra crushed Oreos, and a drizzle of chocolate sauce. Serve chilled after resting to firm up the filling.
- Refrigerate the tacos for at least 1 hour before serving. Keep them loosely covered so the shells stay crisp as long as possible.