Juicy chicken and a thick queso-style sauce make this one of those dinners that disappears fast once it hits the table. The chicken gets a bold taco-seasoned crust in the skillet, then the sauce comes in glossy and spoonable, with just enough jalapeño and tomato to keep the whole dish from tasting flat or heavy.
What makes this version work is the contrast: well-seared chicken for texture, then a cheese sauce built gently so it stays smooth instead of grainy. The flour and butter start the sauce with structure, while the blend of Mexican cheese and Velveeta gives you both flavor and that creamy melt people expect from queso. Draining the tomatoes matters here, too, because extra liquid is the fastest way to thin out the sauce.
Below, I’ve included the cue that tells you the sauce is ready, the ingredient swaps that actually hold up, and the small timing detail that keeps the chicken juicy instead of dry.
The queso sauce turned out silky and thick, and the drained tomatoes kept it from getting watery. I sliced the chicken after resting it and the juices stayed in the meat instead of running all over the plate.
Save this Mexican Chicken with Cheese Sauce for the nights when you want seared chicken, a glossy queso topping, and dinner on the table fast.
The Trick to Keeping the Cheese Sauce Smooth Instead of Grainy
The biggest failure point in queso chicken is turning the sauce too hot once the cheese goes in. Cheese wants gentle heat. If the sauce boils hard, the fat separates and you end up with a greasy, grainy mess instead of a glossy coating that clings to the chicken.
The other thing that matters is the milk-to-cheese balance. This sauce is thick enough to pour, but not so loose that it runs off the plate. The flour-butter base gives it body first, then the cheeses melt into that base without needing extra flour later, which keeps the texture clean and creamy.
What Each Ingredient Is Actually Doing in This Queso Chicken
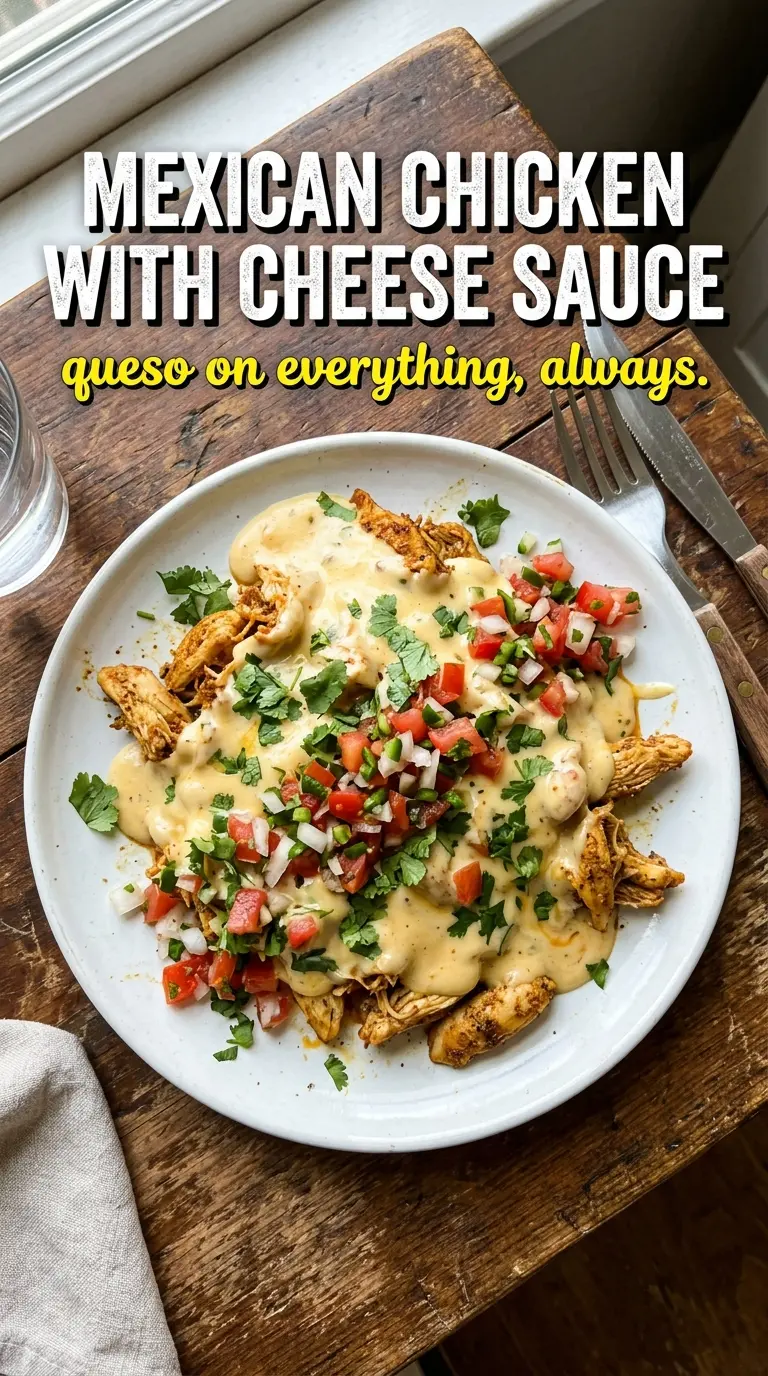
- Chicken breasts — Boneless, skinless breasts cook fast and slice neatly, which matters because the sauce is the main event. If yours are thick on one end, pound them lightly so they cook evenly and stay juicy.
- Taco seasoning — This seasons the chicken and builds a darker crust than plain salt and pepper would. Store-bought seasoning works fine here, but if yours is very salty, use a light hand because the cheese sauce already brings plenty of seasoning.
- Whole milk — The fat in whole milk helps the sauce stay smooth. Lower-fat milk can work, but it makes the sauce a little thinner and less plush, so you may need a few extra minutes of gentle simmering.
- Mexican cheese blend — This brings the sharper, more familiar cheese flavor. Shred it yourself if you can, because bagged shreds often contain anti-caking agents that slow melting.
- Velveeta — It sounds old-school, but it earns its place here because it melts into a stable, silky sauce. If you swap it out for all natural cheese, expect a more fragile sauce that needs much more careful heat control.
- Rotel and jalapeño — These keep the sauce lively and cut through the richness. Draining the tomatoes is important; too much liquid here turns the sauce thin and makes the flavor muddy.
- Cumin — A small amount gives the sauce that Tex-Mex backbone without making it taste like chili. More than a half teaspoon takes over fast, so keep it subtle.
Building the Chicken and Sauce in the Right Order
Seasoning and Searing the Chicken
Rub the taco seasoning all over the chicken so every bite has some color and spice. Sear the breasts in olive oil over medium-high heat until they have a deep golden crust and release easily from the pan, about 5 to 6 minutes per side depending on thickness. If the pan is too crowded, the chicken steams instead of browning, and you lose the flavor that makes the dish feel finished.
Starting the Sauce Base
Melt the butter, whisk in the flour, and let that mixture cook for about a minute before the milk goes in. That short cook time gets rid of the raw flour taste and gives the sauce a head start on thickening. Add the milk gradually while whisking so the base stays smooth; dumping it in all at once can leave little lumps that take longer to break up.
Melting in the Cheese
Pull the pan back to medium-low before you add the cheeses. Stir until the Mexican blend and Velveeta melt into a smooth, thick sauce, then add the drained tomatoes, jalapeño, and cumin. If the sauce looks a little loose at first, give it a few minutes; it thickens as the cheese settles in and the moisture cooks off.
Finishing and Serving
Let the chicken rest before slicing so the juices stay inside the meat instead of pooling on the board. Spoon the queso sauce over the top while it’s still warm and glossy. Cilantro and lime wedges matter here because the fresh herbs and acid keep the dish from leaning too heavy after the first few bites.
How to Adjust This Mexican Chicken Without Losing the Good Parts
Make it Spicier Without Ruining the Sauce
Keep the jalapeño seeds in, or add a pinch of cayenne with the cumin. That gives you a sharper finish without thinning the sauce, which can happen if you rely on extra salsa or too much tomato.
Go Gluten-Free the Clean Way
Swap the all-purpose flour for a good gluten-free 1:1 blend. The roux still needs that minute of cooking so the sauce thickens properly, and the rest of the recipe stays the same.
Use Chicken Thighs for a Richer Result
Boneless thighs bring a little more richness and stay tender even if they cook a minute longer. They also handle the bold sauce well, though you’ll want to trim any extra fat so the plate doesn’t get greasy.
Make It Lighter on Dairy
You can use 2% milk, but the sauce won’t be as plush, and it may need a longer gentle simmer to tighten up. I wouldn’t skip the Velveeta if you want the same smooth texture, because it’s the piece that keeps the sauce stable.
Storage and Reheating
- Refrigerator: Store the chicken and sauce separately, or together in an airtight container, for up to 3 days. The sauce will thicken as it chills.
- Freezer: The chicken freezes well, but the cheese sauce is more temperamental and can turn grainy after thawing. If you do freeze it, expect a texture change and rewarm it gently.
- Reheating: Warm the sauce slowly over low heat with a splash of milk, whisking until it loosens. High heat is what breaks the sauce, so don’t rush it in the microwave unless you’re using short bursts and stirring between each one.
Answers to the Questions Worth Asking
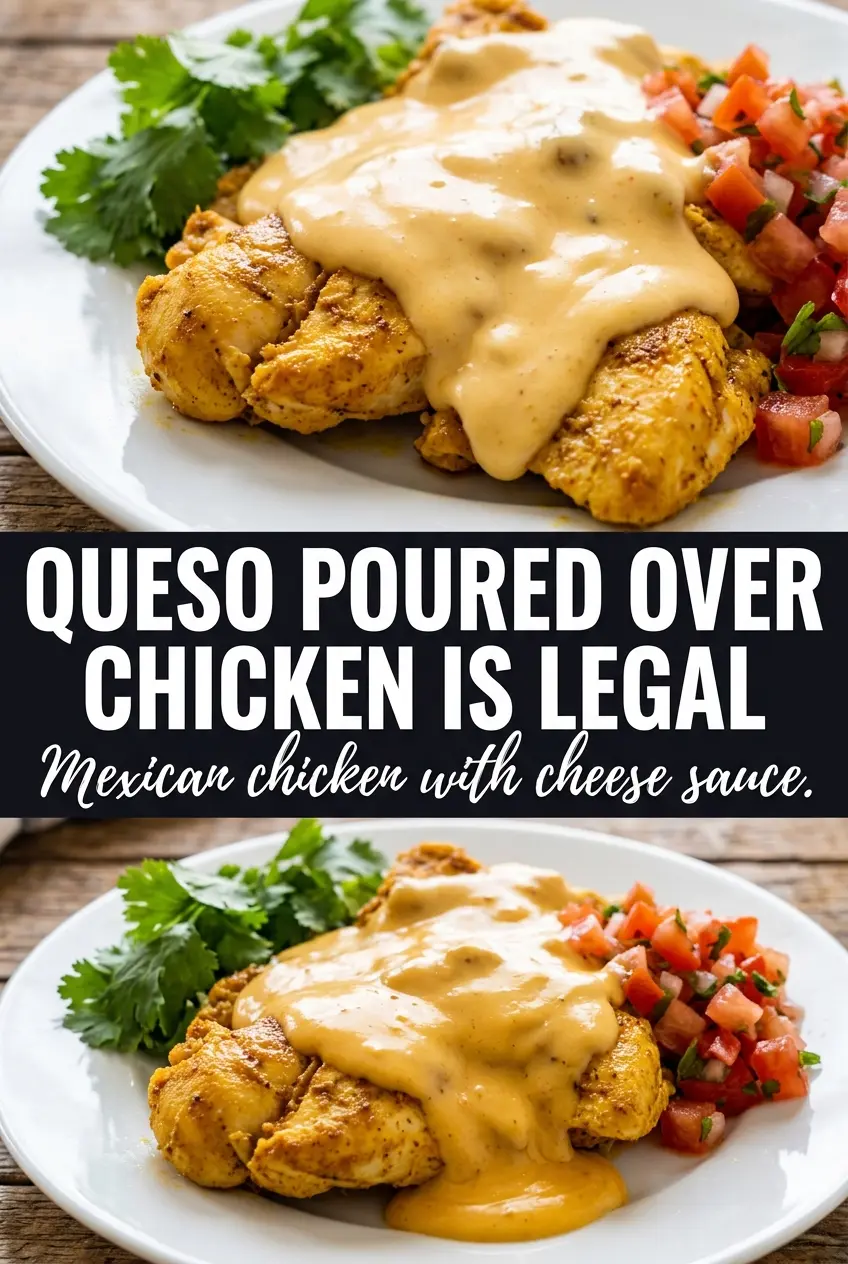
Mexican Chicken with Cheese Sauce
Ingredients
Equipment
Method
- Rub the boneless skinless chicken breasts with taco seasoning. Heat the cast iron skillet with olive oil over medium-high heat until shimmering, about 1 minute, then lay the chicken in the pan with the first sizzle immediately noticeable.
- Sear the chicken for 5-6 minutes per side until cooked through to 165°F. Flip only once, and watch for deep browned edges like a blackened crust before turning.
- Remove the chicken and rest it briefly, then slice. When sliced, the center should stay juicy with no pink, and the juices should run clear.
- Melt butter in a saucepan over medium heat, then whisk in all-purpose flour for 1 minute. The mixture should turn smooth and lightly golden and look glossy, not dry.
- Gradually add whole milk while whisking until smooth. Keep whisking until the sauce base looks silky with no floury lumps.
- Stir in shredded Mexican cheese blend and Velveeta until fully melted. The texture should become thick and elastic, pulling slightly as it melts.
- Add diced tomatoes with green chiles (Rotel), jalapeño, and cumin, then simmer for 3-4 minutes until smooth and thick. The sauce should look vibrant orange and coat the spoon with a glossy sheen.
- Plate the sliced chicken and pour the cheese sauce generously over the top. Make sure each piece is covered so the queso forms an even pool in the plate center.
- Garnish with fresh cilantro and lime wedges. Finish with a bright green-citrus contrast so the surface looks fresh and inviting.