Golden lemon pepper chicken earns its place in the dinner rotation because the crust gets deeply savory before the lemon butter sauce goes in, which keeps every bite bright instead of flat. The chicken sears into a peppery, fragrant exterior, then finishes in a glossy pan sauce that tastes like fresh citrus, not bottled lemon.
What makes this version work is the balance between dry seasoning and finishing sauce. Lemon zest goes on the chicken itself, where it perfumes the crust and helps the spices cling, while fresh lemon juice stays in the sauce so the flavor stays clean and sharp. The chicken cooks hot enough to brown quickly, but not so hot that the butter sauce breaks or the garlic burns.
Below, I’ve laid out the little details that matter here: how to keep chicken breasts juicy, when to pull the pan off the heat, and what to change if your chicken pieces are uneven. Those small choices are what turn a plain skillet dinner into something you’ll actually want to make again.
The crust got beautifully browned and the lemon butter sauce stayed smooth and glossy. I usually overcook chicken breasts, but pulling them at 165°F kept them tender all the way through.
Pin this lemon pepper chicken for the nights when you want a crisp golden crust, a glossy lemon butter finish, and one skillet to clean.
The Step That Keeps the Lemon Crust Bright Instead of Bitter
Most lemon pepper chicken goes sideways when the lemon is treated like a seasoning and a sauce ingredient at the same time. Zest belongs on the chicken because the oils cling to the surface and perfume the crust. Juice belongs in the butter sauce because heat wakes up the citrus without making the coating taste sharp or dusty.
The other point that matters is heat control. A skillet that’s hot enough to brown the chicken quickly gives you a deeper crust, but if the pan runs too hot once the butter goes in, the garlic can scorch and the sauce turns harsh. Pulling the chicken out before the sauce starts keeps the breast juicy and gives you time to finish the pan sauce cleanly.
What Each Ingredient Is Actually Doing in This Skillet Dinner
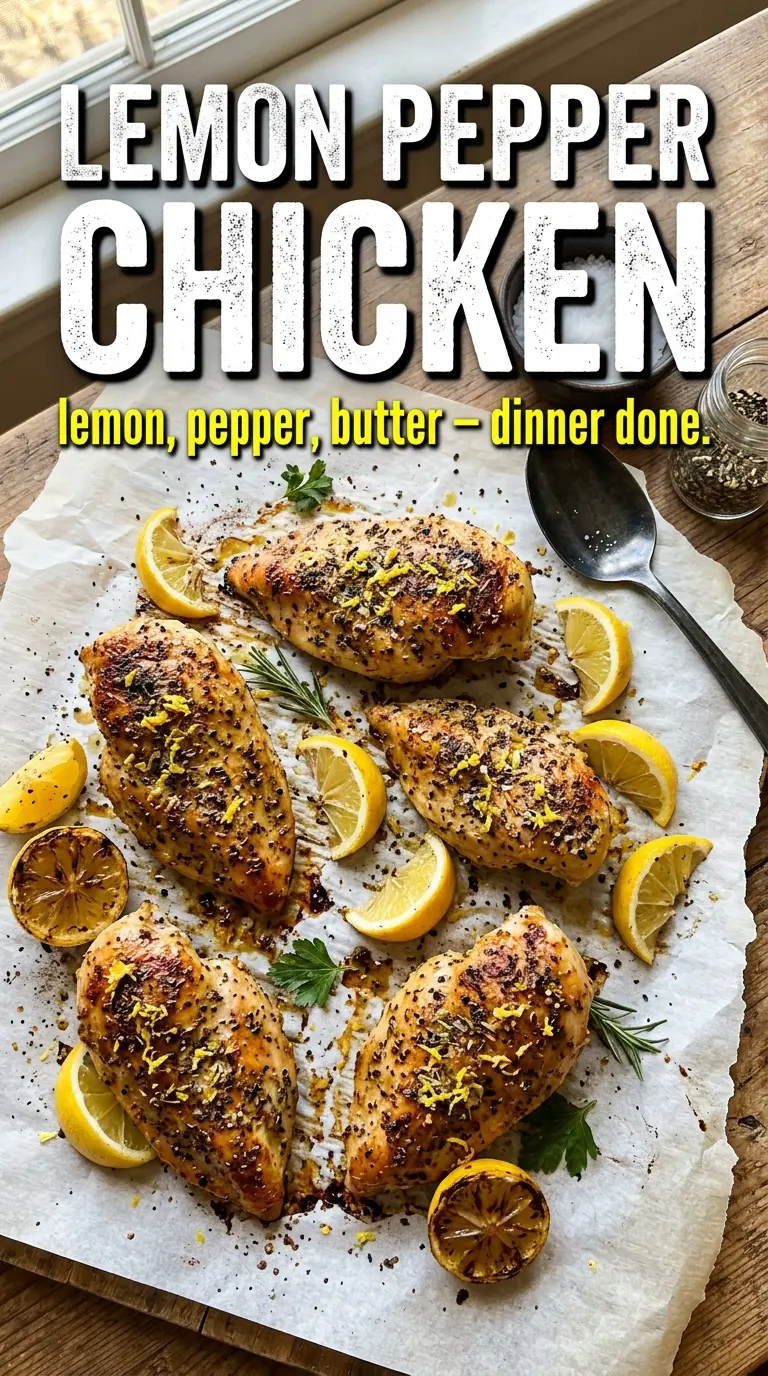
- Chicken breasts — Boneless, skinless breasts give you a fast-cooking main that works well with a bold crust. If yours are thick on one end and thin on the other, pound them to an even thickness so the thinner side doesn’t dry out before the center is done.
- Lemon zest — This is the backbone of the flavor on the chicken itself. Fresh zest matters here because dried lemon flavor won’t give you the same bright oils or the fragrant crust that makes the dish stand out.
- Cracked black pepper — Use real cracked pepper, not fine powder, so you get little bursts of heat and a more visible crust. The coarser texture also helps it cling better to the chicken.
- Butter and lemon juice — Butter carries the sauce and gives it body, while fresh lemon juice cuts through the richness. Don’t swap in bottled juice unless you have to; it tastes flatter and can make the sauce less lively.
- Garlic — A single minced clove is enough to give the sauce depth without taking over. It should only cook for about a minute, just until fragrant, because browned garlic turns bitter fast in a butter sauce.
How to Sear, Sauce, and Finish Without Losing the Juiciness
Season the Chicken Like You Mean It
Mix the lemon zest, pepper, garlic powder, onion powder, and salt before you touch the skillet. Rub it over both sides of the chicken so the surface looks evenly speckled and a little past dusty; that’s what you want. If the breasts are wet, pat them dry first or the seasoning will slide off and the pan will steam instead of sear.
Get the First Side Deeply Golden
Use a large skillet and enough olive oil to coat the bottom. Lay the chicken in and leave it alone for the full 5 to 6 minutes so the crust can form; if you keep nudging it, the seasoning smears and sticks to the pan. You’re looking for a deep golden edge and easy release before you flip. If the chicken fights the pan, give it another minute.
Build the Lemon Butter Sauce in the Same Pan
After the chicken comes out, lower the heat before adding the butter. That’s the point where most sauces go wrong: if the pan is still ripping hot, the garlic burns and the lemon can taste harsh. Stir in the lemon juice and zest once the garlic smells fragrant, then scrape up the browned bits from the pan. Those little bits are where the savory part of the sauce lives.
Return the Chicken and Finish Gently
Slide the chicken back into the skillet and spoon the sauce over the top. This last minute in the pan lets the breasts absorb the lemon butter without overcooking. If you’ve got an instant-read thermometer, pull the chicken when it hits 165°F in the thickest part. Garnish with parsley and lemon slices right before serving so the dish stays bright.
How to Adapt This When You Need a Different Kind of Dinner
Use chicken cutlets for a faster version
Thin cutlets cook in about half the time and brown more evenly, which makes this a great option when you need dinner on the table fast. Reduce the sear time and watch closely, because cutlets go from done to dry in a narrow window.
Make it dairy-free without losing the lemon finish
Swap the butter for a good dairy-free butter substitute that melts cleanly. You’ll lose a little of the classic richness, but the sauce still turns glossy and holds the lemon juice well if you keep the heat low.
Turn it into a gluten-free dinner with no extra work
This recipe is naturally gluten-free as written, as long as your spice blend and butter are pure. That makes it an easy skillet meal when you need something dependable without changing the technique.
Add a little cream for a softer sauce
Stir in a splash of cream after the lemon juice if you want a rounder, less punchy sauce. It mutes the citrus a bit, but it also gives you a richer finish that clings to the chicken and any rice or pasta on the side.
Storage and Reheating
- Refrigerator: Store leftovers for up to 3 days. The chicken stays tasty, though the crust softens a bit in the fridge.
- Freezer: The chicken freezes well, but the butter sauce can separate a little after thawing. Freeze in an airtight container and expect a slightly less silky finish.
- Reheating: Warm gently in a covered skillet over low heat with a splash of water or chicken broth. The mistake to avoid is blasting it in the microwave, which tightens the chicken and dulls the sauce.
Answers to the Questions Worth Asking

Lemon Pepper Chicken
Ingredients
Equipment
Method
- Mix lemon zest, cracked black pepper, garlic powder, onion powder, and salt, then rub generously over both sides of each chicken breast.
- Heat olive oil in a large skillet over medium-high heat and sear chicken for 5-6 minutes per side until golden and the internal temperature reaches 165°F, then remove.
- Melt butter in the same pan over medium heat, then cook the garlic for 1 minute while stirring.
- Stir in fresh lemon juice and lemon zest, then simmer briefly until the sauce looks glossy.
- Return chicken to the pan and spoon lemon butter sauce over each breast.
- Garnish with fresh parsley and lemon slices, then serve immediately.