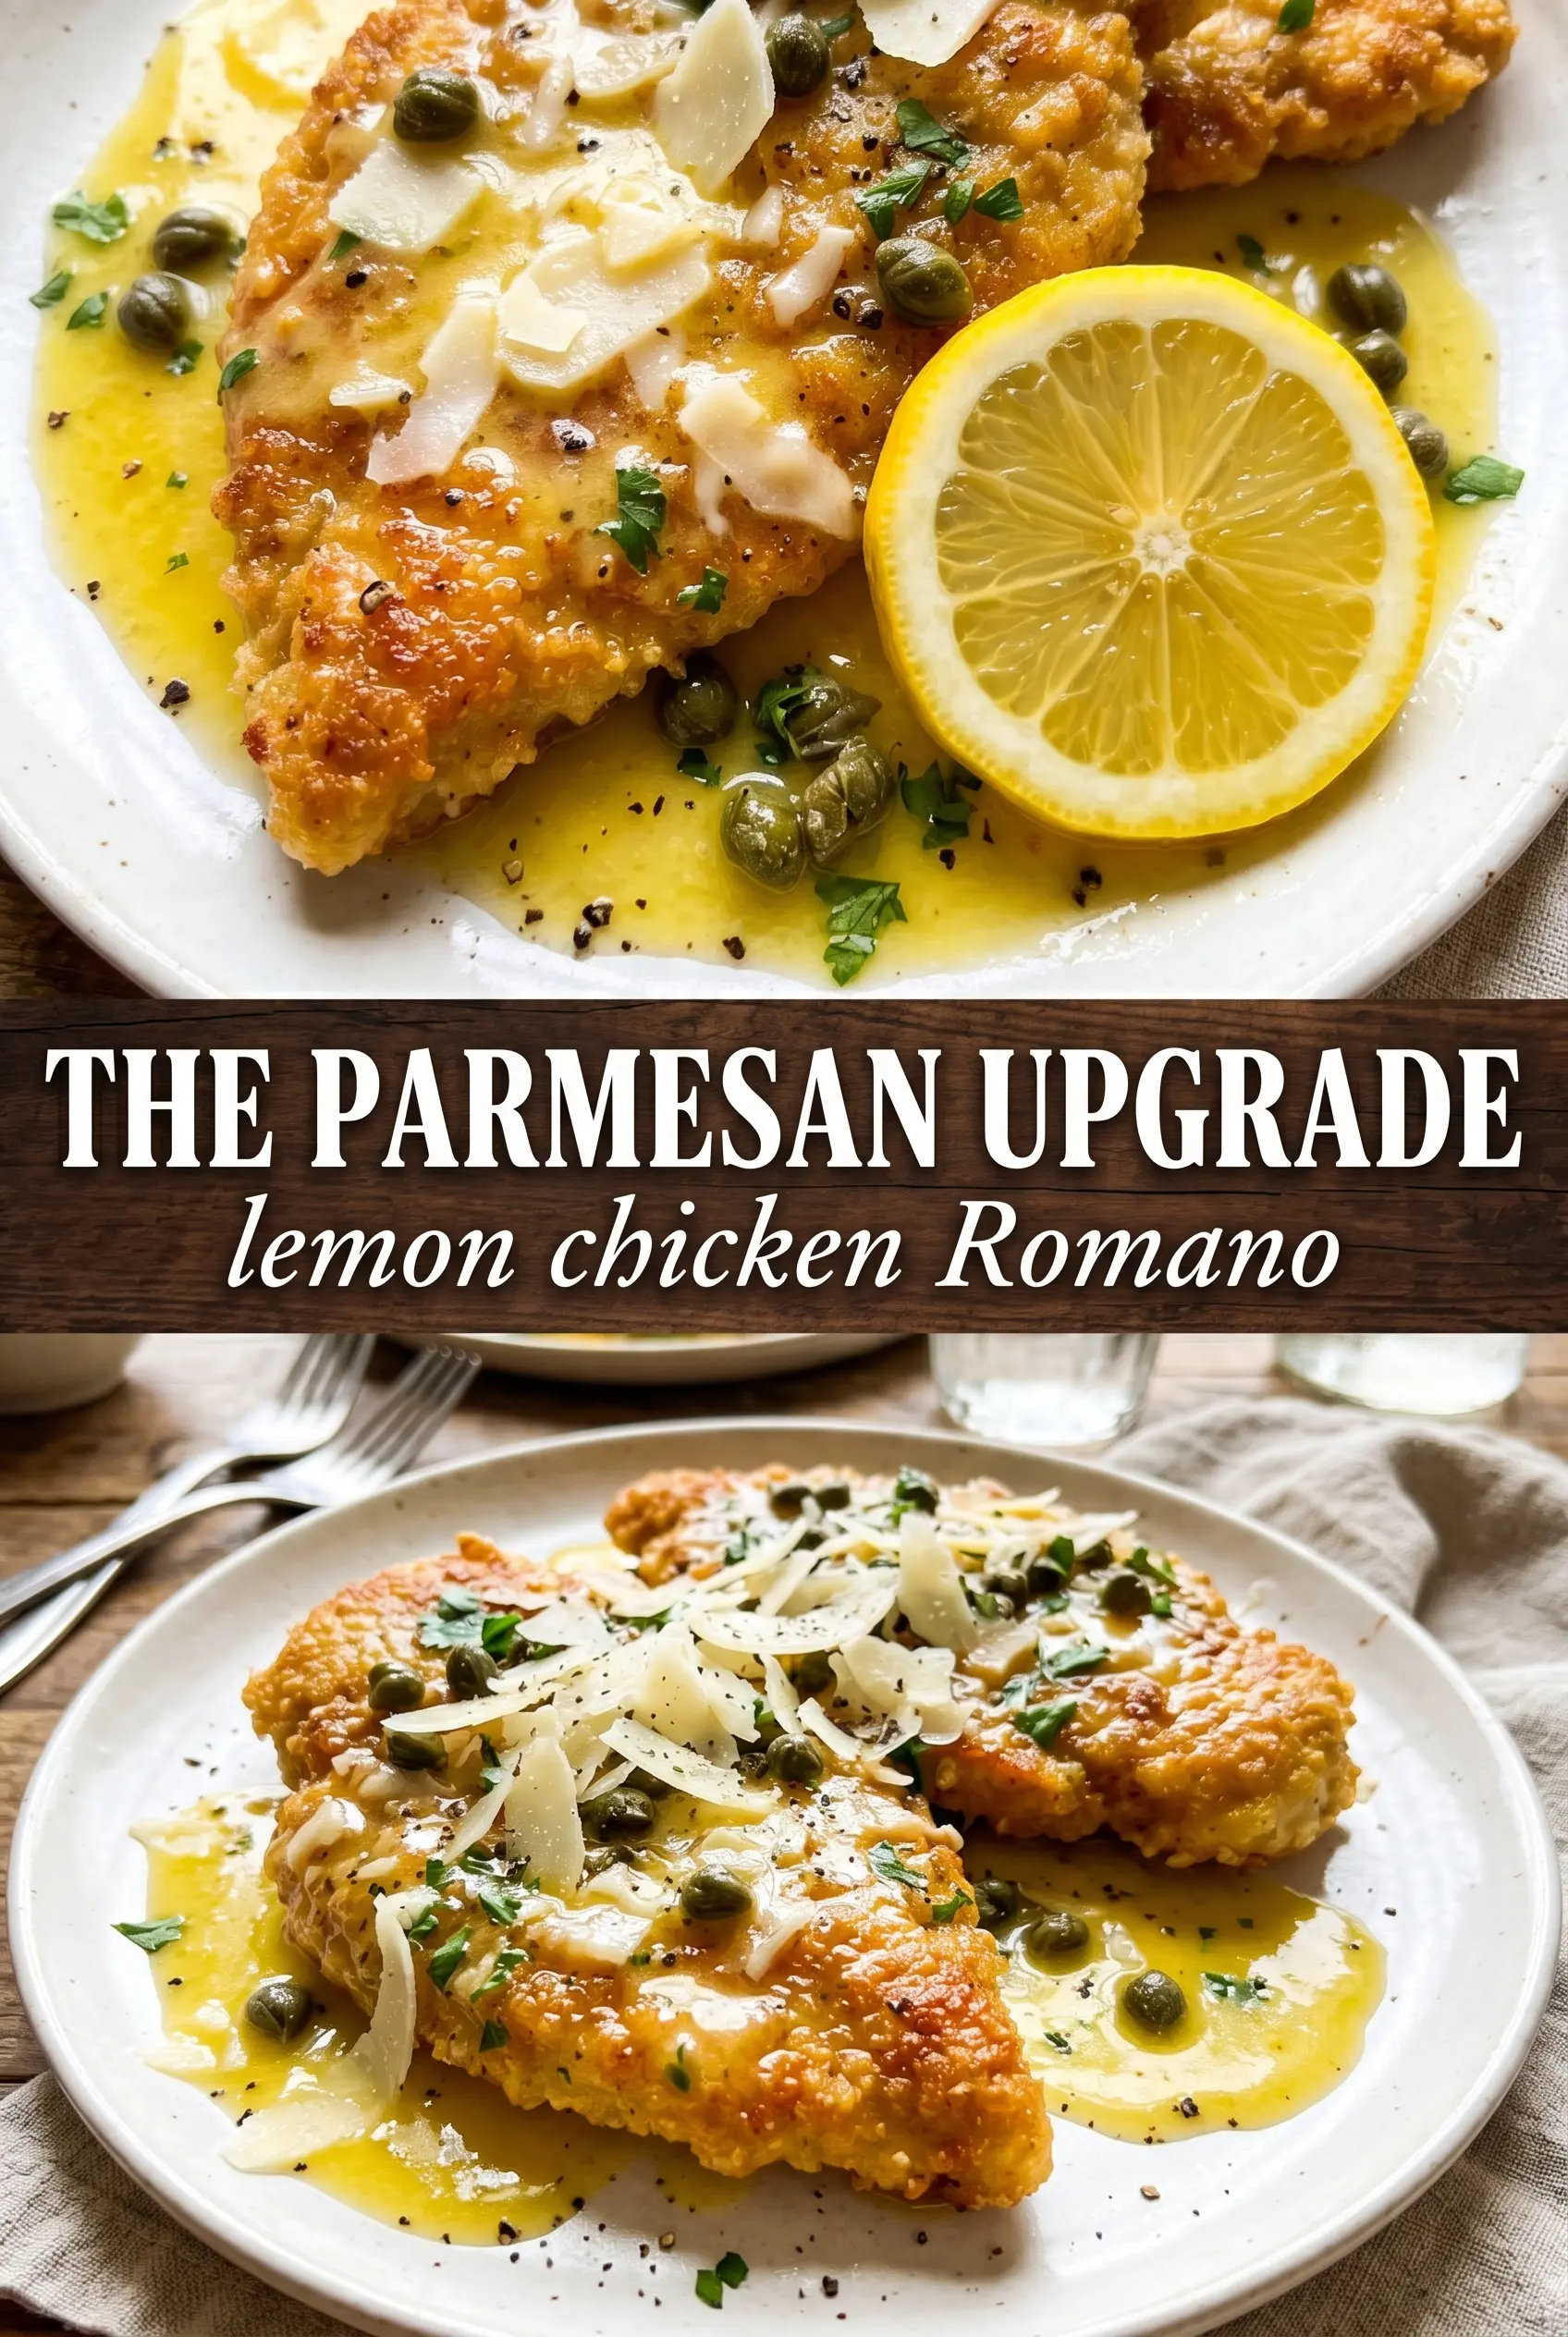
Thin chicken cutlets with a crisp Romano crust and a bright lemon butter sauce disappear fast, and that’s exactly why this dish earns a permanent spot in the dinner rotation. The coating stays shatteringly crunchy, the chicken cooks in minutes, and the sauce brings just enough sharpness to cut through the cheese and butter without turning heavy.
The texture comes from two things done right: pounding or slicing the chicken thin enough that it cooks evenly, and pressing the Romano-panko coating on firmly so it doesn’t slide off in the pan. Pecorino Romano gives the crust its salty, nutty bite, while the capers and wine keep the sauce from tasting flat. The whole dish feels classic and restaurant-style, but it still lands on the table in about half an hour.
Below, I’ve included the little details that matter most here — how to keep the crust crisp, when to add the butter so the sauce stays glossy, and a few smart swaps if you need them.
The Romano crust browned up beautifully and stayed on the chicken, and the lemon-caper sauce was just right over the cutlets. My pan got a little crowded, but the sauce still came together glossy and bright in the end.
Crave that crispy Lemon Chicken Romano crust and glossy lemon-caper butter sauce? Save it to Pinterest for the night you want a fast Italian-American chicken dinner that still feels special.
The Secret to Keeping the Romano Crust Crisp After Pan-Frying
The most common mistake with this kind of chicken is rushing the breading or crowding the pan. Romano cheese browns quickly, and panko needs direct contact with the hot fat to get that crisp edge. If the coating sits too long before cooking, it starts to hydrate and go soft; if the pan is packed, the chicken steams instead of frying.
Thin cutlets help in two ways. They cook through before the crust burns, and they give you more surface area for that salty, crunchy coating. Keep the heat at medium-high, not blazing hot, and cook until the crust is a deep golden color and the chicken feels firm when pressed in the center.
- Pecorino Romano — This is the flavor engine here. It’s saltier and sharper than Parmesan, which is what gives the crust its big savory bite. Freshly grating it matters because pre-shredded cheese doesn’t melt and brown the same way.
- Panko breadcrumbs — Panko lightens the cheese coating and keeps it crisp instead of dense. Regular breadcrumbs work in a pinch, but the crust won’t have the same airy crunch.
- White wine — The wine adds acidity and depth to the sauce before the lemon goes in. Use something dry, not sweet, and let it reduce so the sauce tastes clean instead of boozy.
- Capers — They’re small, but they matter. Capers bring salt and sharpness that make the lemon butter sauce taste finished. If you skip them, the sauce needs an extra pinch of salt and a little more lemon to stay lively.
Building the Sauce in the Same Pan Without Losing the Crunch
Set Up the Breading Line
Season the chicken cutlets first, then move in order through flour, egg, and the Romano-panko mixture. The flour helps the egg cling, and the egg gives the cheese something to grip, so don’t skip either layer. Press the coating on firmly with your hand. Loose patches are the spots that fall off in the skillet.
Fry Until Deep Gold
Add the cutlets to the pan and leave a little space between them. You want a steady sizzle, not aggressive popping, which means the heat is right. Flip when the first side is deeply golden and releases easily from the pan. If it sticks, it’s not ready yet; forcing it tears the crust.
Make the Lemon Butter Sauce
After the chicken comes out, the pan should still hold those browned bits. That’s the flavor base. Cook the garlic just long enough to smell it, then add the wine and let it bubble down before the lemon juice goes in. Finish with cold butter off the heat or on very low heat so the sauce turns glossy instead of oily.
Plate Fast and Serve Hot
Put the chicken on the plate as soon as the sauce is ready and spoon it over right before serving. If the sauce sits too long, it will thicken and the crust will soften underneath it. A little sauce on top is perfect; drowning the cutlets takes away the crunch you worked for.
How to Adjust Lemon Chicken Romano When You Need a Different Version
Gluten-Free Lemon Chicken Romano
Use a 1:1 gluten-free flour blend for dredging and gluten-free panko for the crust. The texture stays close to the original, though gluten-free crumbs can brown a little faster, so watch the skillet and pull the chicken when the coating is deeply golden.
No Wine in the Sauce
Replace the wine with chicken broth plus 1 teaspoon extra lemon juice. You’ll lose a little of the sauce’s sharpness and depth, but the broth still lifts the browned bits from the pan and gives the sauce enough body to cling to the chicken.
Parmesan Instead of Pecorino Romano
Parmesan works if that’s what you have, but the crust will taste milder and less salty. I’d add a small pinch of salt to the flour and use a little extra lemon in the sauce to keep the dish bright.
Make It Ahead for a Faster Dinner
Bread the chicken up to 2 hours ahead and keep it uncovered on a rack in the fridge. That rest helps the coating set, which means less flaking in the pan and a crisper crust when you fry it.
Storage and Reheating
- Refrigerator: Store leftovers in an airtight container for up to 3 days. The crust softens, but the flavor holds well.
- Freezer: Freeze the cooked chicken cutlets without sauce for up to 2 months. The sauce is best made fresh, since butter sauces can separate after thawing.
- Reheating: Warm the chicken on a rack in a 375°F oven until hot, then reheat the sauce gently in a skillet. The biggest mistake is microwaving everything together, which turns the crust soggy and can make the sauce split.
Answers to the Questions Worth Asking
Lemon Chicken Romano
Ingredients
Equipment
Method
- Season the chicken cutlets with salt and pepper, then arrange three stations with flour, beaten egg, and a mixture of Pecorino Romano cheese and panko breadcrumbs. Press the coating firmly so it adheres to the thin cutlets.
- Dredge each cutlet in flour, dip in egg, then press firmly into the Romano-coated breadcrumb mixture. Place the coated cutlets on a tray as you work.
- Heat olive oil and 2 tablespoons butter in a skillet over medium-high heat until shimmering, then pan-fry the cutlets 3-4 minutes per side until deeply golden. Remove to a plate when the crust turns crisp and golden.
- In the same pan, cook the minced garlic for 30 seconds over medium heat, stirring until fragrant and lightly golden. Avoid browning the garlic.
- Deglaze with the white wine, scraping up the browned bits from the pan. Simmer until reduced, about 3 minutes.
- Add the fresh lemon juice and capers to the simmering sauce, then whisk and simmer 30 seconds to meld flavors. Turn off the heat and swirl in the remaining 2 tablespoons cold butter until glossy.
- Plate the cutlets and pour the lemon-caper butter sauce over each one. Garnish with fresh parsley and serve right away.