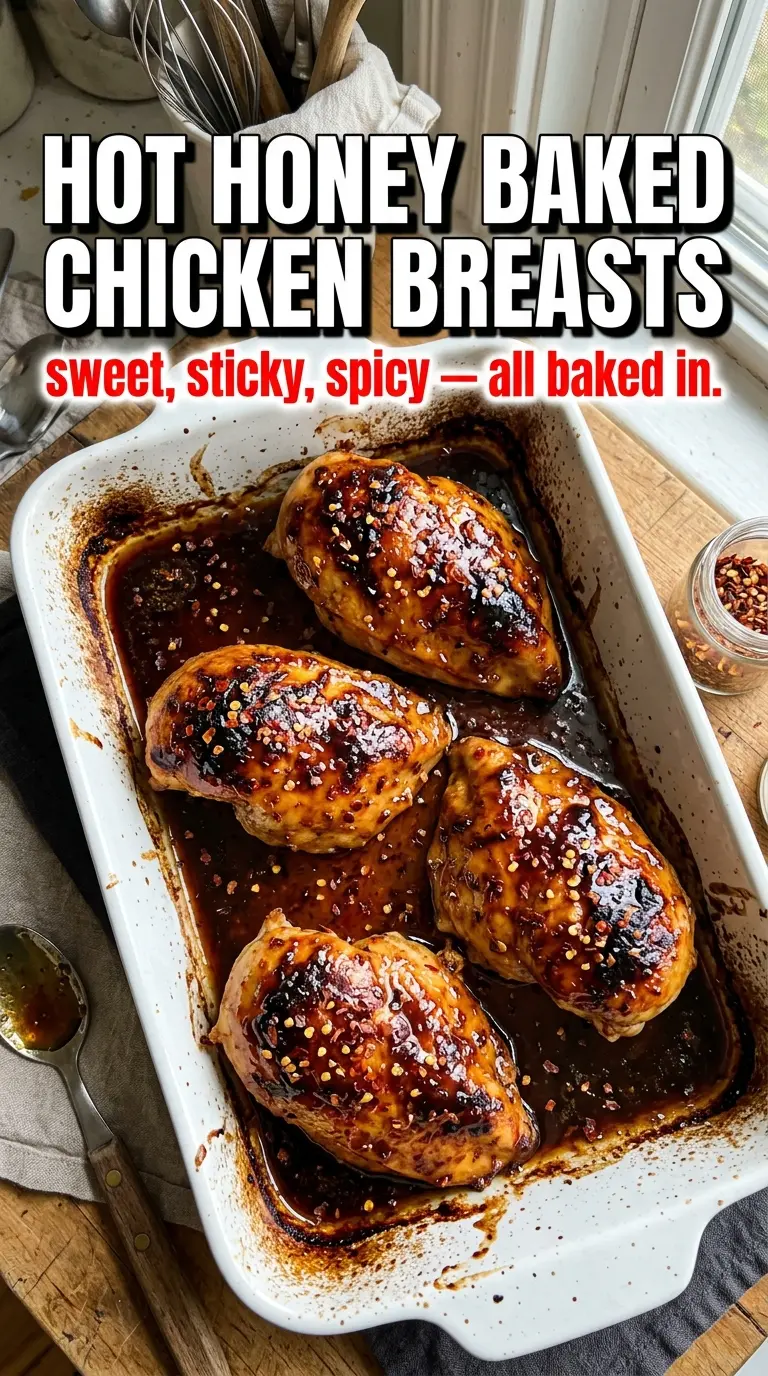
Hot honey baked chicken breasts hit that sweet spot between weeknight practical and just a little bit special. The chicken stays juicy under a sticky glaze that turns glossy and dark at the edges, with enough heat to wake up the honey without burying it. Every bite gets that mix of caramelized sweetness, peppery spice, and savory browned chicken that keeps this dish from tasting flat.
What makes this version work is the way the glaze is built. Honey alone can stay thin and cloying, but once it’s whisked with hot sauce, melted butter, vinegar, and red pepper flakes, it clings to the chicken and bakes into a lacquer instead of sliding off. Baking at a high temperature gives the glaze enough heat to caramelize before the chicken dries out, and basting halfway through layers on more flavor without making the coating heavy.
You’ll find the little timing details that keep chicken breasts tender instead of stringy, plus a few practical ways to adjust the heat or turn this into a meal-prep dinner that still tastes good the next day.
The glaze thickened up beautifully in the oven and stayed on the chicken instead of running all over the pan. I basted it once halfway through and the edges turned sticky and caramelized just like you said.
Save these hot honey baked chicken breasts for a sticky-sweet dinner with caramelized edges and just enough heat.
The Part That Stops the Glaze From Burning Before the Chicken Is Done
Hot honey sounds forgiving, but it can go from glossy to scorched fast if the pan is too hot or the glaze is too thin. The trick here is that the chicken starts with a light oil coat and a hot oven, not a screaming-hot skillet on the stove. That gives the breast meat enough time to cook through while the sugars in the honey darken into a sticky finish instead of turning bitter.
The other thing that matters is thickness. Chicken breasts vary a lot, and if one end is much thicker, the thinner side will dry out before the center is safe. Pounding them to an even thickness or slicing huge breasts in half horizontally is the easiest way to keep the bake time tight and the glaze intact.
- Boneless skinless chicken breasts — These cook fast and take the glaze well, but they need even thickness or they’ll dry out at the ends before the center reaches temperature.
- Hot sauce — Frank’s gives the glaze a clean, tangy heat that balances the honey. A different hot sauce works, but avoid anything very vinegary or smoky enough to take over the whole dish.
- Butter — This adds body and helps the glaze cling. Olive oil can stand in, but the finished coating won’t taste as round or rich.
- Apple cider vinegar — This is the small splash that keeps the glaze from tasting one-note sweet. Lemon juice works in a pinch, though it reads a little sharper.
Building the Glaze So It Clings Instead of Sliding Off
- Honey — This is the backbone of the glaze, so use the one you like to eat by the spoonful. If it’s very thick, warm it for a few seconds so it whiskes smoothly with the rest.
- Red pepper flakes — These give the glaze visible heat and that speckled look you want on the finished chicken. Use less for a milder version, but don’t leave them out if you want the glaze to taste like hot honey rather than just honey and sauce.
- Garlic powder — It seasons the glaze without adding moisture, which matters because you want a coating, not a loose sauce. Fresh garlic is more likely to burn here.
- Flaky sea salt — This goes on at the end, not before baking. A few flakes sharpen the sweetness and make the glaze taste finished instead of sticky.
The 25 Minutes That Make or Break the Chicken
Seasoning the Meat First
Start by patting the chicken dry, then season both sides well with salt, pepper, garlic powder, and smoked paprika. Dry chicken takes on color better, and the paprika gives the glaze something deeper to sit on. If the breasts are still damp when they go into the pan, the glaze can slide around instead of tightening up around the surface.
Whisking the Glaze Until It Looks Unified
Mix the honey, hot sauce, melted butter, vinegar, red pepper flakes, and garlic powder until the glaze looks smooth and glossy. It should pour slowly and coat a spoon. If the butter is still hot enough to separate from the honey, let it cool for a minute and whisk again before brushing it on.
Baking and Basting Without Overcooking
Brush the chicken generously before it goes into the oven, then add the rest halfway through the bake. That second layer is what builds the lacquered finish, but only if the chicken still has time left to absorb it. Pull the pan when the thickest part hits 165°F, then let the chicken rest for 5 minutes so the juices settle and the glaze stays put instead of running off the cutting board.
Less Heat, Same Sticky Finish
Cut the red pepper flakes in half and use a milder hot sauce. You’ll still get a sweet-heat glaze, just with a gentler burn and a little more honey forward flavor. That’s the easiest path if you’re serving people who don’t love spice.
Gluten-Free and Naturally Safe as Written
This recipe is already gluten-free as long as your hot sauce is certified gluten-free. The method doesn’t change at all, and that’s a nice bonus for a dish that still feels full and saucy without needing flour, breadcrumbs, or a thickener.
Make It With Chicken Thighs Instead
Boneless skinless thighs work well if you want a richer, more forgiving cut. They usually need a few extra minutes in the oven, and the glaze gets even stickier because of the slightly higher fat content. Watch the color rather than the clock and cook until they reach temperature in the center.
Storage and Reheating
- Refrigerator: Store leftovers in an airtight container for up to 4 days. The glaze will set up a little more when chilled, which is normal.
- Freezer: Freeze cooked chicken breasts for up to 2 months, wrapped tightly and stored with any extra glaze if you have it. The texture is best if you slice before freezing.
- Reheating: Reheat covered in a 325°F oven until warmed through, or use the microwave at half power in short bursts. High heat can dry out the chicken and scorch the sugars in the glaze.
Answers to the Questions Worth Asking
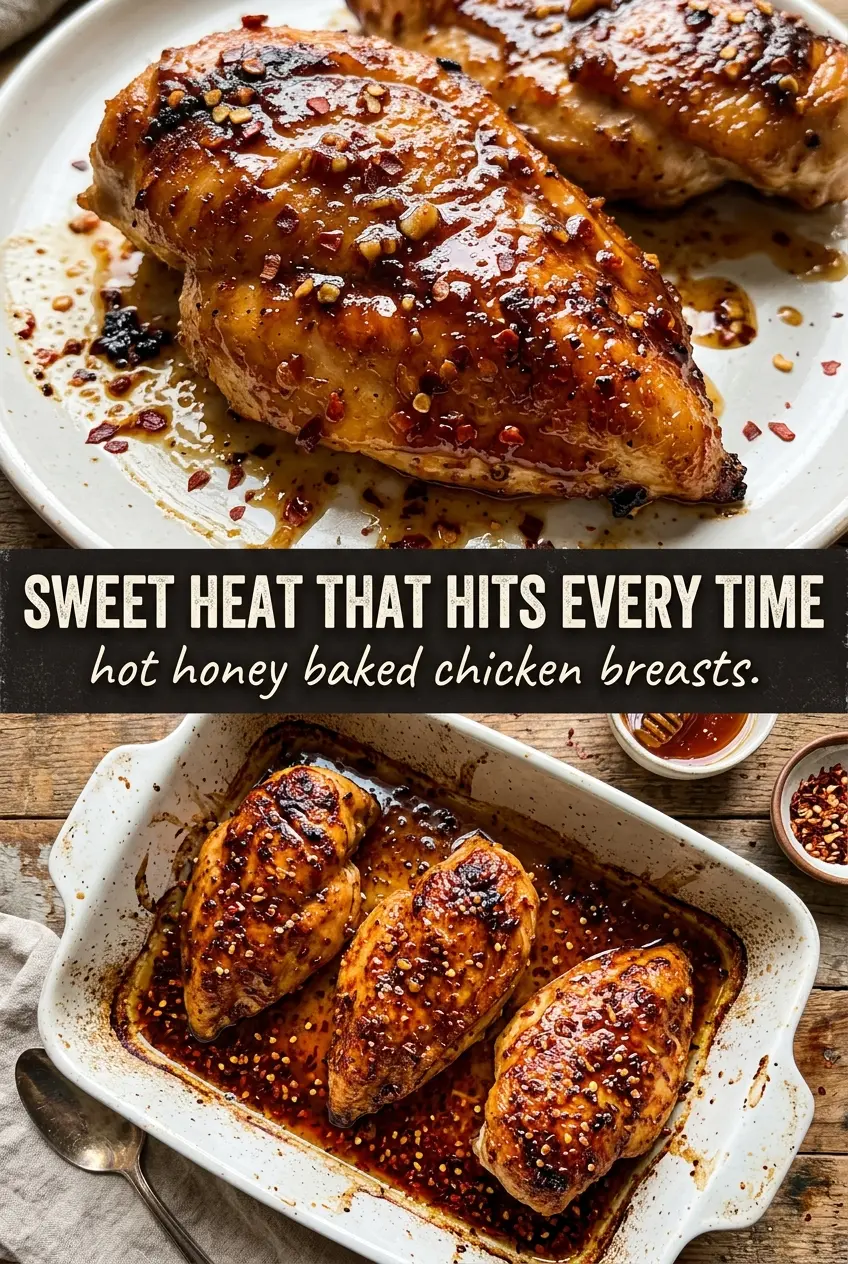
Hot Honey Baked Chicken Breasts
Ingredients
Equipment
Method
- Preheat oven to 425°F and lightly oil a baking dish or cast iron skillet with olive oil. You want a thin, even coating so the chicken can brown without sticking.
- Season the chicken breasts on both sides with salt, pepper, garlic powder, and smoked paprika. Spread the spices evenly so every bite has sweet-heat flavor.
- Whisk together honey, hot sauce, melted butter, apple cider vinegar, red pepper flakes, and garlic powder until smooth. Keep whisking until the red pepper flakes are evenly distributed in the glossy sauce.
- Place chicken in the prepared dish and brush generously with the hot honey glaze, reserving some for basting. The surface should look well-coated and slightly sticky.
- Bake for 20 to 22 minutes at 425°F, brushing with the reserved glaze once at the halfway point. Bake until the internal temperature reaches 165°F and the glaze is caramelized to a dark amber sheen.
- Rest the chicken for 5 minutes. This keeps the juices in the breasts while the glaze sets slightly.
- Finish with flaky sea salt, fresh thyme, and an extra drizzle of hot honey. Serve while the coating is glistening.