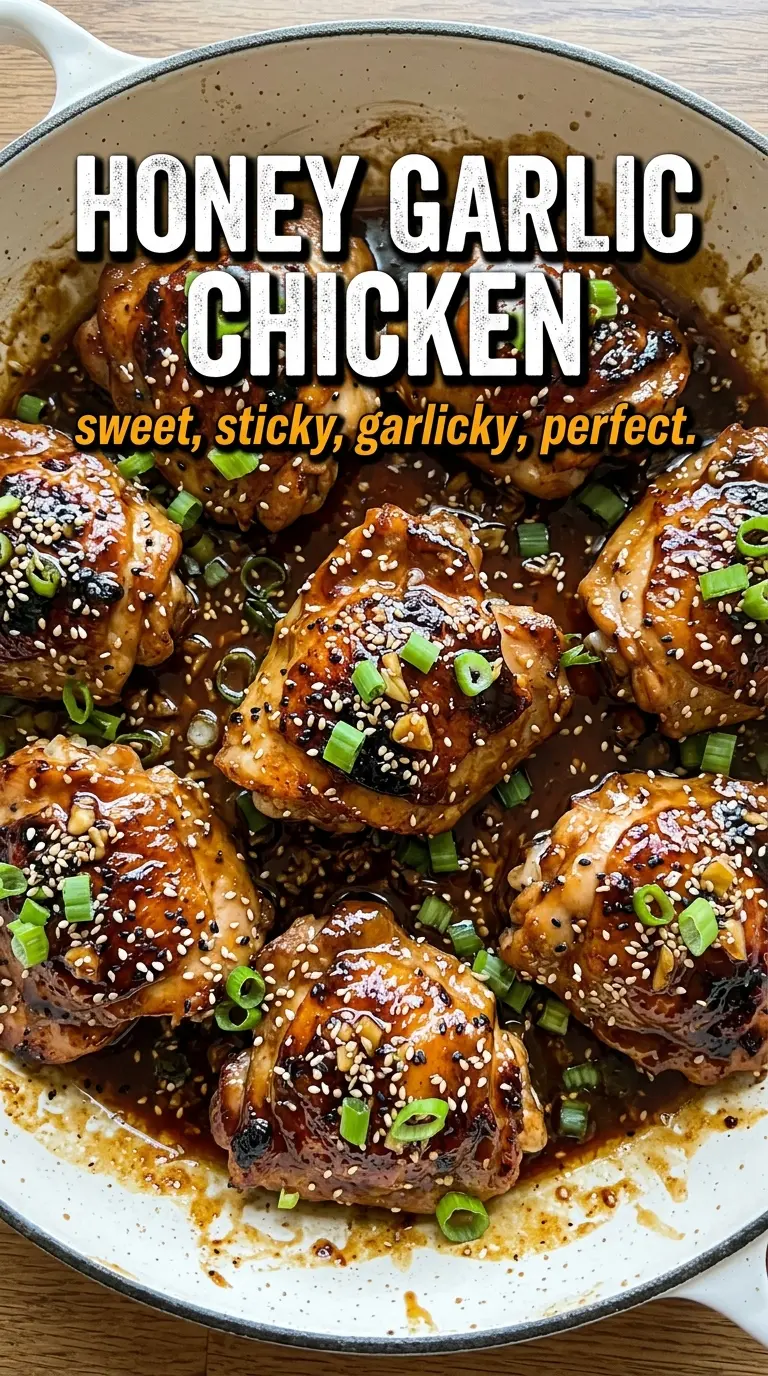
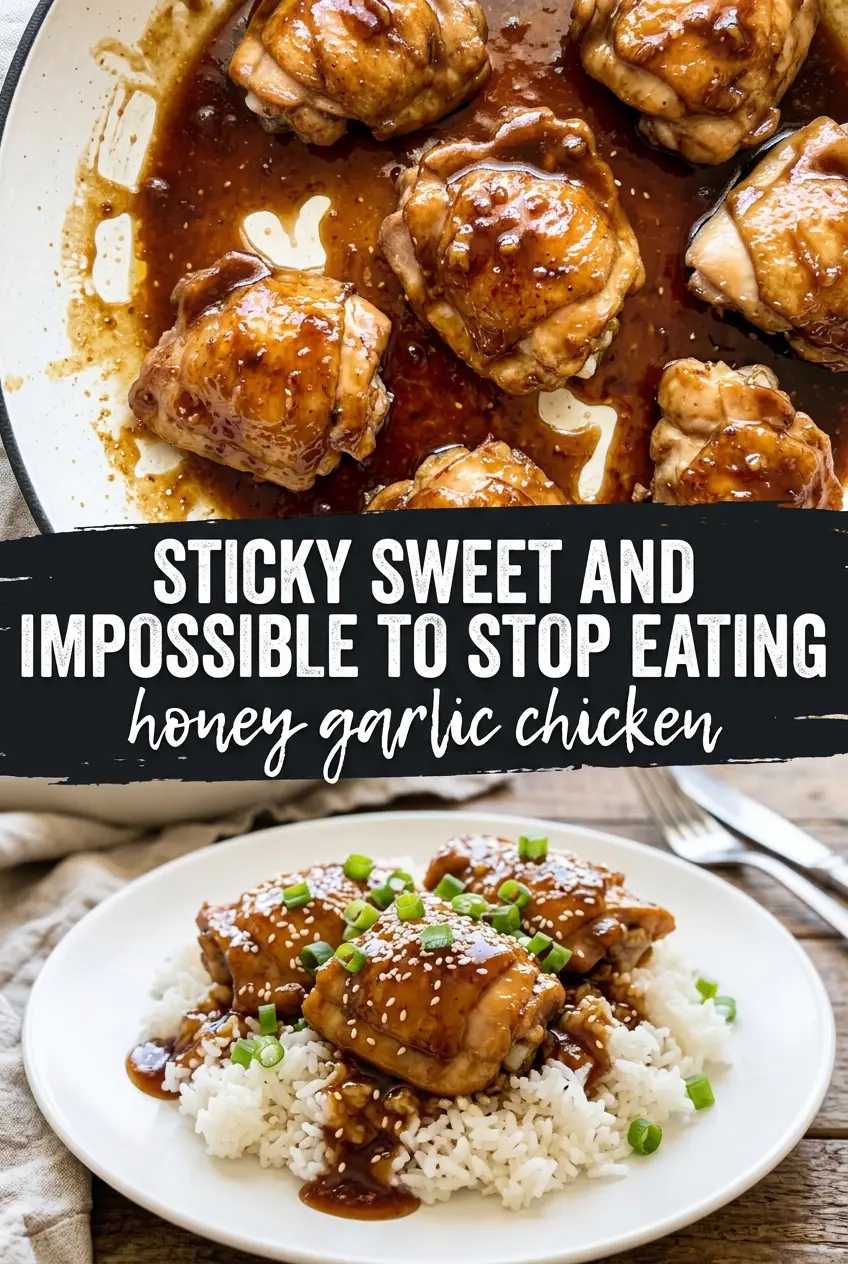
Sticky, glossy honey garlic chicken lands on the plate with the kind of pan sauce that makes plain rice feel like the best part of dinner. The chicken sears first for a golden crust, then gets coated in a deep amber glaze that clings instead of running off, with little bits of garlic suspended all through the sauce. It’s the balance that keeps this version in repeat: sweet enough to feel craveable, salty enough to keep it grounded, and finished with enough acidity to stop it from tasting flat.
The key is building the sauce in the same skillet after the chicken comes out. Those browned bits left behind from searing dissolve into the honey, soy sauce, butter, and vinegar, which gives the glaze more depth than a sauce whisked together in a separate pan. The cornstarch slurry goes in near the end, and it only needs a short simmer to turn the sauce thick and lacquered. Go too long and it can tighten up past the sticky stage; pull it when it still looks a little loose, because it thickens again as it sits on the chicken.
Below, I’ve included the timing cues that matter most, plus the substitutions that still give you a glossy sauce when you don’t have every ingredient on hand.
The sauce turned sticky and glossy in just a few minutes, and the chicken stayed juicy instead of drying out. I served it over rice and the pan was basically scraped clean.
Save this sticky honey garlic chicken for the nights when you want a glossy skillet dinner with almost no cleanup.
The Part That Keeps the Glaze Sticky Instead of Watery
The mistake that ruins a lot of honey garlic chicken is rushing the sauce before the pan has enough heat or enough browned bits. If the chicken never develops color, the sauce tastes thin and sweet instead of deep and savory. You want a proper sear on both sides, then the garlic gets just enough time in the butter to smell fragrant without browning hard, because burnt garlic turns the whole glaze bitter.
The other thing that matters is the cornstarch slurry. It needs a short simmer to activate, but not a long boil. If you let it go too long, the sauce can go from glossy to pasty fast. Pull the pan when the sauce coats a spoon and falls in a slow ribbon; that’s the texture that clings to chicken instead of puddling under it.
What Each Ingredient Is Actually Doing in the Pan
- Chicken breasts — Boneless, skinless breasts give you a clean surface for searing and a mild base for the sauce. Pound them to an even thickness if one end is much thicker than the other; that’s what keeps the thinner side from drying out before the center hits 165°F. If you want extra insurance against overcooking, boneless thighs work too and stay a little juicier.
- Honey — This is the sticky backbone of the glaze. It caramelizes around the edges of the pan and gives you that dark, lacquered finish, but it burns if the heat is too high once it’s in the skillet. Use a good pantry honey; you don’t need a fancy floral one here.
- Soy sauce — This supplies the salt and the savory depth that keeps the glaze from tasting like candy. Regular soy sauce works best, though low-sodium soy sauce is fine if that’s what you keep on hand. If you need a gluten-free option, tamari swaps in cleanly and keeps the same balance.
- Rice vinegar — A small splash sharpens the sauce and keeps the honey from taking over. White vinegar can stand in if needed, but use a touch less because it reads harsher. Don’t skip the acid; it’s what makes the glaze taste finished instead of one-note.
- Cornstarch slurry — This is what turns the sauce from thin and shiny into thick enough to cling. Mix it with cold water first so it disperses evenly; if you dump cornstarch straight into the pan, you’ll get little lumps that never fully dissolve.
- Butter and garlic — The butter carries the garlic and gives the sauce a rounder finish than oil alone. Fresh garlic matters here because it perfumes the entire pan sauce; jarred minced garlic works in a pinch, but the flavor is flatter and a little duller. Cook it briefly and keep it moving so it softens without browning.
Getting the Chicken and Sauce to Meet at the Right Moment
Seasoning and Searing the Chicken
Pat the chicken dry first, then season it evenly with salt, pepper, and garlic powder. Dry chicken sears; wet chicken steams and sticks. Heat the olive oil until it shimmers in the skillet, then lay the chicken in and leave it alone long enough to build a golden crust. If you try to move it too early, it tears and never gets that clean sear.
Building the Garlic Honey Pan Sauce
Take the chicken out once it reaches temperature and use the same pan for the sauce. Add the butter, then the garlic, and stir until it smells sweet and savory, not raw. Pour in the honey, soy sauce, and vinegar, scraping the bottom of the skillet as you go. Those browned bits dissolve into the glaze and give it the deeper color you can’t get from the ingredients alone.
Thickening Until It Coats the Spoon
Stir in the cornstarch slurry and let the sauce simmer for just a couple of minutes. You’re looking for a texture that looks loose in the pan but clings to the spoon when you lift it. If it turns too tight, add a teaspoon of water to loosen it. If it still looks watery after a few minutes, the pan likely wasn’t hot enough for the starch to activate.
Glazing the Chicken and Finishing
Return the chicken to the skillet and turn it through the sauce so every side gets coated. Let it cook for another minute or two, just long enough for the glaze to settle onto the meat and pick up a little more color. Finish with sesame seeds and sliced green onions. Serve it right away over rice while the sauce is still glossy and fluid.
Three Ways to Adjust This Without Losing the Sticky Finish
For a gluten-free version
Use tamari instead of soy sauce. The sauce still comes out salty, savory, and glossy, and the rest of the recipe doesn’t need to change. Check your cornstarch too if you’re cooking for someone highly sensitive, but most brands are naturally gluten-free.
For chicken thighs instead of breasts
Boneless skinless thighs give you a juicier result and a little more forgiveness on the stove. They may need a few extra minutes to get fully cooked, but they’re less likely to dry out if your stove runs hot. The sauce works exactly the same way.
For a milder garlic flavor
Use 3 cloves instead of 4 and let the butter do more of the work. You’ll still get the signature honey-garlic flavor, but the sauce will lean a little sweeter and less sharp. That’s a good adjustment if you’re serving kids or anyone who likes a softer garlic note.
Storage and Reheating
- Refrigerator: Store leftovers in an airtight container for up to 4 days. The sauce will thicken as it chills, and the chicken will absorb more of the glaze.
- Freezer: It freezes reasonably well for up to 2 months, though the sauce can loosen a little after thawing. Freeze in a flat container or freezer bag for easier reheating.
- Reheating: Warm gently in a skillet over low heat with a splash of water to loosen the glaze. Microwaving works, but do it in short bursts so the chicken doesn’t turn rubbery and the honey doesn’t scorch at the edges.
Questions I Get Asked About This Recipe
Honey Garlic Chicken
Ingredients
Equipment
Method
- Season the chicken breasts with salt, pepper, and garlic powder. Heat olive oil in a large skillet over medium-high heat and sear the chicken for 5-6 minutes per side until golden and the internal temperature reaches 165°F, then remove.
- In the same pan, cook the minced garlic with butter for 1 minute until fragrant. Add honey, soy sauce, and rice vinegar and stir to combine.
- Stir in the cornstarch slurry (cornstarch mixed with water). Simmer for 2-3 minutes, stirring until the sauce thickens into a sticky glaze.
- Return the chicken to the pan and turn to coat in the honey garlic glaze. Cook for 1-2 more minutes so the glaze clings and lightly blisters.
- Garnish with sesame seeds and sliced green onions. Serve immediately over steamed rice.