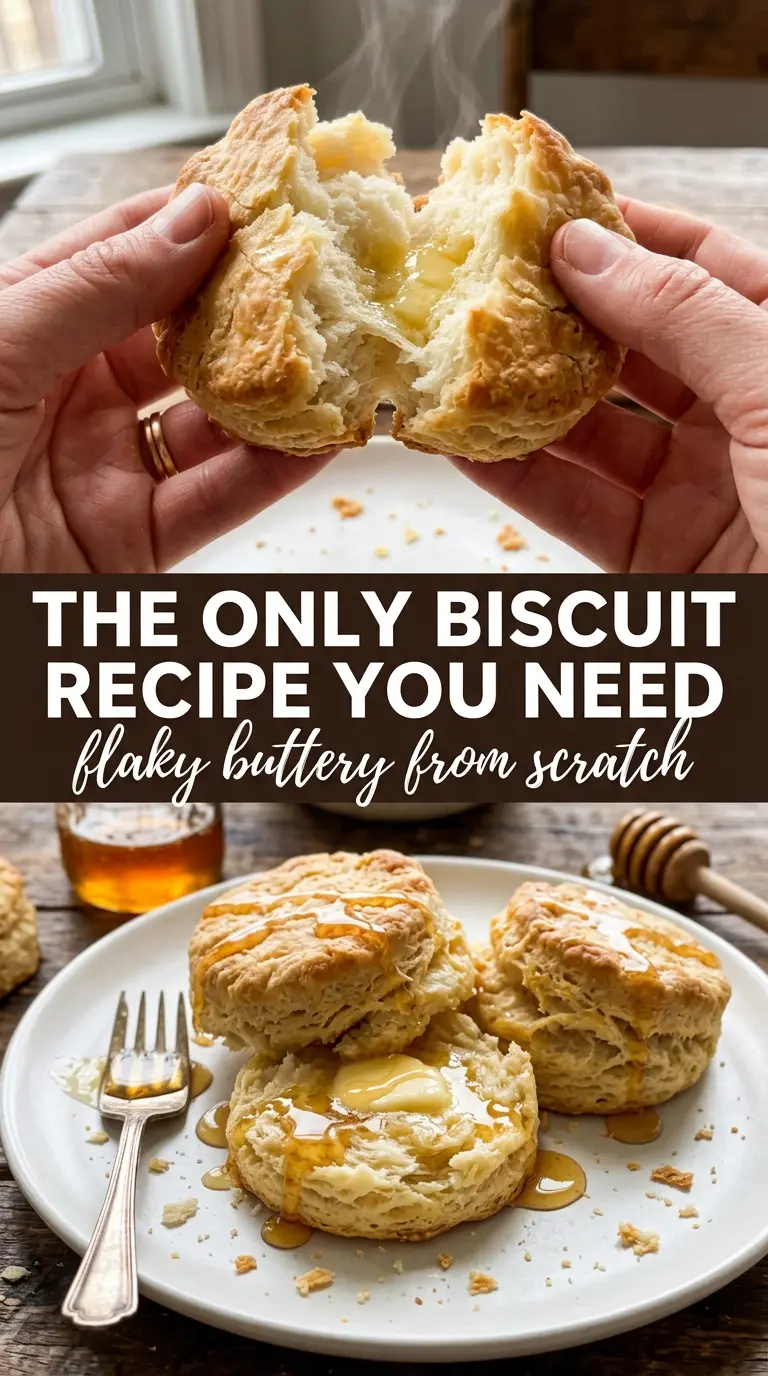
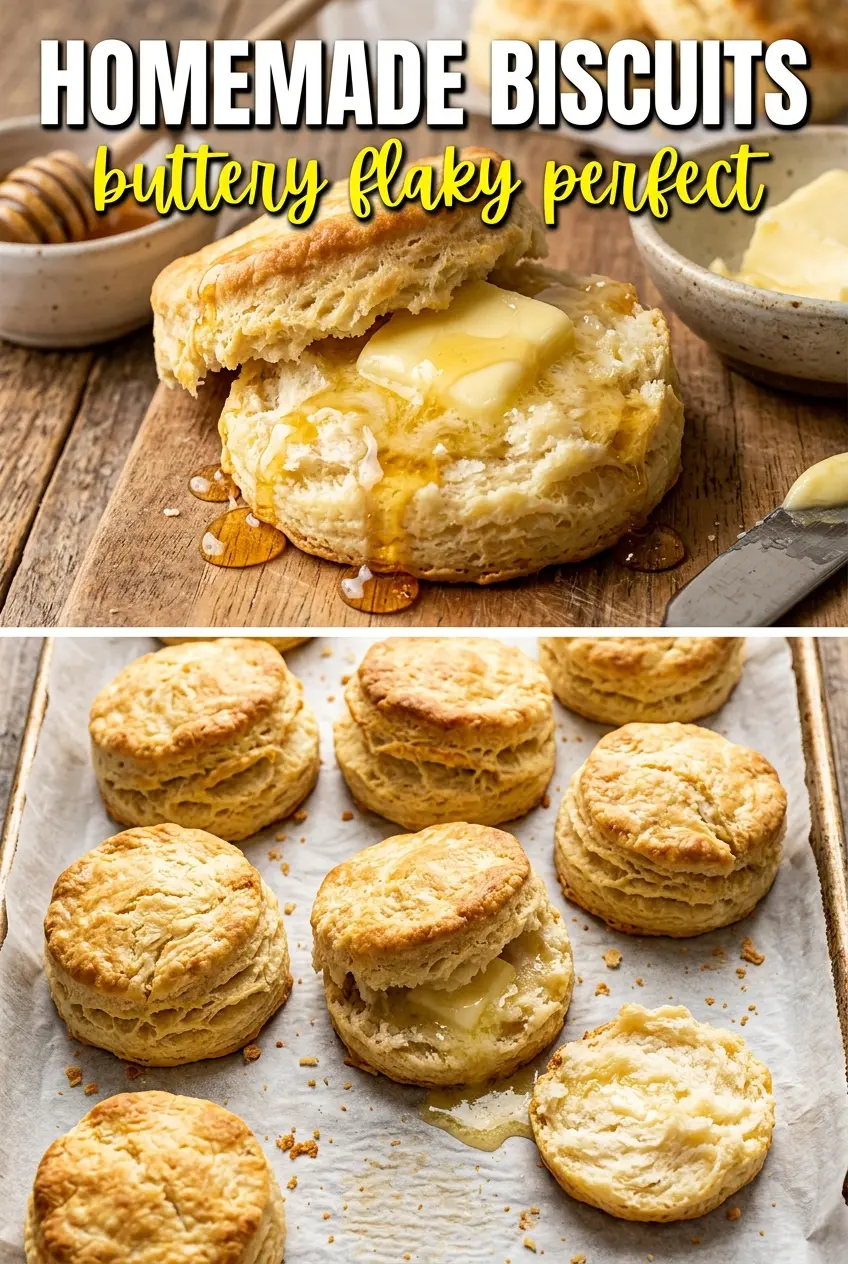
Tall, flaky homemade biscuits are all about contrast: crisp golden tops, tender layers inside, and that buttery pull-apart center that disappears the second you split one open. When they’re done right, the edges have a little crunch, the middle stays soft and airy, and every bite tastes like it was built for melting butter and a drizzle of honey.
The trick is keeping everything cold until the biscuits hit the oven. Cold butter creates steam pockets as it bakes, which is what gives you those visible layers instead of a dense, bready texture. The folding also matters. A few turns are enough to stack the dough without working it so much that it turns tough. And the cutter needs a straight press down — twisting seals the edges and can keep the biscuits from rising tall.
Below, I’m breaking down the small details that make the difference between decent biscuits and the kind that split open in fluffy sheets. If yours have ever baked up squat or dry, the fix is usually easier than you think.
The layers came out gorgeous and the biscuits rose straight up instead of spreading. I loved that the centers stayed soft while the tops got that deep golden color.
Save these flaky buttermilk biscuits for breakfast spreads, gravy nights, and the moments when you want tall layers with almost no fuss.
The Cold Butter Rule That Gives Biscuits Their Height
The biggest mistake with biscuits is letting the butter melt before they ever reach the oven. Once that happens, you lose the little pockets that should open up into layers, and the dough bakes up flatter and heavier. You want visible bits of butter scattered through the flour, from sandy crumbs to a few larger pieces the size of small peas.
The other place people go wrong is overworking the dough after the buttermilk goes in. Stir just until the dough clumps, then fold it a few times on the counter to build layers without kneading it into submission. If the dough feels warm or sticky, dust the surface lightly with flour and move fast.
What Each Ingredient Is Doing in These Biscuits
- All-purpose flour — This gives the biscuits enough structure to rise without turning cakey. Bread flour makes them chewier, which works against the light, layered texture you want here.
- Baking powder and baking soda — The baking powder does most of the lifting, while the baking soda reacts with the buttermilk for extra rise and a better browned top. Don’t swap in all baking powder unless you’re also replacing the buttermilk, because the acidity matters.
- Cold unsalted butter — This is the source of the flake. Salted butter works in a pinch, but reduce the added salt a little because biscuit dough needs a clean, balanced finish, not an overly salty one.
- Cold buttermilk — It adds tang, moisture, and tenderness while helping the biscuits rise. If you don’t have it, mix 3/4 cup milk with 2 teaspoons lemon juice or vinegar and let it sit for 5 minutes, but expect a slightly less rich flavor and a softer tang.
- Sugar — Just enough to round out the flavor and help the tops brown. It doesn’t make these sweet.
Building the Layers Without Overworking the Dough
Mixing the Dry Base
Whisk the flour, leaveners, salt, and sugar together until everything looks evenly combined. That even mix matters because a pocket of baking soda or salt can throw off the texture and taste in one bite. The goal is a uniform base before the butter goes in, not a perfect, overmixed blend.
Cutting in the Butter
Add the cold butter cubes and work them into the flour until you have coarse crumbs with some larger butter pieces still visible. Those uneven bits are a good sign, not a problem. If you overdo this stage and the mixture starts looking paste-like, the biscuits will lose their flaky interior.
Bringing the Dough Together
Pour in the cold buttermilk and stir just until the dough starts to come together. It should look shaggy, not smooth. A few dry spots are better than a fully mixed, sticky mass, because the folding that happens next finishes the job without tightening the dough.
Folding, Cutting, and Baking Hot
Turn the dough onto a lightly floured counter and fold it over itself 3 to 4 times, then pat it to about 1 inch thick. Cut straight down with a biscuit cutter and don’t twist, since twisting seals the sides and keeps the biscuits from rising cleanly. Brush the tops with melted butter, bake at 450°F, and pull them when they’re deeply golden and the tops feel set to the touch.
Three Smart Ways to Adjust These Biscuits
Dairy-Free Biscuits With a Similar Tender Crumb
Use a cold plant-based butter and a thick non-dairy milk mixed with 2 teaspoons lemon juice or vinegar. The biscuits will still rise and flake, but the flavor will be a little less rich and the crumb slightly softer than with real buttermilk.
Gluten-Free Biscuits That Still Hold Together
Swap in a 1:1 gluten-free baking flour that includes xanthan gum. Expect less dramatic layers and a more delicate crumb, but the method stays the same. Don’t add extra flour during shaping unless the dough is truly too sticky, or the biscuits will turn dry.
Extra-Buttery Bakery-Style Tops
Brush the biscuits with melted butter before and after baking for a richer finish and a softer top crust. The second brush goes on while the biscuits are still hot, so it melts in instead of sitting on the surface. That gives you a glossy finish and a more pronounced buttery flavor.
Storage and Reheating
- Refrigerator: Store baked biscuits in an airtight container for up to 3 days. They’ll soften a little as they sit.
- Freezer: Freeze baked biscuits for up to 2 months, wrapped well and sealed in a freezer bag. You can also freeze the cut unbaked biscuits on a tray, then bag them once solid and bake straight from frozen with a few extra minutes in the oven.
- Reheating: Warm in a 300°F oven for 8 to 10 minutes. The oven keeps the outside from turning rubbery the way a microwave can, which is the fastest way to ruin the flaky texture.
Answers to the Questions Worth Asking
Homemade Biscuits
Ingredients
Equipment
Method
- Preheat the oven to 450°F and line a baking sheet with parchment paper.
- Whisk all-purpose flour, baking powder, baking soda, salt, and granulated sugar together in a large bowl.
- Add the cold cubed unsalted butter and cut it into the flour until the mixture resembles coarse pea-sized crumbs with some larger butter bits, using a pastry cutter or your fingers.
- Add the cold buttermilk and stir just until the dough comes together—do not overmix.
- Turn the dough onto a lightly floured surface, fold it over on itself 3–4 times, then pat to 1-inch thickness.
- Cut biscuits with a biscuit cutter (no twisting) and place them on the prepared sheet.
- Brush the tops with melted butter.
- Bake at 450°F for 12–15 minutes until deeply golden, with crisp, flaky edges.