Grilled onion blossoms turn a plain sweet onion into something that pulls apart in soft, smoky petals with caramelized edges and a little char at the tips. The outside gets seasoned, the inside turns buttery and tender, and every bite lands somewhere between a roasted onion and a backyard appetizer built for dipping. It looks dramatic on the platter, but the method is straightforward enough to repeat without guessing.
The trick is keeping the root end intact so the onion stays together while the cuts open up on the grill. Foil does two jobs here: it traps steam long enough to soften the center, then lets the onion finish in its own juices so the edges caramelize instead of drying out. A sweet onion matters most because it mellows as it cooks and gives you that deep, savory-sweet bite that makes the whole thing worth serving.
Below you’ll find the small details that keep the blossoms from falling apart, plus a few ways to adjust the seasoning if you want them smokier, spicier, or a little more mellow. Once you’ve made them once, they’re the kind of appetizer that slides right into any cookout menu.
The onions opened up perfectly on the grill and the edges got those little charred spots without turning mushy. We used comeback sauce and the platter was empty before the burgers were even done.
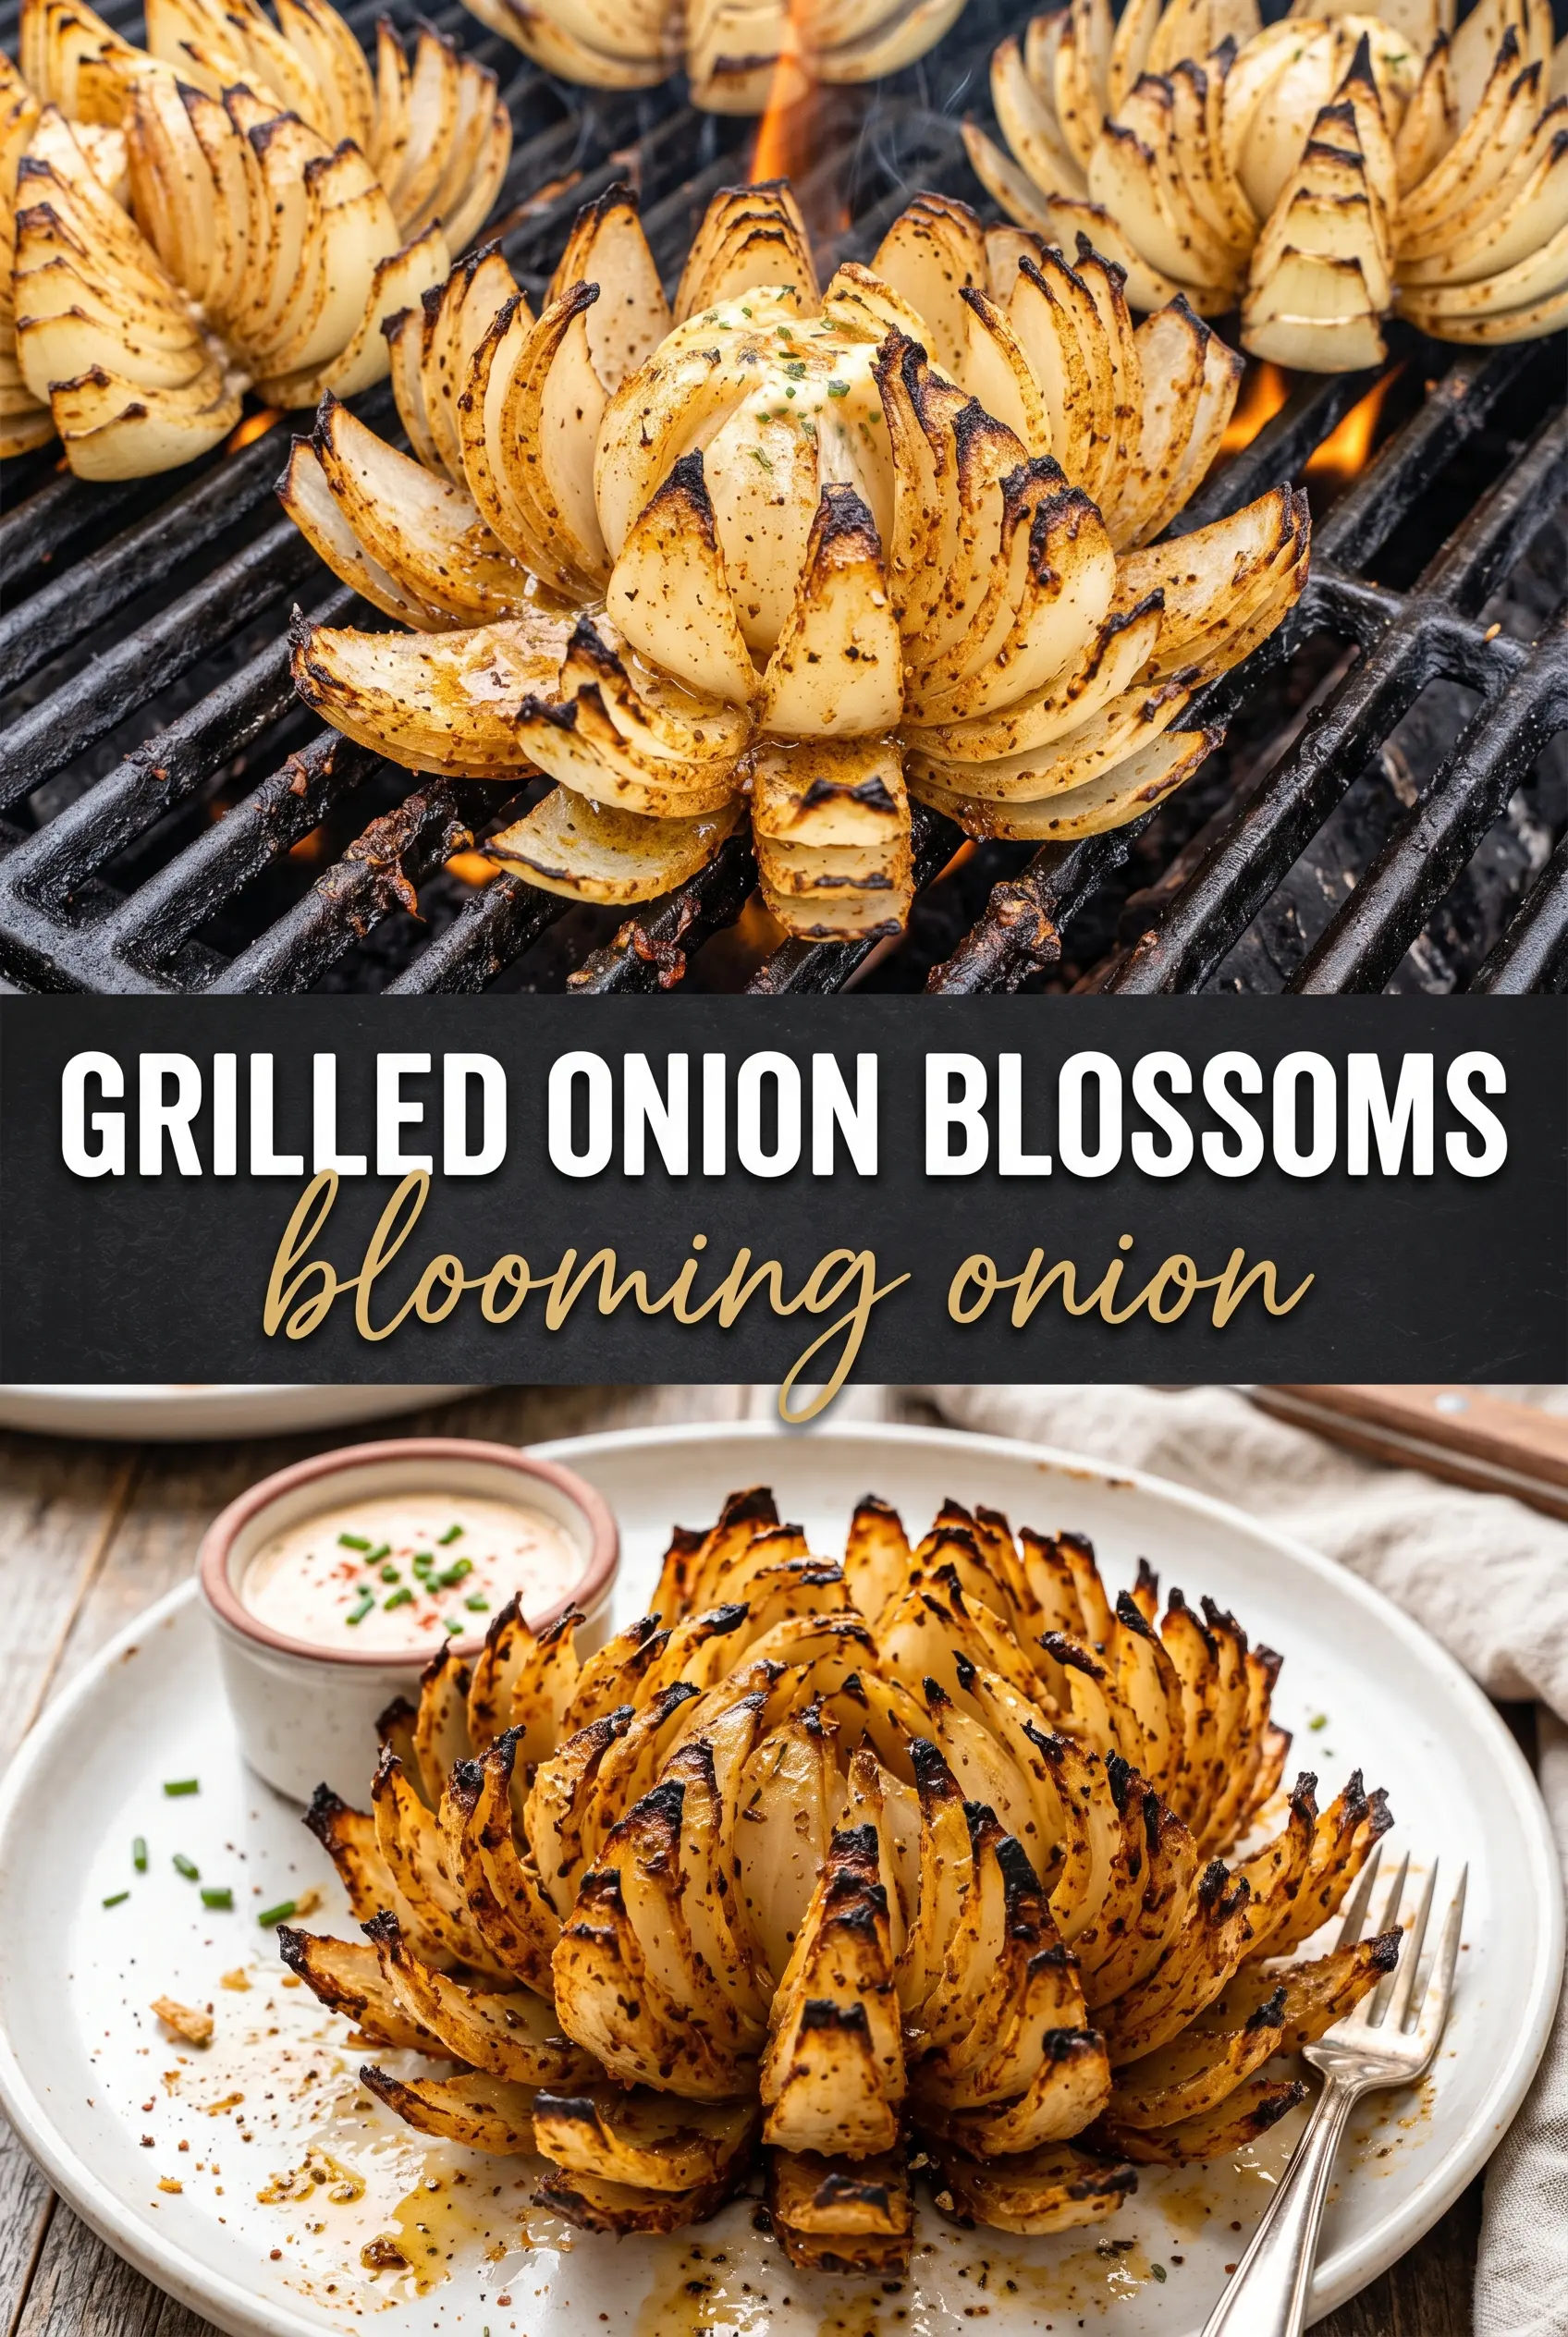
Grilled Onion Blossoms with smoky seasoning and a crisp-tender pull-apart center are made for your next barbecue spread.
The Cut That Keeps the Onion Blossom Intact
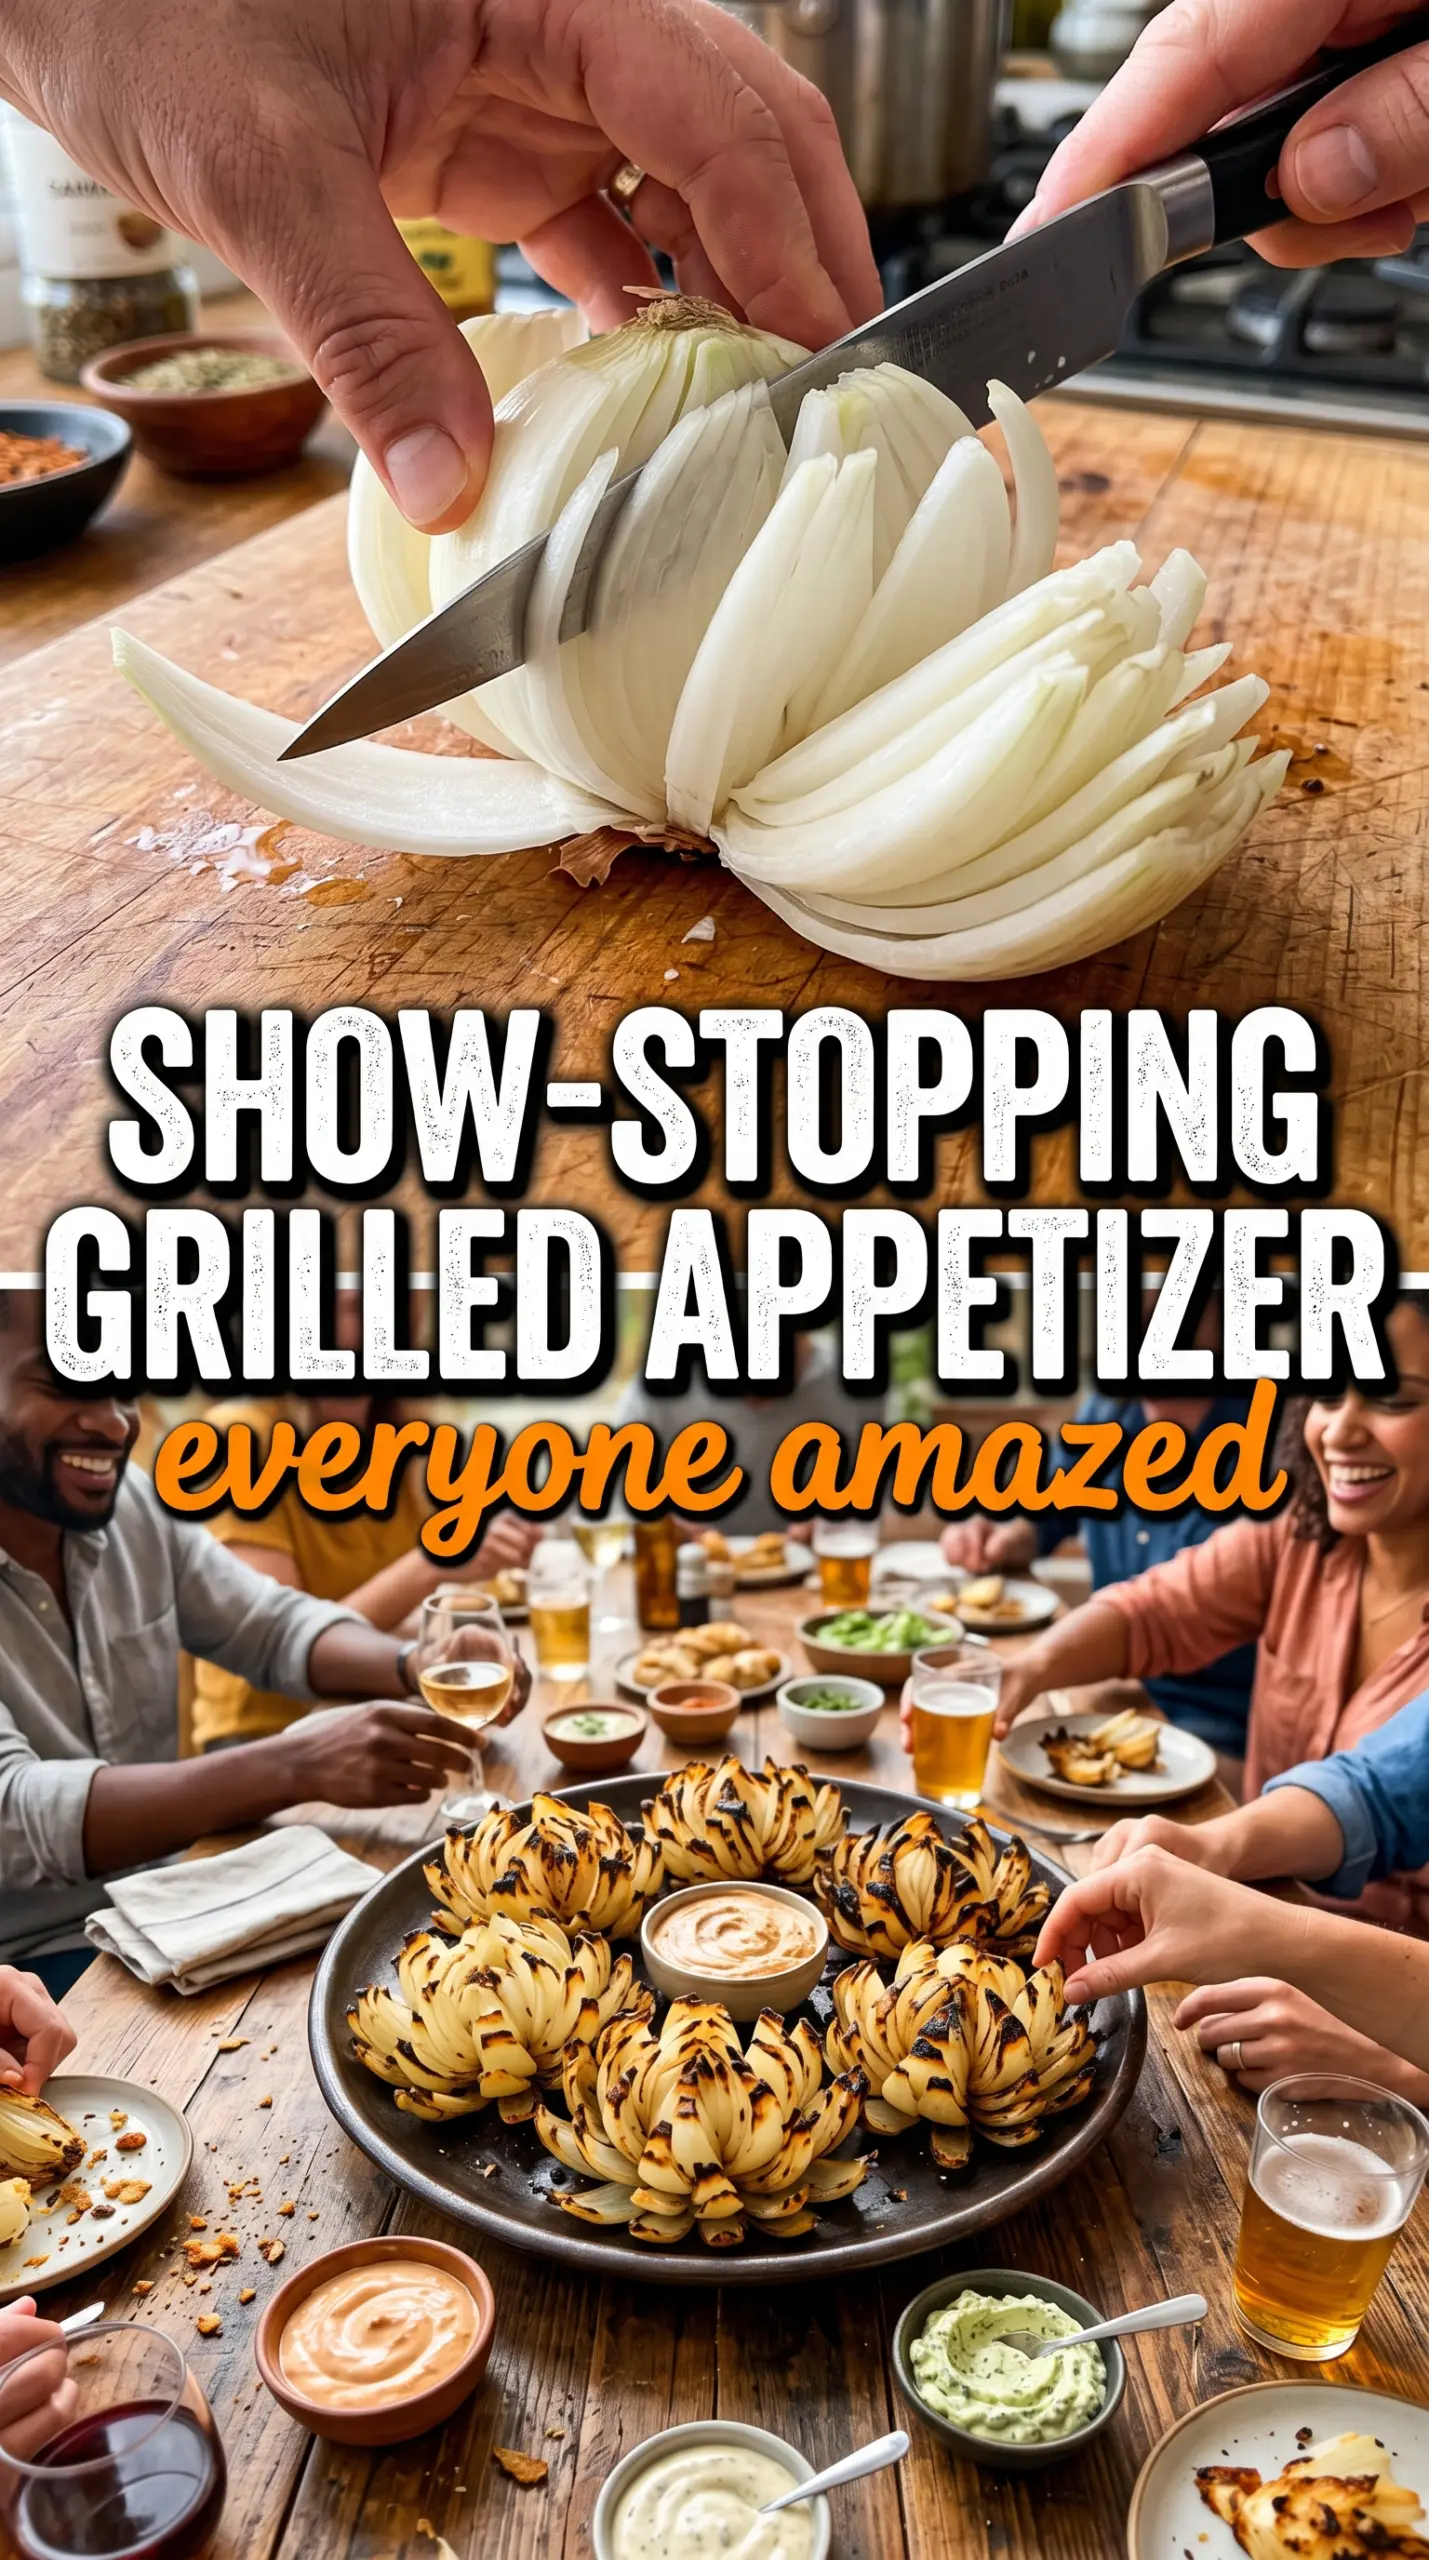
The part that ruins most onion blossoms is cutting too deep and severing the root. Once that base is split, the layers flop apart in the foil and you lose the flower shape before the onion ever hits the grill. Stop every cut a little before the root ends, and the onion will open like a book instead of collapsing into wedges.
Sweet onions are the right choice here because they soften fast and taste mild enough to eat as an appetizer instead of a harsh side. If you only have yellow onions, they’ll work, but they bring a sharper bite and a stronger onion finish. The foil packet also matters more than people think: it traps enough heat to cook the center through while the seasoning and onion juices keep the surface from drying out.
What the Seasoning Is Doing Before the Grill Ever Starts
- Sweet onions — These soften into tender layers with a mild, almost buttery flavor. Larger onions hold their shape better and give you more visible petals, which matters when you want that blossom effect.
- Olive oil — This helps the spices cling and keeps the outer layers from drying out while they grill. You can use a neutral oil, but olive oil adds a little richness that works well with the sweetness of the onion.
- Paprika, garlic powder, and onion powder — This trio gives the onions a savory backbone without needing a wet marinade. Smoked paprika is the best swap if you want a deeper grill flavor, and it fits this recipe naturally.
- Cayenne — This is the part that wakes up the sweetness. Cut it back for a milder appetizer or increase it if you want a noticeable kick under the ranch or comeback sauce.
- Ranch or comeback sauce — The dip turns the onions into a real appetizer instead of a side. A thick sauce is better than a thin one here, because it clings to the petals instead of sliding off.
How to Grill the Blossoms So They Stay Tender, Not Watery
Shaping the Onion Flower
Trim the top, peel off the papery skin, and leave the root end untouched. Make 8 to 12 vertical cuts from the top down, stopping before the root so the onion stays connected. Then gently separate the layers with your fingers until the onion opens into a blossom. If you cut too close to the base, the onion won’t hold its shape once it softens.
Seasoning and Wrapping
Brush the onion all over with olive oil, getting some between the layers so the seasoning has something to stick to. Sprinkle the paprika, garlic powder, onion powder, cayenne, salt, and pepper over the top and into the cuts. Wrap each onion snugly in foil, but leave a little room inside for steam to circulate. Tight foil helps the onion cook evenly; loose foil lets it dry out.
Grilling Until the Center Turns Soft
Place the foil packets over medium heat and cook for 25 to 30 minutes. The onion is ready when the outer petals are tender and the center gives easily when nudged with tongs. If the grill runs hot, rotate the packets halfway through so the bottoms don’t scorch before the middle softens. Unwrap carefully, because the steam inside the packet is hot enough to burn your hands.
Finishing and Serving
Open the foil just before serving so the charred edges stay hot and glossy. A shower of fresh parsley gives the top a clean finish and keeps the onions from looking heavy. Serve them right away with ranch or comeback sauce while the petals are still tender enough to pull apart easily. Once they sit too long, they lose that just-grilled texture that makes them special.
Three Ways to Change the Heat, Smoke, or Dipping Sauce
Smokier Grill-Style Onion Blossoms
Swap regular paprika for smoked paprika and add a pinch of ground cumin if you want the onions to taste like they spent more time over the fire. The onions will still be sweet, but the finish gets deeper and a little more savory, which works especially well with barbecue sauce.
Milder Version for Kids or Heat-Sensitive Guests
Leave out the cayenne and add a touch more black pepper if you still want a little edge. You’ll lose the back-of-the-throat heat, but the onions stay sweet, buttery, and easy to serve with a cool dip.
Dairy-Free and Gluten-Free Serving Option
Use a dairy-free ranch or a mayo-based comeback sauce made with gluten-free ingredients. The onions themselves are naturally gluten-free, so the only thing to watch is the dip and any seasoning blends that include hidden starches or additives.
Make-Ahead for a Crowd
Cut and season the onions earlier in the day, then wrap them in foil and refrigerate until grill time. The texture is best when they go on the grill cold from the fridge, and that head start makes them easier to manage when you’ve got burgers, ribs, or chicken cooking too.
Storage and Reheating
- Refrigerator: Store leftovers in an airtight container for up to 3 days. The petals soften more as they sit, but the flavor holds up well.
- Freezer: Not recommended. Frozen grilled onions turn soft and a little watery once thawed, so the blossom texture doesn’t survive.
- Reheating: Warm in a 350°F oven, loosely covered with foil, until heated through. Don’t use the microwave if you want to keep the edges from going limp.
Answers to the Questions Worth Asking
Grilled Onion Blossoms
Ingredients
Equipment
Method
- Cut off the top of each onion and peel away the papery skin, leaving the root intact.
- Make vertical cuts from the top down, stopping before the root, creating 8-12 wedges that remain attached.
- Gently separate the wedges to create a blossom shape.
- Brush the onions with olive oil and sprinkle with paprika, garlic powder, onion powder, cayenne pepper, salt, and pepper.
- Wrap each onion in foil and grill over medium heat for 25-30 minutes until tender and caramelized.
- Unwrap the onions, garnish with fresh parsley, and serve with ranch or comeback sauce for dipping.