Grilled campfire quesadillas hit that sweet spot between simple and memorable: crisp tortillas, melted cheese that stretches when you cut into them, and smoky edges that taste like you cooked with purpose instead of just throwing dinner together. The grill marks matter here. They give the tortillas structure and a little bitterness that keeps all that cheese, chicken, and pepper from feeling heavy.
The trick is building them fast and cooking them over steady heat, not a raging fire. Flour tortillas brown beautifully, but they also go from golden to burnt in a hurry if the grate is too hot. A cast iron skillet over the coals works just as well and gives you more control, especially if you’re cooking for a group and want every quesadilla to come off at the same time. Shredded cheese melts evenly, and the cooked chicken keeps the filling hearty without needing extra time on the fire.
Below, I’ve included the small details that keep the tortillas intact, the cheese melted, and the filling from spilling out the sides. There’s also a few practical swaps for making these work with what you’ve got at camp.
I cooked these on a cast iron skillet over the fire and the tortillas came out crisp without burning. The cheese melted all the way through, and the jalapeños gave just enough heat with the chicken and peppers.
Like this grilled campfire quesadilla recipe? Save it for the nights when you want smoky tortillas, melted cheese, and an easy fire-cooked dinner.
The Difference Between Melty Filling and a Soggy Tortilla
The biggest mistake with campfire quesadillas is giving the filling too much time on the heat before the tortilla sets. Once the cheese starts melting, the tortilla is already working hard, and if the heat is too aggressive, the outside burns before the inside has a chance to come together. A steady medium fire or hot skillet gives you a crisp shell and enough time for the cheese to soften all the way through.
Two flour tortillas also help more than people expect. They create a sturdier package than folding a single tortilla in half, which matters when you’re cooking over fire and flipping with tongs. Pressing gently after the second tortilla goes on helps the filling settle into an even layer so it doesn’t slide out the sides when you turn it.
What Each Filling Ingredient Is Actually Doing Here
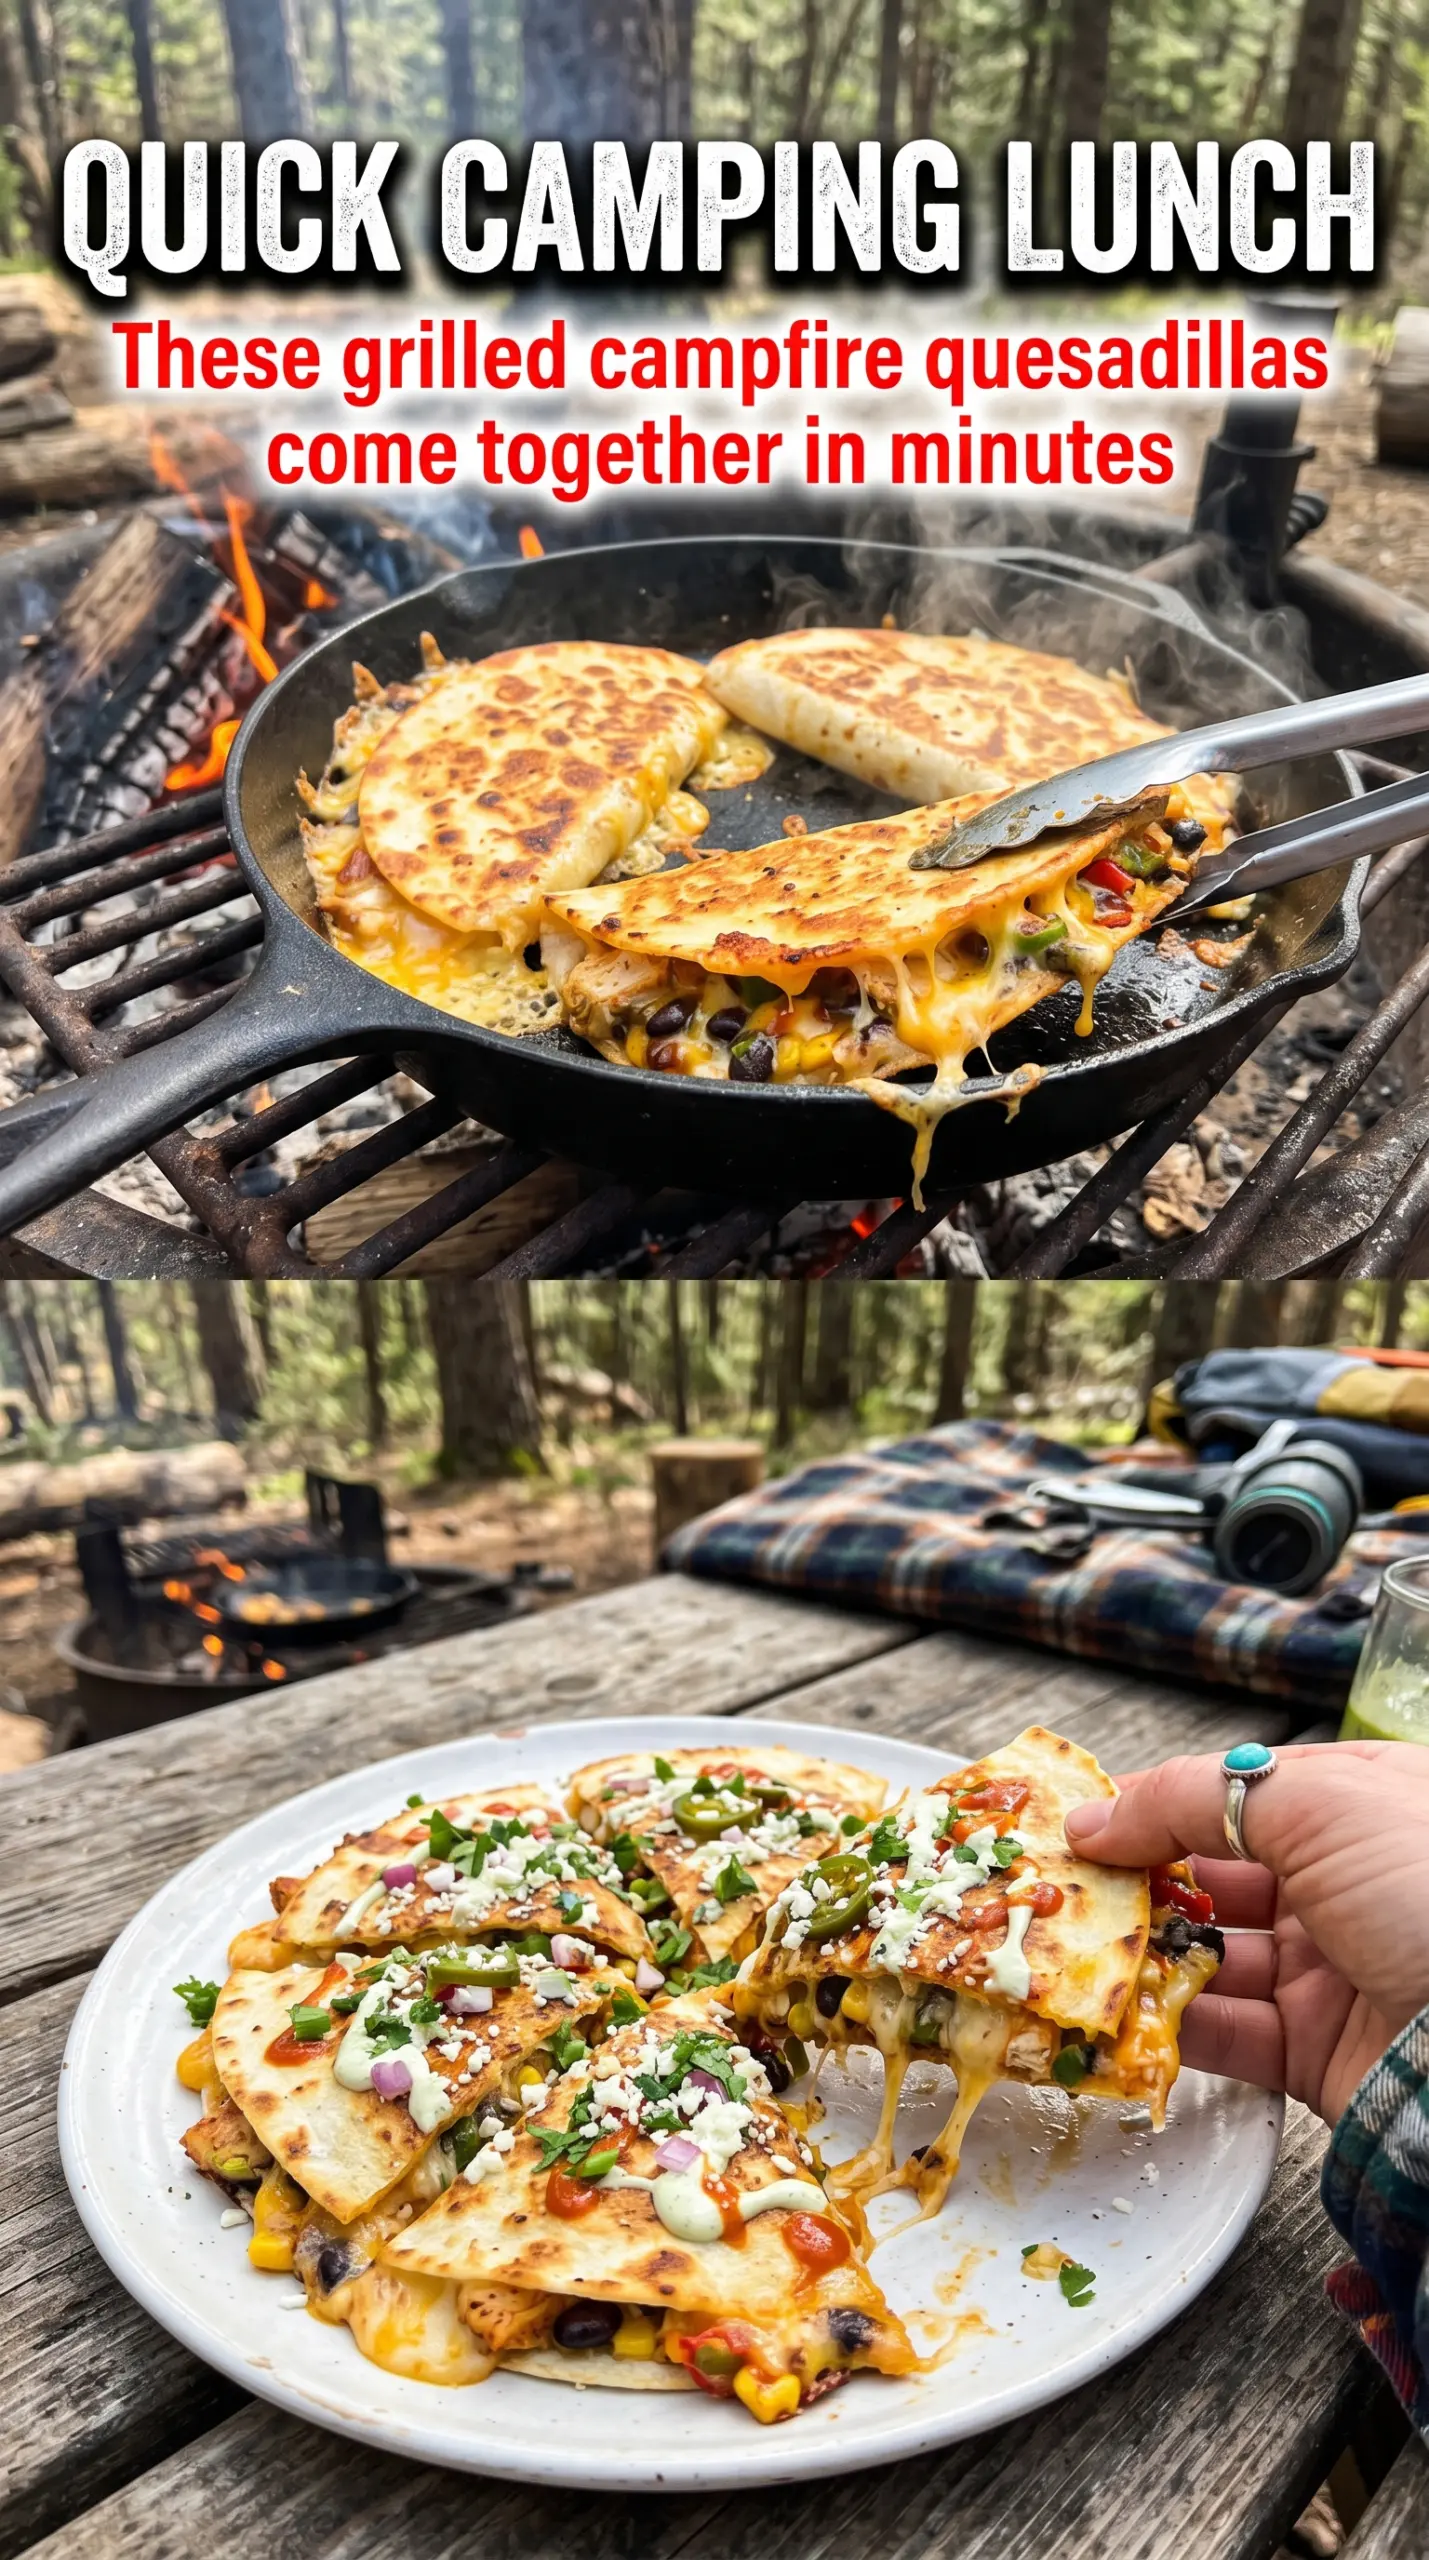
- Flour tortillas — These are the structure. Corn tortillas won’t hold up the same way here and tend to crack before the cheese melts. Use the largest ones you can find so the filling stays contained and the quesadilla is easy to flip.
- Mexican cheese blend — This is what gives you that stretchy, even melt. Pre-shredded cheese works fine for camping, but if you’re grating your own, it melts a little smoother because it doesn’t have the anti-caking coating. Cheddar alone can get greasy; the blend balances melt and flavor better.
- Cooked chicken — Since the chicken is already cooked, it just needs to warm through. That keeps the cook time short and prevents the tortillas from overbrowning while you wait on raw meat. Shred it small so every bite gets some cheese and chicken together.
- Bell pepper, onion, and jalapeño — These add crunch, sweetness, and heat. Dice the pepper and onion small so they soften before the tortillas overcook. Slice the jalapeño thin if you want the heat distributed evenly, or pull the seeds out for a milder version.
- Butter or oil — This helps the tortillas brown instead of drying out. Oil gives a cleaner grilled edge, while butter adds a deeper toasted flavor but can burn faster over direct flames. If you’re cooking over a campfire, oil is the safer choice.
How to Build the Quesadilla So It Holds Together Over Fire
Heat the Surface First
Get the skillet hot or the grill grate fully heated before the tortilla goes on. If the surface is only warm, the tortilla dries out before it browns, and the cheese starts leaking before the outside has any structure. You want an immediate sizzle and a quick, even toast on the first side.
Layer the Filling in the Center
Lay the first tortilla down and work fast: cheese first, then chicken, vegetables, and a little more cheese if you want extra glue between the layers. Keeping the filling centered leaves a clean border for sealing and flipping. If you pile everything to the edges, it will spill as soon as the cheese loosens.
Press, Flip, and Watch the Color
Set the second tortilla on top and press gently so the layers adhere. Cook until the bottom is deep golden with distinct grill marks, then flip once with a wide spatula or tongs. The second side usually needs less time than the first, and if you wait for the tortilla to look too dark before flipping, the cheese will already be pushing out the seams.
Ways to Adjust These for the Cooler, the Pantry, or a Different Diet
Make Them Vegetarian
Skip the chicken and add more peppers, onions, and a handful of black beans. The beans make the filling heartier, but you’ll want to keep them well drained so the tortillas don’t get wet. The result is still substantial, just a little softer in the center.
Dairy-Free Campfire Quesadillas
Use a meltable dairy-free cheese that’s meant for grilling, not a crumbly block-style substitute. Some plant-based cheeses brown faster than they melt, so keep the heat a little lower and give them extra time under the second tortilla. The texture changes, but the smoky grilled shell still carries the dish.
Use Leftover Steak or Taco Meat
Any cooked, seasoned meat works here as long as it’s chopped small. Leftover steak adds a deeper, smokier edge, while taco meat leans richer and spicier. Just don’t overload the tortilla, or the filling will steam instead of melting cleanly.
Storage and Reheating
- Refrigerator: Store leftovers for up to 3 days. The tortillas soften in the fridge, but they crisp back up well.
- Freezer: Freeze cooked quesadilla wedges in a single layer, then transfer to a bag for up to 2 months. Wrap them well so the tortillas don’t dry out.
- Reheating: Reheat in a dry skillet over medium heat or in a hot oven until the outside crisps and the center is hot. The mistake people make is microwaving them too long, which turns the tortilla chewy and the filling greasy.
Questions I Get Asked About This Recipe
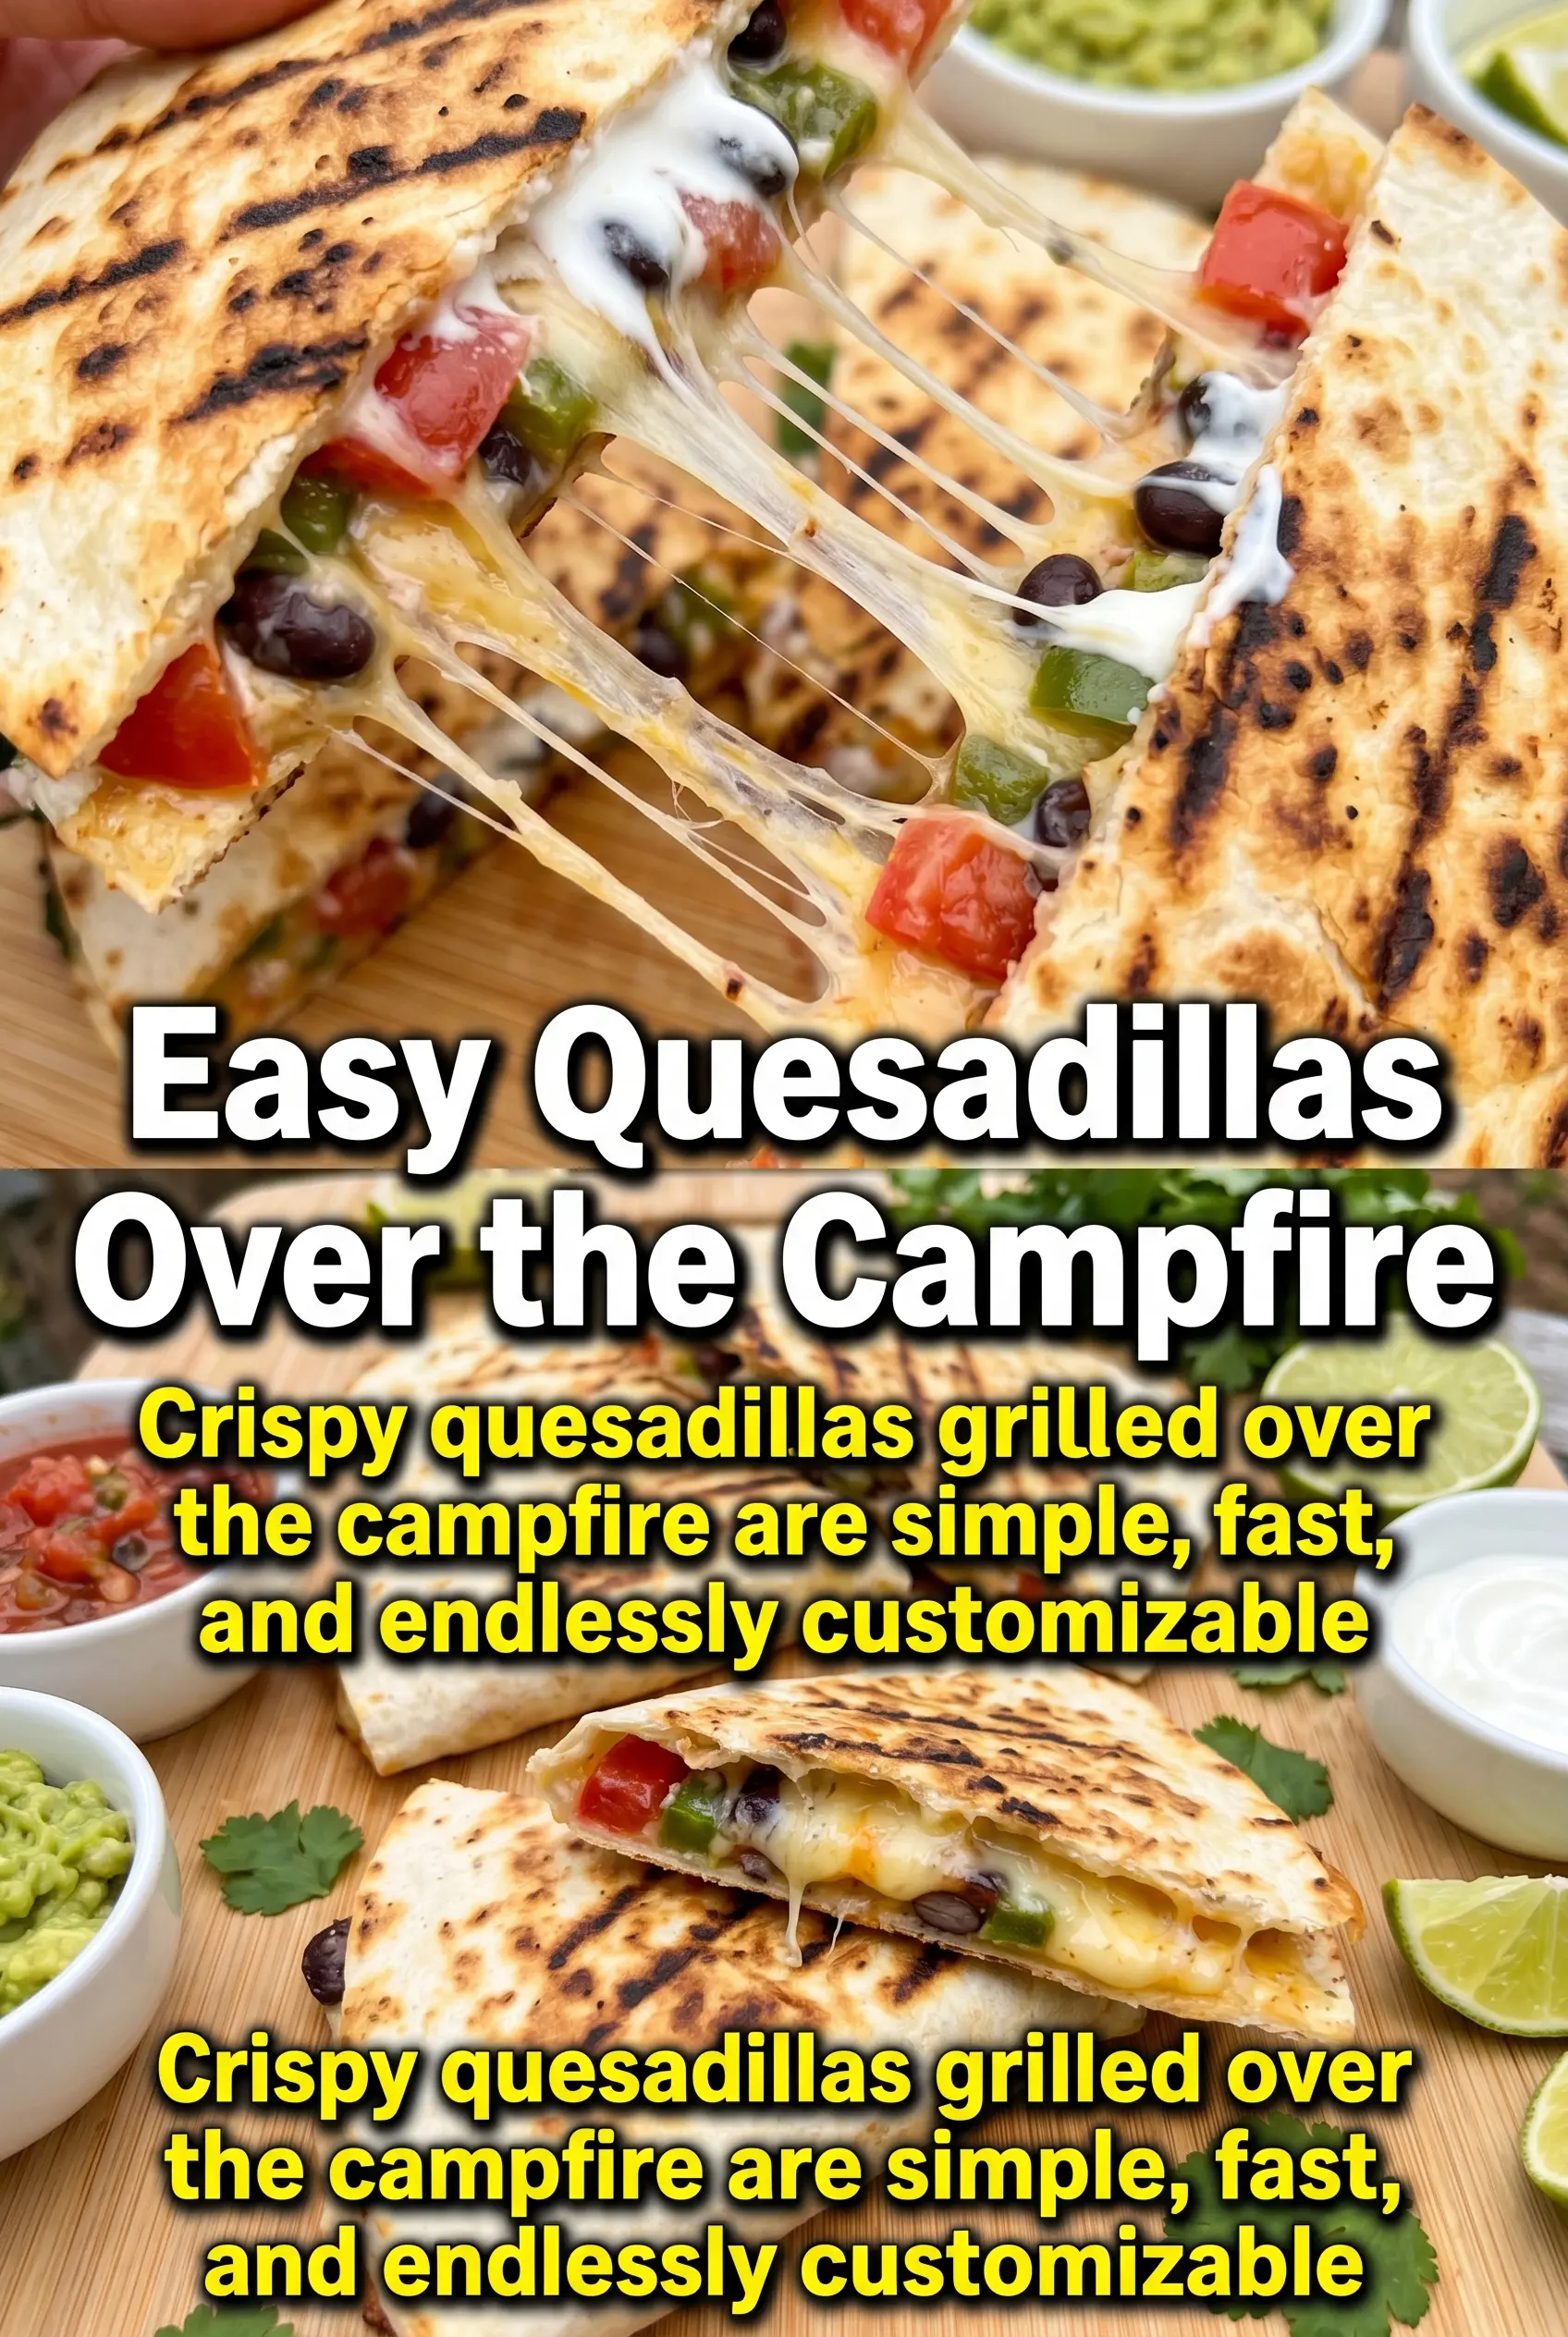
Grilled Campfire Quesadillas
Ingredients
Equipment
Method
- Heat a cast iron skillet or place a grill grate over campfire until hot.
- Place one tortilla on the cooking surface and quickly add cheese, chicken, bell pepper, onion, and jalapeño in an even layer.
- Top with second tortilla and press down gently to help the filling contact the hot surface.
- Cook for 3-4 minutes per side until golden with visible grill marks and the cheese melts and loosens at the edges.
- Remove from heat, cut into wedges, and serve immediately with salsa, sour cream, and guacamole.