Grilled campfire nacho packets hit the table with the kind of drama that makes everyone lean in. The foil opens up to a pile of hot chips under melted cheese, smoky beans, seasoned meat, and just enough jalapeño to wake everything up. The best part is that each packet stays personal, which means no fighting over the good corner pieces or the last scoop of cheese.
The trick is keeping the chips underneath the toppings and using heavy-duty foil so the packets hold their shape over the heat. A little space inside each packet matters too. That pocket of air helps the cheese melt without turning the chips into a soggy layer before the top has even warmed through. If you’ve made foil dinners that came out limp, this version fixes that by keeping the heat direct but the seal loose enough for steam to move.
Below, I’ll walk through the one step that keeps the chips crisp enough to still taste like nachos, plus a few easy ways to change the filling without losing the campfire feel.
The cheese melted evenly and the bottoms of the packets stayed crisp instead of getting mushy. I used ground chicken and added the salsa after opening, and everyone made their own exactly how they wanted.
Like these grilled campfire nacho packets? Save them to Pinterest for the nights when you want melty foil-packet nachos with almost no cleanup.
The Reason These Nacho Packets Stay Crispy Instead of Turning to Steam
The biggest mistake with foil nachos is sealing them like a casserole. That traps too much moisture around the chips, and once the chips soften, the whole packet starts tasting flat. These work because the heat comes from the grill grate or campfire coals, the foil holds the shape, and the ingredients are layered so the chips don’t sit in pooled salsa or bean liquid.
Heavy-duty foil matters here. Thin foil tears when you lift and open the packets, which is a fast way to lose half the nachos to the fire grate. Leave a little room at the top of each packet instead of pressing everything tightly flat. That gives the cheese space to melt and the steam a place to move without soaking the chips underneath.
What Each Layer Is Doing in a Foil Packet Like This
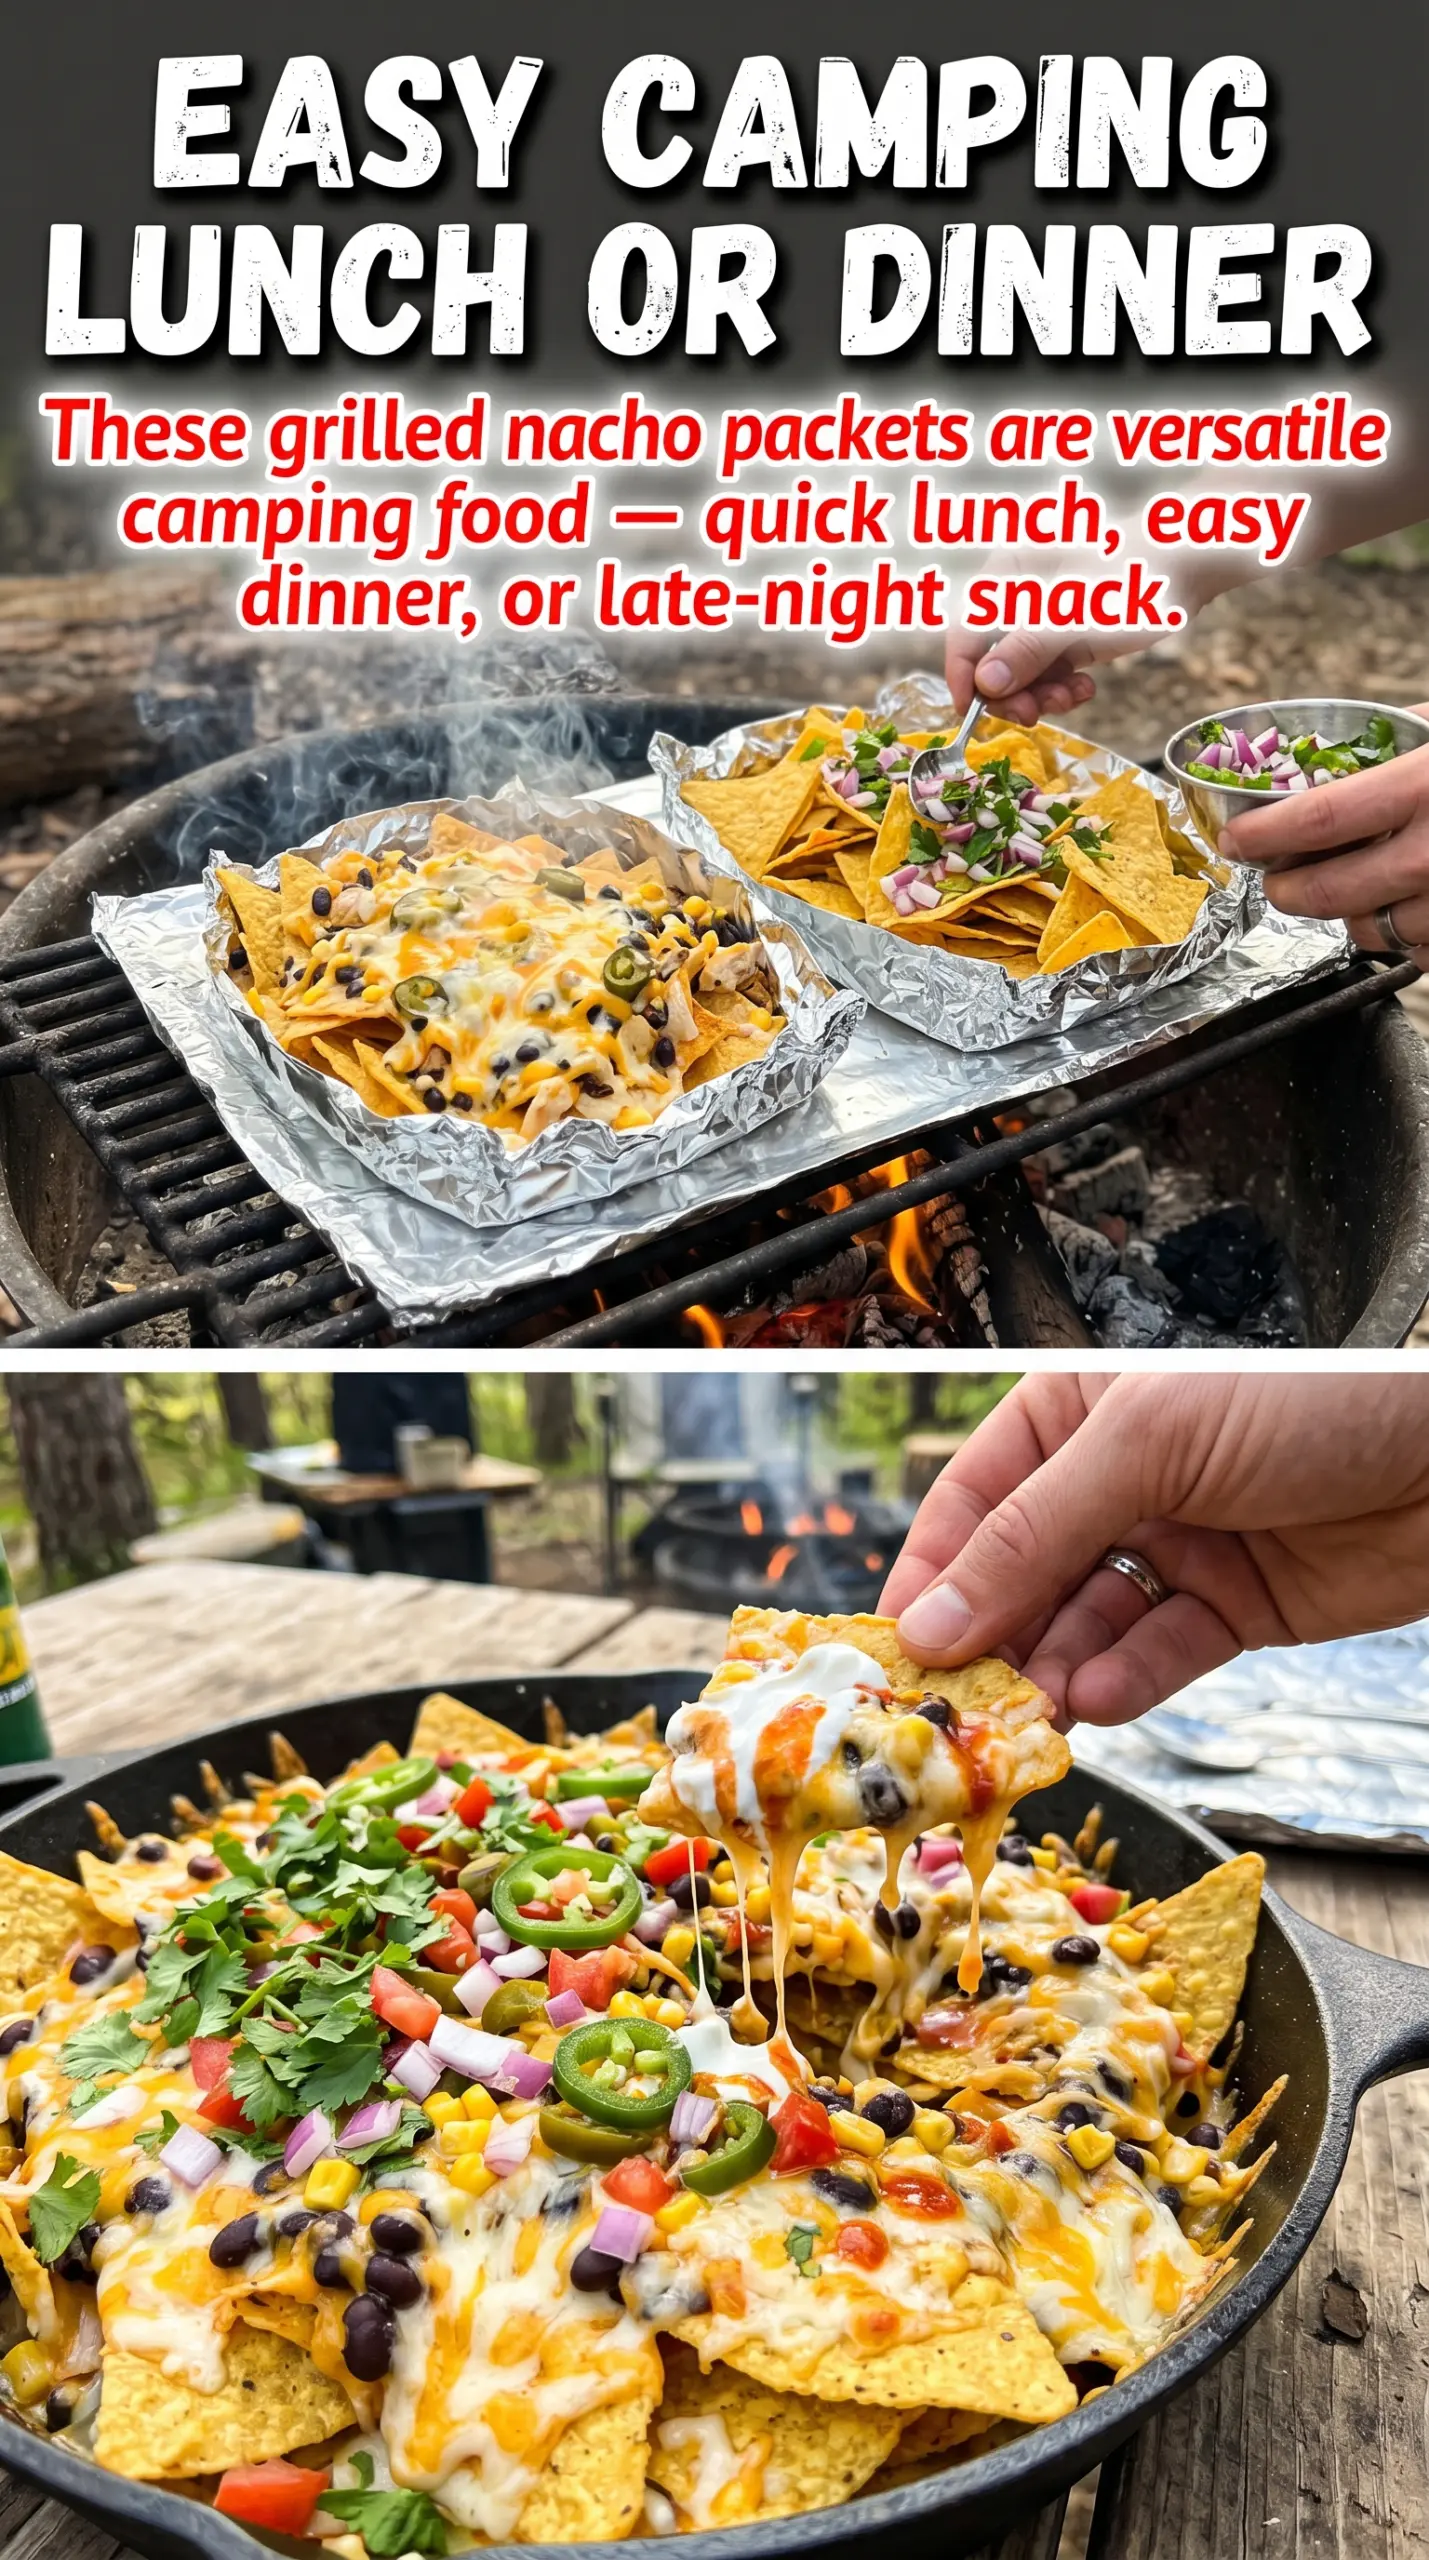
- Tortilla chips — Use a sturdy chip with some thickness. Thin chips break apart as soon as the cheese softens, while thicker chips keep their crunch longer under the toppings. If your bag is mostly crumbs, save those for topping bowls and use the intact chips in the packets.
- Shredded Mexican cheese blend — This melts smoothly because it usually includes cheeses that soften well over indirect heat. Pre-shredded is fine here, but if you grate it yourself, it melts a little silkier. Avoid big clumps on top; scattered cheese melts more evenly across the packet.
- Black beans — Drain them well. Extra liquid is what turns nachos soggy before the cheese has a chance to do its job. If you want a little more seasoning, toss the beans with a pinch of cumin and salt before they go in.
- Cooked ground beef or chicken — This should already be cooked before it hits the foil. The packets are for heating and melting, not for raw meat cookery. Leftover taco meat works especially well because it brings seasoning with it.
- Heavy-duty aluminum foil — This is one place where cheap foil can cost you the whole meal. Heavy-duty sheets hold up to direct heat and open cleanly without ripping. If you only have regular foil, double-layer each packet.
Building the Packets So the Cheese Melts Before the Chips Give Up
Setting Up the Foil
Lay out four large sheets of heavy-duty foil and give each one a little room to work. The foil should be big enough to fold over the filling without pressing down hard on the chips. A cramped packet steams faster, and that’s where soggy nachos start. If you’re using regular foil, layer two sheets together before adding anything.
Layering in the Right Order
Start with the tortilla chips, then scatter on the cheese, beans, meat, and jalapeño slices. Keep the cheese mixed through the top and middle of the pile instead of dumping it only on top, because the cheese needs contact points all through the packet. The beans should be drained and the meat should be hot or at least room temperature, not icy cold from the fridge.
Sealing Without Crushing
Fold the foil into sealed packets, but don’t press them flat. Leave a small air pocket so the heat can circulate and the cheese can melt before the chips collapse. If the packet is smashed tight against the filling, the steam has nowhere to go and the bottom chips soften first.
Cooking Over the Heat
Set the packets on a campfire grate over medium heat and cook for 12 to 15 minutes. You’re listening for the cheese to melt and watching for the foil packets to puff slightly. If the heat is too aggressive, the bottoms scorch before the center is warm, so move them to a cooler part of the grate if you smell burning.
Opening and Finishing
Pull the packets off the heat and let them sit for a minute before opening. Steam rushes out when you first cut the foil, and that can burn your hands fast. Open the top carefully, then finish with salsa, sour cream, and guacamole so those cold toppings stay fresh instead of heating into the packet.
How to Change These Packets Without Losing the Point
Vegetarian black bean nacho packets
Skip the meat and double the beans, or add corn and diced bell pepper for more body. The packet still feels hearty because the cheese and beans carry the weight, but the flavor will be lighter and a little earthier. This is the easiest version to scale for a mixed crowd.
Dairy-free campfire nachos
Use a melting-style dairy-free shreds blend and add a little extra seasoning to the beans and meat, since the cheese won’t bring the same salt and richness. The texture will be a touch less stretchy, but the packets still hold together well if you don’t overpack them.
Spicy version with fresh heat
Add pickled jalapeños or a spoonful of diced green chiles before sealing the packets. Fresh jalapeño gives clean heat, while pickled peppers add tang that cuts through the cheese. Use one or the other if you don’t want the heat to take over the whole packet.
Storage and Reheating
- Refrigerator: Store leftover nachos in an airtight container for up to 2 days. The chips will soften, so don’t expect the same crunch.
- Freezer: These don’t freeze well once assembled. The chips turn mealy and the toppings separate after thawing.
- Reheating: Warm leftovers in a skillet over low heat or in a 350°F oven just until hot. Microwaving makes the chips go limp fast, which is the main thing that ruins leftover nachos.
Answers to the Questions Worth Asking
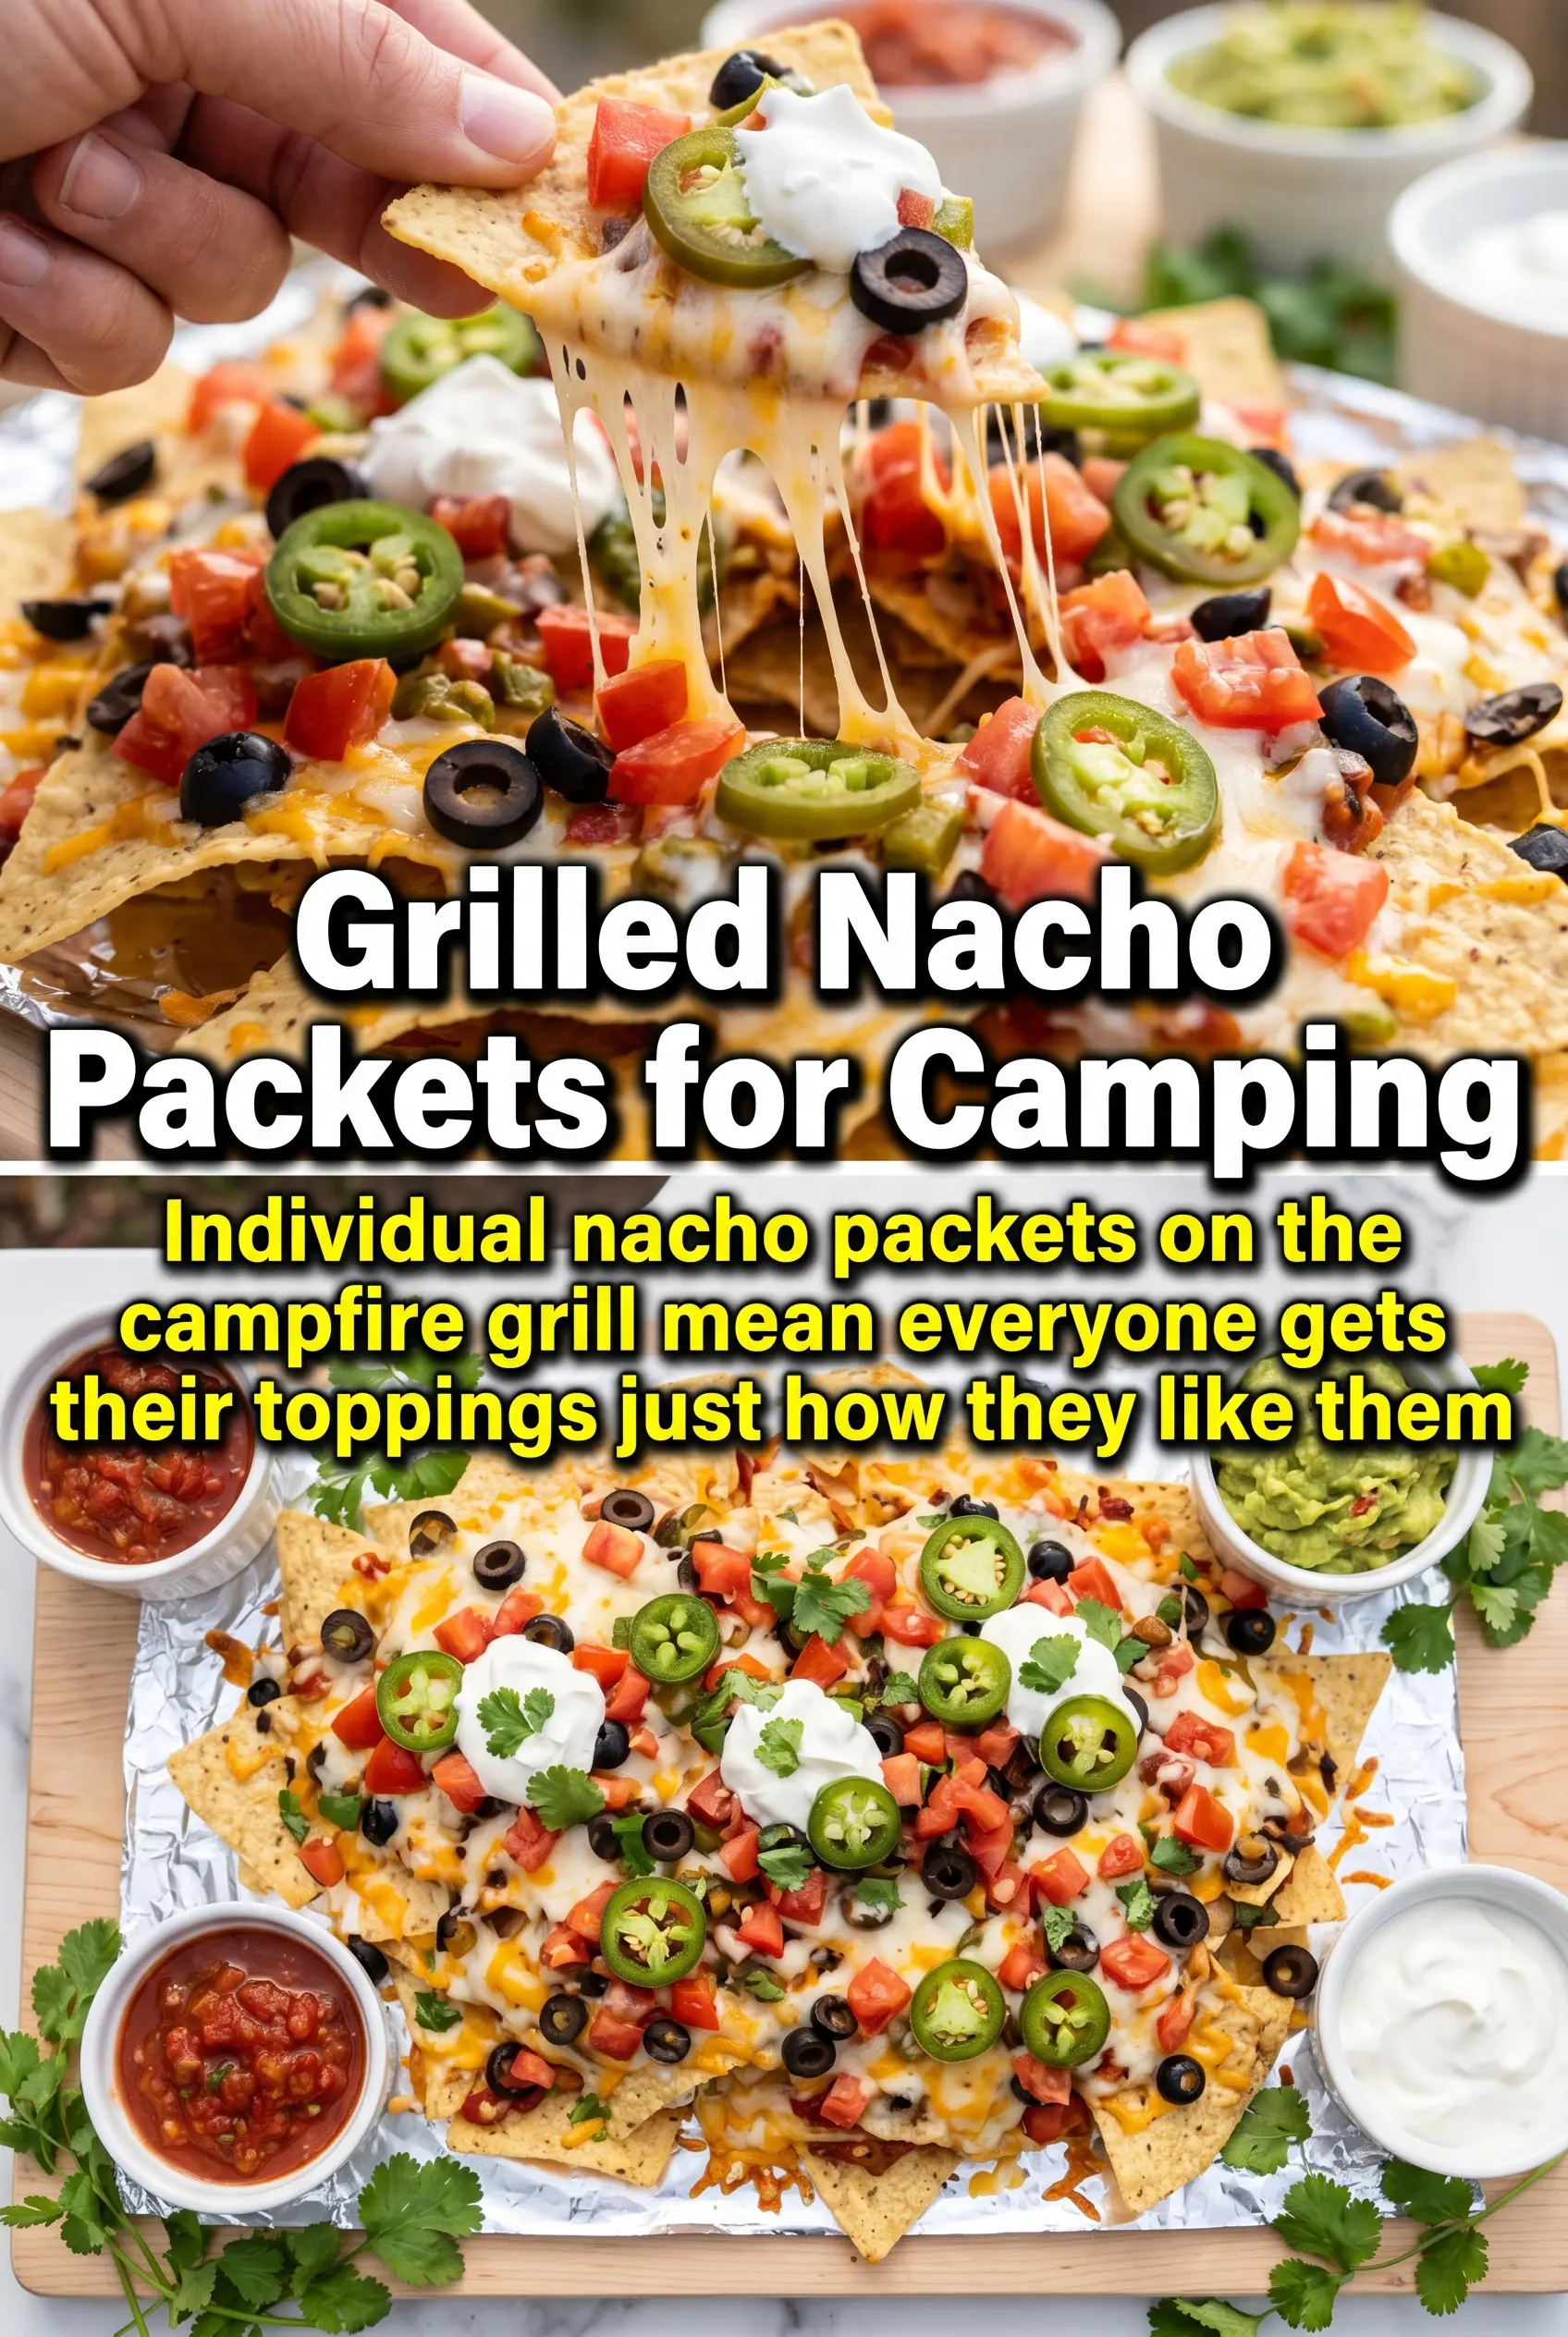
Grilled Campfire Nacho Packets
Ingredients
Equipment
Method
- Divide the tortilla chips among 4 foil sheets so each packet has a base layer with enough chips to catch melted cheese.
- Top each foil sheet with the shredded Mexican cheese blend, black beans, cooked ground beef or chicken, and sliced jalapeño, layering so the cheese can melt and bind the toppings.
- Fold foil into sealed packets, leaving a small amount of space for heat circulation so the chips warm and the cheese melts evenly.
- Place the packets on a campfire grate over medium heat for 12-15 minutes until the cheese is fully melted and the fillings are hot.
- Remove from heat and carefully open packets to release steam without spilling melted cheese.
- Top with salsa, sour cream, and guacamole before serving for fresh, creamy contrast to the melted cheese nachos.