Ultra-crispy smashed potatoes are the kind of side dish that disappears before the main course gets a fair chance. The edges shatter, the centers stay fluffy, and the whole pan picks up that buttery, garlicky crust that makes people keep reaching back for “just one more.” Once you start finishing potatoes this way, plain boiled potatoes stop feeling like enough.
The trick is giving the potatoes a head start in boiling water so the insides turn tender before they ever hit the griddle. After that, the real magic happens when the potatoes are smashed hard enough to crack open and expose more surface area. More surface area means more browning, more crunch, and more of that golden edge that carries the toppings instead of getting buried under them.
Below, I’m sharing the small details that keep the potatoes intact when you smash them, how to get a deep crust without scorching the garlic, and a few smart ways to change the toppings depending on what’s in your kitchen.
The potatoes got that crisp crust on the griddle without falling apart, and the garlic butter underneath made the whole kitchen smell incredible. I topped them with cheddar and bacon, and they were gone in minutes.
Save these griddle smashed potatoes for the nights when you want crispy edges, garlicky butter, and loaded toppings in one pan.
The Reason the Crust Forms on the Griddle Instead of Turning Soggy
Boiling the potatoes first is what keeps this recipe from becoming a battle with the griddle. If they go on raw, the outside burns before the center softens. Once they’re tender all the way through, the griddle only has to do the part that matters: drying out the surface and building that deep, crackly crust.
The other thing that makes or breaks smashed potatoes is the smash itself. You want them flattened enough that the edges spread and frill, but not so aggressive that they crumble into a mess. Baby potatoes with thin skins hold together best, and that skin is worth keeping because it helps the potatoes stay in one piece while also crisping beautifully.
What the Butter, Oil, and Garlic Are Really Doing Here
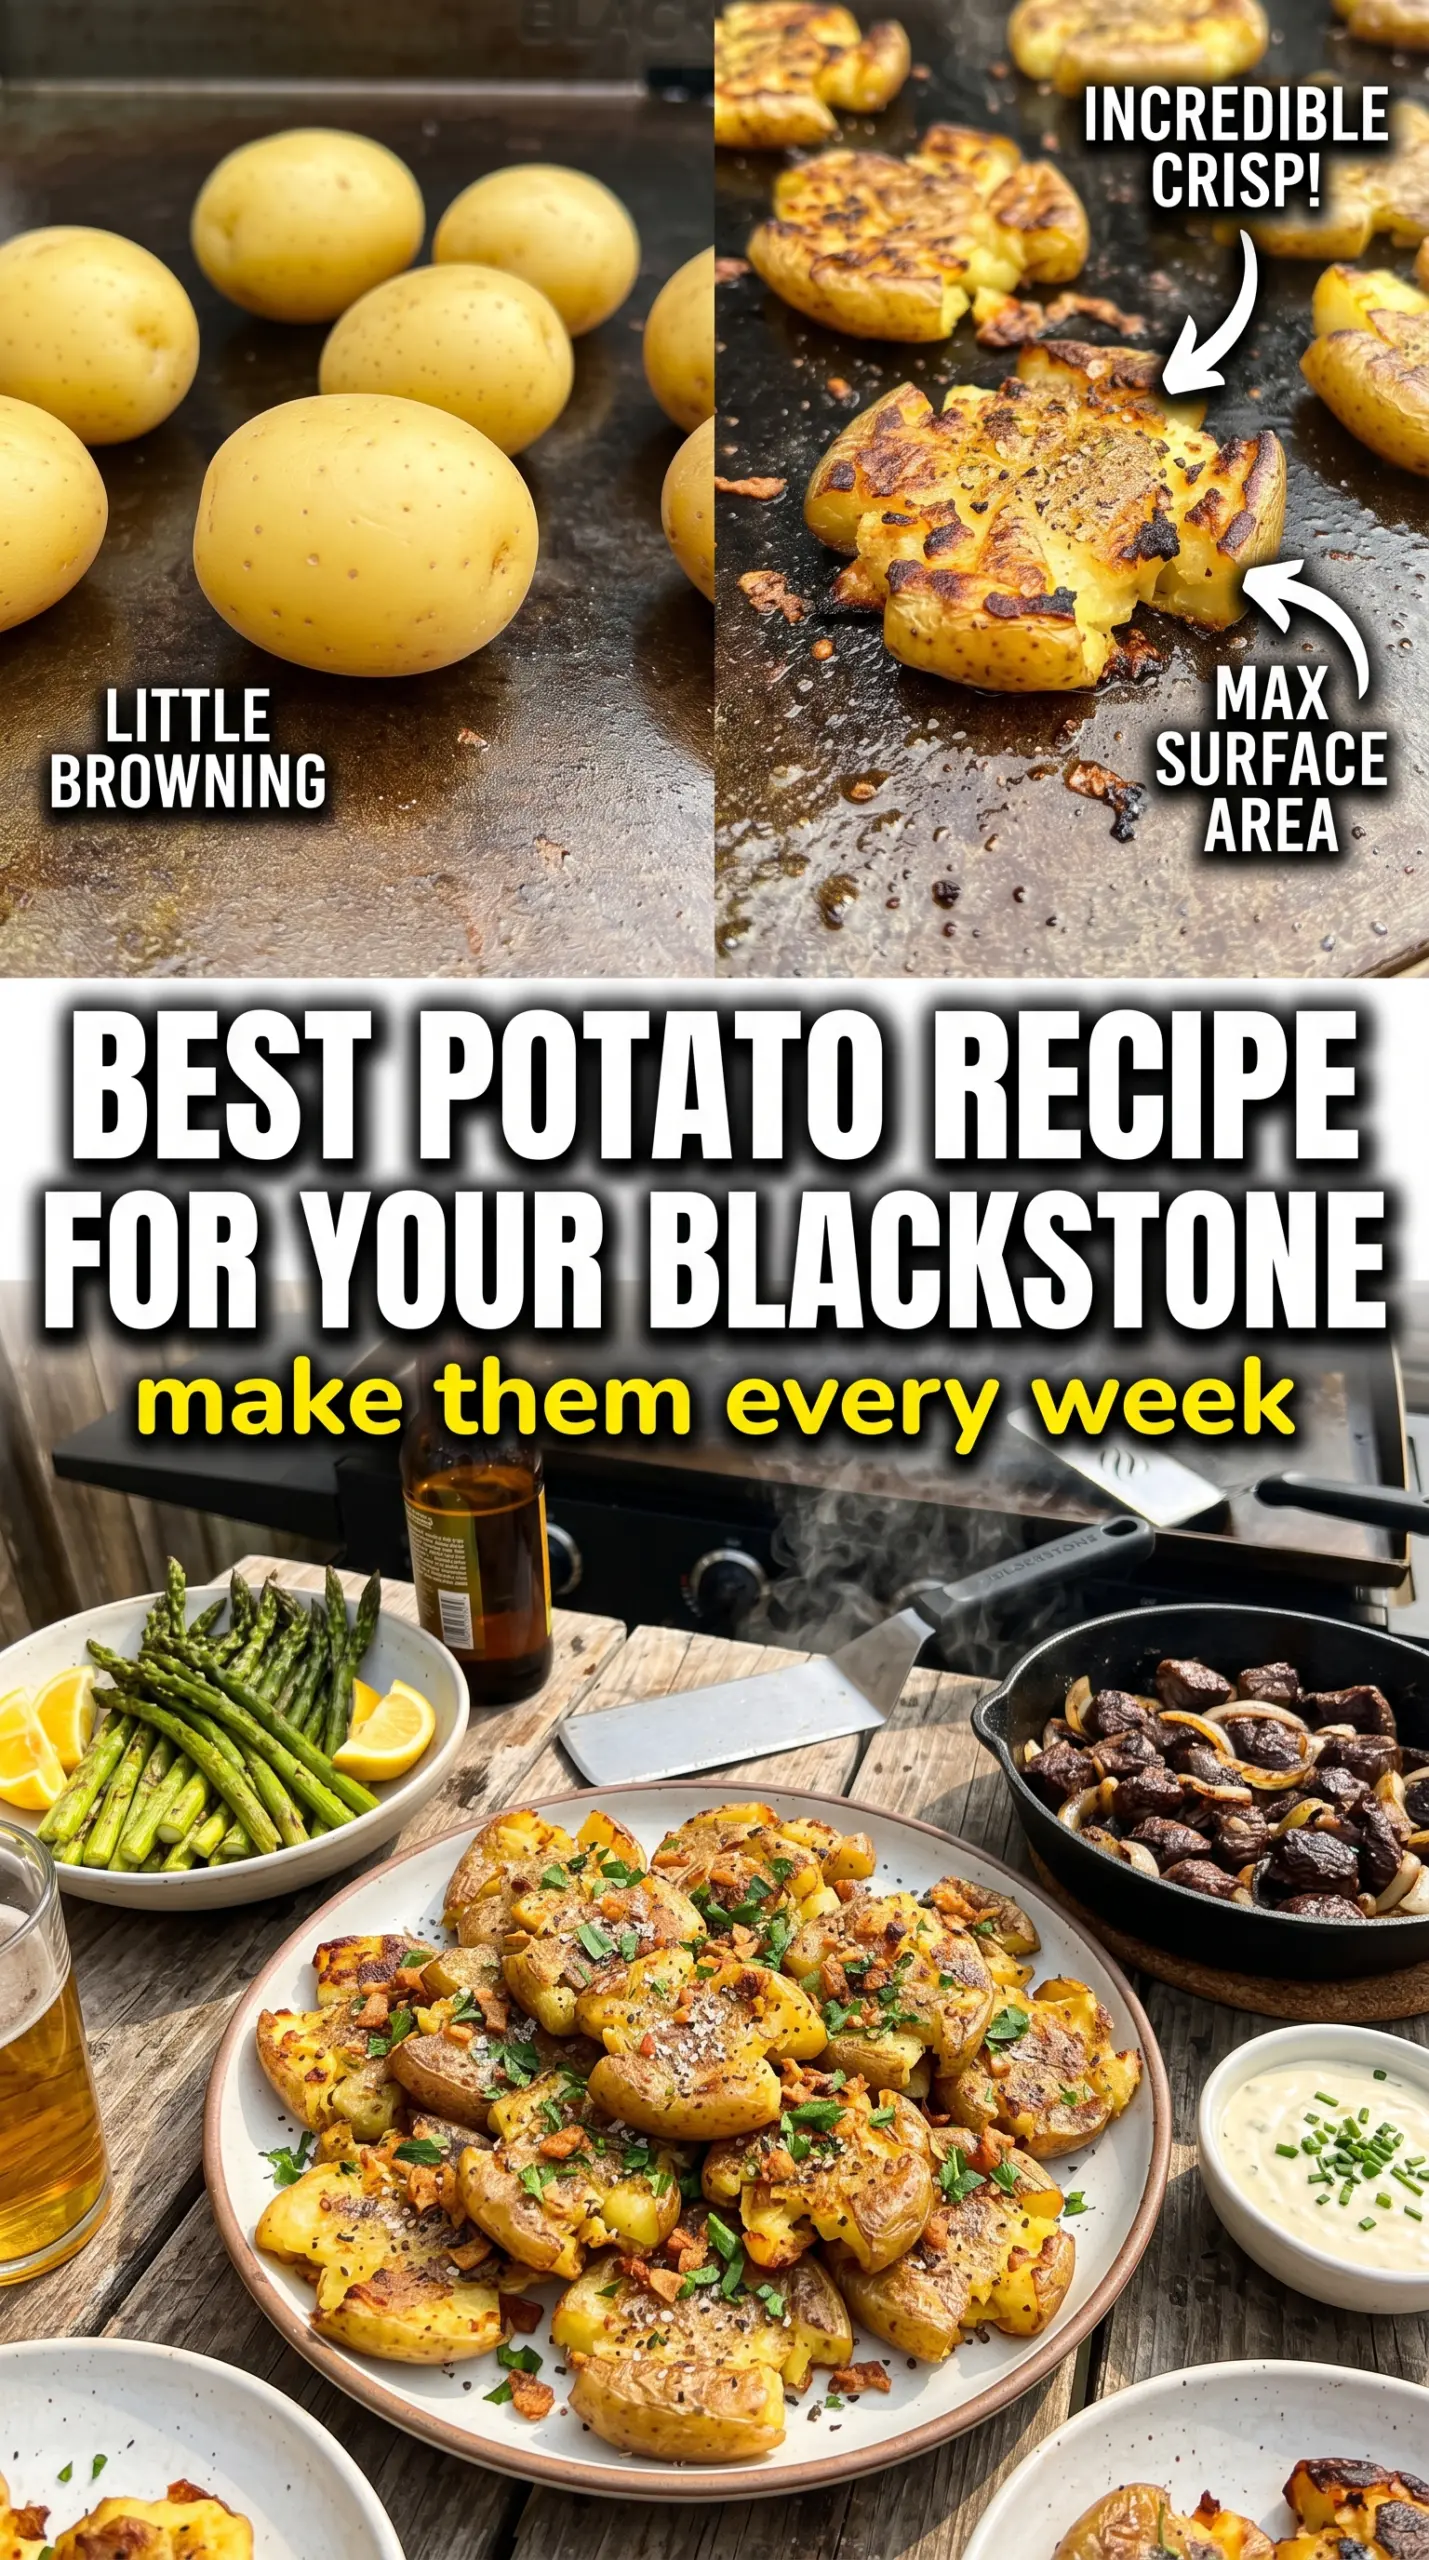
- Baby potatoes — These hold their shape after boiling and smash into thick rounds with plenty of edge. Larger potatoes don’t give you the same ratio of crisp surface to fluffy center.
- Olive oil — This gives you the high-heat browning the potatoes need. A neutral oil works too, but olive oil adds a little more character under the toppings.
- Butter — Butter brings flavor and helps the potatoes brown with a richer crust. If you use only butter, keep the heat moderate so the milk solids don’t scorch before the potatoes crisp.
- Garlic — Fresh minced garlic perfumes the griddle and soaks into the butter. Add it around the potatoes, not under them, so it doesn’t burn before the crust is ready.
- Cheddar, bacon, sour cream, and chives — These are the loaded-potato finish. Sharp cheddar melts best, bacon adds salt and crunch, sour cream cools the edges, and chives cut through the richness.
Getting the Smash, Sear, and Finish in the Right Order
Boil Until the Centers Give Easily
Start the potatoes in salted water and cook them until a knife slips in with almost no resistance. That usually takes 15 to 20 minutes depending on size. Drain them well and let the steam escape for a few minutes, because wet potatoes steam on the griddle instead of crisping. If they’re still firm in the middle, they’ll fight the smash and split unevenly.
Build a Hot, Fatty Surface on the Griddle
Heat the griddle to medium-high, then add the oil and butter together. The oil keeps the butter from browning too fast, and the butter gives you the flavor you want on the edges. When the fat shimmers and loosens easily across the surface, it’s ready. If the pan is only warm, the potatoes will soak up fat before they start to brown.
Smash and Leave Them Alone
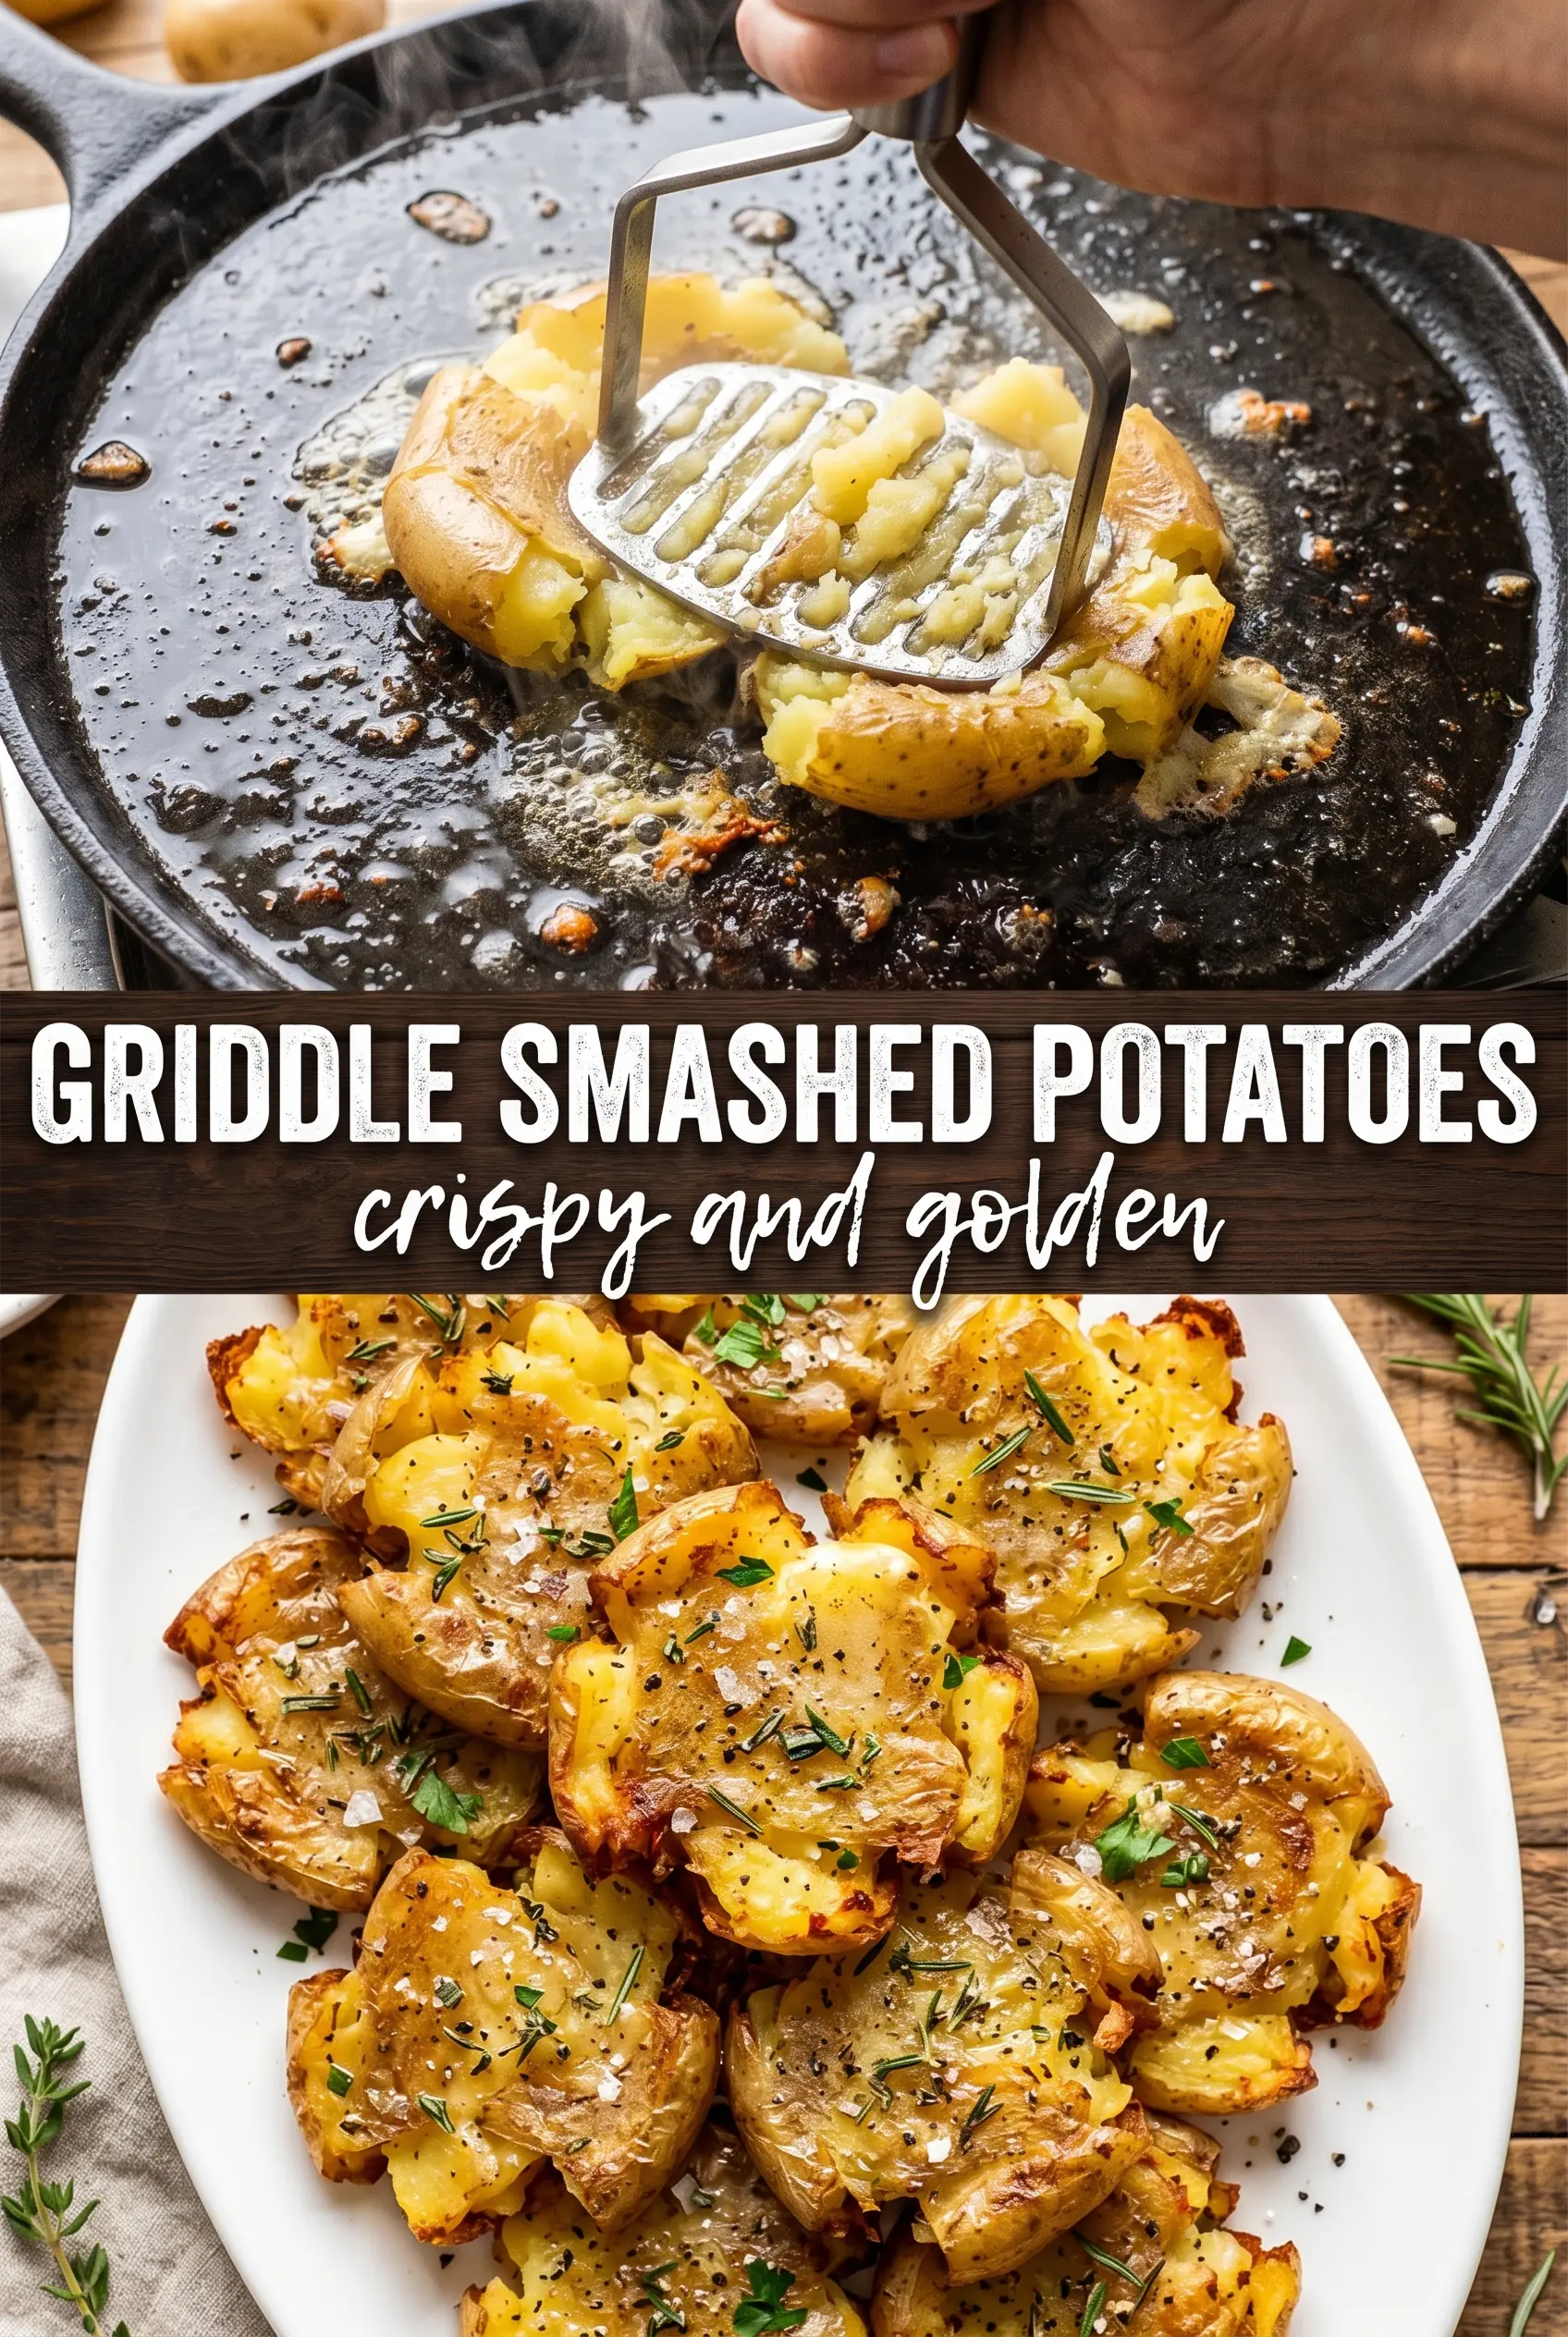
Set the potatoes on the hot griddle and press them flat with a heavy spatula. Use steady pressure instead of a quick jab so they open into wide rounds instead of breaking apart. Once they’re smashed, leave them alone for several minutes. Moving them too early tears the crust before it has a chance to set.
Cook to Deep Gold Before Flipping
Add the garlic around the potatoes once they’re smashed, then let everything cook until the bottoms are a deep golden brown with crisp, lacy edges. That usually takes 6 to 7 minutes. If the garlic starts to darken too fast, shift it away from the hottest spots on the griddle. Flip carefully and cook the second side until it catches up in color and texture, another 5 to 6 minutes.
Load Them While They’re Still Hot
Scatter the cheddar over the potatoes first so it melts from the residual heat. Then add the bacon, a spoonful of sour cream, and a final shower of chives. If you wait too long, the cheese won’t melt cleanly and the toppings slide off instead of settling into the hot potato surface.
How to Change These Loaded Potatoes Without Losing the Crunch
Make them dairy-free
Use all olive oil instead of butter and swap in a dairy-free shredded cheddar-style topping if you want the loaded finish. You’ll lose a little richness, but the potatoes still crisp well because the browning comes from the hot surface, not the dairy.
Skip the bacon and keep it vegetarian
Leave out the bacon and add extra chives or a little smoked paprika over the top. You’ll lose the salty crunch, so I’d add a pinch more salt at the end and lean on sharp cheese for more punch.
Turn them into a gluten-free side for a crowd
The base recipe is already gluten-free, so the only thing to watch is your bacon if it’s pre-seasoned or heavily processed. This is an easy one to scale up on a large griddle, and the potatoes hold well for serving if you keep them in a warm oven for a short stretch.
Use different toppings without changing the method
Try green onions, pepper jack, or even a dollop of ranch instead of sour cream. Keep the crunchy potato base the same and you can push the flavor in a different direction without messing with the texture.
Storage and Reheating
- Refrigerator: Store leftovers in an airtight container for up to 4 days. The crust softens, but the flavor stays good.
- Freezer: These freeze okay without the sour cream topping, but the texture gets softer after thawing. Freeze on a tray first, then pack them tightly so they don’t stick together.
- Reheating: Reheat on a skillet or griddle over medium heat until the edges crisp back up. The mistake people make is microwaving them all the way through, which turns the crust limp before the center is hot.
Questions I Get Asked About This Recipe
Griddle Smashed Potatoes
Ingredients
Equipment
Method
- Bring a pot of salted water to a boil and cook baby potatoes until tender, about 15-20 minutes. Drain and let them cool slightly so they smash without breaking.
- Heat a cast iron skillet or griddle to medium-high and add olive oil and butter until foaming. Arrange the potatoes on the hot surface in a single layer.
- Smash each potato completely flat using a heavy spatula for maximum contact with the griddle. Keep them separated so the edges can crisp.
- Add minced garlic around the potatoes and cook undisturbed for 6-7 minutes until a crispy golden crust forms. Look for dark golden edges visible at the perimeter.
- Flip the smashed potatoes and cook another 5-6 minutes until both sides are crispy. Press lightly with the spatula only if needed for full contact.
- Top the hot potatoes with shredded cheddar cheese, letting it sit on the warm crispy rounds. Add crumbled bacon, sour cream, and chives right before serving for the best texture contrast.