Baked chicken breast gets a bad reputation for turning dry, bland, and forgettable. This version stays juicy because the chicken is coated in garlic herb butter before it goes into the oven, then basted with those same pan juices halfway through cooking. The top turns glossy and golden while the butter settles around the edges of the pan, carrying garlic, herbs, and a little lemon into every bite.
The key here is high heat and a short bake time. A 425°F oven gives the outside enough energy to brown before the breast meat has time to toughen, and the butter mixture protects the surface while adding flavor that plain seasoning alone can’t match. I also like a little smoked paprika here because it gives the chicken a deeper color and a faint savory note without making the dish taste smoky.
Below, I’ve added the small details that matter most: how to keep the butter from scorching, when to baste, and what to do if your chicken breasts are thick in the middle and thin at the ends. Those are the things that separate dry chicken from the kind people go back for.
The garlic butter pooled in the dish and kept the chicken from drying out, and the herbs tasted fresh even after baking. I checked at 22 minutes and it was spot on juicy.
Love chicken with a golden garlic herb butter finish? Save this juicy baked chicken breast for the nights when you want a fast pan sauce without extra work.
Why the Butter Goes on Before the Oven Does
Chicken breast dries out when the surface cooks before the center has a chance to catch up. The butter layer here slows that down a little, but more importantly, it carries the garlic and herbs evenly across the meat so every bite tastes seasoned, not just the outer edge. Basting halfway through matters because it refreshes the surface with hot fat and pan juices right when the top starts to look a little pale.
The other thing that helps is spacing the breasts out in the baking dish. If they’re crowded, the butter and juices steam the chicken instead of letting the edges take on color. You want a thin layer of bubbling fat around each piece, not a shallow bath that traps moisture and softens everything.
- 425°F oven heat — Hot enough to brown the surface fast without forcing a long bake that dries out the meat.
- Fresh garlic — Garlic powder alone won’t give you the same fragrant butter sauce. Fresh garlic melts into the fat and perfumes the pan.
- Herbs — Parsley brings freshness, thyme adds savory depth, and rosemary gives the butter a woodsy edge. Dried herbs can work in a pinch, but use less because they hit harder once they bake.
- Lemon juice — A small amount keeps the butter from tasting heavy. Bottled lemon juice works if that’s what you have, though fresh is sharper and cleaner.
What Each Ingredient Is Actually Doing in This Dish
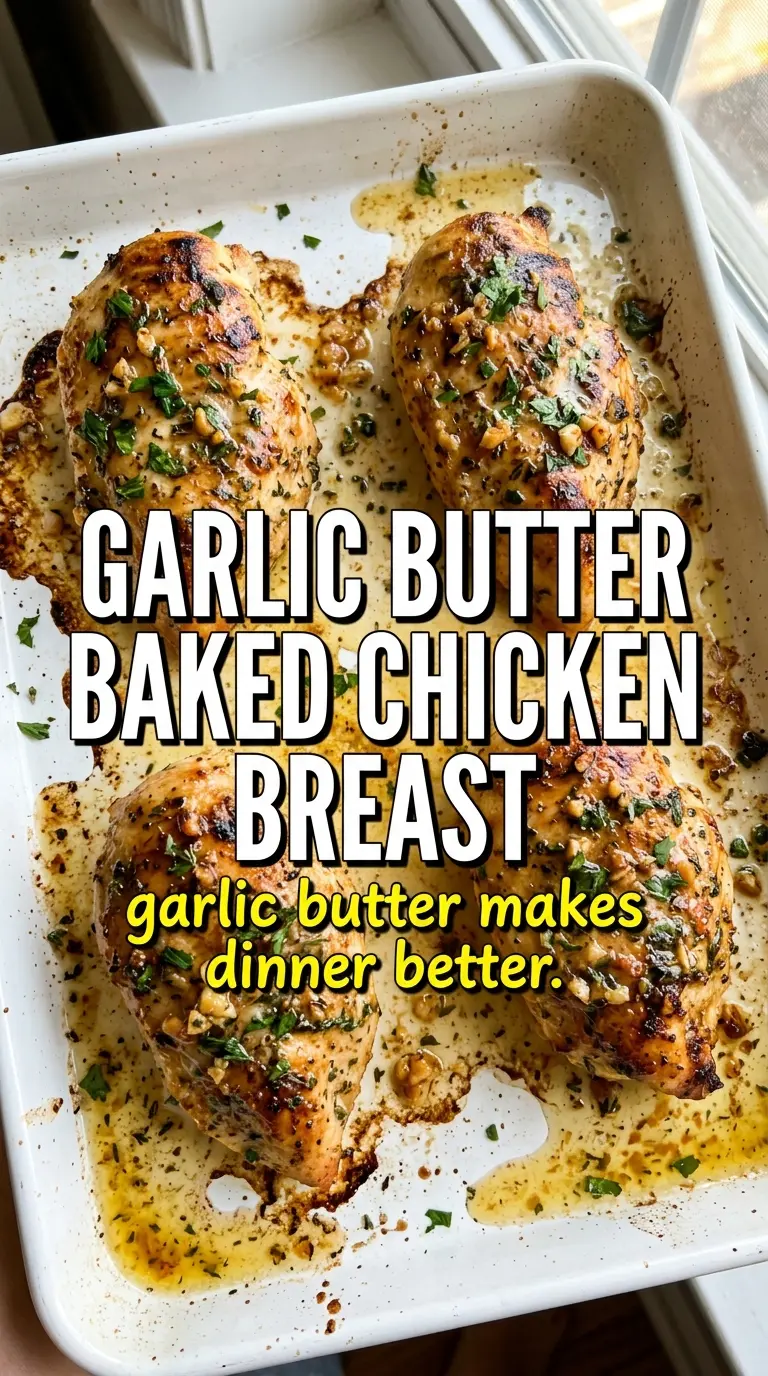
- Chicken breasts — Boneless, skinless breasts are lean, which is why the butter coating matters so much. If one side is much thicker, pound it lightly so the pieces cook at the same pace.
- Butter — This is the base of the sauce and the barrier that keeps the chicken moist. I wouldn’t swap in oil here unless you have to, because oil won’t give you the same rich pan juices.
- Garlic — Fresh minced garlic is the flavor anchor. Jarred garlic can work, but it tastes sharper and less sweet after baking.
- Parsley, thyme, and rosemary — This trio gives the butter enough character to taste like more than seasoned fat. If you only have one herb, keep thyme and use a little extra parsley for freshness.
- Smoked paprika — This is mostly for color and a gentle savory note. Regular paprika works too, but the smoked version gives the chicken a deeper look in the oven.
The 25 Minutes That Keep the Chicken Juicy
Season the Meat First
Pat the chicken dry before seasoning it. Wet chicken steams at the surface and holds seasoning poorly, which is how you end up with bland spots under the butter. Salt, pepper, garlic powder, and smoked paprika should cling to the meat in a thin, even coating. If your chicken breasts are huge, split them horizontally or pound them a bit so the thick end doesn’t stay undercooked while the thin end dries out.
Mix the Butter While It’s Still Warm
Stir the garlic, herbs, and lemon juice into melted butter and pour it over the chicken right away. Warm butter spreads better and carries the garlic more evenly than butter that has started to set. The garlic should look suspended in the fat, not clumped at the bottom of the bowl. If the butter cools and thickens before you pour, rewarm it briefly so you can coat the chicken fully.
Bake Until the Center Hits 165°F
Put the dish in the hot oven and bake for 20 to 25 minutes, depending on thickness. Halfway through, spoon some of the pan juices over the tops of the breasts. That baste adds shine and helps the herb bits stick instead of burning on the surface. Pull the chicken when the thickest part reaches 165°F; waiting for the juices to look perfectly dry is how people overshoot and end up with stringy meat.
Rest Before You Slice
Let the chicken sit for 5 minutes after it comes out of the oven. The juices settle back into the meat during that rest, and the sauce in the pan thickens just enough to spoon over the top. Slice too early and the juices run out onto the board instead of staying in the chicken. Serve with lemon wedges so each plate gets a fresh squeeze at the end.
How to Adjust This Chicken Without Losing What Makes It Good
Dairy-Free Garlic Herb Chicken
Use olive oil or a good dairy-free butter instead of regular butter. You’ll lose a little of the rich pan sauce, but the garlic and herbs still carry the dish. Keep the lemon juice in place so the finish doesn’t taste flat.
Boneless Chicken Thigh Version
Thighs stay juicier and tolerate a little extra time, so bake until they hit 175°F for the best texture. The flavor is richer and the pan juices get even better, though you’ll lose the neat, sliceable look of chicken breast.
Gluten-Free and Naturally Low-Carb
This recipe is already gluten-free and low-carb as written, as long as your paprika and seasonings are pure. That makes it an easy main dish for serving with vegetables, salad, or cauliflower mash without changing a thing.
Make It Ahead for Faster Dinner
You can season the chicken and mix the herb butter a few hours ahead, then keep both chilled until baking time. Let the butter soften just enough to pour before it goes over the chicken. If it’s too cold, it won’t coat evenly and the top can bake up patchy.
Storage and Reheating
- Refrigerator: Store leftovers in an airtight container for up to 4 days. The chicken stays moist, though the butter sauce will firm up when cold.
- Freezer: It freezes well for up to 2 months, but the sauce will separate a bit after thawing. Wrap portions tightly and freeze with some of the pan juices so the meat doesn’t dry out.
- Reheating: Warm covered in a 300°F oven with a spoonful of the pan juices or a splash of water. Microwaving on high is the fastest way to make the edges chewy, so use short bursts at medium power if you go that route.
Questions I Get Asked About This Recipe
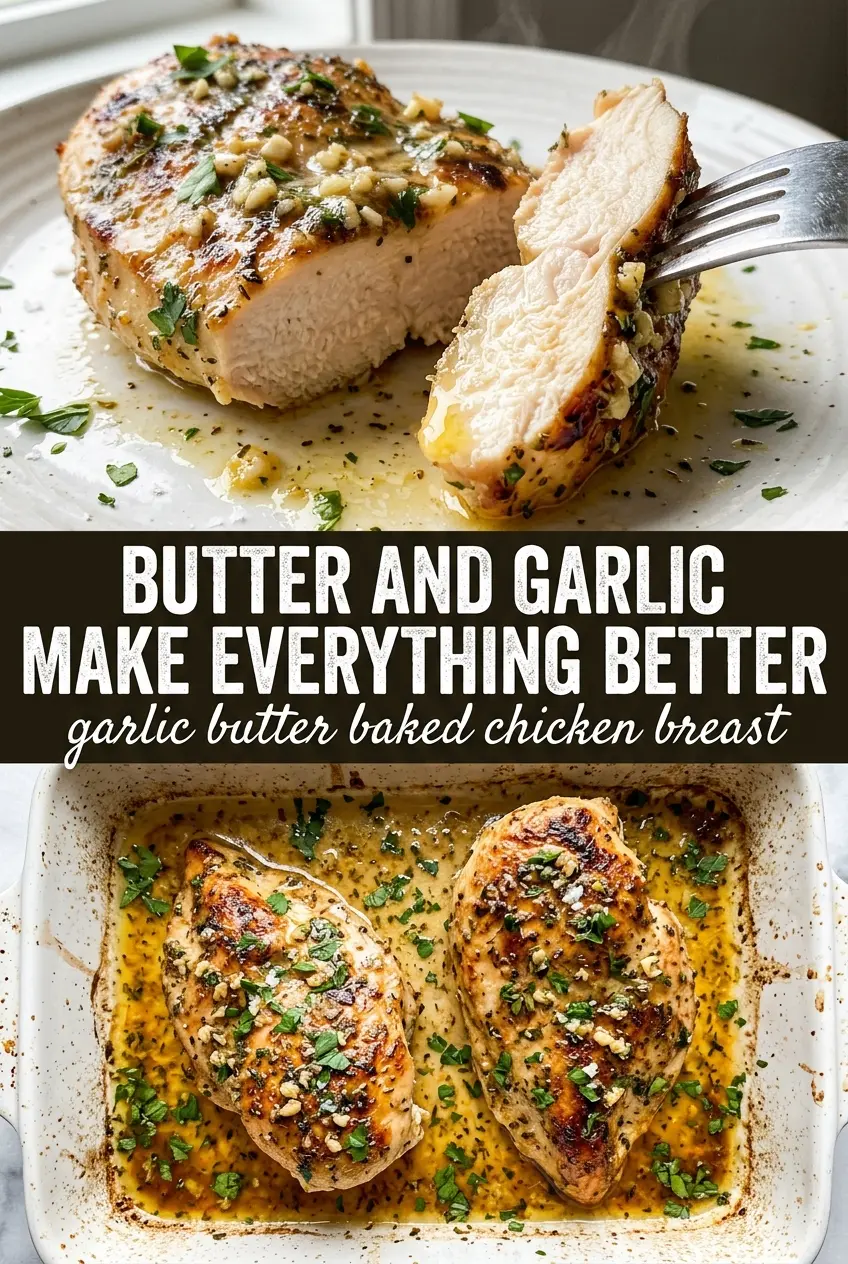
Garlic Butter Baked Chicken Breast
Ingredients
Equipment
Method
- Preheat the oven to 425°F and lightly grease a baking dish so the chicken releases easily after baking.
- Pat the chicken breasts dry and season both sides with salt, pepper, garlic powder, and smoked paprika for even flavor.
- Melt the butter, then stir in the minced garlic, chopped parsley, thyme leaves, minced rosemary, and lemon juice until combined and fragrant.
- Place the chicken in the prepared dish and pour the garlic herb butter over each breast, coating thoroughly so a glossy glaze forms.
- Bake for 20-25 minutes at 425°F, until the chicken reaches an internal temperature of 165°F and the surface turns golden.
- At the halfway point, baste the chicken with the pan juices so the butter caramelizes and the glaze looks glistening.
- Rest the chicken for 5 minutes, then serve with the pan juices spooned over and lemon wedges alongside.