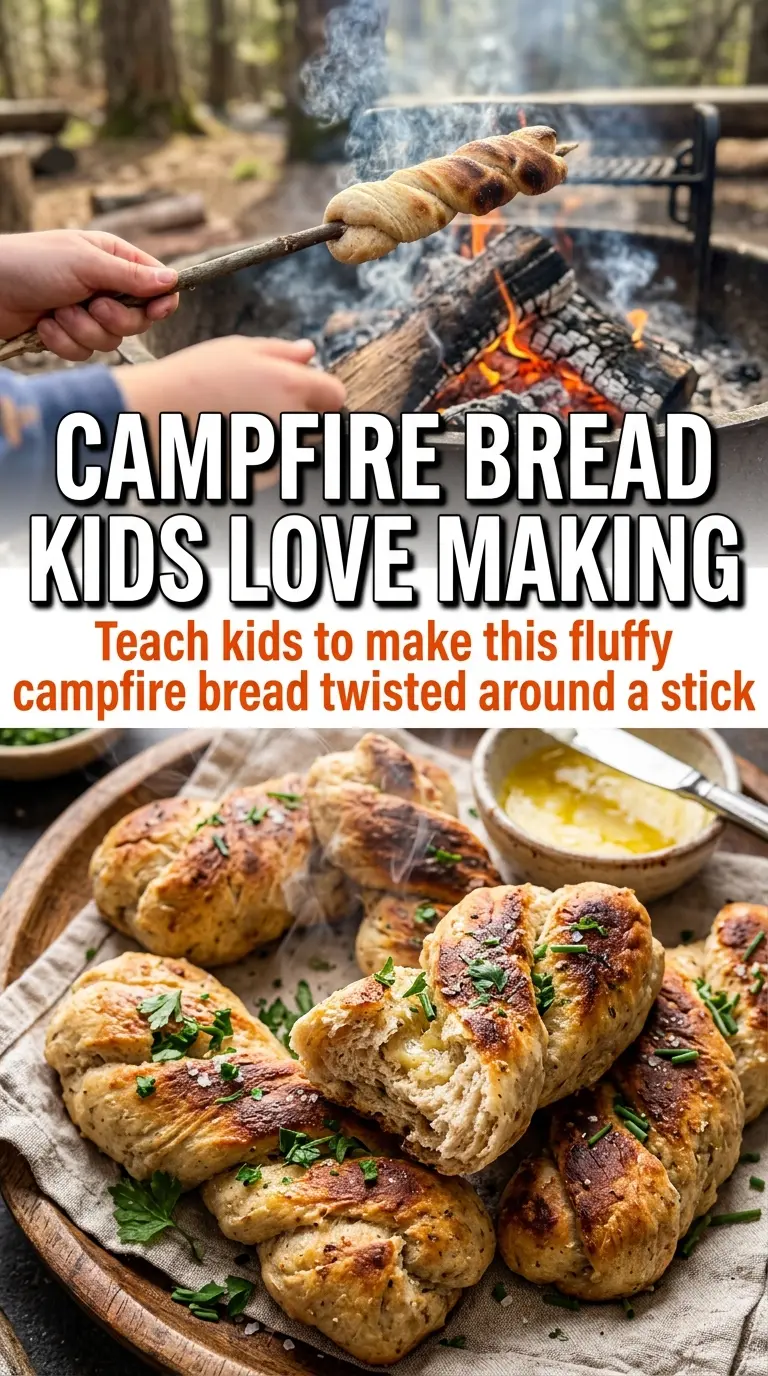
Fluffy campfire bread comes off the stick with a crackly golden crust and a soft, steamy center that pulls apart in warm layers. It’s the kind of simple outdoor food that disappears fast because it tastes better than it has any right to after sitting over open flames. The outside gets toasty and crisp while the inside stays tender, which is exactly the balance you want in a stick bread.
This version works because the dough is kept lean and easy to handle. Baking powder gives it lift without needing yeast or a long rest, and the small amount of sugar helps the surface brown instead of staying pale and doughy. The milk and melted butter bring enough richness to keep the bread from tasting dry, but not so much that it sags on the stick. A quick knead in a bag keeps cleanup easy, and dividing the dough into small portions helps each piece cook all the way through before the outside burns.
Below, I’ll walk through the part that matters most: how to get a browned crust and a cooked center at the same time. I’ve also included a few smart swaps and the one reheating note worth knowing if you make extra.
The bread puffed up beautifully over the coals and stayed fluffy inside instead of turning dense or gummy. We ate half of it plain before we even got the honey out.
Save this fluffy campfire bread for your next fire-night when you want soft, golden bread wrapped right around the stick.
The One Thing That Keeps Stick Bread Fluffy Instead of Raw in the Middle
The biggest mistake with campfire bread is rushing the outside. A hard flame browns the dough fast, but the center stays undercooked and gummy. Coals are your friend here. They give you steady heat that cooks the dough through before the crust gets too dark.
Small portions matter too. Bigger ropes look impressive, but they take longer to cook and usually end up with a burnt shell and doughy core. Thin, even ropes brown more evenly, and rotating them constantly keeps one side from charring before the rest is done. If the bread starts to look dry and crackled before it’s cooked through, the heat is too high.
- Coals, not flames — the goal is steady heat. Flames scorch the outside before the center has time to set.
- Even rope thickness — if one end is much thicker than the other, that end will lag behind and stay doughy.
- Constant rotation — slow, steady turning gives you a deeper golden crust without black spots.
What Each Ingredient Is Doing in This Dough
- All-purpose flour — this gives the dough enough structure to wrap around the stick without tearing. Bread flour isn’t needed here, and it can make the finished bread a little too chewy.
- Baking powder — this is the lift. Since there’s no yeast, baking powder is what gives the bread that fluffy, biscuit-like interior.
- Butter — melted butter adds tenderness and helps the outside brown. You can swap in neutral oil in a pinch, but the bread loses some richness.
- Milk — milk makes the dough softer than water would. If you need a dairy-free version, use unsweetened oat milk or soy milk for the closest result.
- Sugar — just enough to encourage browning and take the edge off the flour. It’s not a sweet bread, but leaving it out makes the crust a little less appealing.
Getting the Dough to Cook Before It Catches
Mixing the Dough in the Bag
Start by adding the dry ingredients to a large zip-top bag, then pour in the melted butter and milk. Seal the bag and knead it until the dough comes together and no dry pockets remain. The dough should be soft and slightly tacky, not wet enough to smear all over the bag. If it feels sticky, dust your hands with a little flour before dividing it.
Shaping the Ropes
Divide the dough into 8 even pieces so each portion cooks at about the same pace. Roll each piece into a long rope with even thickness from end to end. Wrap the dough around the roasting stick in a spiral, pressing the seam gently so it stays put. Leave a little space between the turns so heat can reach the center instead of trapping a thick raw band inside.
Roasting Over the Coals
Hold the stick over hot coals and keep it moving. You’re looking for a deep golden crust with a dry surface that feels set when you tap it lightly. If the bread darkens too quickly, lift it higher from the heat instead of spinning faster. Once the outside is browned all around and the dough feels firm, slide one piece off and break it open to check for a cooked center.
Serving While It’s Still Warm
This bread is best eaten right away, while the crust is crisp and the inside is still soft. A pat of butter melts into the spirals fast, and jam or honey turns it into a proper camp treat. If the center looks a little pale after you pull it off the fire, give it another minute over gentler heat before serving. That last minute matters more than a darker crust.
How to Tweak This for a Different Camp Kitchen
Dairy-Free Campfire Bread
Swap the butter for melted coconut oil or neutral oil and use unsweetened plant milk. The bread will still puff and brown, but it won’t taste quite as rich, so serve it with butter-free jam or a drizzle of honey if you want a little extra payoff.
A Slightly Sweeter Version
Add another tablespoon of sugar if you want a bread that leans more toward camp doughnut than biscuit. It’ll brown faster, so keep the heat moderate and watch for over-dark spots.
Gluten-Free Version
Use a 1:1 gluten-free flour blend that includes xanthan gum. The dough may be a little softer and more fragile, so chill it briefly before shaping if you can. It won’t wrap as neatly, but it can still roast up with a good crust.
Storage and Reheating
- Refrigerator: Store leftovers in an airtight container for up to 2 days. The crust softens, so expect a less crisp finish after chilling.
- Freezer: It freezes well once fully cooled. Wrap tightly and freeze for up to 1 month, then thaw at room temperature before reheating.
- Reheating: Warm in a 325°F oven or over very gentle coals until heated through. Don’t use high heat, or the outside will dry out before the center softens again.
Answers to the Questions Worth Asking
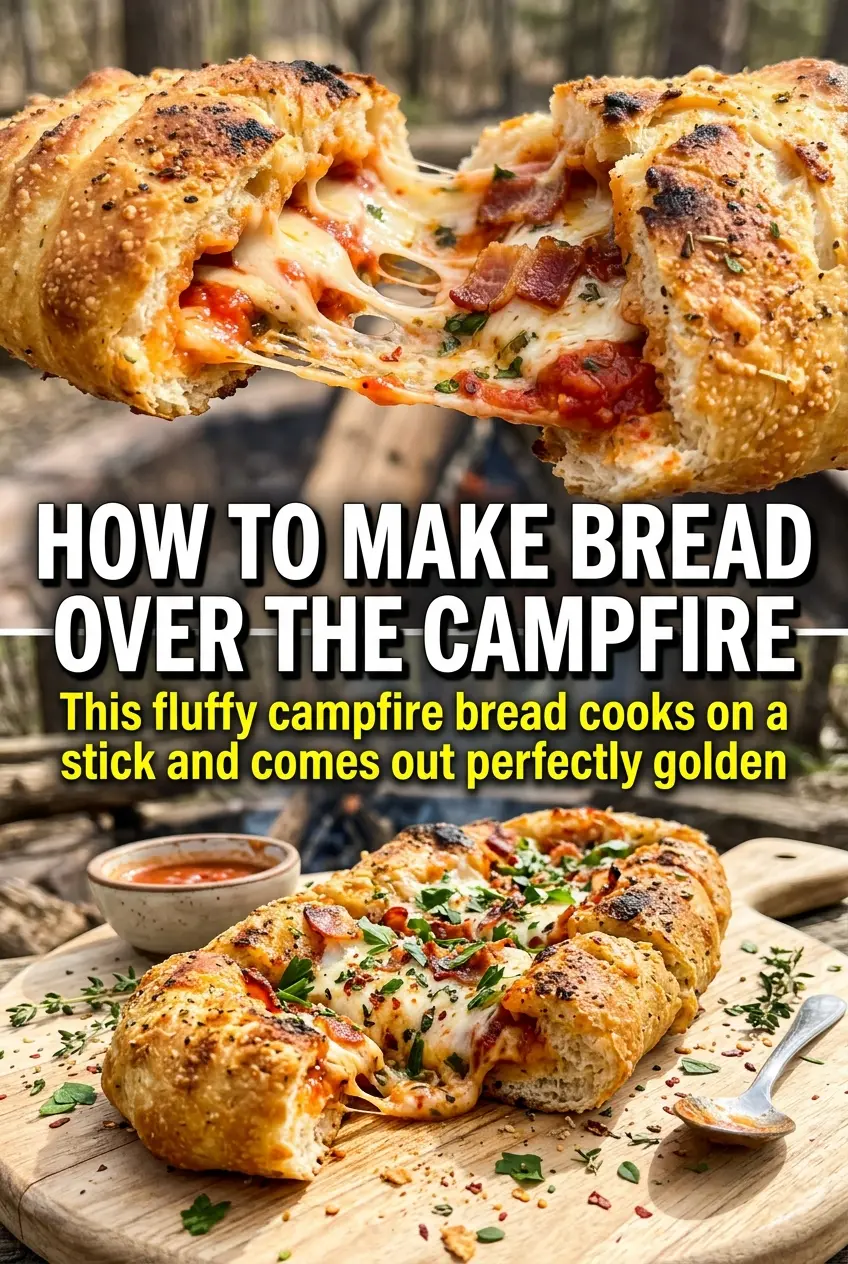
Fluffy Campfire Bread
Ingredients
Method
- Combine all-purpose flour, baking powder, salt, and sugar in a large zip-top bag.
- Add melted butter and milk to the bag, seal, and knead until a soft dough forms.
- Divide the dough into 8 equal portions.
- Roll each portion into a long rope, then wrap it in a spiral around the end of a roasting stick.
- Hold the stick bread over campfire coals, rotating constantly, for 10-12 minutes until golden brown and cooked through.
- Slide the stick bread off the roasting stick and serve warm with butter, jam, or honey.