Layered nachos are at their best when every chip has a chance at cheese and the toppings stay bright instead of turning soggy. This version gives you that mix: crisp edges, melty cheese, seasoned beef, and enough fresh toppings to keep each bite from tasting flat. It’s the kind of platter that disappears fast because it hits salty, creamy, crunchy, and tangy all at once.
The trick is building the tray in layers instead of dumping everything on top. A little cheese under the beef helps anchor the chips, and a final layer of cheese on top holds the toppings together once the pan comes out of the oven. Broiling for just a few minutes keeps the chips from drying out while still giving you those bubbly, browned spots everyone goes for first.
Below, I’ll show you how to keep the chips crisp, what to do if you want to swap the beef for something lighter, and how to serve nachos so they stay good from the first handful to the last.
The cheese melted into all the corners and the chips stayed crisp under the beef, which never happens when I make nachos at home. My husband kept picking at the tray until it was gone.
Save these loaded beef nachos for game day, movie night, or any time you want a fast appetizer with real crunch and a proper cheese pull.
The Trick to Nachos That Stay Crisp Under the Cheese
The biggest mistake with nachos is piling everything in one thick mound. Chips in the center steam before the cheese melts, and the whole tray turns soft before anyone gets a good bite. A baking sheet with a single layer of chips gives the heat a chance to move around the toppings instead of trapping moisture underneath them.
Layering also matters more than people think. The first layer of cheese helps glue the toppings down, while the second layer protects the filling and gives you those melty pockets on top. If your nachos ever taste dry, the problem is usually not the chips — it’s that the cheese never had enough contact with the ingredients below it.
What Each Topping Is Doing on the Tray
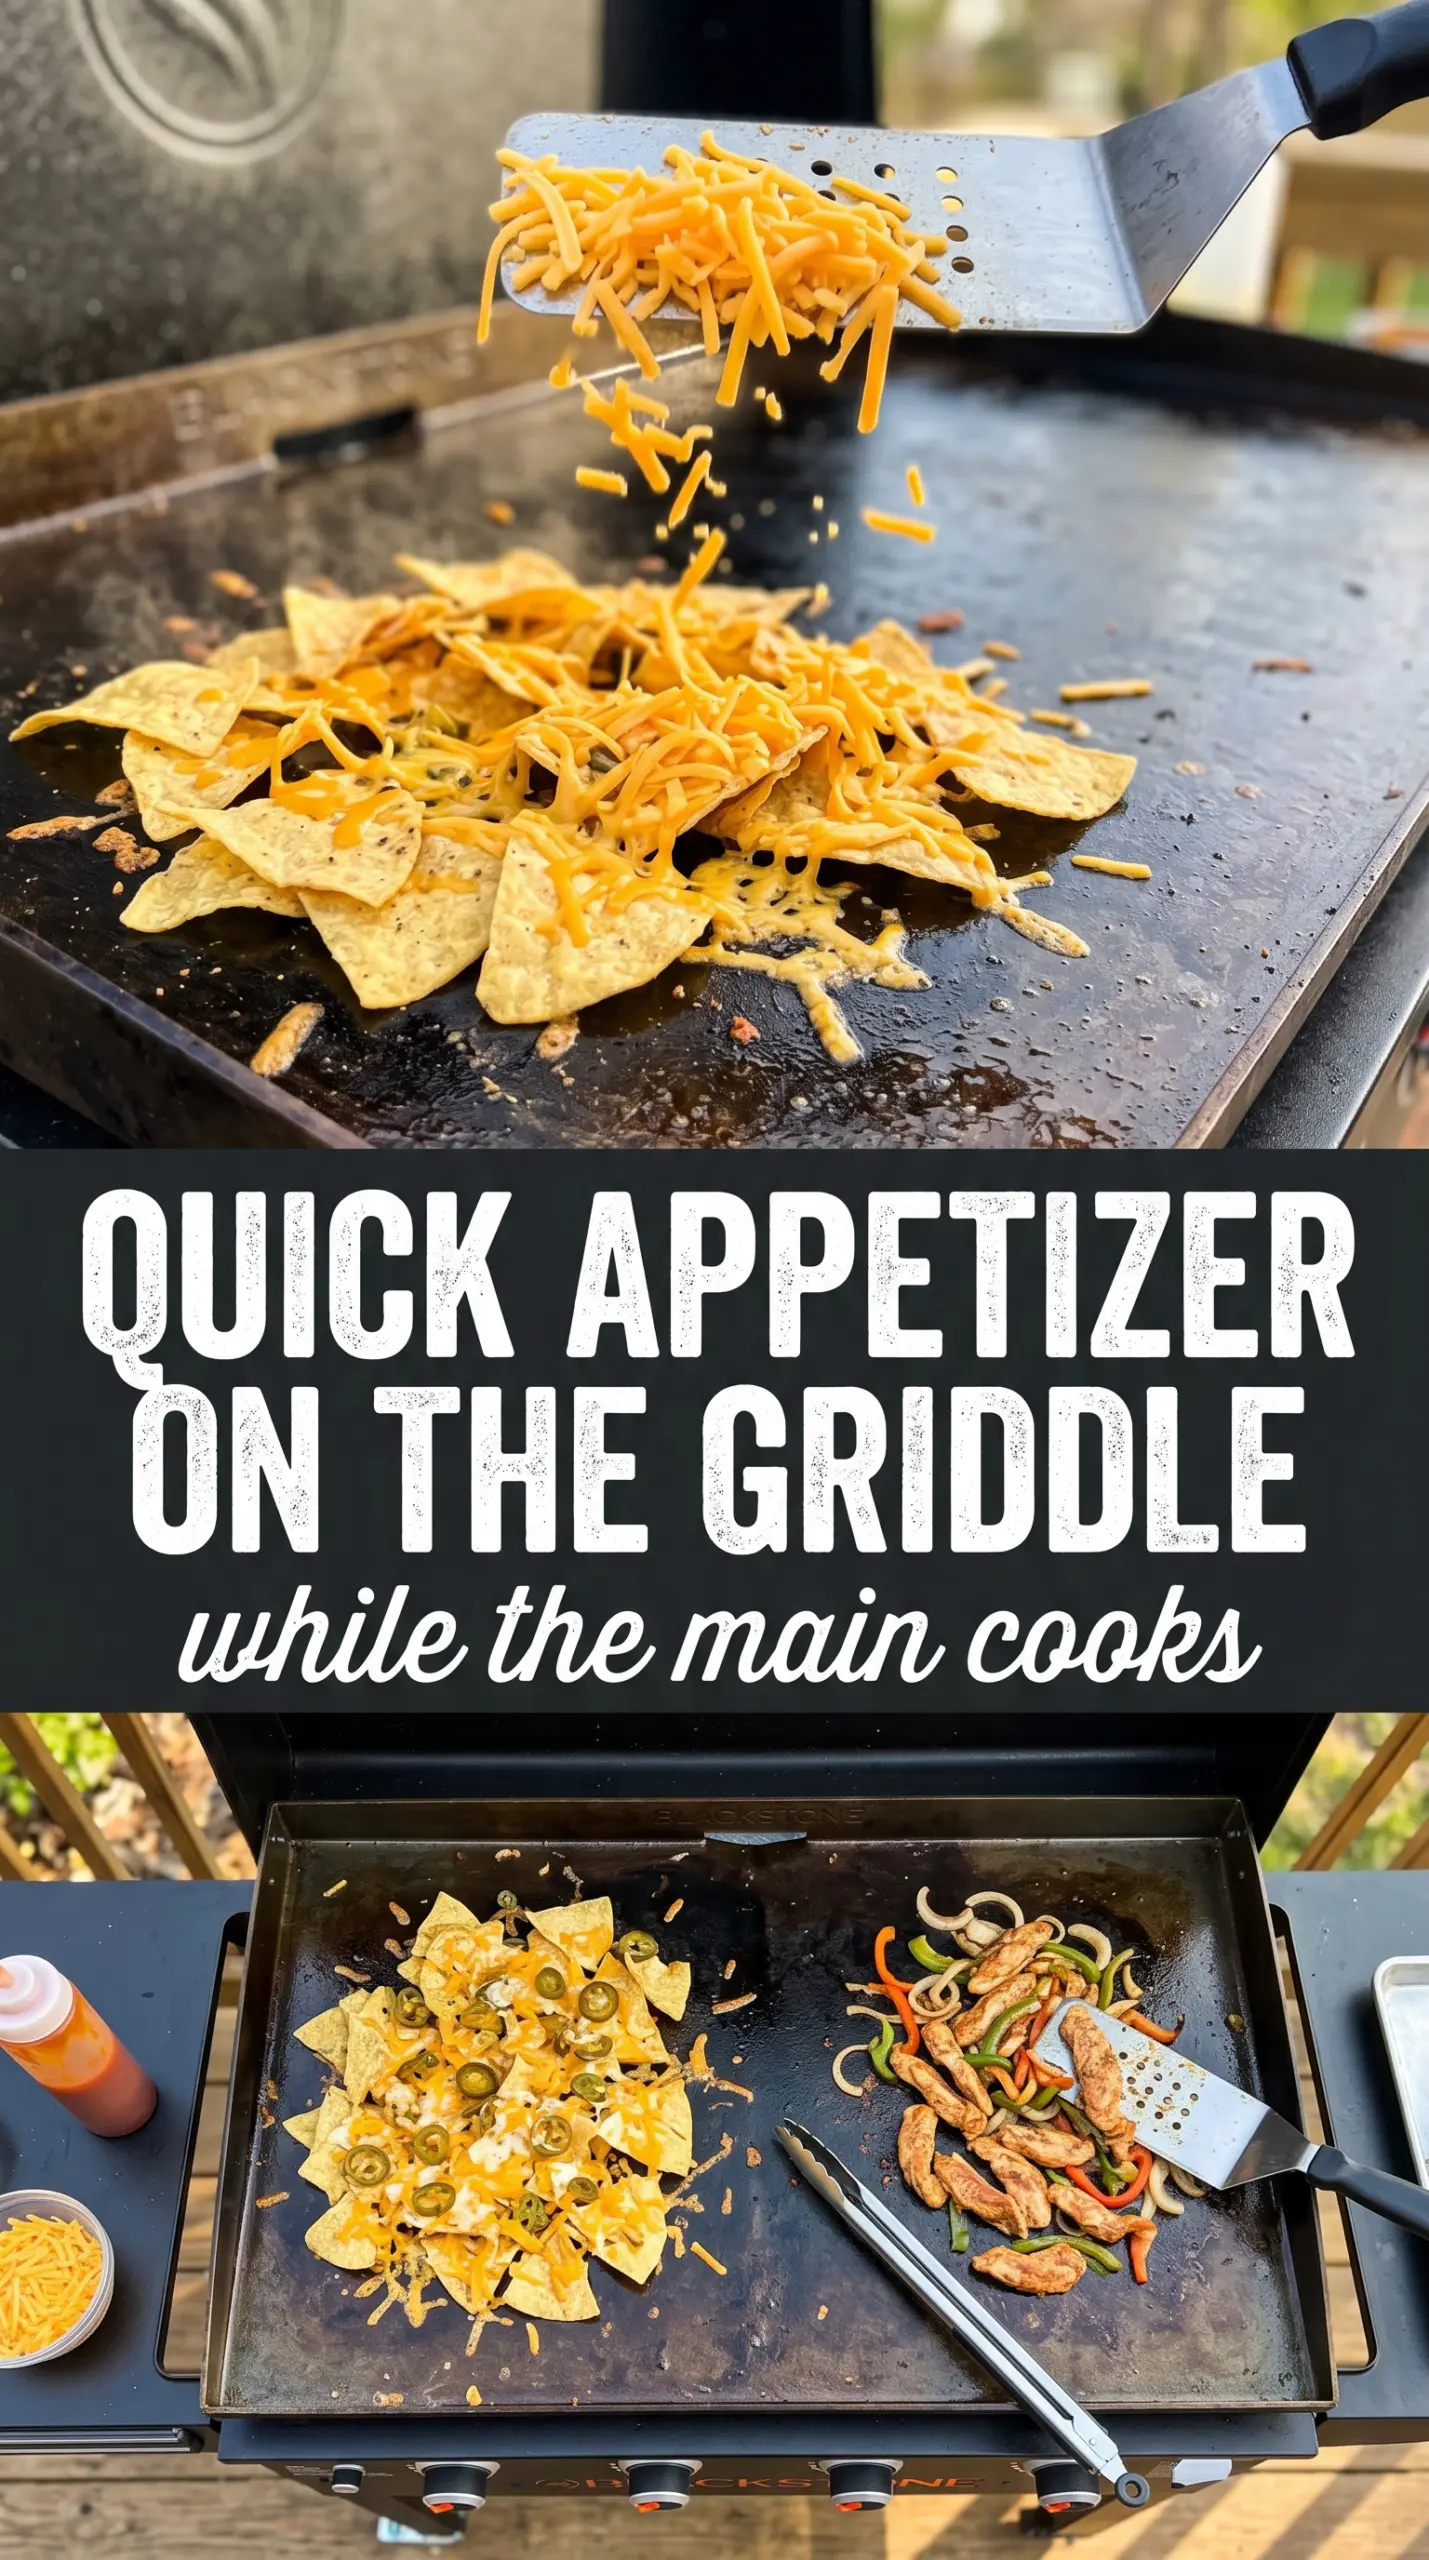
- Tortilla chips — Use sturdy chips, not the thinnest bag you can find. Thin chips break under the weight of the toppings and go soft fast. Heavier restaurant-style chips hold up better under the beef and beans.
- Mexican cheese blend — This melts smoothly and gives you that stretchy, browned top. Pre-shredded cheese works fine here, though it won’t melt quite as silkily as cheese you shred yourself.
- Ground beef — This adds the hearty, savory base that makes the tray feel complete. Lean beef is easiest because there’s less grease to pool on the chips. If your skillet has a lot of fat after browning, drain it before seasoning.
- Black beans — These stretch the filling and add a creamy bite that balances the beef. Rinse them well so the liquid in the can doesn’t make the nachos muddy.
- Fresh toppings — Tomatoes, sour cream, guacamole, salsa, cilantro, and lime all go on after baking. Heat would dull them and make the tomatoes watery, so keep them for the finish.
Building the Tray So Every Bite Has the Good Stuff
Season the Beef First
Brown the beef in a skillet until there’s no pink left and the crumbles are fine enough to spread easily. Stir in the taco seasoning with the amount of liquid listed on the packet so it coats the meat instead of sitting dry on top. If the beef looks greasy, drain it now. Grease on the tray is what turns the bottom layer of chips limp.
Assemble in a Single, Even Layer
Spread the chips across a large baking sheet with as much overlap as you can avoid. Scatter half the cheese first, then the beef, beans, and jalapeños, and finish with the rest of the cheese. The cheese on top helps catch the loose toppings so they don’t slide off the chips once the tray is hot.
Broil Just Until It Bubbles
Put the tray under the broiler and watch it closely. Three to five minutes is plenty in most ovens, and the line between melted and burnt is thin here. Pull it as soon as the cheese is fully melted and starting to spot in places. If you walk away, the chips at the edges will catch before the center even softens.
Top It While It’s Hot
The second the tray comes out, add the tomatoes, olives, sour cream, guacamole, salsa, cilantro, and lime wedges. The heat from the cheese softens the toppings just enough without cooking them down. If you wait too long, the cheese sets and the fresh toppings don’t settle into the tray the same way.
How to Adapt These Nachos for Different Crowds
Make Them Vegetarian Without Losing the Hearty Feel
Skip the beef and double the black beans, or add seasoned crumbled tofu or a meatless ground if you want more bite. The key is still to keep the filling relatively dry so the chips don’t get soggy. You’ll lose some richness, but the cheese, beans, and toppings still make a solid platter.
Turn Down the Heat for a Milder Tray
Use plain diced tomatoes instead of jalapeños and pick a mild taco seasoning. You’ll still get the savory beef-and-cheese backbone, but the finish will be more kid-friendly and less sharp. Serve hot sauce on the side for the people who want more heat.
Make Them Gluten-Free
Most tortilla chips are naturally gluten-free, but check the bag and the taco seasoning packet to be sure both are safe. The rest of the toppings fit the same way, so this is an easy swap as long as you verify the seasoning blend. The texture and finish stay the same.
Storage and Reheating
- Refrigerator: Store leftover beef and toppings separately from the chips for up to 3 days. Assembled nachos turn soft fast.
- Freezer: Freeze only the cooked beef mixture for up to 2 months. The chips and fresh toppings don’t freeze well.
- Reheating: Reheat the beef in a skillet or microwave, then build a fresh tray with new chips and cheese. Reheating fully assembled nachos just makes the chips limp.
Answers to the Questions Worth Asking
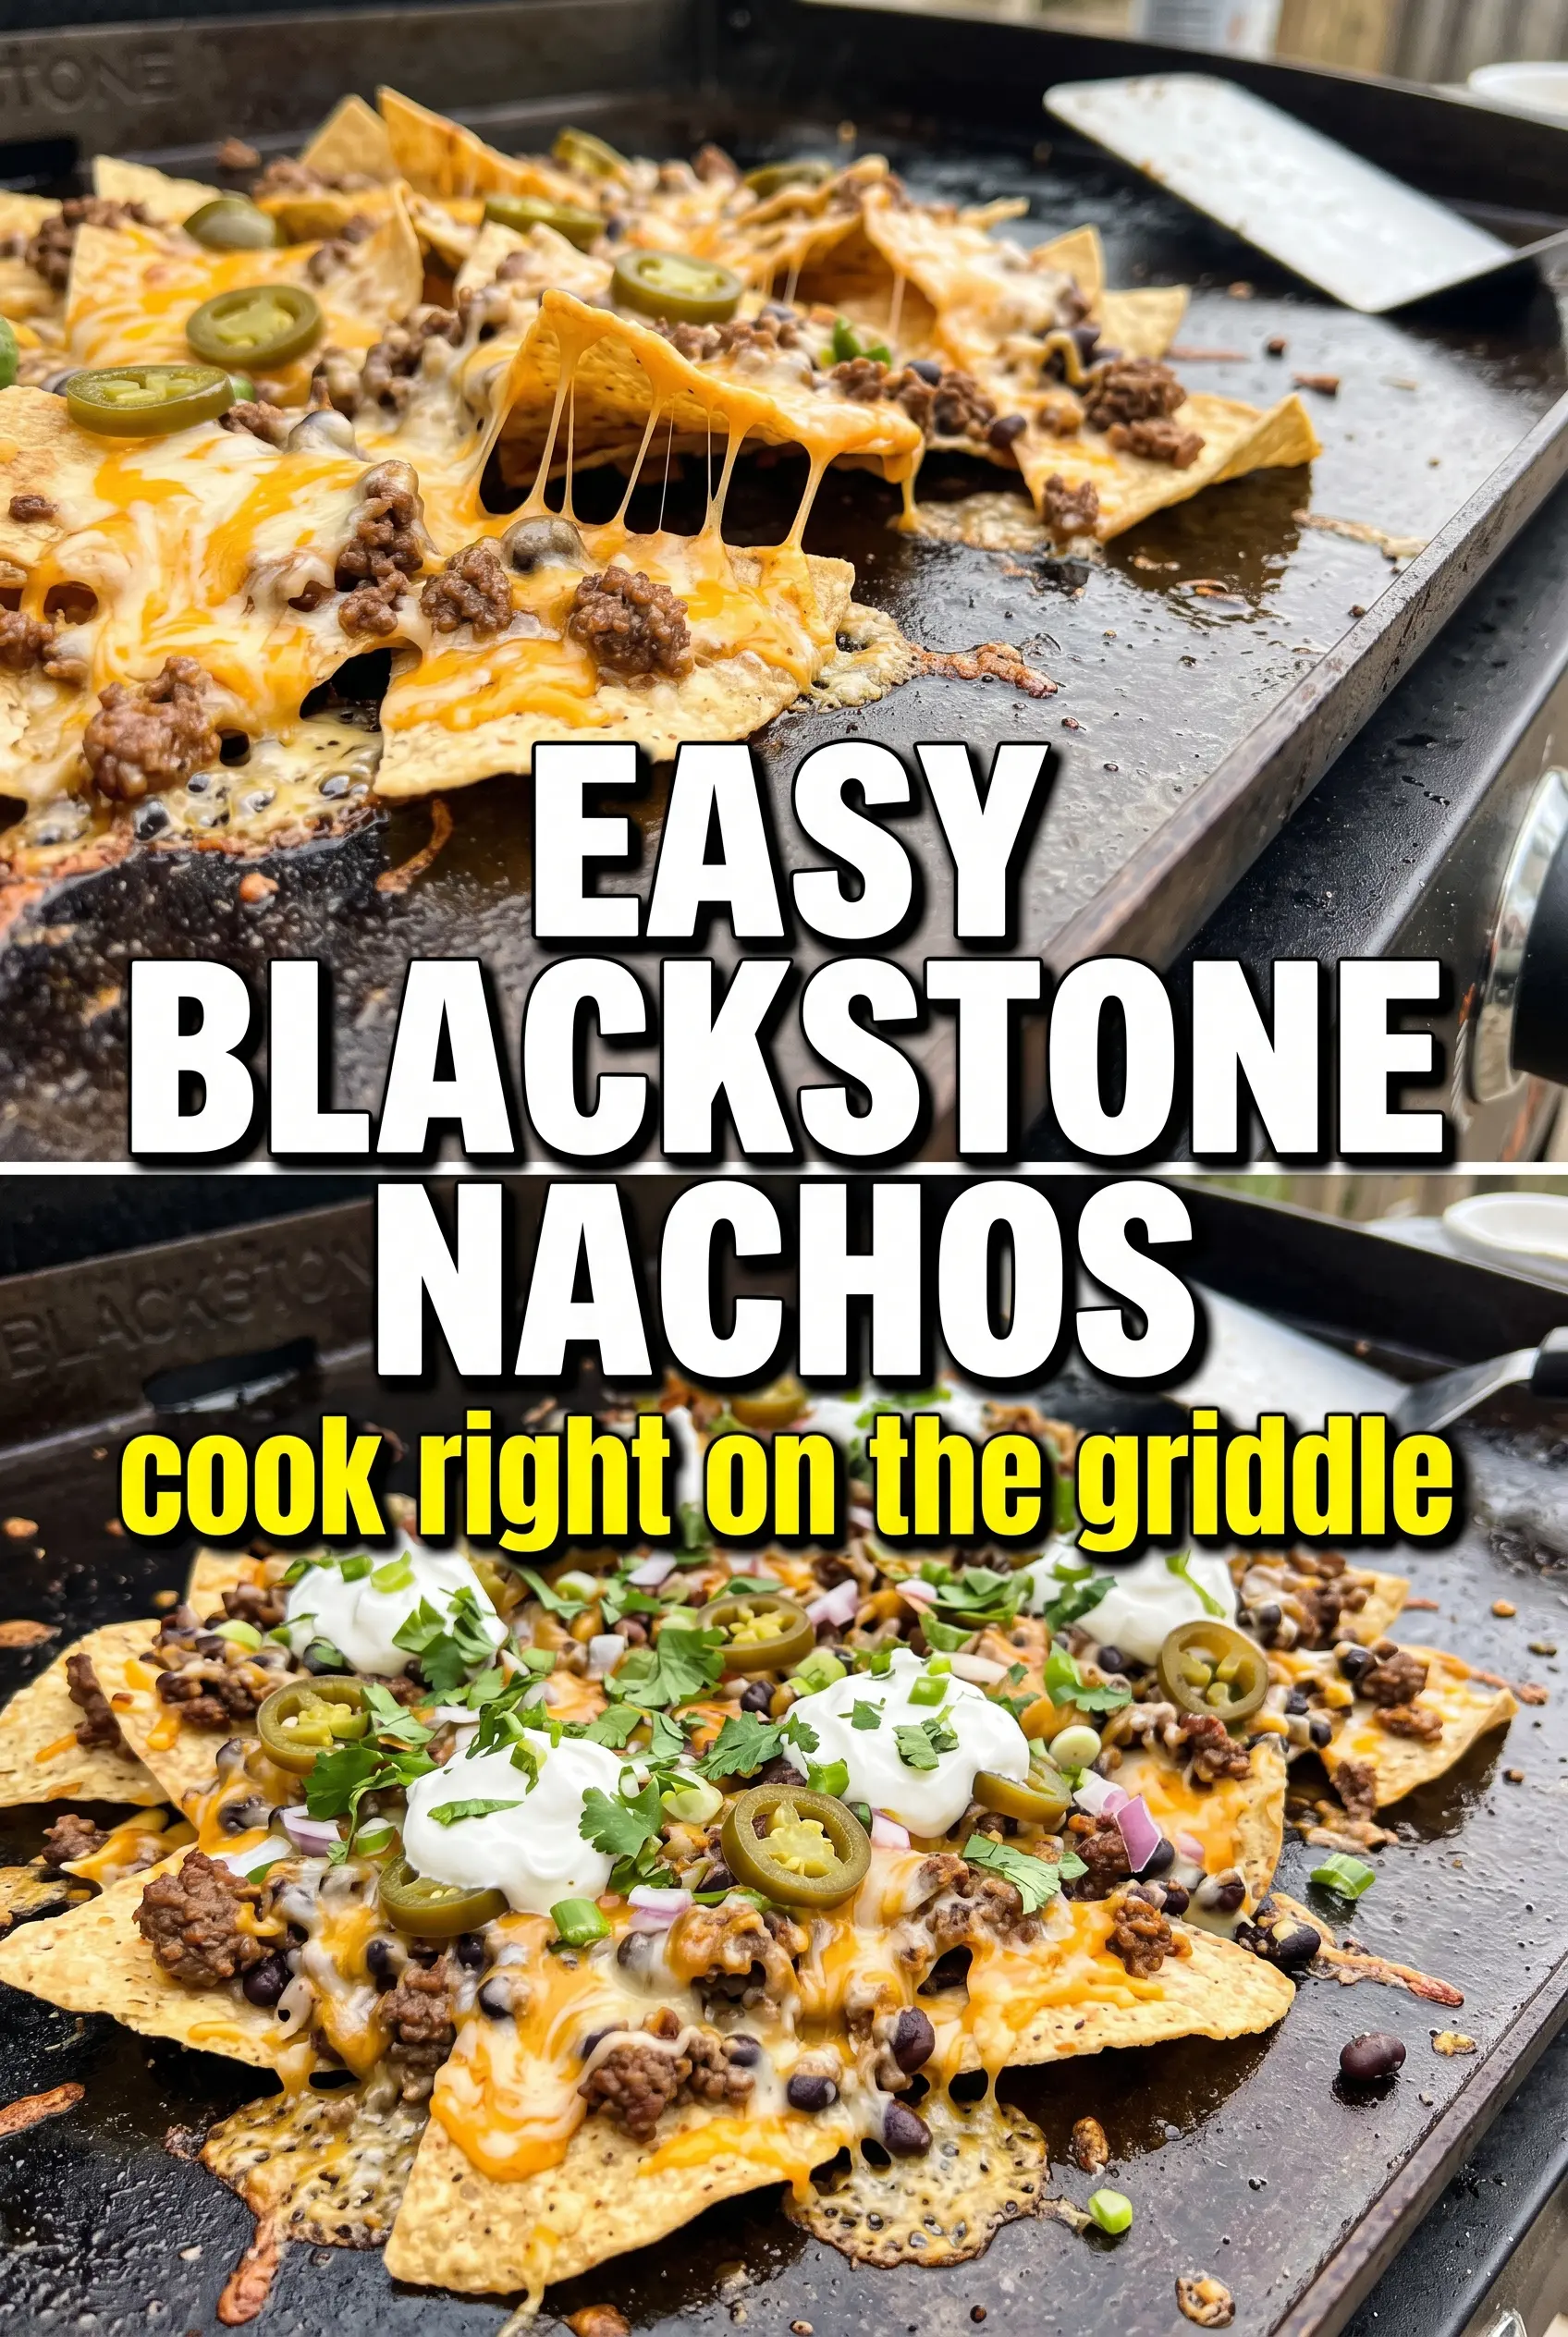
Easy Nachos
Ingredients
Equipment
Method
- Brown the ground beef in a skillet over medium-high heat until no longer pink. Add taco seasoning and cook according to package directions, then set aside.
- Preheat the broiler on high. Spread the tortilla chips on a large baking sheet in an even layer.
- Sprinkle half the shredded Mexican cheese blend evenly over the chips. Add the seasoned beef, black beans, and jalapeños in an even layer.
- Top with the remaining cheese. Broil for 3-5 minutes, until the cheese is melted and bubbly.
- Remove the baking sheet from the oven and immediately top with diced tomatoes, black olives, sour cream, guacamole, and salsa. Garnish with fresh cilantro and serve with lime wedges.