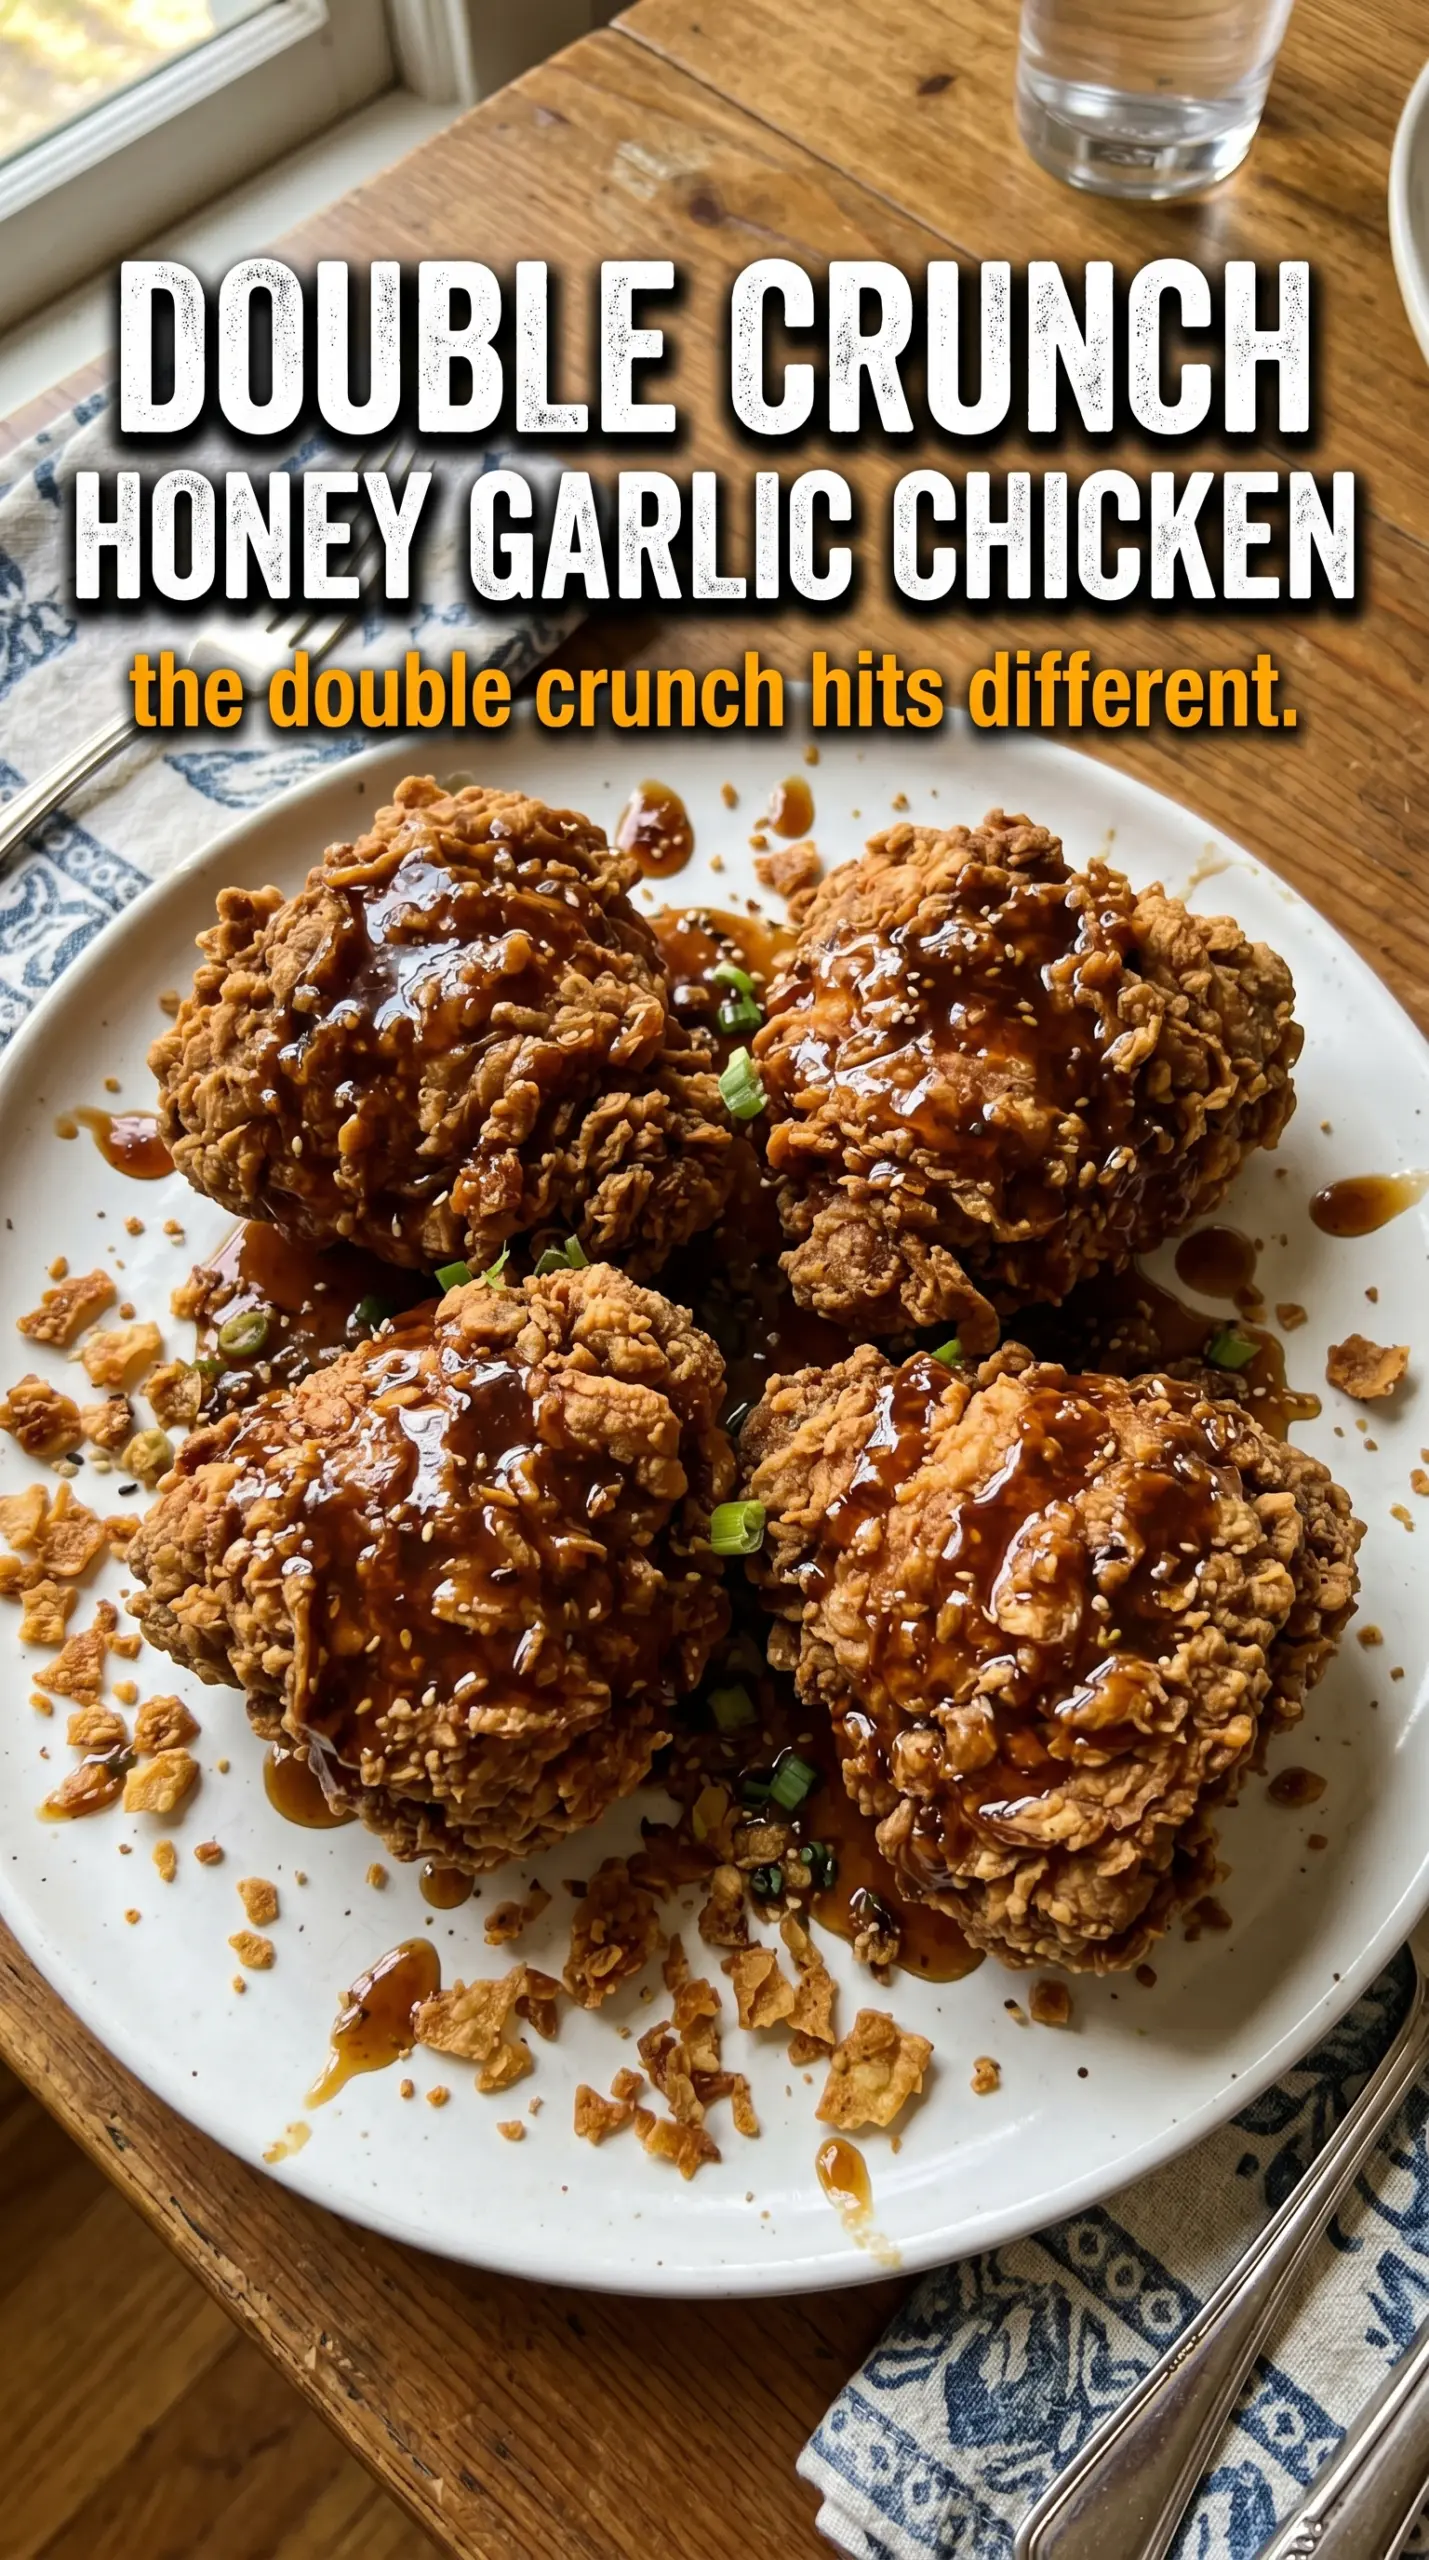
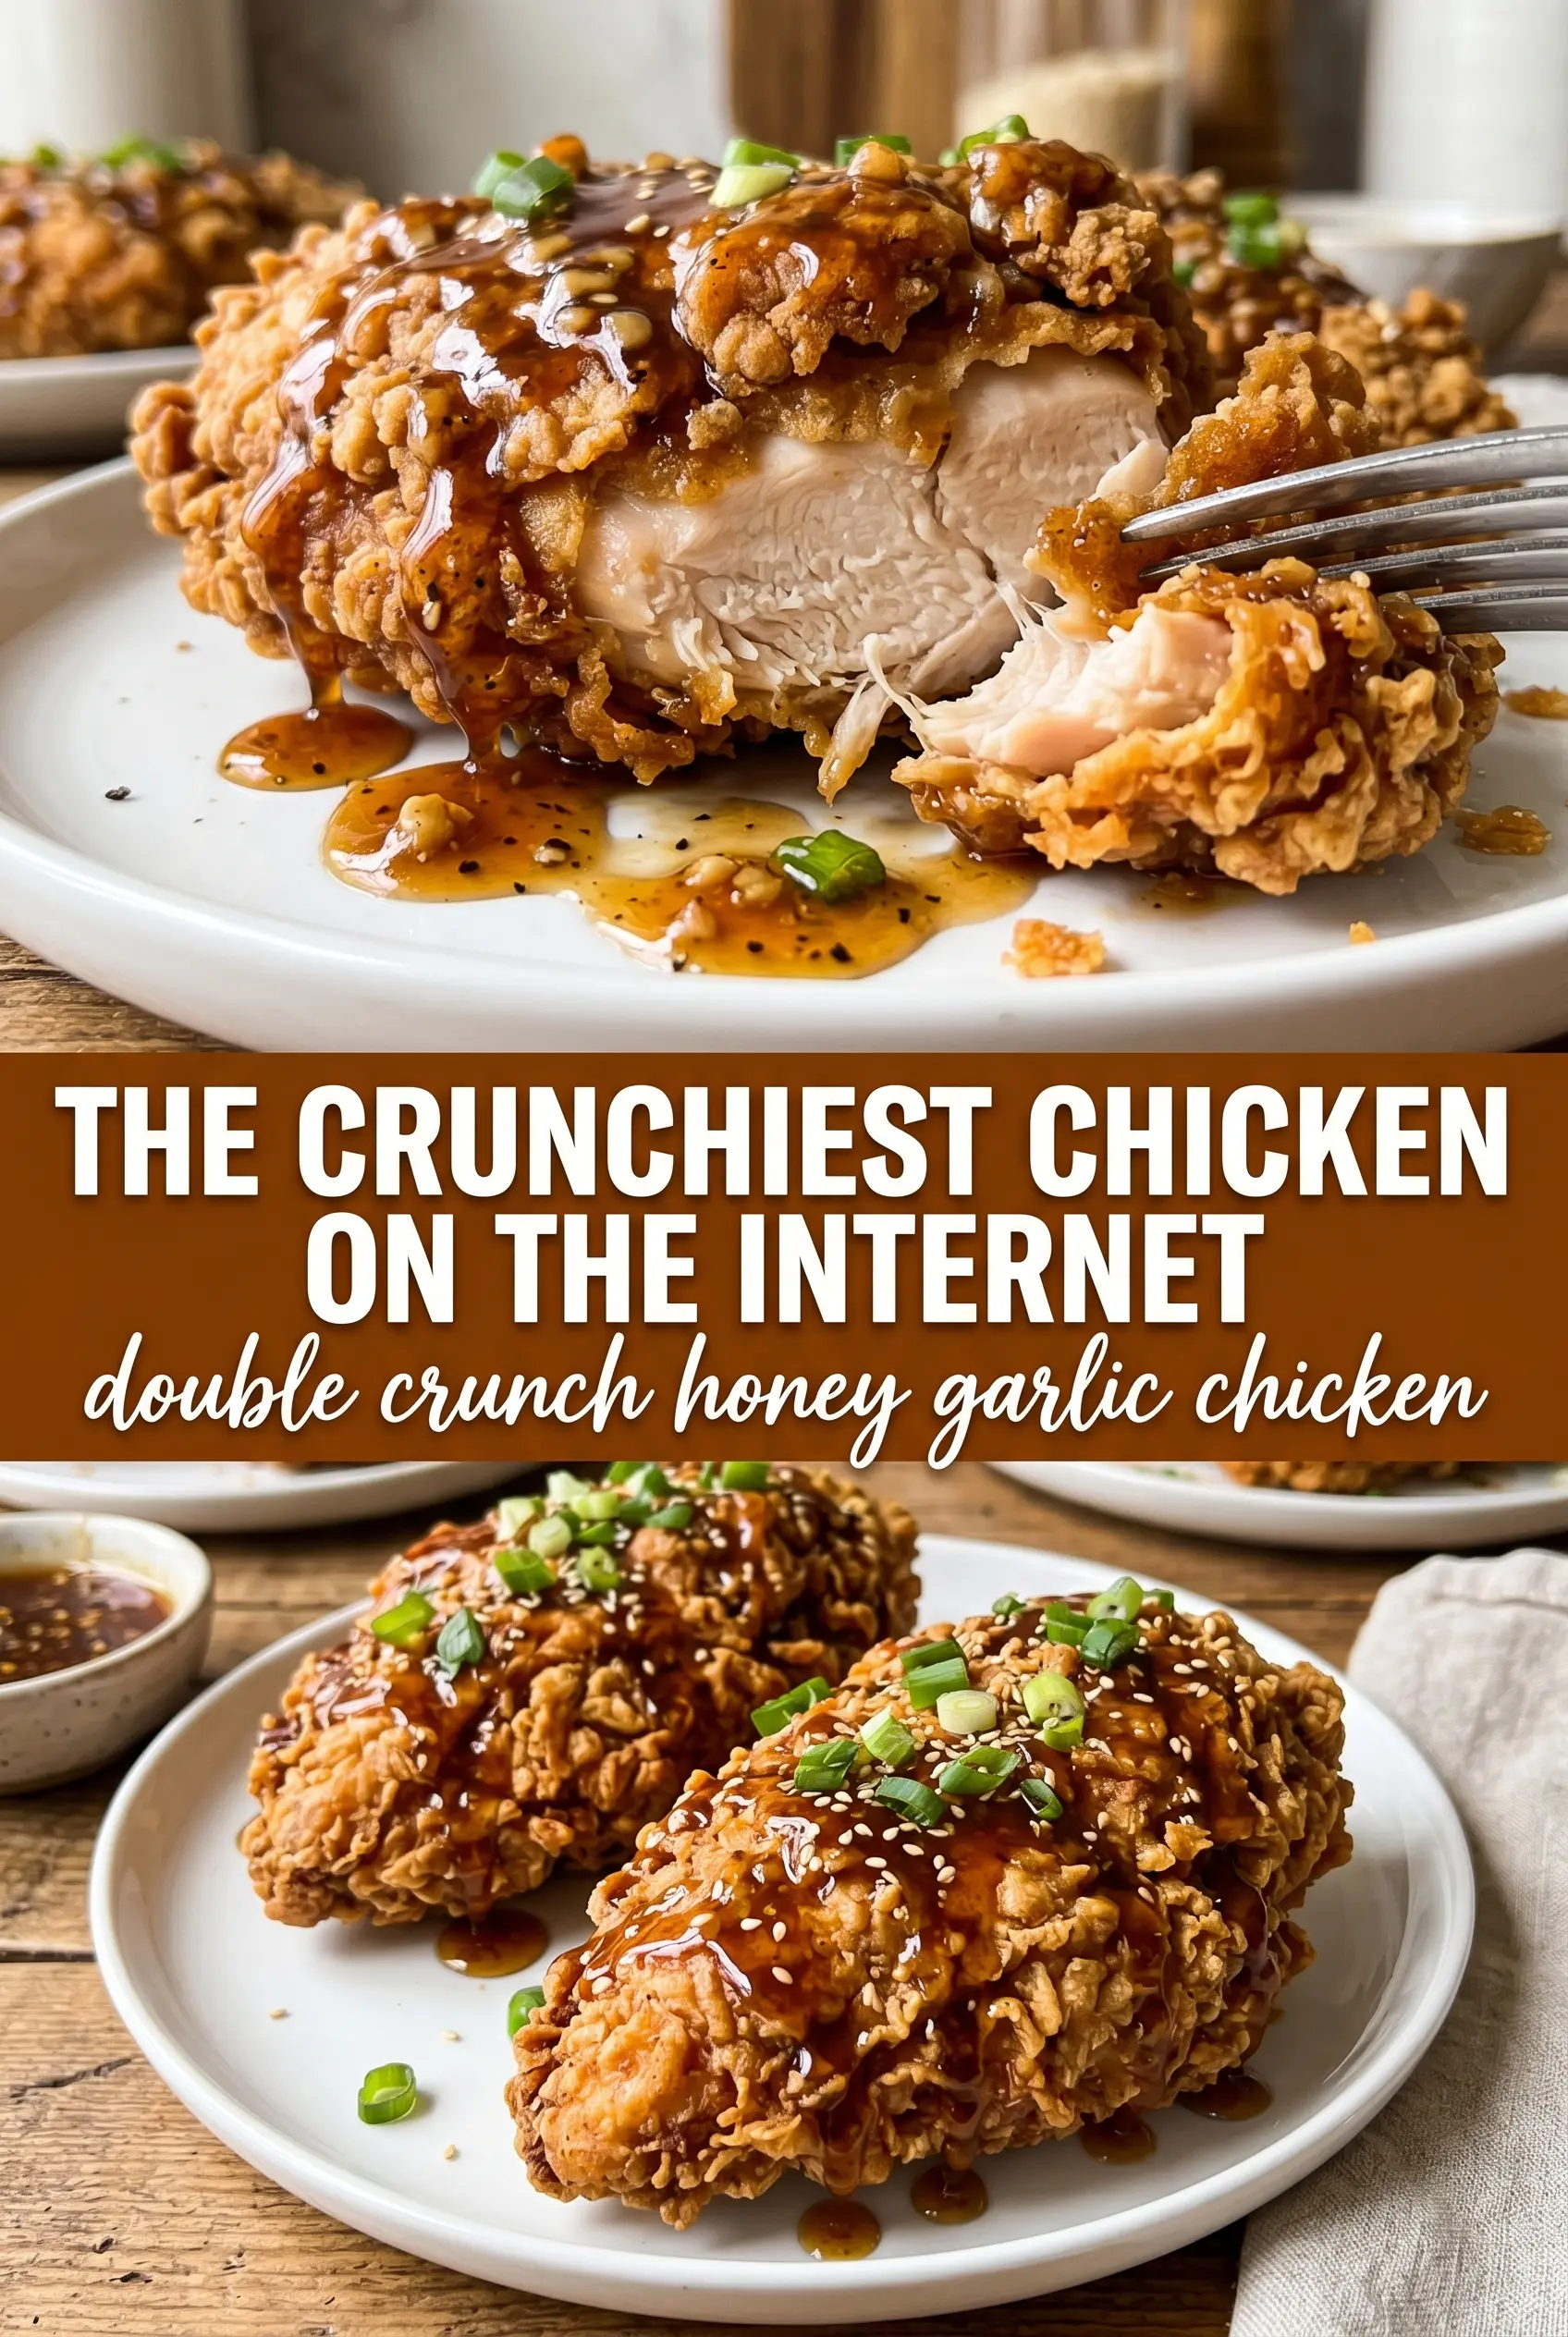
Double crunch honey garlic chicken breasts hit that sweet spot between shatteringly crisp and sticky-glazed, which is exactly why they disappear fast at the table. The coating fries up into a thick, craggy crust that holds its crunch even after the honey garlic sauce goes on, and the sauce itself lands with enough salty-sweet punch to keep every bite interesting.
The double-dip coating is what sets this version apart. One pass in seasoned flour, then egg, then flour again builds a heavier crust that fries up with more texture and better staying power than a single dredge. Pounding the chicken breasts to an even thickness helps them cook at the same rate, so you don’t end up with a dark crust and dry chicken inside.
Below, you’ll find the exact timing for getting the oil hot enough without scorching the breading, plus a few ways to keep the crust crisp if you need to hold the chicken for a minute before saucing it.
The crust stayed crunchy even after I poured the sauce on, and the honey garlic glaze thickened just enough to cling without making everything soggy. My husband said it tasted like takeout, only better.
Save these double crunch honey garlic chicken breasts for the night when you want an extra-crispy coating and sticky glaze that clings instead of sliding off.
The Crust Has to Fry Hard Before the Sauce Ever Shows Up
The biggest mistake with honey garlic chicken is saucing it too early, or at too low a heat, so the coating turns soft before the first plate hits the table. This recipe works because the chicken is fried until the crust is deeply set and audibly crisp, not just pale and cooked through. That crust needs to be sturdy enough to handle a warm glaze, which is why the oil temperature matters more than people think.
If the oil is too cool, the breading absorbs grease and goes heavy. If it’s too hot, the outside browns before the chicken cooks through. The sweet spot is a steady 350°F, and the chicken should come out with a deep golden color and a rough, ridged surface that feels firm when you tap it with tongs.
What Each Layer Is Doing in the Double Crunch Coating
- Chicken breasts — Pounding them to an even thickness helps the whole breast cook at the same pace. Thick ends won’t dry out while the thinner parts finish, and the crust stays intact because you’re not overcooking to chase doneness.
- All-purpose flour — This is the backbone of the crust. A good flour dredge creates the dry surface the egg can grab onto, and it fries into that rough, craggy texture you’re after. A 1:1 gluten-free flour blend can work here, but the crust may be a little less sturdy.
- Eggs — The egg layer acts like glue between the two flour coats. Don’t rush the dip; let the excess drip off so the second dredge clings in a thick, even layer instead of turning gummy.
- Smoked paprika, garlic powder, onion powder — These season the crust all the way through, not just the sauce. Paprika adds color and a faint warmth, while the garlic and onion powders keep the breading from tasting flat under the glaze.
- Honey, soy sauce, butter, vinegar — Honey gives the sticky finish, soy sauce brings salt and depth, butter rounds everything out, and vinegar keeps the glaze from tasting one-note sweet. If you need a gluten-free swap, use tamari in place of soy sauce.
- Fresh garlic — Minced garlic gives the sauce its bite, but it burns fast. Simmer it just long enough for the raw edge to soften; if the pan runs too hot, pull it off the burner before the garlic darkens.
Frying the Chicken First, Then Building the Glaze
Mixing the Coating
Combine the flour with the spices in a wide dish so the chicken can get fully buried in the mixture. Dredge each breast in flour, then egg, then back into the flour, pressing gently so the second layer actually sticks. The coating should look shaggy and thick, not smooth; those uneven bits are what fry into the crunchy edges.
Frying to a Deep Golden Crust
Heat about half an inch of oil in a cast iron skillet until it reaches 350°F, then lay the chicken in without crowding the pan. You want steady sizzling right away, not aggressive popping or a lazy bubble here and there. Fry until both sides are deep golden and the internal temperature reaches 165°F. If the crust is browning too fast before the center cooks, lower the heat a touch and give it another minute.
Cooking the Sauce Until It Clings
Stir the honey, garlic, soy sauce, butter, and vinegar together in a small saucepan and let it simmer for 3 to 4 minutes. It should look glossy and slightly thicker, like it coats the back of a spoon in a thin layer. Don’t boil it hard; high heat can push the honey too far and leave the sauce sticky in the wrong way, with sharp garlic bits instead of a smooth glaze.
Finishing Without Losing the Crunch
Pour the sauce over the chicken just before serving, or spoon it over the top if you want more control over the crust. A fast drizzle keeps the bottom from softening too quickly, and garnishes like sesame seeds and sliced green onions add a little texture right at the end. If you’re serving over rice, pile the chicken on top and add extra sauce at the table so the crust stays at its best.
How to Adapt This Double Crunch Chicken Without Losing the Texture
Gluten-Free Coating
Swap the all-purpose flour for a 1:1 gluten-free baking blend. The crust will still crisp up, but it may be a little less rugged than the wheat version, so handle the chicken gently after frying and sauce it right before serving.
Dairy-Free Version
The recipe is already close to dairy-free if you use a plant-based butter or replace the butter with an extra tablespoon of oil in the sauce. You’ll lose a little roundness, but the glaze still stays glossy and sticky.
Make It Spicier
Add a pinch of cayenne to the flour or a little chili flakes to the sauce. That gives the sweetness more contrast and keeps the glaze from reading as one-dimensional.
Storage and Reheating
- Refrigerator: Store leftovers in an airtight container for up to 3 days. The crust will soften a bit once sauced, but it still holds up better than most fried chicken.
- Freezer: Freeze the fried chicken before saucing if you want the best texture. The glaze can be made fresh later; sauced chicken freezes poorly because the crust loses its crunch.
- Reheating: Warm the chicken on a wire rack in a 375°F oven until hot and crisp, then spoon on freshly warmed sauce. Microwaving is the fastest way to turn that crust soggy.
Questions I Get Asked About This Recipe
Double Crunch Honey Garlic Chicken Breasts
Ingredients
Equipment
Method
- Mix all-purpose flour, garlic powder, onion powder, smoked paprika, salt, and pepper in a bowl for an even coating. Visual cue: the mixture should look uniformly speckled.
- Dredge each pounded chicken breast in the seasoned flour until fully coated. Visual cue: shake off excess so the coating forms a thin, even layer.
- Dip the floured chicken into the beaten eggs, coating all sides. Visual cue: a glossy egg layer should cling evenly.
- Dredge the egg-coated chicken in the seasoned flour again for the double crunch coat. Visual cue: the second layer should look thicker and more textured.
- Heat vegetable oil in a large cast iron skillet over medium-high heat to 350°F. Visual cue: oil should actively shimmer without smoking.
- Pan-fry the chicken for 5-6 minutes per side until golden and crunchy, flipping once during cooking. Visual cue: crust should look deeply browned.
- Continue cooking until the internal temperature reaches 165°F, then drain on a rack or briefly on paper. Visual cue: juices should run clear and the center should register 165°F.
- Simmer honey, garlic, soy sauce, butter, and apple cider vinegar in a saucepan over medium heat for 3-4 minutes until slightly thickened. Visual cue: the sauce should coat a spoon lightly.
- Pour the honey garlic sauce over the hot crispy chicken so it clings and glazes immediately. Visual cue: sauce should glisten and start to drip through the crust.
- Garnish with sesame seeds and sliced green onions. Visual cue: green onion rings and sesame specks should be visible on top.
- Serve the double crunch honey garlic chicken immediately over rice. Visual cue: crust remains crisp at the moment of serving.