These panko crusted chicken breasts bake up with a crust that stays light, tall, and shatteringly crisp instead of turning soft and pale in the oven. The outside gets deep golden bronze while the chicken underneath stays juicy, which is exactly what you want from a weeknight chicken dinner that still feels like a real win at the table.
The difference here is in the order of operations and the coating itself. Flour gives the egg something to cling to, the egg gives the panko a surface to grip, and pressing the crumbs on firmly keeps the crust from flaking off halfway through baking. Parmesan adds salt and browning, while a little oil on the outside helps the panko toast instead of drying out.
Below, I’ll walk through the part that matters most: how to keep the crust crunchy all the way through, even after it comes out of the oven. You’ll also find a few swaps that still give you a crisp finish when you need to work with what’s already in the kitchen.
The crust got so crunchy in the oven, and the chicken stayed juicy instead of drying out. I loved that the Parmesan and panko browned evenly on the rack — my family asked me to keep this in the rotation.
Like this shatteringly crisp panko chicken? Save it to Pinterest for the nights when you want a golden crust, juicy chicken, and almost no cleanup.
The Rack Is What Keeps the Bottom Crunchy
The fastest way to lose a crisp coating is to let the chicken sit flat on a baking sheet. Steam gets trapped underneath, and the bottom turns soft before the top is even done browning. A wire rack lifts the chicken so hot air can move around it, which keeps the panko dry enough to toast instead of steaming.
The other mistake is underbaking because the crust looks done before the chicken is. These breasts are thin, so they cook quickly, but the real cue is the internal temperature. Pull them when the thickest part hits 165°F and the coating is a deep golden bronze; if you leave them in much longer, the chicken dries out before the crust gets any better.
What Each Layer Is Doing in the Coating
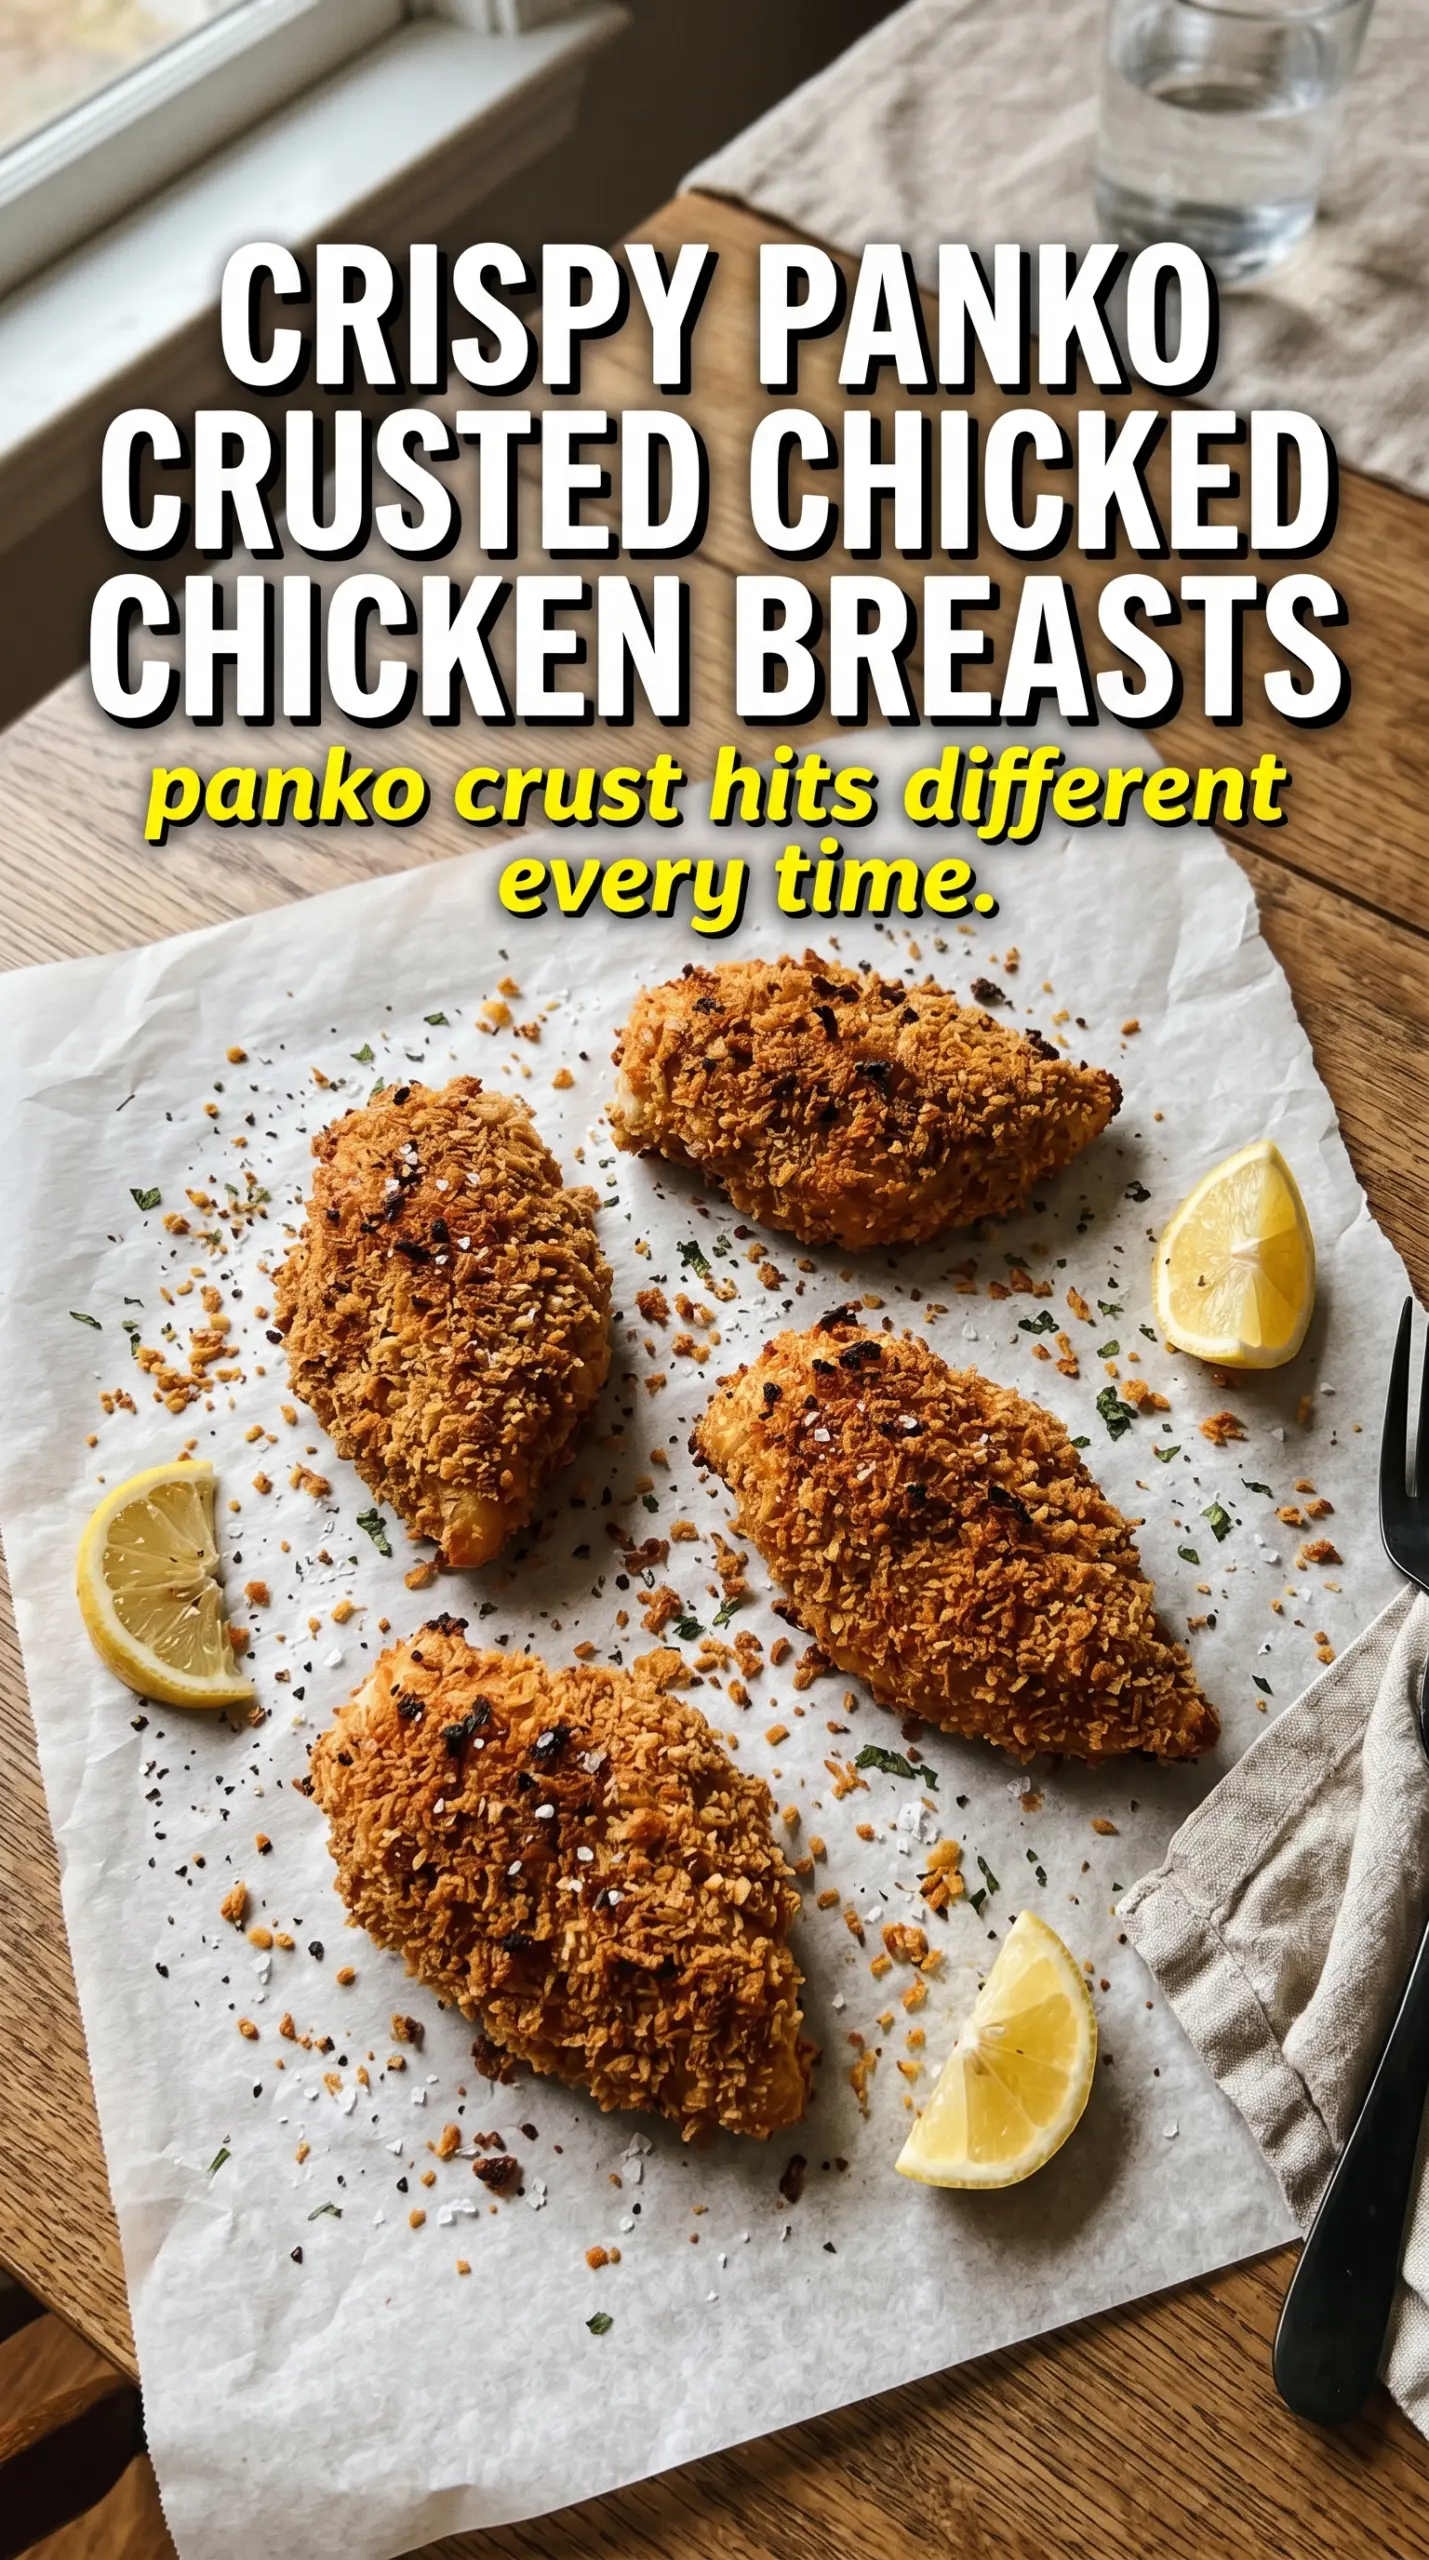
- Chicken breasts — Pounding them to an even thickness is what keeps the thinner ends from drying out before the center is cooked. If one side is much thicker, the crust will darken before the middle is ready.
- Flour — This dry first layer gives the egg something to hold onto. Skip it and the breading slides around instead of forming a tight shell.
- Eggs — They act like glue. Beat them well enough to break up the whites so the coating goes on evenly, not streaky.
- Panko breadcrumbs — Regular breadcrumbs won’t give you the same airy crunch. Panko stays lighter and creates those jagged, crisp edges that brown so well in the oven.
- Parmesan — This adds salt, nuttiness, and extra browning. The grated kind works best here because it blends into the crumbs and toasts without clumping.
- Olive oil or cooking spray — Dry breadcrumbs bake up pale. A light coating of oil helps the crust turn bronze and crisp instead of dusty and flat.
Press, Coat, Bake, and Let the Crust Set
Setting Up the Breading Station
Line up the flour, beaten eggs, and panko mixture before you touch the chicken. Once your hands are coated, breading goes quickly and cleanly instead of turning into a sticky mess. Season the chicken itself, not just the crumbs, because a seasoned crust can’t fix bland meat underneath.
Building a Tight, Even Crust
Press the chicken firmly into the panko on all sides. That pressure matters more than people think; it helps the crumbs cling and stand up during baking. If the coating looks patchy, press again rather than adding more egg, which can make the crust heavy.
Baking Until Deep Golden
Drizzle or spray the coated chicken with oil before it goes into the oven. That little bit of fat is what helps the panko toast into a crisp shell. Bake at 425°F until the crust is deep golden brown and the chicken reads 165°F in the thickest part. If the top is browning too fast before the center is done, the oven is running hot and the rack may be too close to the top element.
Resting Before You Slice
Give the chicken about 3 minutes on the rack or a plate before cutting. That short rest lets the juices settle so they stay in the meat instead of spilling out the second you slice in. The crust stays crisper too, because you’re not trapping steam under a cover or in a closed dish.
How to Adapt This for Different Kitchens and Diets
Gluten-Free Panko Chicken
Use a gluten-free flour blend for dredging and swap in gluten-free panko. The method stays the same, but you’ll want to press the crumbs on especially well because some gluten-free brands are a little more delicate once baked.
Dairy-Free Version
Leave out the Parmesan and add an extra pinch of salt plus a little more garlic powder to the panko. You’ll lose some of the savory browning, but the crust will still bake up crisp if you keep the oil or spray on the outside.
Air Fryer Method
Cook the breaded chicken at 390°F in a single layer and spray the tops well with oil. The crust gets especially crisp in the air fryer, but the chicken can dry out faster than in the oven, so start checking early and pull it at 165°F.
Storage and Reheating
- Refrigerator: Store leftovers for up to 3 days. The crust softens a bit in the fridge, but it still reheats well.
- Freezer: Freeze after baking if needed. Wrap each piece tightly, then thaw in the fridge before reheating; the coating won’t be as crisp as fresh, but it still works.
- Reheating: Warm on a rack set over a baking sheet at 375°F until hot. Don’t use the microwave if you want the crust to stay crisp; it turns the breading soggy in minutes.
Questions I Get Asked About This Recipe
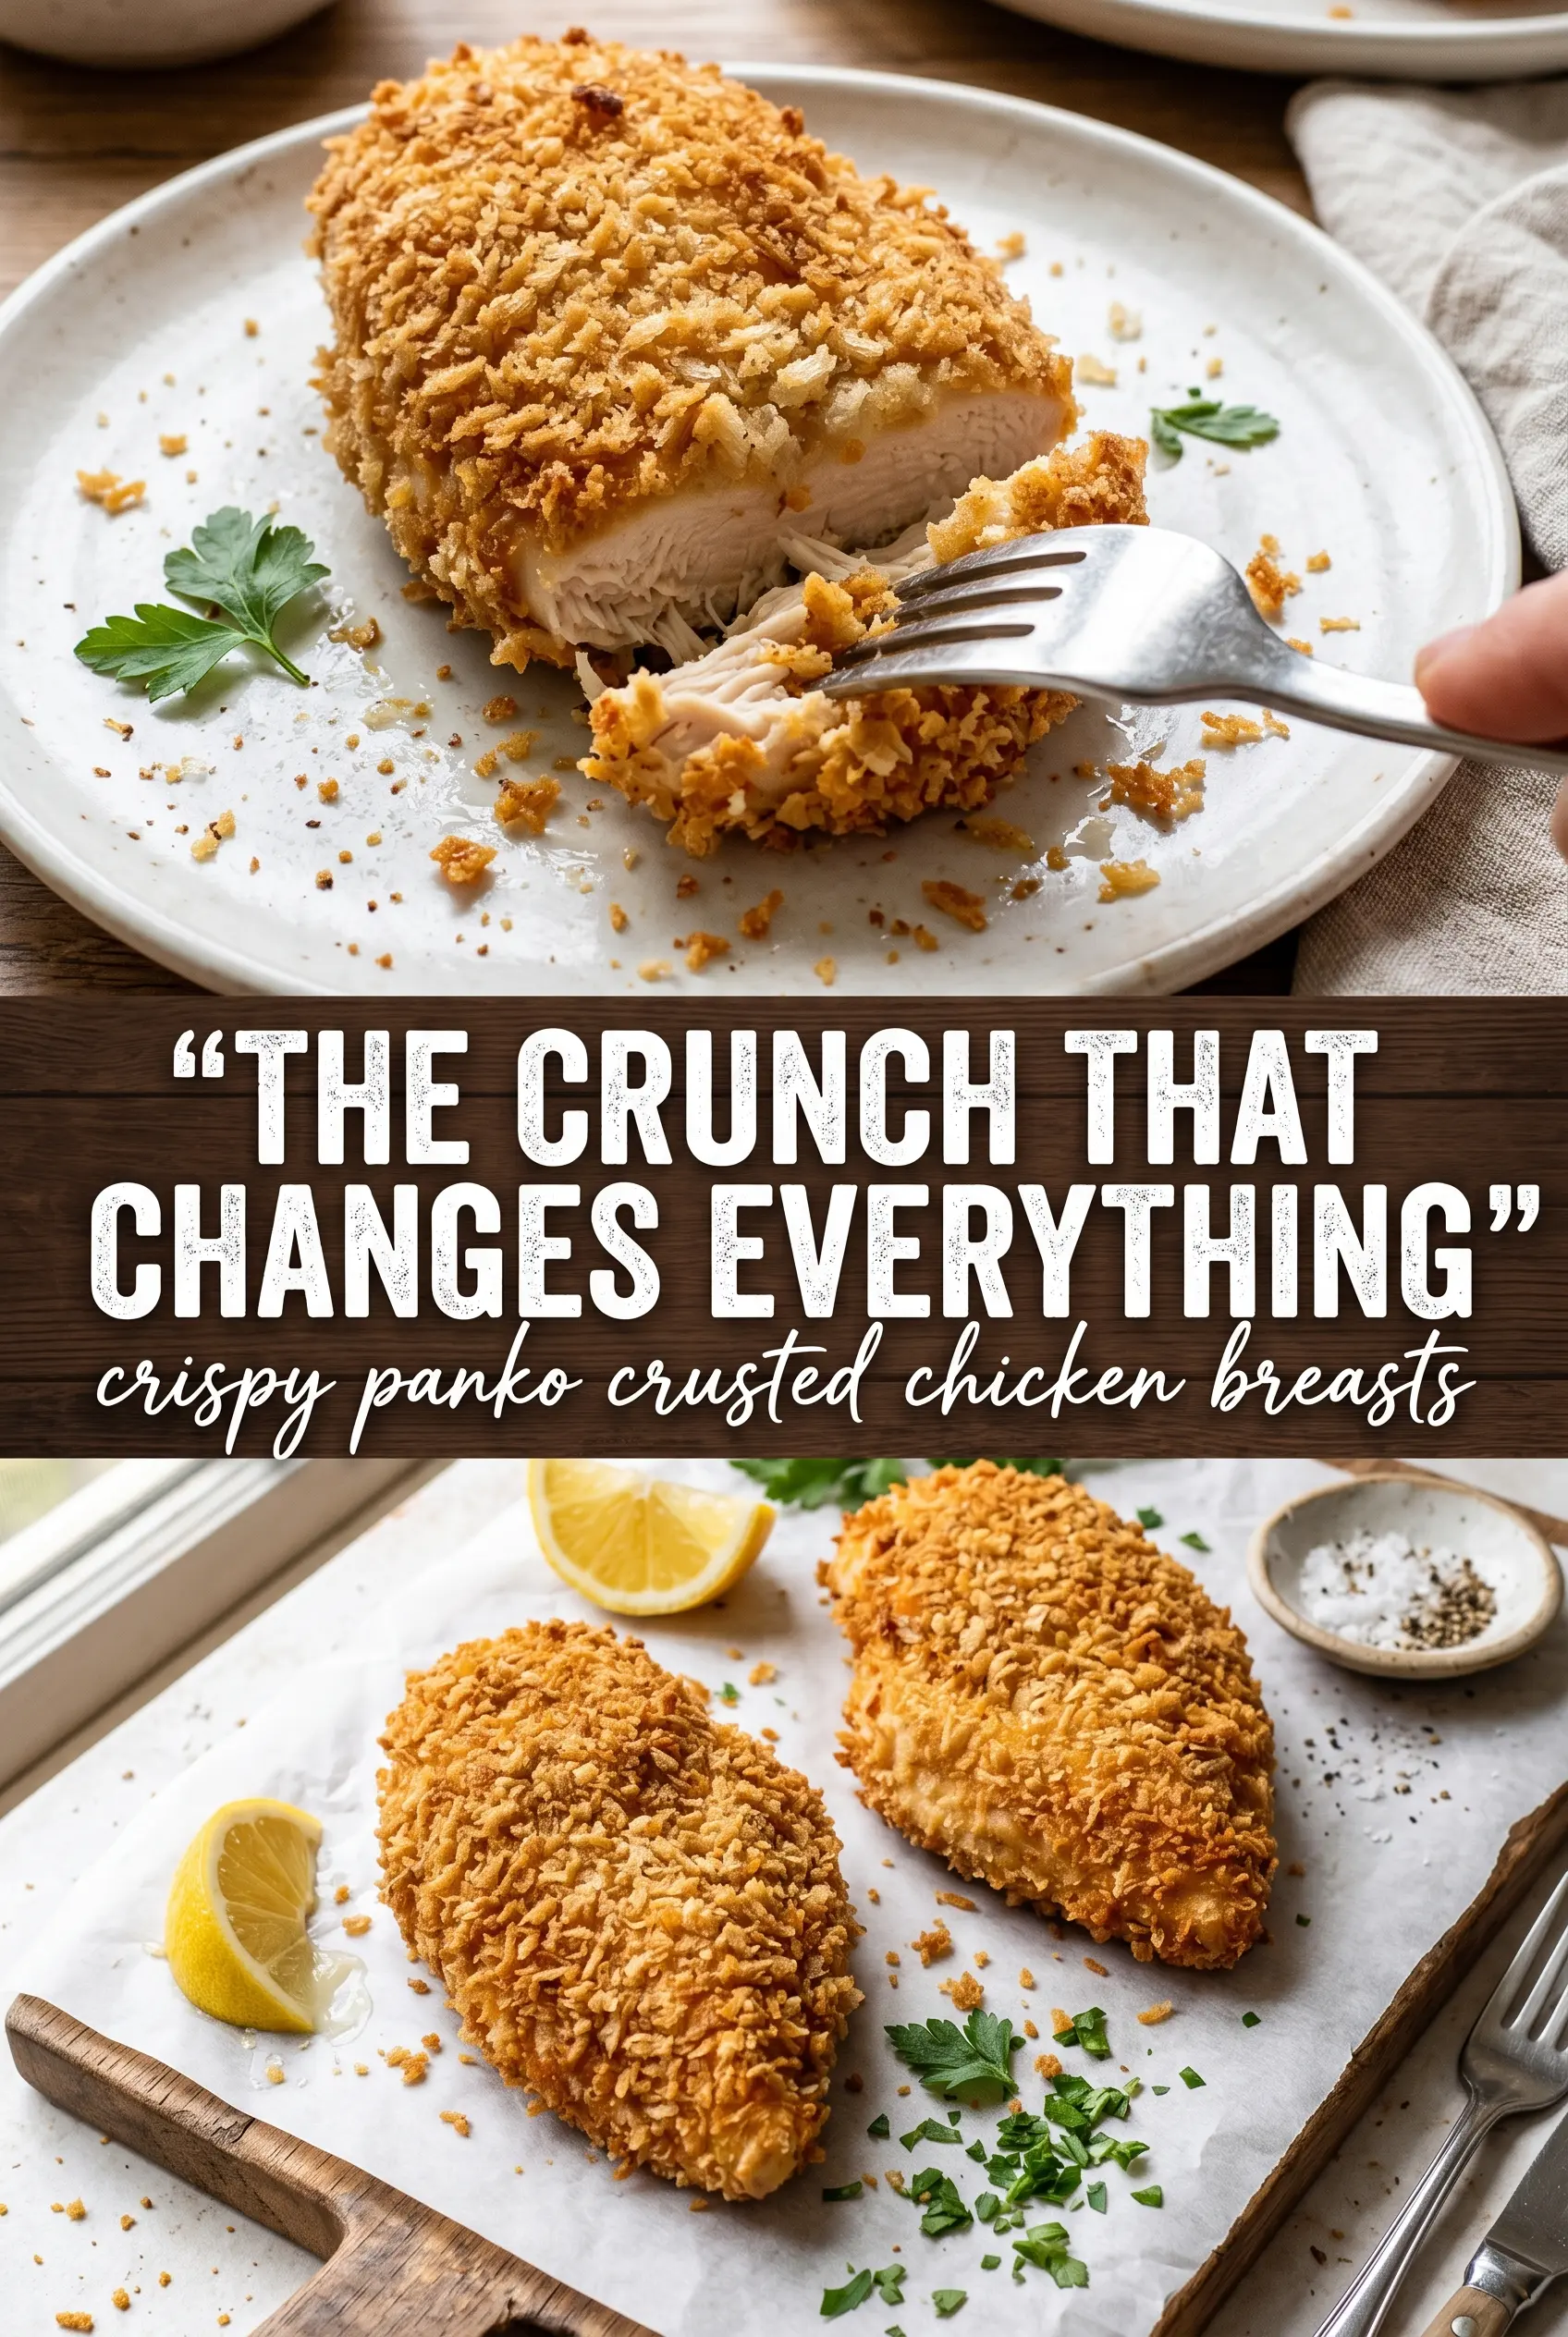
Crispy Panko Crusted Chicken Breasts
Ingredients
Equipment
Method
- Preheat the oven to 425°F and line a baking sheet with a wire rack; spray the rack with cooking spray so the crust can crisp underneath.
- Season the chicken breasts with salt, pepper, and garlic powder, then set up three breading stations: flour, beaten eggs, and panko mixed with Parmesan, Italian seasoning, garlic powder, and smoked paprika.
- Dredge each chicken breast in flour, dip into the beaten egg, and press firmly into the panko coating on all sides for maximum crunch.
- Drizzle or spray the breaded chicken with olive oil, then place on the prepared rack so air circulates around the breading.
- Bake for 20-22 minutes at 425°F until the crust is deep golden brown and the internal temperature reaches 165°F.
- Rest the chicken for 3 minutes so juices redistribute and the crust stays shatteringly crunchy.
- Garnish with fresh parsley and serve with lemon wedges for brightness.