Shatteringly crisp chicken coated in a sticky honey garlic glaze is the kind of dinner that disappears fast. The coating stays light and crunchy under the sauce, and the sauce itself cooks down into a glossy, deep amber layer that clings to every bite instead of pooling at the bottom of the bowl. Served over rice, it hits that sweet-salty-garlicky balance that makes takeout-style chicken so hard to stop eating.
The trick is keeping the chicken dry enough for the breading to grab, then frying it hot enough to set the crust before the sauce ever touches it. Cornstarch lightens the coating and helps it fry up with that craggy texture you want, while the honey garlic sauce needs a short simmer so the garlic softens and the cornstarch slurry can turn it from thin and shiny into something that actually coats.
Below, I’ll walk through the part that matters most: how to keep the chicken crisp even after saucing, which ingredient makes the biggest difference in texture, and what to do if you want to stretch this into a bigger dinner without losing the crunch.
The chicken stayed crisp even after I tossed it in the sauce, and the garlic flavor was spot on without tasting harsh. I fried in small batches like you said and the coating came out light instead of heavy.
Like this crispy Chinese honey garlic chicken? Save it to Pinterest for the nights when you want glossy takeout-style sauce and a crackling coating that still holds up.
The Crispiest Part Happens Before the Sauce Ever Starts
The biggest mistake with honey garlic chicken is rushing the fry. If the oil isn’t hot enough, the coating absorbs grease and turns pasty before it ever has a chance to crisp. At 375°F, the chicken sets fast, the edges turn deeply golden, and the crust stays light enough to survive the sauce.
Batch size matters just as much as temperature. Crowding the pan drops the oil heat and creates steam, which is the enemy of a brittle crust. Fry in small batches and drain the chicken on a rack or paper towel-lined tray so it doesn’t sit in its own heat and soften before the glaze is ready.
- Chicken thighs — Thighs stay juicier than breast meat and hold up better to frying and tossing. If you use breast, cut the pieces a little larger and pull them as soon as they’re cooked through so they don’t dry out.
- Cornstarch and flour — Cornstarch gives the coating that shattery bite, while flour gives it enough structure to cling. If you use only flour, the crust will be heavier and less crisp; if you use only cornstarch, it can fry up a little fragile.
- White pepper — This brings the gentle Chinese takeout-style heat without leaving black flecks in the coating. Black pepper works in a pinch, but the flavor is sharper and a little more obvious.
- Rice vinegar — The vinegar keeps the sauce from tasting flat and one-note sweet. Lime juice won’t taste the same here; it’s brighter and more aggressive, while rice vinegar gives you clean acidity that disappears into the sauce.
What Each Ingredient Is Actually Doing in This Glazed Chicken
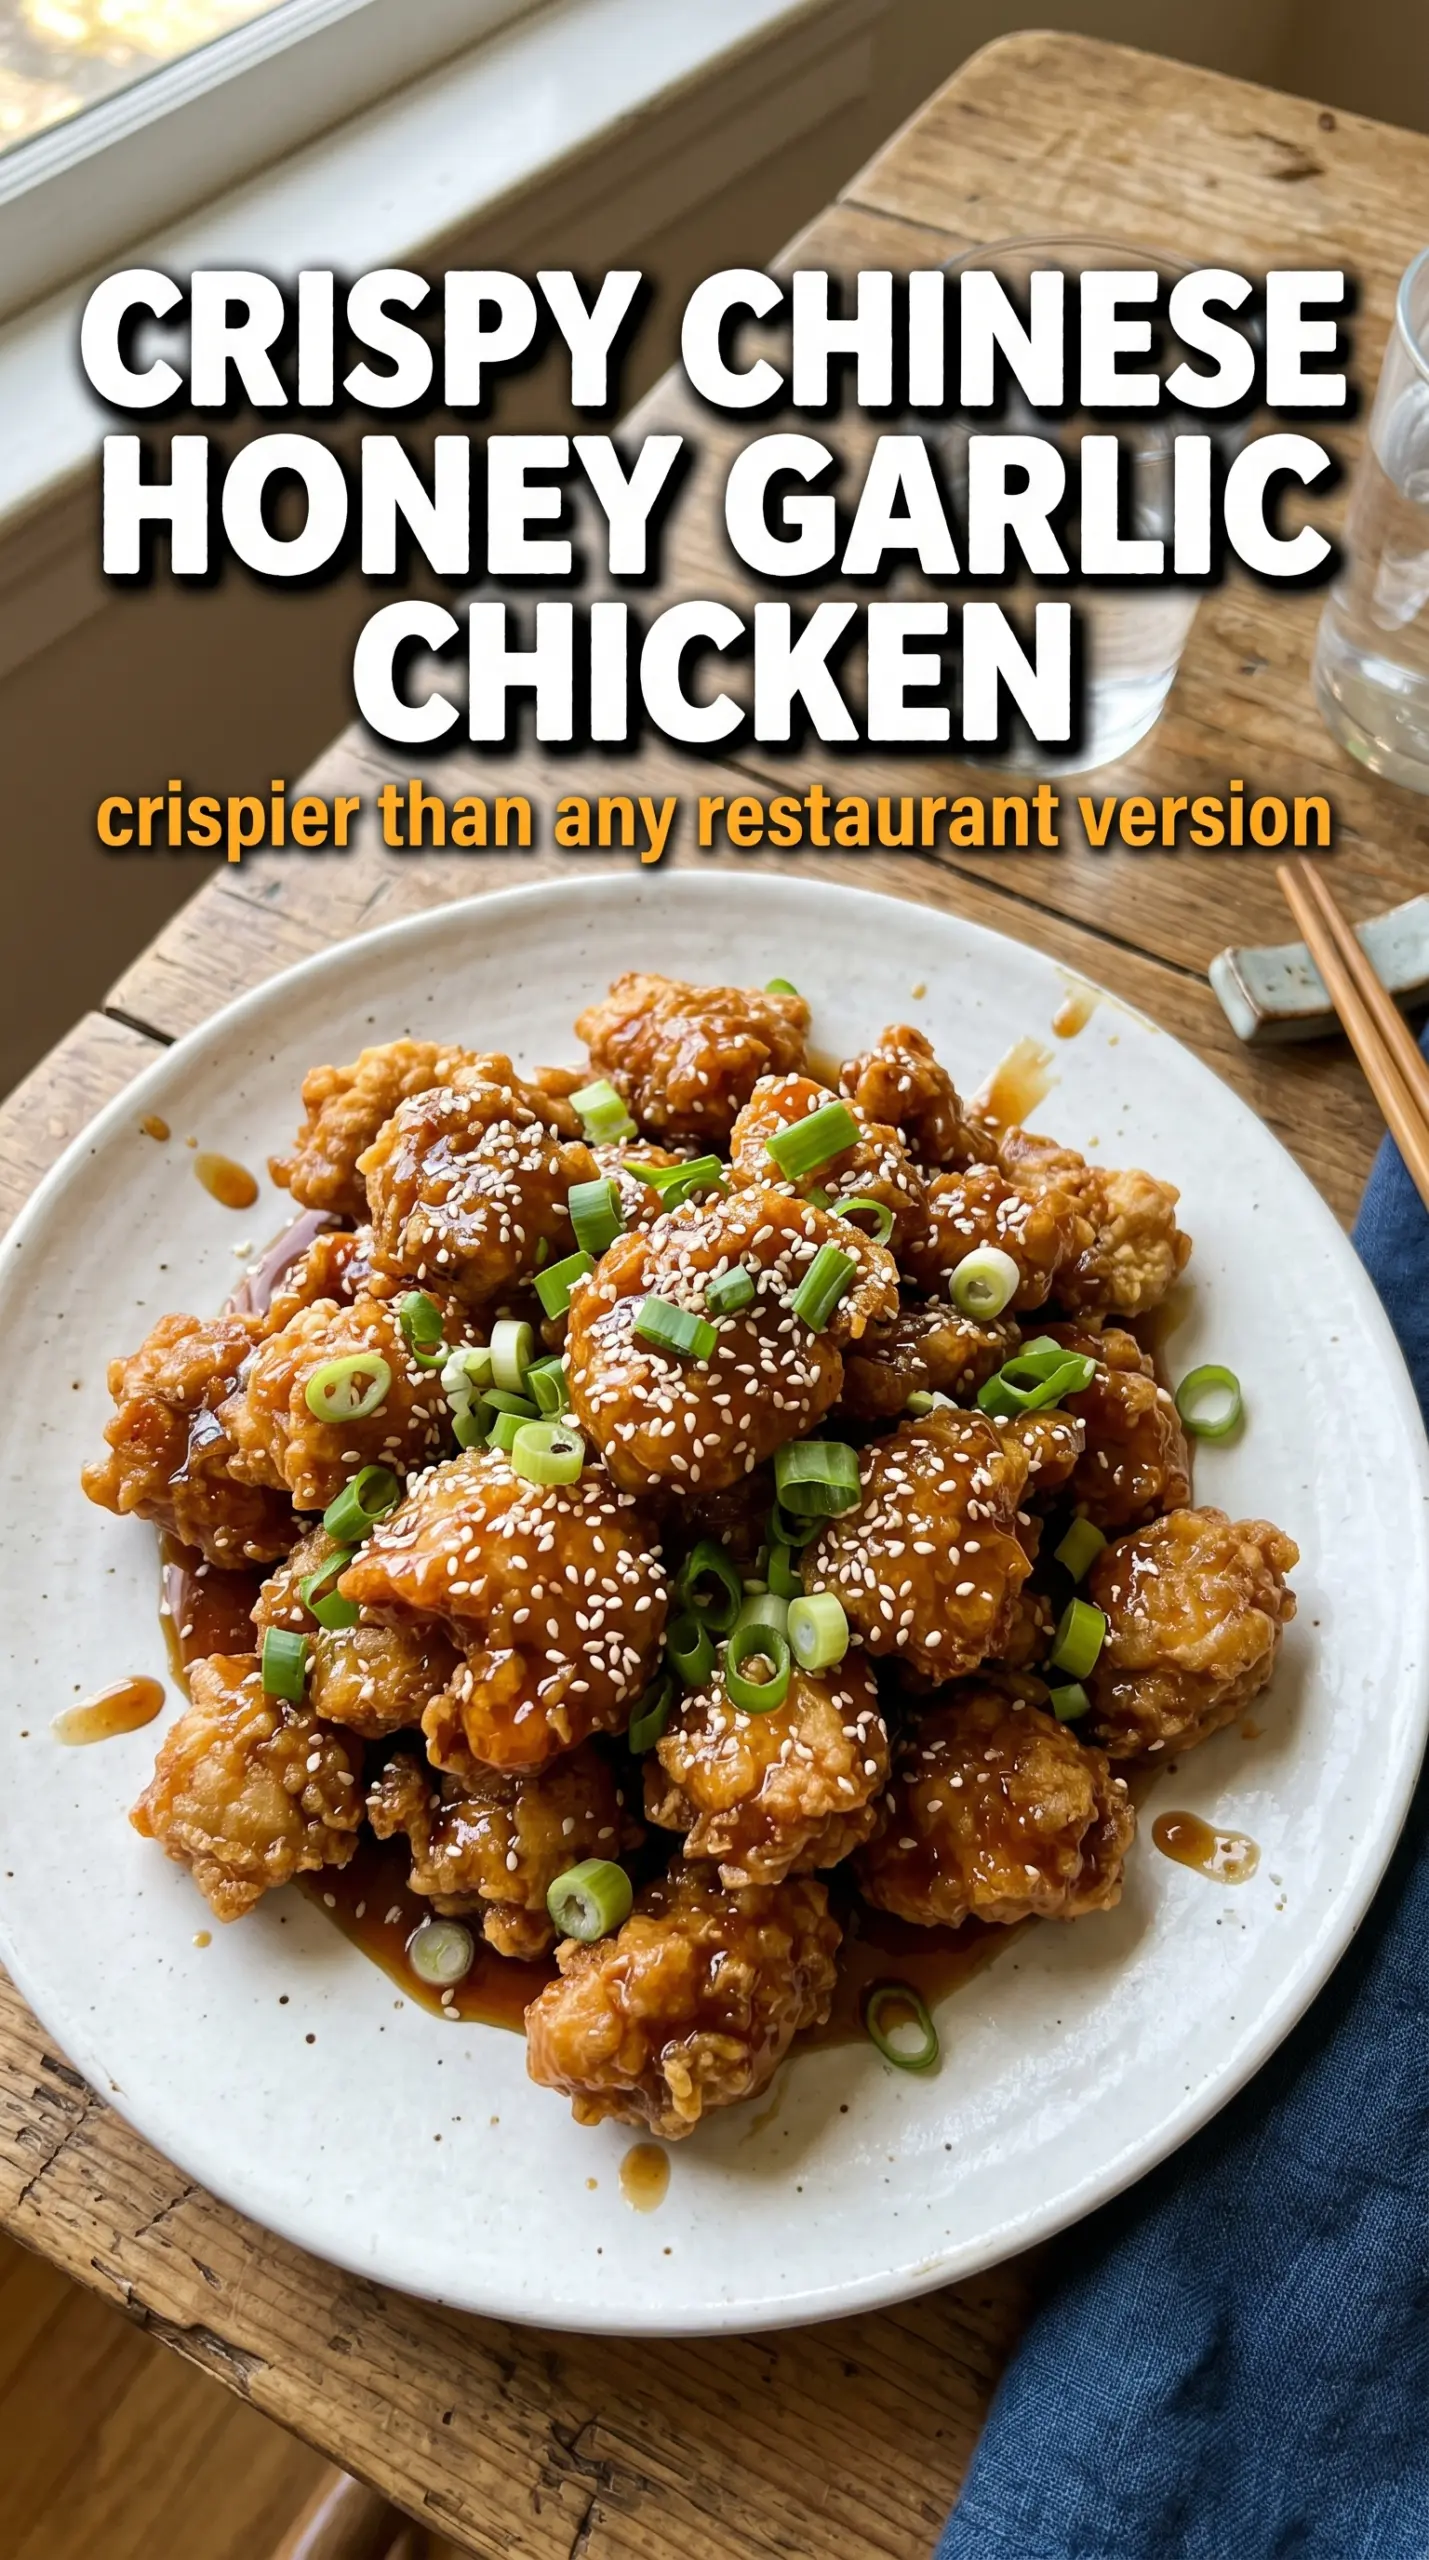
- Chicken (the protein center) — Pat dry so it browns instead of steams. Even thickness ensures uniform cooking.
- Oil or butter (the browning medium) — This helps the chicken develop a crust. High-heat oil is essential.
- Garlic (the aromatic foundation) — Fresh minced garlic becomes sweet and mellow when cooked. Cook with oil first to bloom the flavors.
- Soy sauce or base sauce (the savory backbone) — This adds depth and umami. Choose quality soy sauce for better flavor.
- Sweetener (honey, brown sugar, or mirin) — This creates the glaze and balances savory elements. Too much creates candy-like results.
- Acid (vinegar, lime, or ginger) — This prevents the glaze from tasting one-dimensional. Add near the end to preserve brightness.
- Thickener (cornstarch slurry or reduction) — This creates a glossy glaze that coats the chicken. Too much makes it gummy.
- Final finish (green onion, sesame seeds, fresh herbs) — These add color, texture, and fresh flavor. Add right before serving.
Building the Glaze So It Clings, Not Pools
The sauce should start with the garlic in the pan, then move quickly into the honey, soy sauce, and vinegar. That short simmer mellows the raw bite of the garlic and lets the honey loosen enough to mix evenly. If you dump the slurry into a sauce that hasn’t come up to a simmer, it stays thin and never fully thickens.
The cornstarch slurry is what turns this from a sweet stir-fry sauce into a proper coating sauce. Stir it in, then give it a minute or two over heat until it looks glossy and slightly syrupy. Pull the pan off the burner before adding sesame oil, because high heat mutes its flavor and can make the sauce taste heavy instead of round.
Dredging for Maximum Crunch
Whisk the dry coating well before the chicken goes in so the garlic powder, salt, and white pepper are evenly distributed. Dip the chicken in egg first, then press it into the flour mixture so every side gets a rough, clumpy coating. That uneven surface is what fries into crispy ridges.
If the coating looks wet or gummy, the chicken was too damp or the bowl got too crowded with flour clumps. Shake off the excess egg, press the pieces into the dry mix, and lay them on a tray for a minute before frying. That short pause helps the coating hydrate just enough to stay on the chicken instead of sliding off in the oil.
Frying in Small, Hot Batches
Heat the oil until it shimmers and reads 375°F, then add the chicken in a single layer. The pieces should sizzle right away and stay lively in the oil; if they sit there quietly, the oil isn’t hot enough yet. Fry until the outside is deep golden and the chicken is cooked through, about 5 to 6 minutes depending on the size of the pieces.
Don’t cook too many pieces at once. The oil temp drops fast, and once that happens, the crust loses its crisp edge and starts soaking up oil instead. Move finished chicken to a rack or a paper towel-lined tray, and don’t cover it tightly or the trapped steam will soften the coating before you sauce it.
Tossing Without Losing the Crust
Add the chicken to the sauce right before serving and toss just until every piece is coated. The sauce should cling in a shiny layer, not flood the bottom of the bowl. If you let the chicken sit in the sauce too long, the crust starts to go soft, so this is a last-minute move, not a make-ahead step.
If you want extra sauce for rice, keep a spoonful aside before tossing the chicken. That gives you the glossy finish on the chicken and still leaves enough sauce to drizzle over the bowl. Finish with sesame seeds and sliced green onions for a little nutty crunch and a fresh bite against the sticky glaze.
How to Adjust This Chicken Without Losing the Crunch
Gluten-Free Version
Swap the all-purpose flour for a 1:1 gluten-free flour blend and use tamari instead of soy sauce. The texture will still be crisp, but the crust may brown a little faster, so watch the oil closely and pull the chicken when it turns deep golden rather than waiting for a darker color.
Baked Instead of Fried
You can bake the coated chicken on a well-oiled rack at 425°F, flipping once, but it won’t have the same shattering crust. It’s a good backup when you don’t want to fry, and the sauce still gives you the same sweet-garlicky finish.
Less Sweet, More Savory
Cut the honey back by 1 to 2 tablespoons and add another splash of rice vinegar. That shifts the sauce toward a sharper, more savory glaze without changing the glossy texture, which is the part that matters for coating the chicken.
Storage and Reheating
- Refrigerator: Store leftovers in an airtight container for up to 3 days. The coating will soften as it sits in the sauce, but the flavor stays strong.
- Freezer: Fried and sauced chicken doesn’t freeze well once fully coated, because the crust turns soggy when thawed. If you want to get ahead, freeze the fried chicken pieces and sauce separately, then reheat and toss together.
- Reheating: Reheat the chicken on a rack in a 375°F oven or an air fryer until hot and crisp again, then warm the sauce separately and toss them together at the end. Microwaving everything together makes the coating soft immediately.
Questions I Get Asked About This Recipe
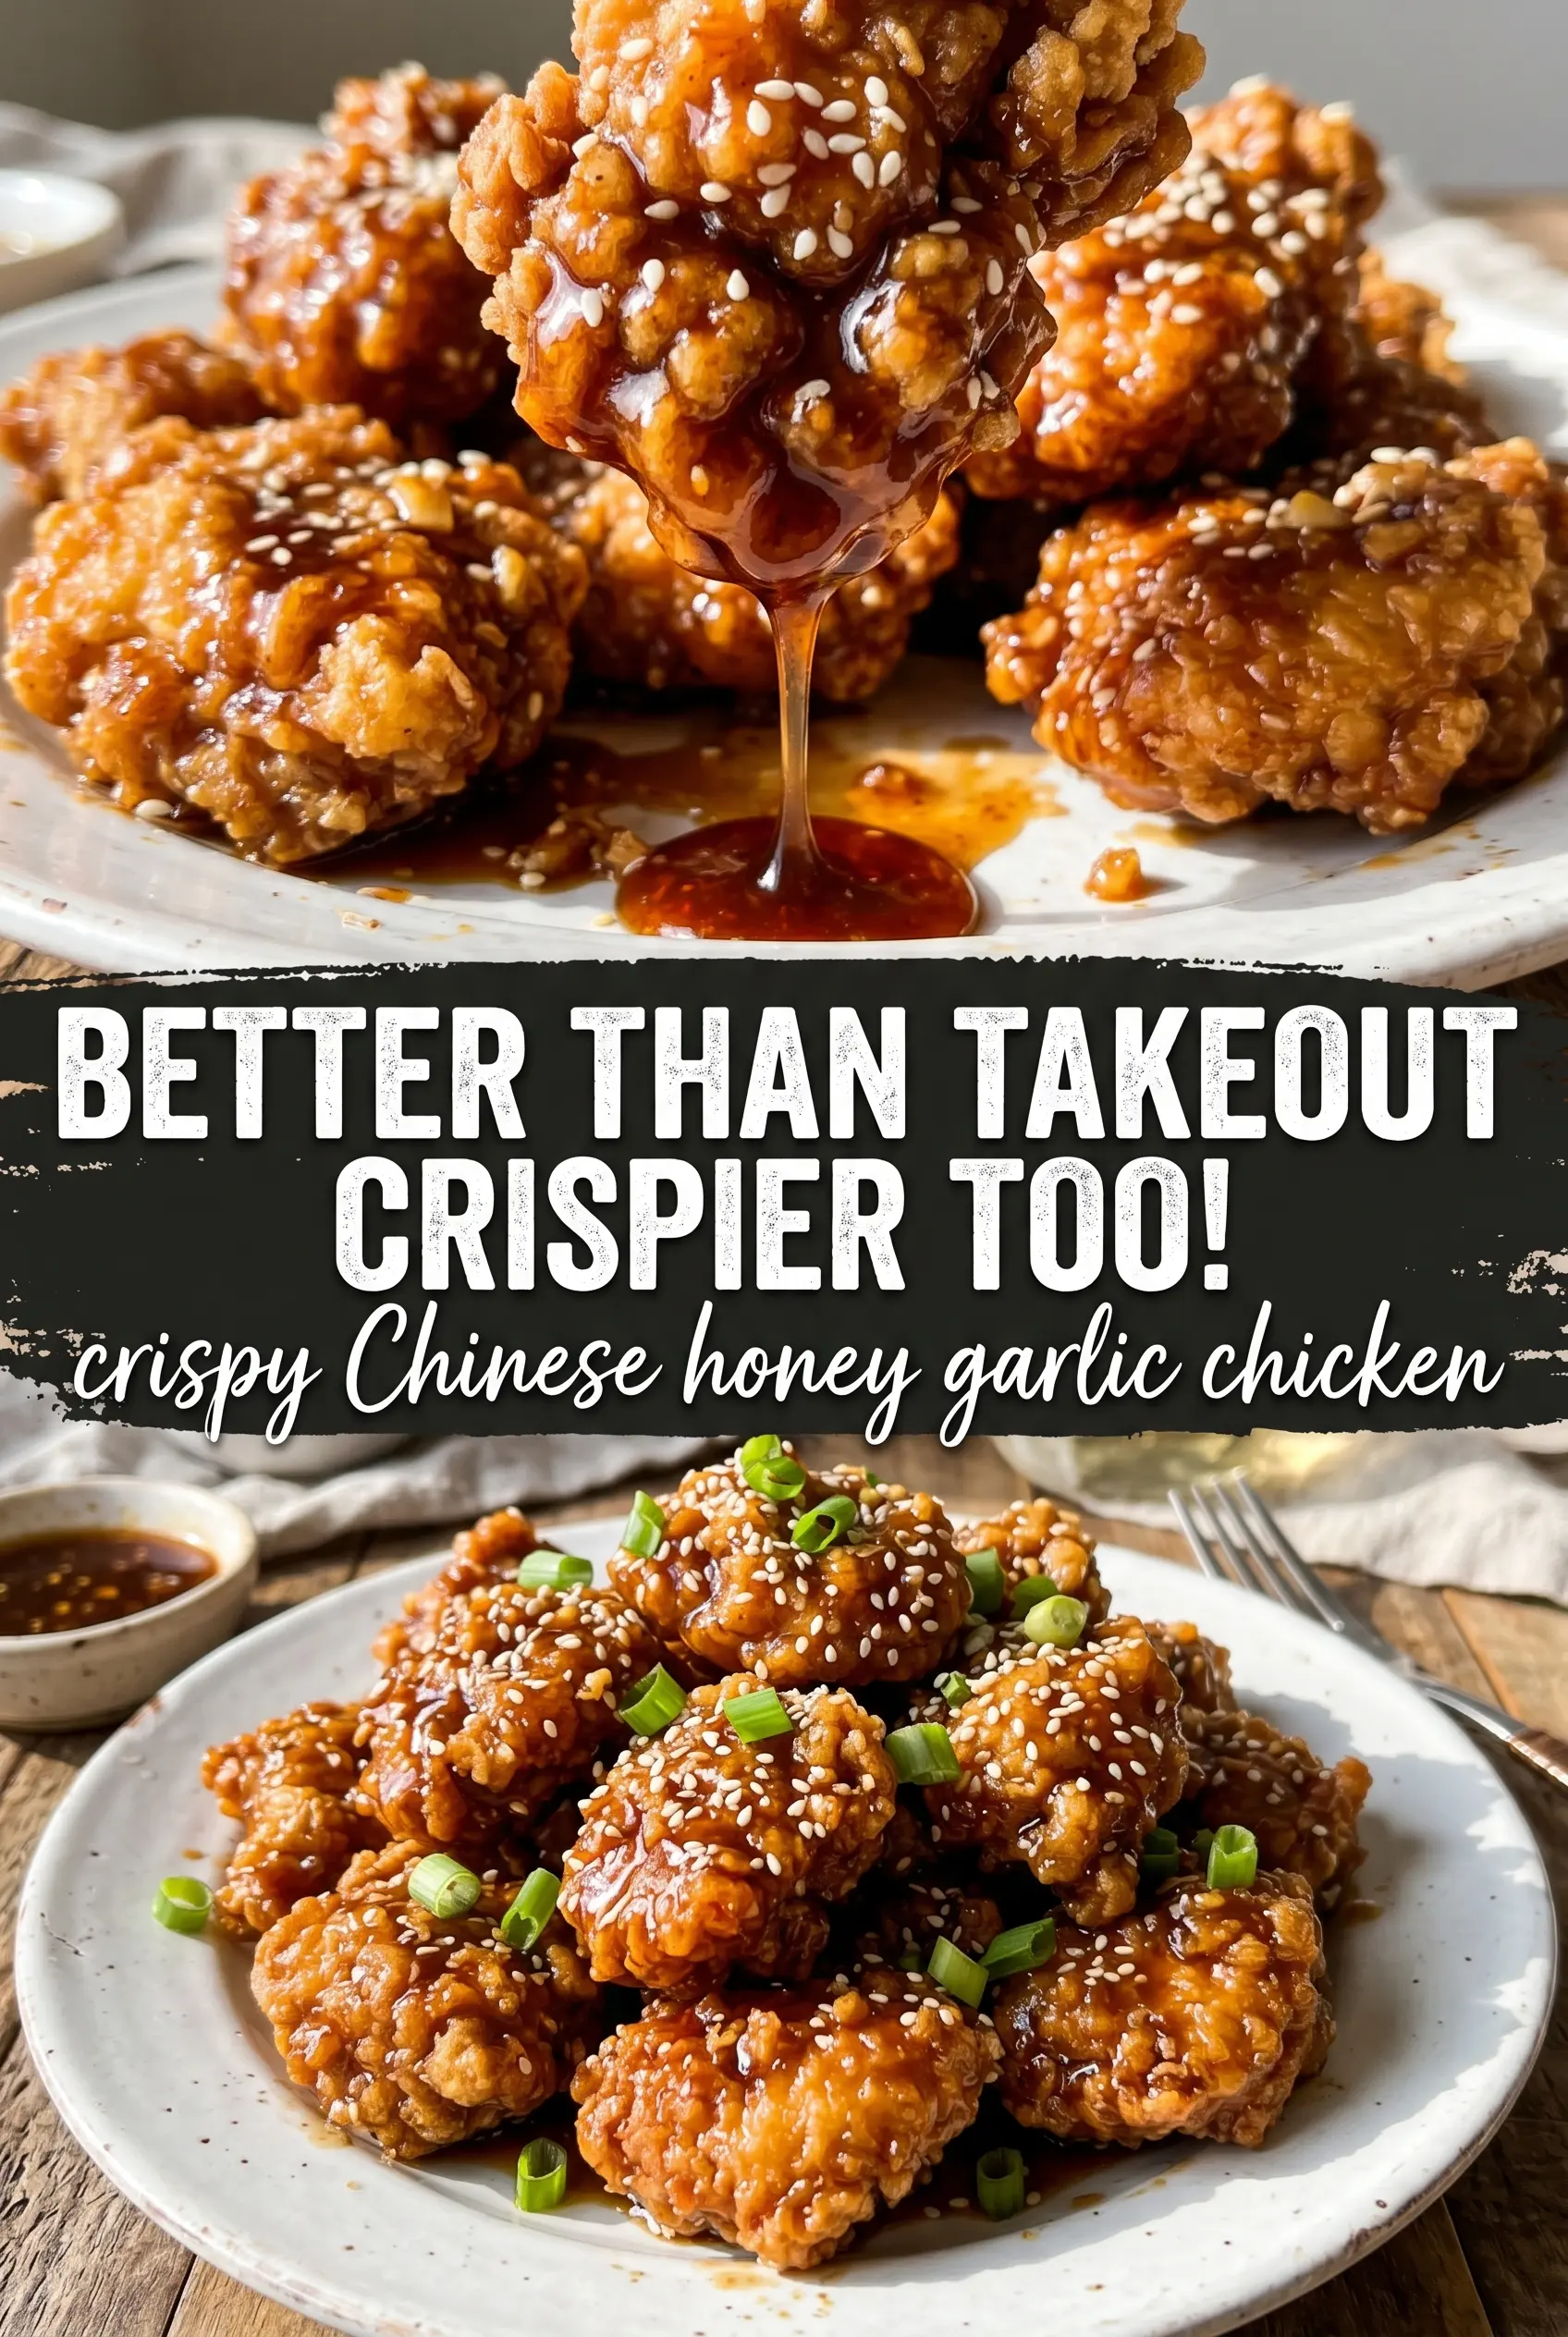
Crispy Chinese Honey Garlic Chicken
Ingredients
Equipment
Method
- Whisk together cornstarch, flour, garlic powder, salt, and white pepper in a bowl. Ensure the dry mixture is evenly blended so the coating crisps uniformly.
- Dip the beaten egg-coated chicken pieces into the flour mixture, pressing lightly to adhere. Let excess coating fall back into the bowl before frying.
- Heat vegetable oil in a cast iron skillet to 375°F (about 2 inches deep). The oil is ready when it maintains a steady sizzle around a small test piece.
- Fry the chicken in batches for 5-6 minutes until golden and cooked through. Transfer to a rack or paper-lined plate to drain while you fry the next batch.
- Combine honey, soy sauce, garlic, and rice vinegar in a saucepan and bring to a simmer. Stir until the garlic softens and the mixture smells fragrant.
- Whisk the cornstarch slurry into the simmering sauce and cook for 2-3 minutes until thickened. Keep stirring to prevent lumps and reach a glossy, clingy consistency.
- Remove from the heat and stir in sesame oil. This keeps the sesame flavor aromatic without overcooking.
- Toss the crispy chicken in the honey garlic sauce until fully coated. Stir gently so the coating clings while keeping the exterior crisp.
- Serve the honey garlic chicken over steamed rice topped with sesame seeds and green onions. Add the garnish right before serving for the best freshness and crunch.