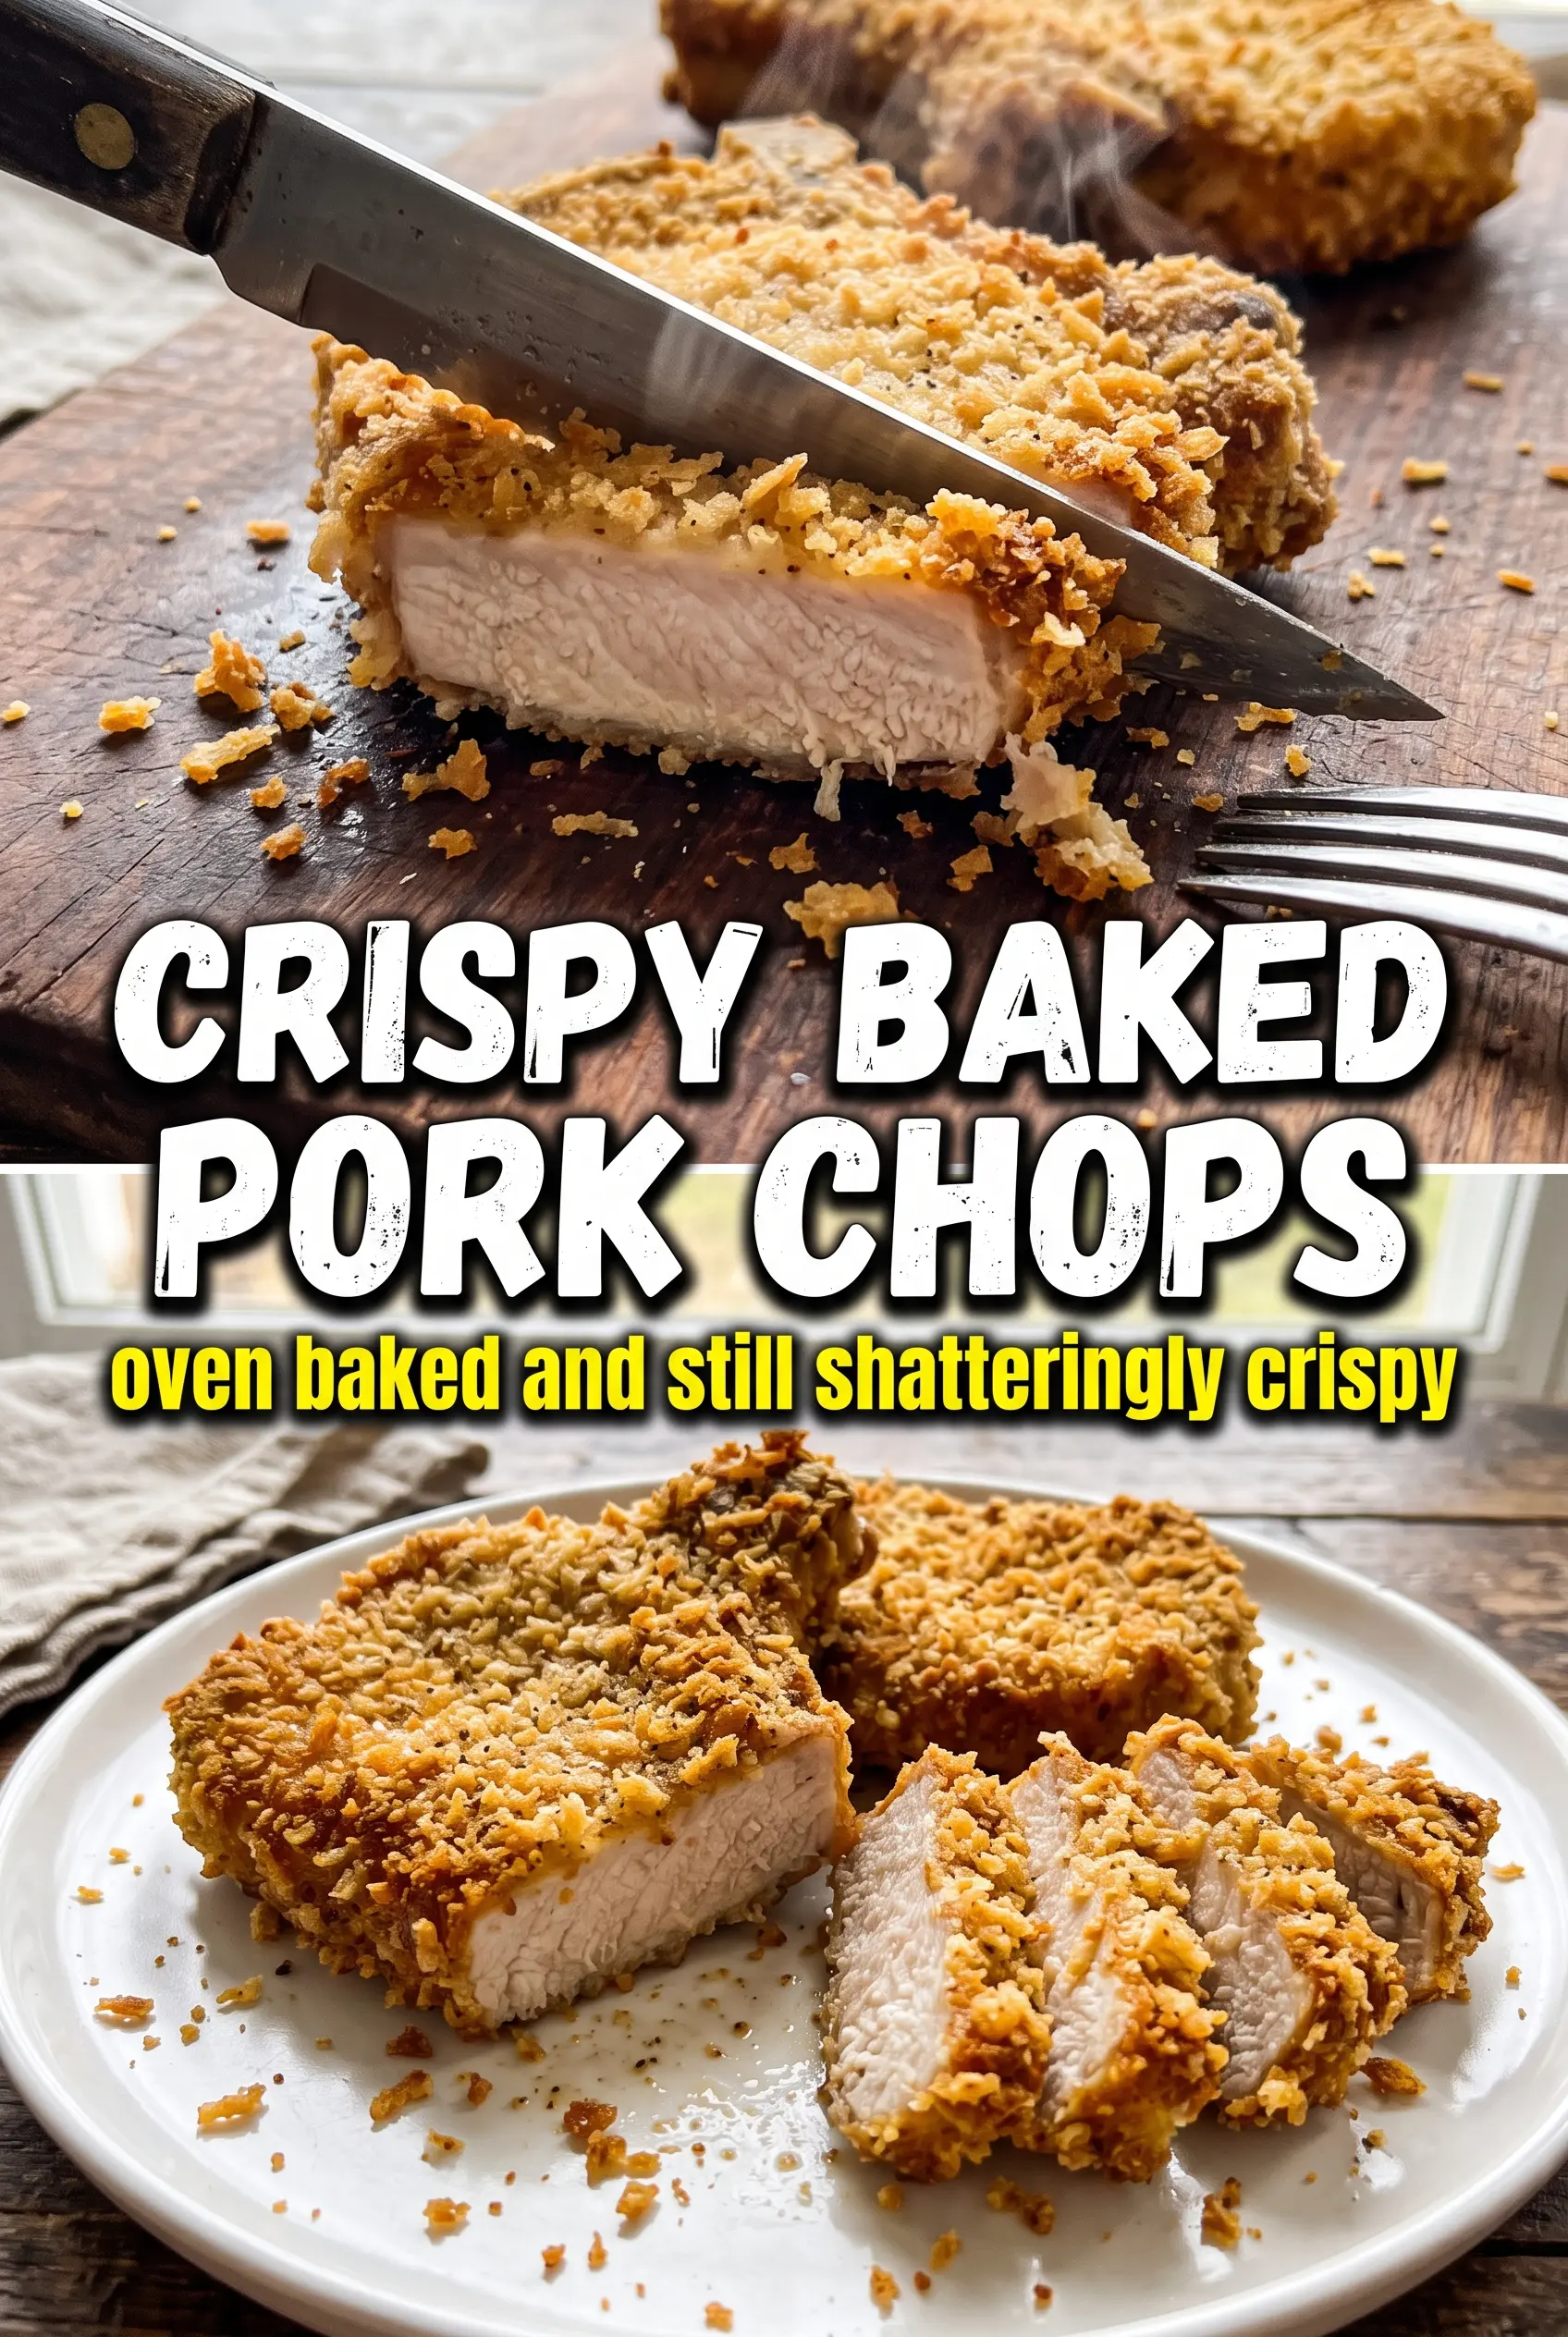
Crispy baked pork chops land with the kind of crunch people usually expect from a frying pan, but the oven does the heavy lifting here. The panko coating turns shatteringly crisp, the pork stays juicy, and the whole thing finishes with a deep golden crust that gives way cleanly instead of peeling off in one sad sheet.
The trick is in the structure: flour gives the egg something to grip, the egg gives the panko something to cling to, and the wire rack keeps hot air moving under the chops so the bottom crust doesn’t steam soft. A generous spray of oil matters here too. It’s what turns dry breadcrumbs into that crunchy, oven-fried finish.
Below, I’m walking through the small details that make the coating stay put, the best way to keep the pork tender, and a few easy swaps if you want to change the seasoning without losing the crisp texture.
The panko got so crisp in the oven that the coating actually crackled when I cut into the pork chops, and the lemon at the table made the whole thing taste bright instead of heavy.
Love that shattery panko crust? Save these crispy baked pork chops for the nights when you want oven-fried crunch without standing over hot oil.
The Crust That Stays Crisp Instead of Going Soft
Most baked breaded pork chops lose their crunch for one simple reason: the breading sits in steam. If the chops go straight onto a sheet pan, the bottom side traps moisture and starts to soften before dinner even hits the table. A wire rack fixes that by letting hot air circulate underneath, which keeps the coating dry and crisp on all sides.
The other mistake is rushing the coating. Panko needs a firm press onto the pork so it actually bonds, and the oil spray is not optional. It helps the crumbs toast instead of drying out, which is what gives you that loud, crisp bite when you cut in. Pull the chops at 145°F and let them rest for just a few minutes; overcooking takes the juiciness out fast.
What Each Layer Is Doing in These Pork Chops

- Boneless pork chops — A 3/4-inch chop gives you enough thickness to stay juicy while the coating browns. Thin chops cook too fast and dry out before the crust has time to turn deep golden.
- Panko breadcrumbs — This is the ingredient that gives the recipe its shattering crunch. Regular breadcrumbs make a denser, softer coating, so if you swap them in, expect less texture and a tighter crust.
- Flour, eggs, and seasoning — The flour dries the surface just enough for the egg to grip, and the egg acts like glue for the panko. Season the flour and breadcrumb mix, not just the meat, or the crust will taste flat.
- Olive oil spray — A light mist is enough to help the coating brown evenly. If you drizzle oil instead, the breading can get patchy and heavy instead of crisp.
- Lemon wedges — The acid cuts through the rich, crunchy coating and sharpens the pork’s flavor. Don’t skip them if you want the chops to taste finished instead of just breaded.
The Coating and Bake That Make These Pork Chops Work
Building the Breading Station
Set out three shallow dishes before you touch the pork. Flour goes in the first, beaten eggs in the second, and panko mixed with garlic powder, smoked paprika, and Italian seasoning in the third. Season the flour with salt and pepper so the meat gets flavor from the inside of the coating, not just the outside. If the dishes are too deep, the chops pick up too much breading and the crust turns bulky instead of crisp.
Pressing on the Panko
Dredge each chop in flour, then egg, then the panko mixture. The important part is the final press: use your fingers to pack the crumbs onto both sides so they cling in an even layer. If the coating looks spotty now, it’ll bake up spotty later. Shake off excess flour before the egg dip or you’ll end up with gummy patches under the crust.
Baking on a Rack
Place the coated chops on a wire rack set over a baking sheet, then spray both sides generously with olive oil. Bake at 425°F until the crust is deeply golden and the internal temperature reaches 145°F, about 18 to 20 minutes depending on thickness. If the chops are browning too fast before they’re done, they’re probably too close to the top heating element. Move the pan down one rack and keep going.
Finishing for the Table
Let the pork chops rest for a few minutes, then serve them right away with lemon wedges. That short rest keeps the juices in the meat instead of running onto the cutting board. These chops are at their crispiest the moment they come out of the oven, so have the table ready before they finish baking.
How to Change These Pork Chops Without Losing the Crunch
Gluten-Free Baked Pork Chops
Swap the all-purpose flour for rice flour or a gluten-free blend and use certified gluten-free panko. The rice flour keeps the first layer light and dry, which helps the egg stick, and the gluten-free crumbs still bake up crisp if you keep the oil spray on them.
Dairy-Free and Naturally Egg-Free Workaround
This recipe is already dairy-free, but if you need to skip the eggs, whisk together 1/3 cup unsweetened plain plant milk with 1 tablespoon Dijon mustard and use that in place of the egg wash. The coating won’t be quite as sturdy as the egg version, so press the crumbs on firmly and move the chops carefully to the rack.
Different Seasoning, Same Method
Change the seasoning blend in the panko and the rest of the method stays the same. Try cayenne and onion powder for a spicier version, or use rosemary and lemon zest for a brighter, more herb-forward crust. Keep the total amount of dry seasoning about the same so the crumbs still toast evenly.
Storage and Reheating
- Refrigerator: Store leftovers in an airtight container for up to 3 days. The crust will soften in the fridge, but it can be brought back with dry heat.
- Freezer: Freeze cooked chops on a parchment-lined tray, then transfer to a freezer bag for up to 2 months. They reheat better than you’d expect if you freeze them in a single layer first.
- Reheating: Reheat on a wire rack in a 375°F oven until hot and crisp again, about 10 to 15 minutes. The common mistake is microwaving, which turns the coating leathery before the center is warm.
Questions I Get Asked About This Recipe
Crispy Baked Pork Chops
Ingredients
Equipment
Method
- Preheat the oven to 425°F and place a wire rack over a baking sheet so air circulates under the chops.
- Set up three dishes: flour seasoned with salt and pepper, beaten eggs, and panko mixed with garlic powder, smoked paprika, and Italian seasoning.
- Coat each pork chop in the flour mixture, shaking off excess so the next layer sticks evenly.
- Dip the floured pork chops into the beaten eggs, coating both sides for good adhesion.
- Press the panko mixture firmly onto both sides to create an even, crunchy crust.
- Place the coated pork chops on the wire rack and spray generously with olive oil on both sides for deep browning.
- Bake for 18–20 minutes at 425°F until the crust is deep golden brown and the pork reaches 145°F, with a visibly set, crisp surface.
- Serve immediately with lemon wedges so the bright citrus cuts through the crunchy panko coating.