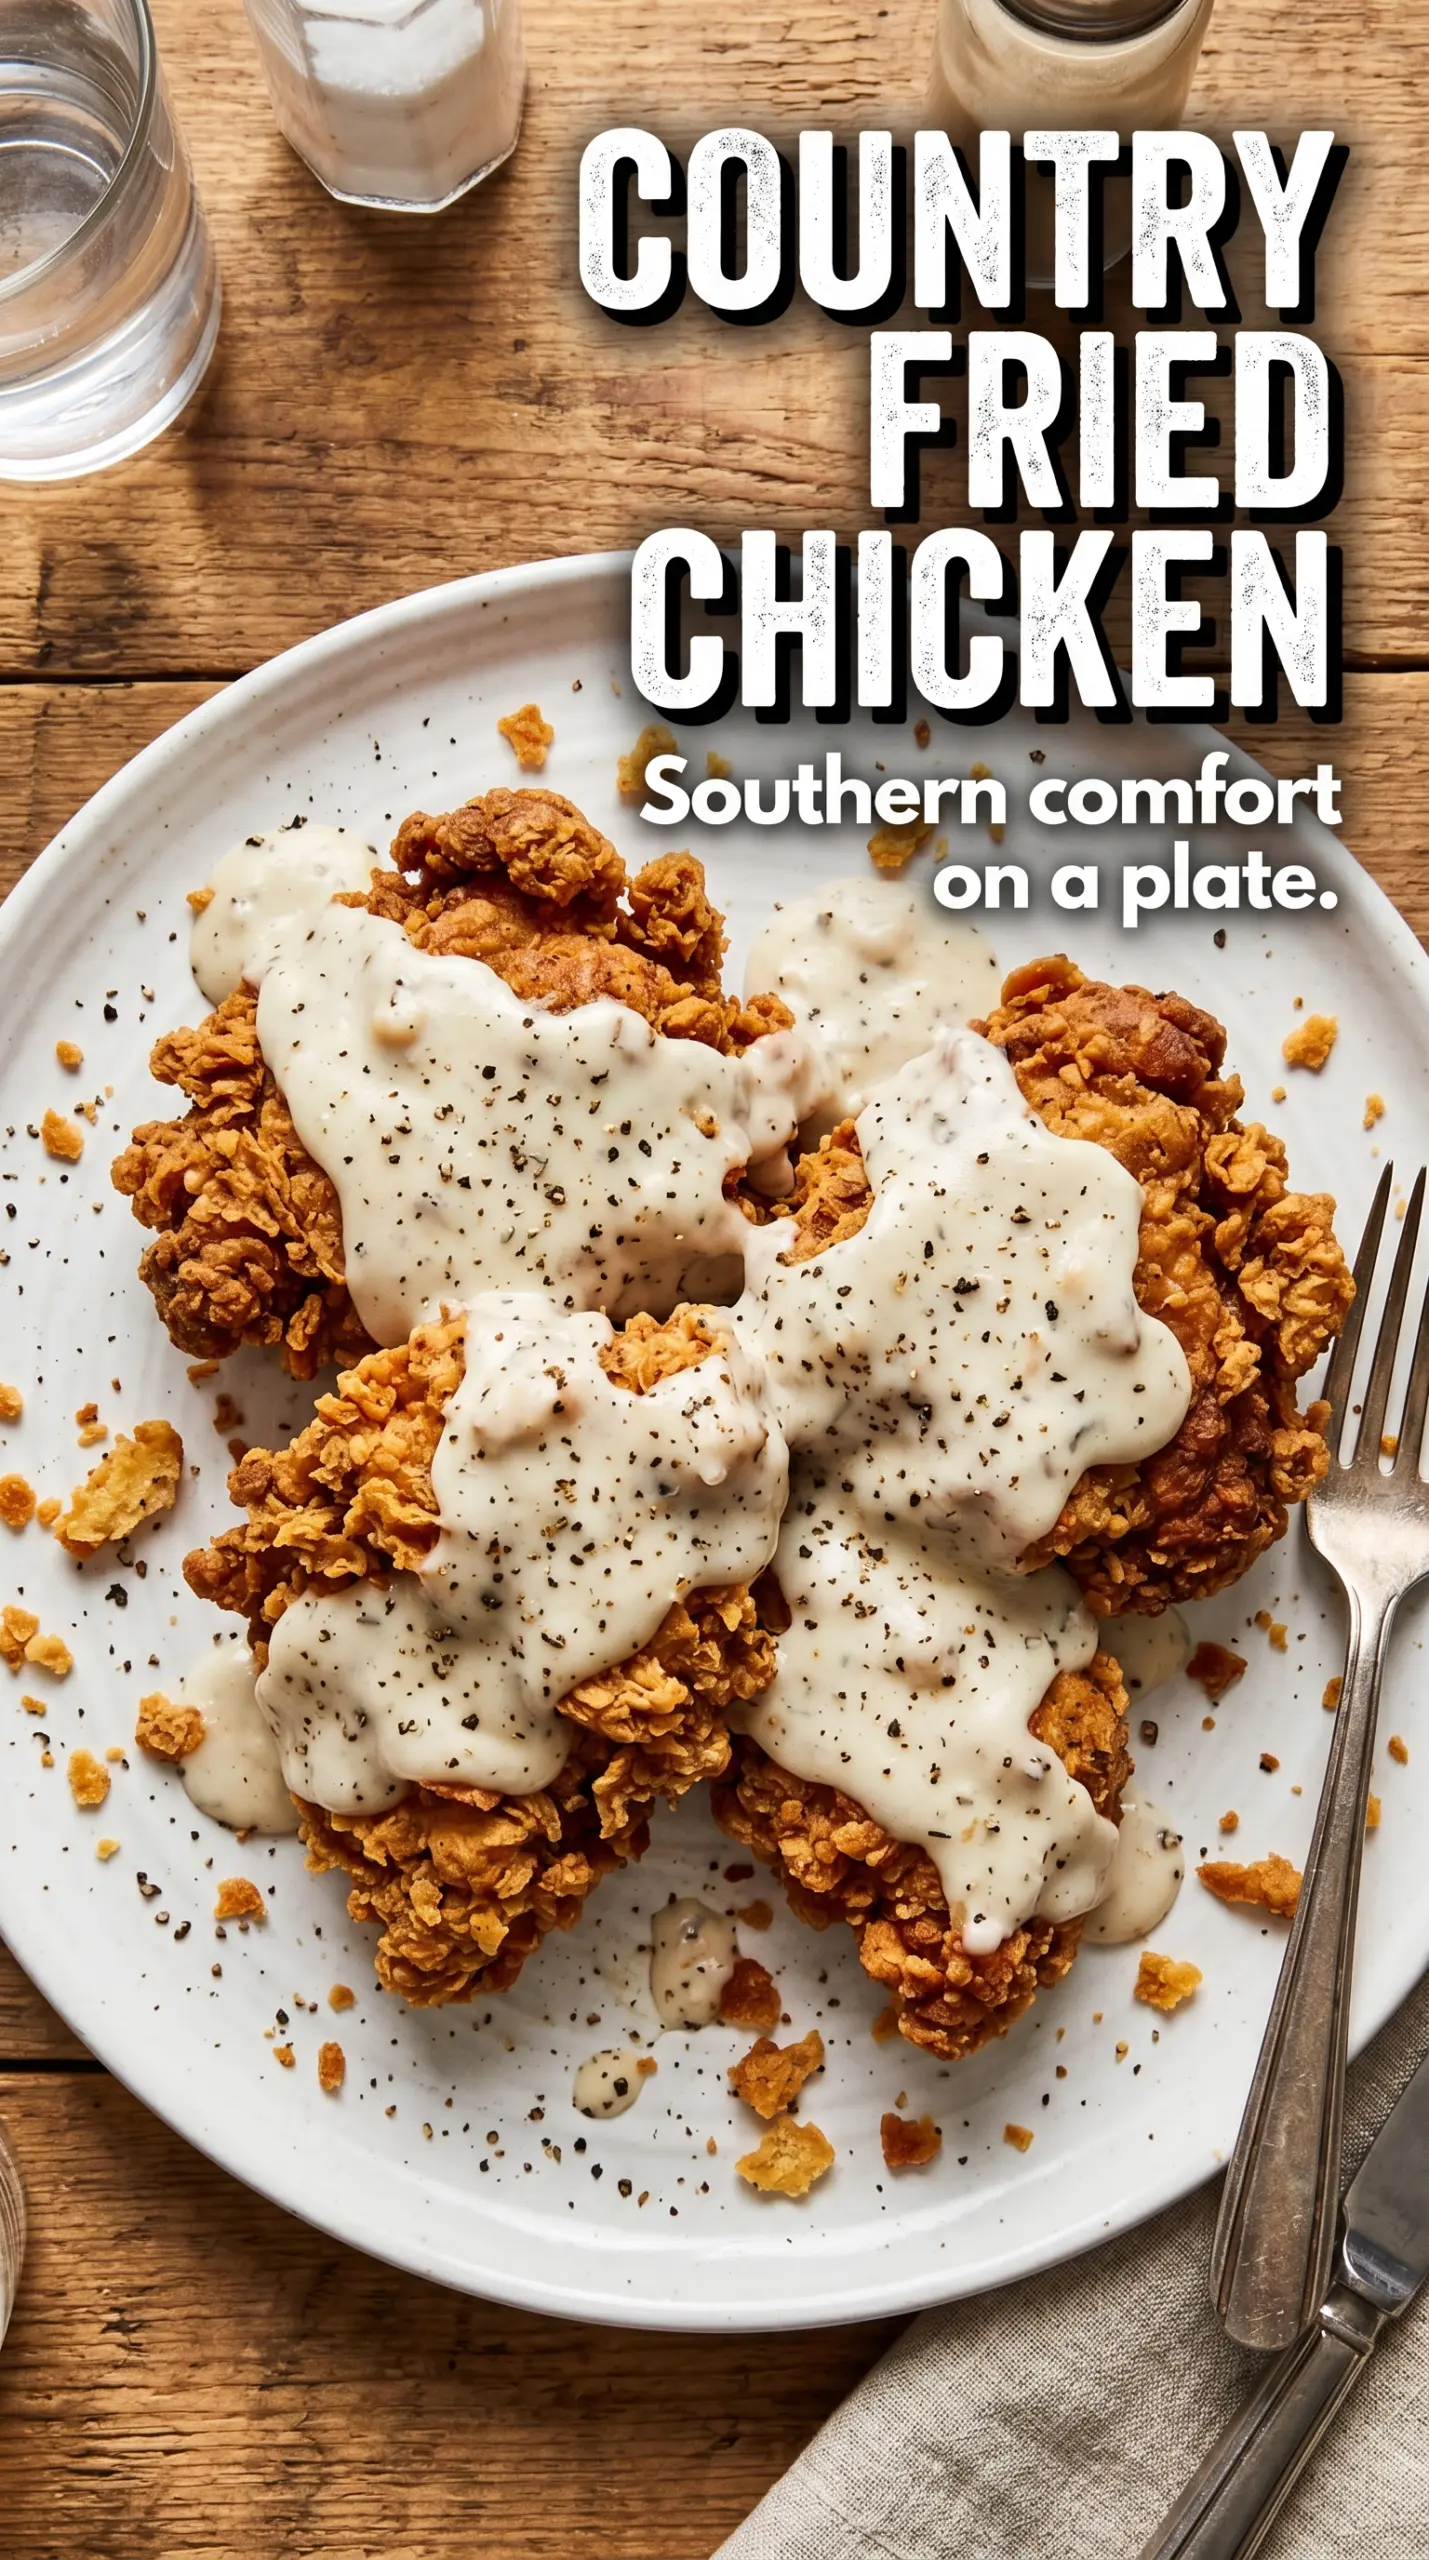
Country fried chicken lands with the kind of crust that crackles when you cut into it and a center that stays juicy instead of drying out under all that heat. The coating is thick, craggy, and deeply seasoned, which matters here because this dish needs enough flavor to stand up to the creamy white gravy spooned over the top.
The buttermilk soak does more than tenderize. It helps the flour cling in a rough, rugged layer that fries into those little ridges and shards everyone wants. A double dredge gives the coating its heft, while a steady 350°F oil temperature keeps the crust from going greasy before the chicken cooks through.
Below, you’ll find the timing that keeps the breading on the chicken instead of in the pan, plus the small gravy detail that makes the whole plate come together cleanly.
The crust stayed on beautifully and the gravy thickened right in the pan. I used thighs, and they were juicy with that peppery coating my husband kept picking at before dinner.
Like this country fried chicken? Save it to Pinterest for the nights when you want a shatteringly crisp crust and creamy gravy on the same plate.
The Coating Needs Space to Fry, Not Steam
Most fried chicken goes wrong before it ever hits the oil. If the chicken is coated too heavily with wet buttermilk, the flour turns pasty and slides off. If the oil isn’t hot enough, the crust absorbs fat instead of setting, and you end up with a dull, heavy coating instead of that crisp shell that shatters cleanly.
The fix is simple and it matters: let the excess buttermilk drip off, then press the flour on firmly so it grabs in uneven layers. That rough surface is what fries into crunch. Fry in batches with enough space around each piece, because crowded chicken drops the oil temperature fast and softens the crust before the inside finishes cooking.
What Each Ingredient Is Actually Doing Here
- Buttermilk — This is what gives the chicken its tender bite and helps the flour cling. If you don’t have it, mix whole milk with a spoonful of vinegar or lemon juice and let it sit for 10 minutes, but the coating won’t be quite as tangy or thick.
- Hot sauce — It doesn’t make the chicken taste spicy-hot; it wakes up the seasoning in the marinade and adds a little background heat. The amount here is small enough to disappear into the buttermilk, not dominate it.
- Garlic powder, onion powder, smoked paprika, cayenne, black pepper — These build the coating’s main flavor. Smoked paprika gives the crust that deeper golden-red color and a hint of smoke, while cayenne keeps the seasoning from tasting flat after frying.
- Bone-in chicken pieces — Bones help protect the meat from drying out during frying. Thighs are the most forgiving, but bone-in breasts work well if you stop cooking when they reach 165°F and don’t let them sit in the oil a minute longer than needed.
- Whole milk for the gravy — The gravy wants the fat and body of whole milk. Lower-fat milk works, but it makes a thinner sauce that takes longer to thicken and won’t coat the chicken the same way.
Getting the Crust Crisp Before the Chicken Overcooks
The Buttermilk Soak
Submerge the chicken in buttermilk and hot sauce for at least 30 minutes so the surface relaxes and takes on seasoning. Overnight is even better if you’re planning ahead. If the chicken goes into the flour straight from the fridge, let the excess drip off for a moment so the coating doesn’t turn gummy at the edges.
The Double Dredge
Whisk the flour and spices in a shallow dish, then press each piece in firmly, turning and patting so the flour clings in thick, uneven bits. Dip it back in the buttermilk and dredge again for extra crunch. The goal is not a smooth shell; the ridges are what fry into those crisp, craggy edges.
Frying to the Right Color and Temperature
Heat the oil to 350°F and keep it there. If the oil smokes, it is too hot and the outside will brown before the inside cooks. Fry the chicken until it is deeply golden and the thickest part reaches 165°F, turning as needed for even color. Pull it when it hits temperature, because carryover heat will finish the job while the coating stays crisp.
Making the White Gravy in the Same Pan
Use the pan drippings for the gravy instead of starting from scratch. Whisk the flour into the fat and cook it for about a minute so it loses the raw taste, then add the milk slowly while whisking. If the gravy looks lumpy, the milk went in too fast or the heat was too high; keep whisking over medium until it smooths out and thickens to a pourable cream.
Buttermilk Brined With a Buttermilk Substitute
If you don’t have buttermilk, use whole milk with 2 tablespoons vinegar or lemon juice per cup and let it stand for 10 minutes. It will still tenderize and help the coating stick, but the flavor will be a little less tangy and the marinade thinner, so don’t expect quite the same cling.
Oven-Finished for Thicker Pieces
If your chicken pieces are especially large, fry them until the coating is set and golden, then finish them on a wire rack in a 375°F oven. That keeps the crust from overbrowning while the center catches up, which is safer than leaving them in the oil long enough to darken the breading.
Gluten-Free Coating
A cup-for-cup gluten-free flour blend can work here, especially one that already contains a little starch. The crust will be a touch more fragile and less flaky than all-purpose flour, but the same double dredge and proper oil temperature still give you a crisp result.
Storage and Reheating
- Refrigerator: Store leftovers for up to 3 days. The crust softens in the fridge, especially once gravy is added.
- Freezer: The fried chicken can be frozen, but the coating won’t stay as crisp after thawing. Freeze pieces on a tray first, then wrap tightly and reheat from thawed for the best texture.
- Reheating: Reheat on a wire rack in a 375°F oven until hot and crisp again. The mistake is microwaving it, which turns the crust leathery and pushes moisture into the breading.
Answers to the Questions Worth Asking
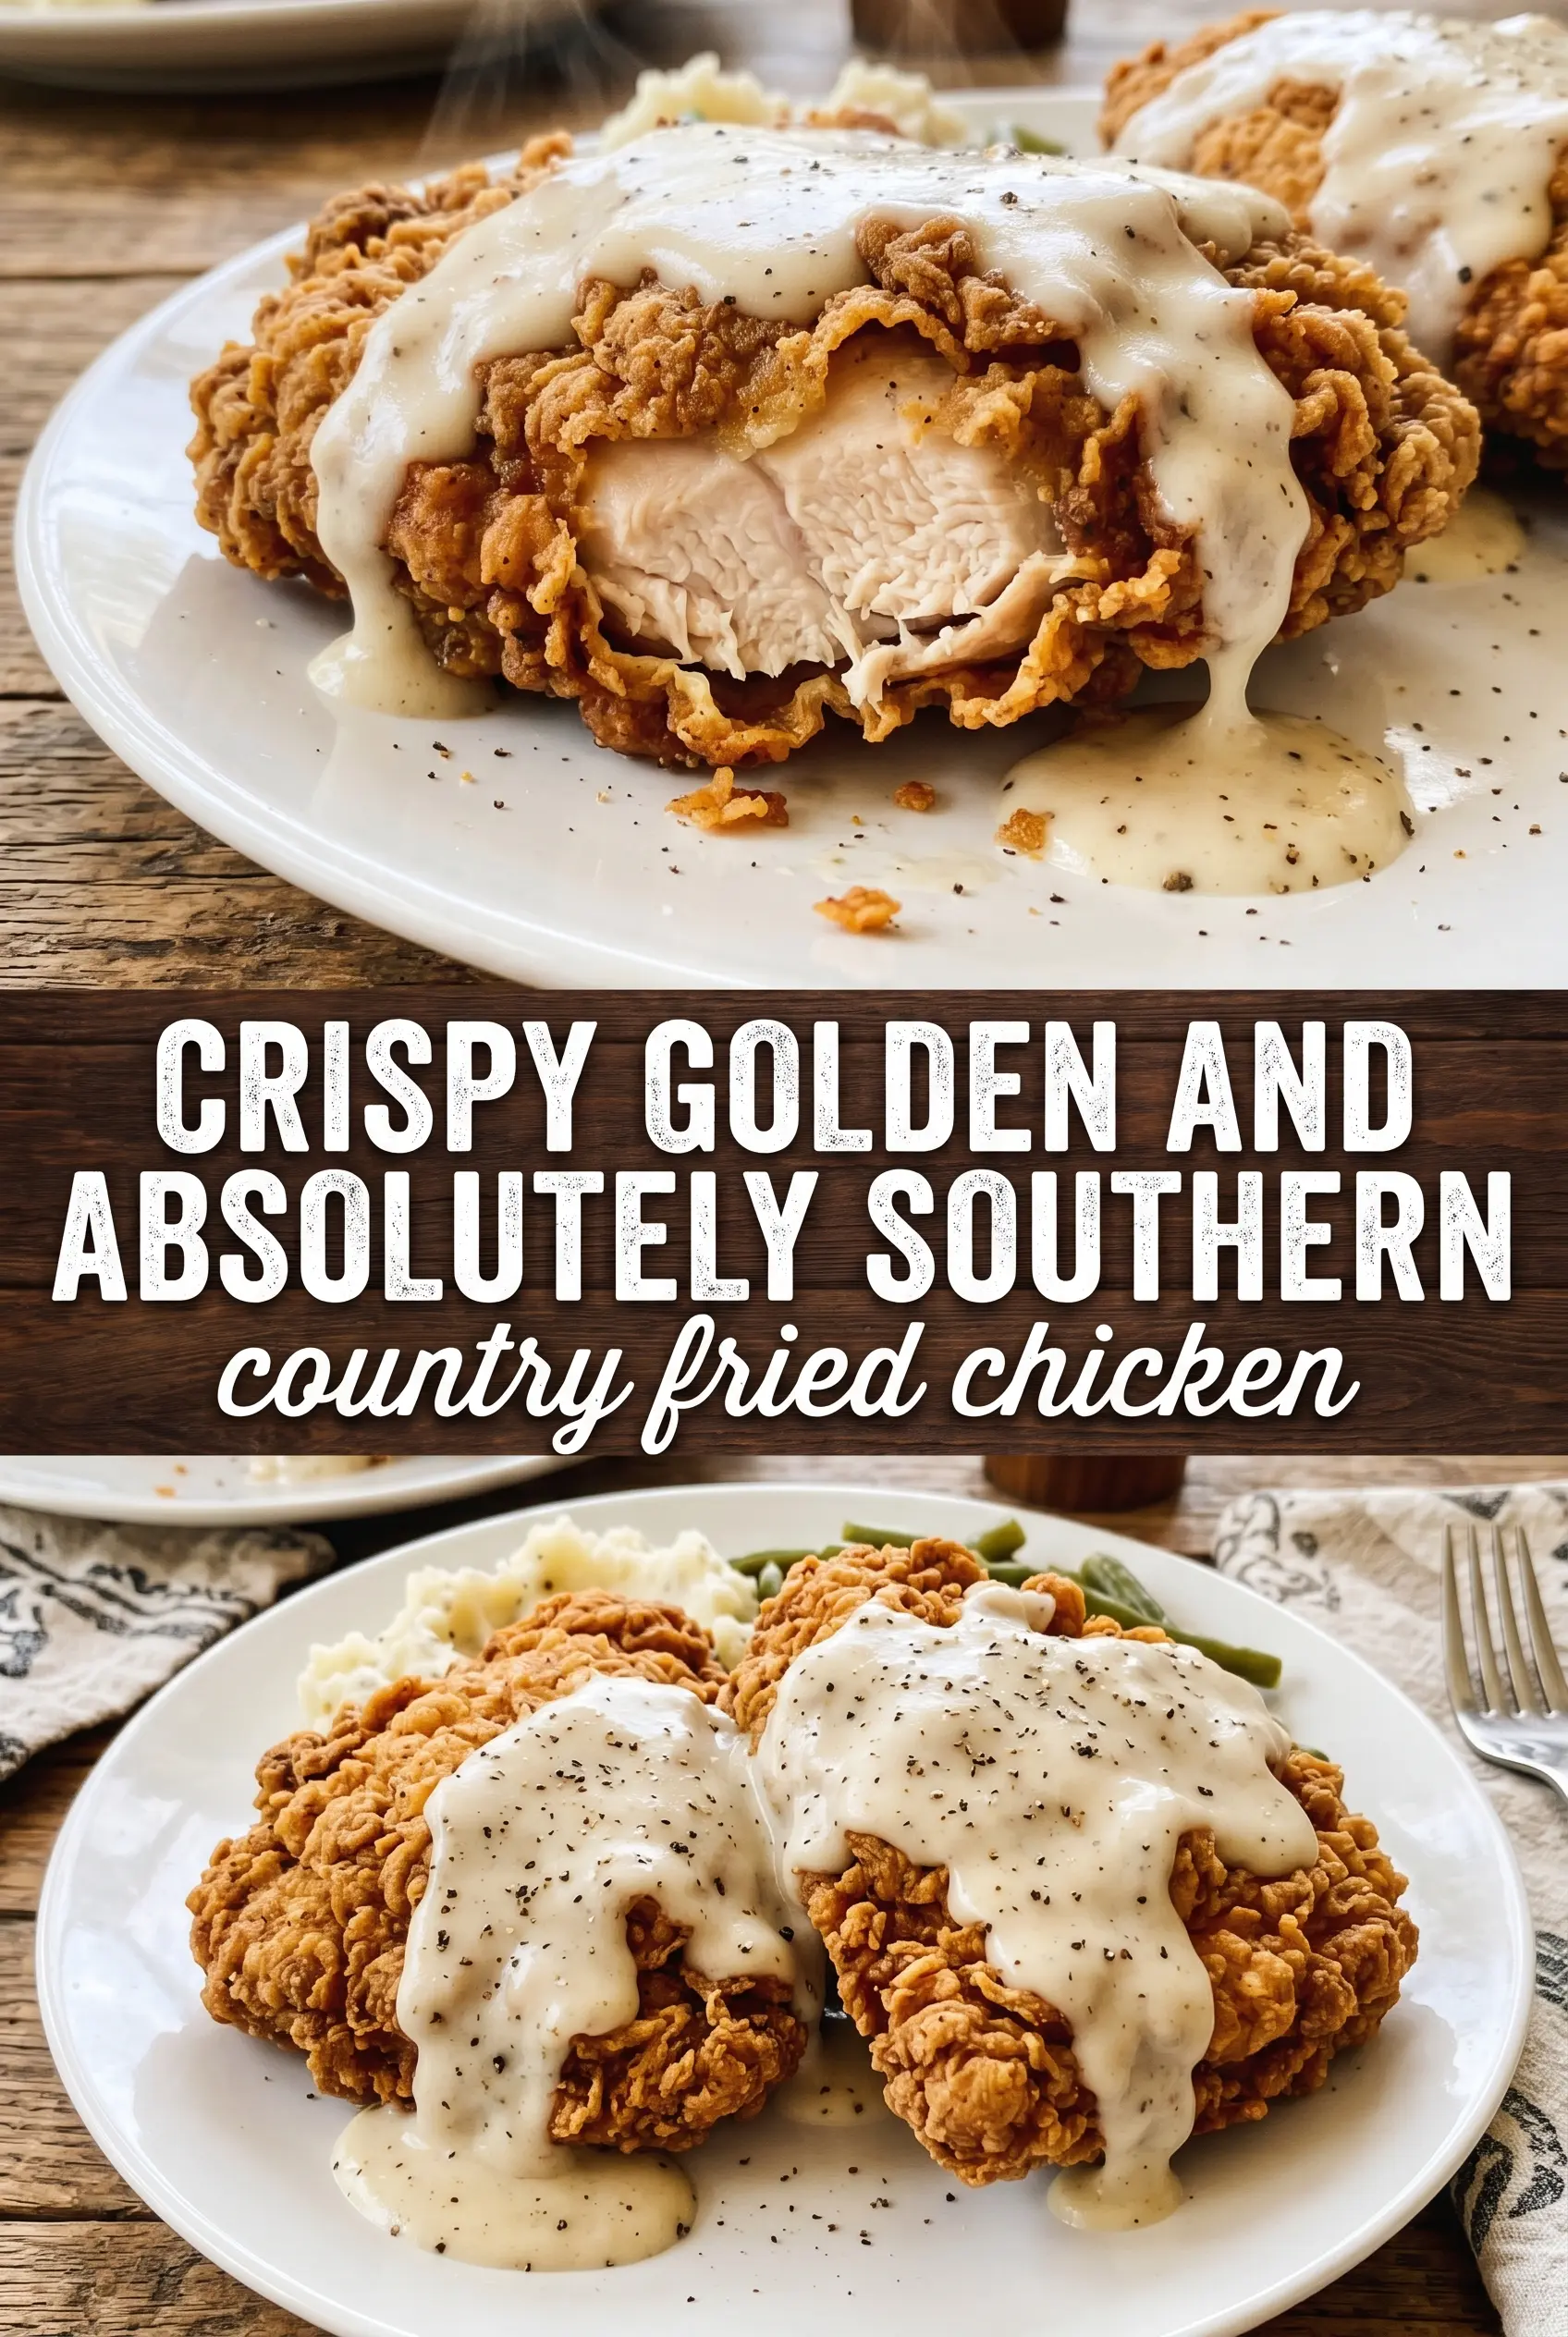
Country Fried Chicken
Ingredients
Equipment
Method
- Soak the chicken pieces in buttermilk and hot sauce for at least 30 minutes or overnight in the refrigerator.
- Whisk all seasoned flour coating ingredients together in a shallow dish until evenly combined.
- Remove chicken from the buttermilk, letting excess drip off, then dredge firmly in the seasoned flour.
- Repeat the dip-and-dredge cycle for extra crunch, pressing the coating to help it adhere.
- Heat 2-3 inches of oil to 350°F in a large cast iron skillet.
- Fry the chicken for 10-12 minutes per side until deeply golden and the internal temperature reaches 165°F.
- Transfer chicken to paper towels to drain briefly so the coating stays crisp.
- Whisk pan drippings and flour in a skillet over medium heat for 1 minute.
- Gradually whisk in whole milk and cook until thickened, stirring to prevent lumps.
- Season the gravy with salt and pepper to taste.
- Serve chicken immediately with white gravy poured over the top.