Golden breaded chicken, bubbling mozzarella, and penne coated in marinara make this chicken Parmesan pasta feel like the best parts of two comfort foods in one pan. The chicken stays crisp enough to give each bite some texture, while the pasta underneath catches the sauce and cheese so nothing tastes separate or plain.
What makes this version work is the order. The chicken is cooked first so it can brown properly instead of steaming in the oven, and the pasta gets tossed with sauce before it ever goes into the baking dish. That keeps the noodles from drying out and gives the cheese something saucy to melt into instead of sitting on top of a dry pan.
Below, I’ll walk through the part that matters most: keeping the chicken crisp, the pasta saucy, and the cheese melted without turning heavy. There’s also a useful note on what to do if you want to make it ahead or swap in a different pasta shape.
The chicken stayed crisp even after baking, and the pasta picked up just enough sauce without getting watery. I used a little extra basil on top and my husband went back for seconds before I even sat down.
Save this chicken Parmesan pasta for the nights when you want crispy chicken, saucy penne, and a bubbling mozzarella top without a pile of dishes.
The Part Where Chicken Stays Crisp Instead of Turning Soggy
The biggest mistake with chicken Parmesan pasta is treating the chicken and the pasta like they can be cooked all together from the start. They can’t. Breaded chicken needs direct heat in the skillet first so the coating can set and brown. If you skip that step or crowd the pan, the breading softens before it ever has a chance to turn into the crisp shell that makes this dish worth eating.
The second thing that matters is moisture control. The pasta should be cooked just to al dente, because it keeps softening once it hits the sauce and goes into the oven. If it starts too soft, the finished dish turns heavy fast. You want the pasta to hold its shape under the cheese and still have a little bite at the center.
- Pan-frying the chicken first gives you the browned crust that survives the bake. Don’t rush this step by turning the heat too low; you want the coating to color before the chicken dries out.
- Cooking the pasta separately keeps the sauce from turning starchy and thick. If the noodles are underdone by a minute, they’ll finish perfectly in the oven.
- Baking only after assembly melts the cheese and brings everything together without overcooking the chicken. The oven is for finishing here, not for doing all the work.
What the Breadcrumbs, Cheese, and Marinara Are Each Doing Here
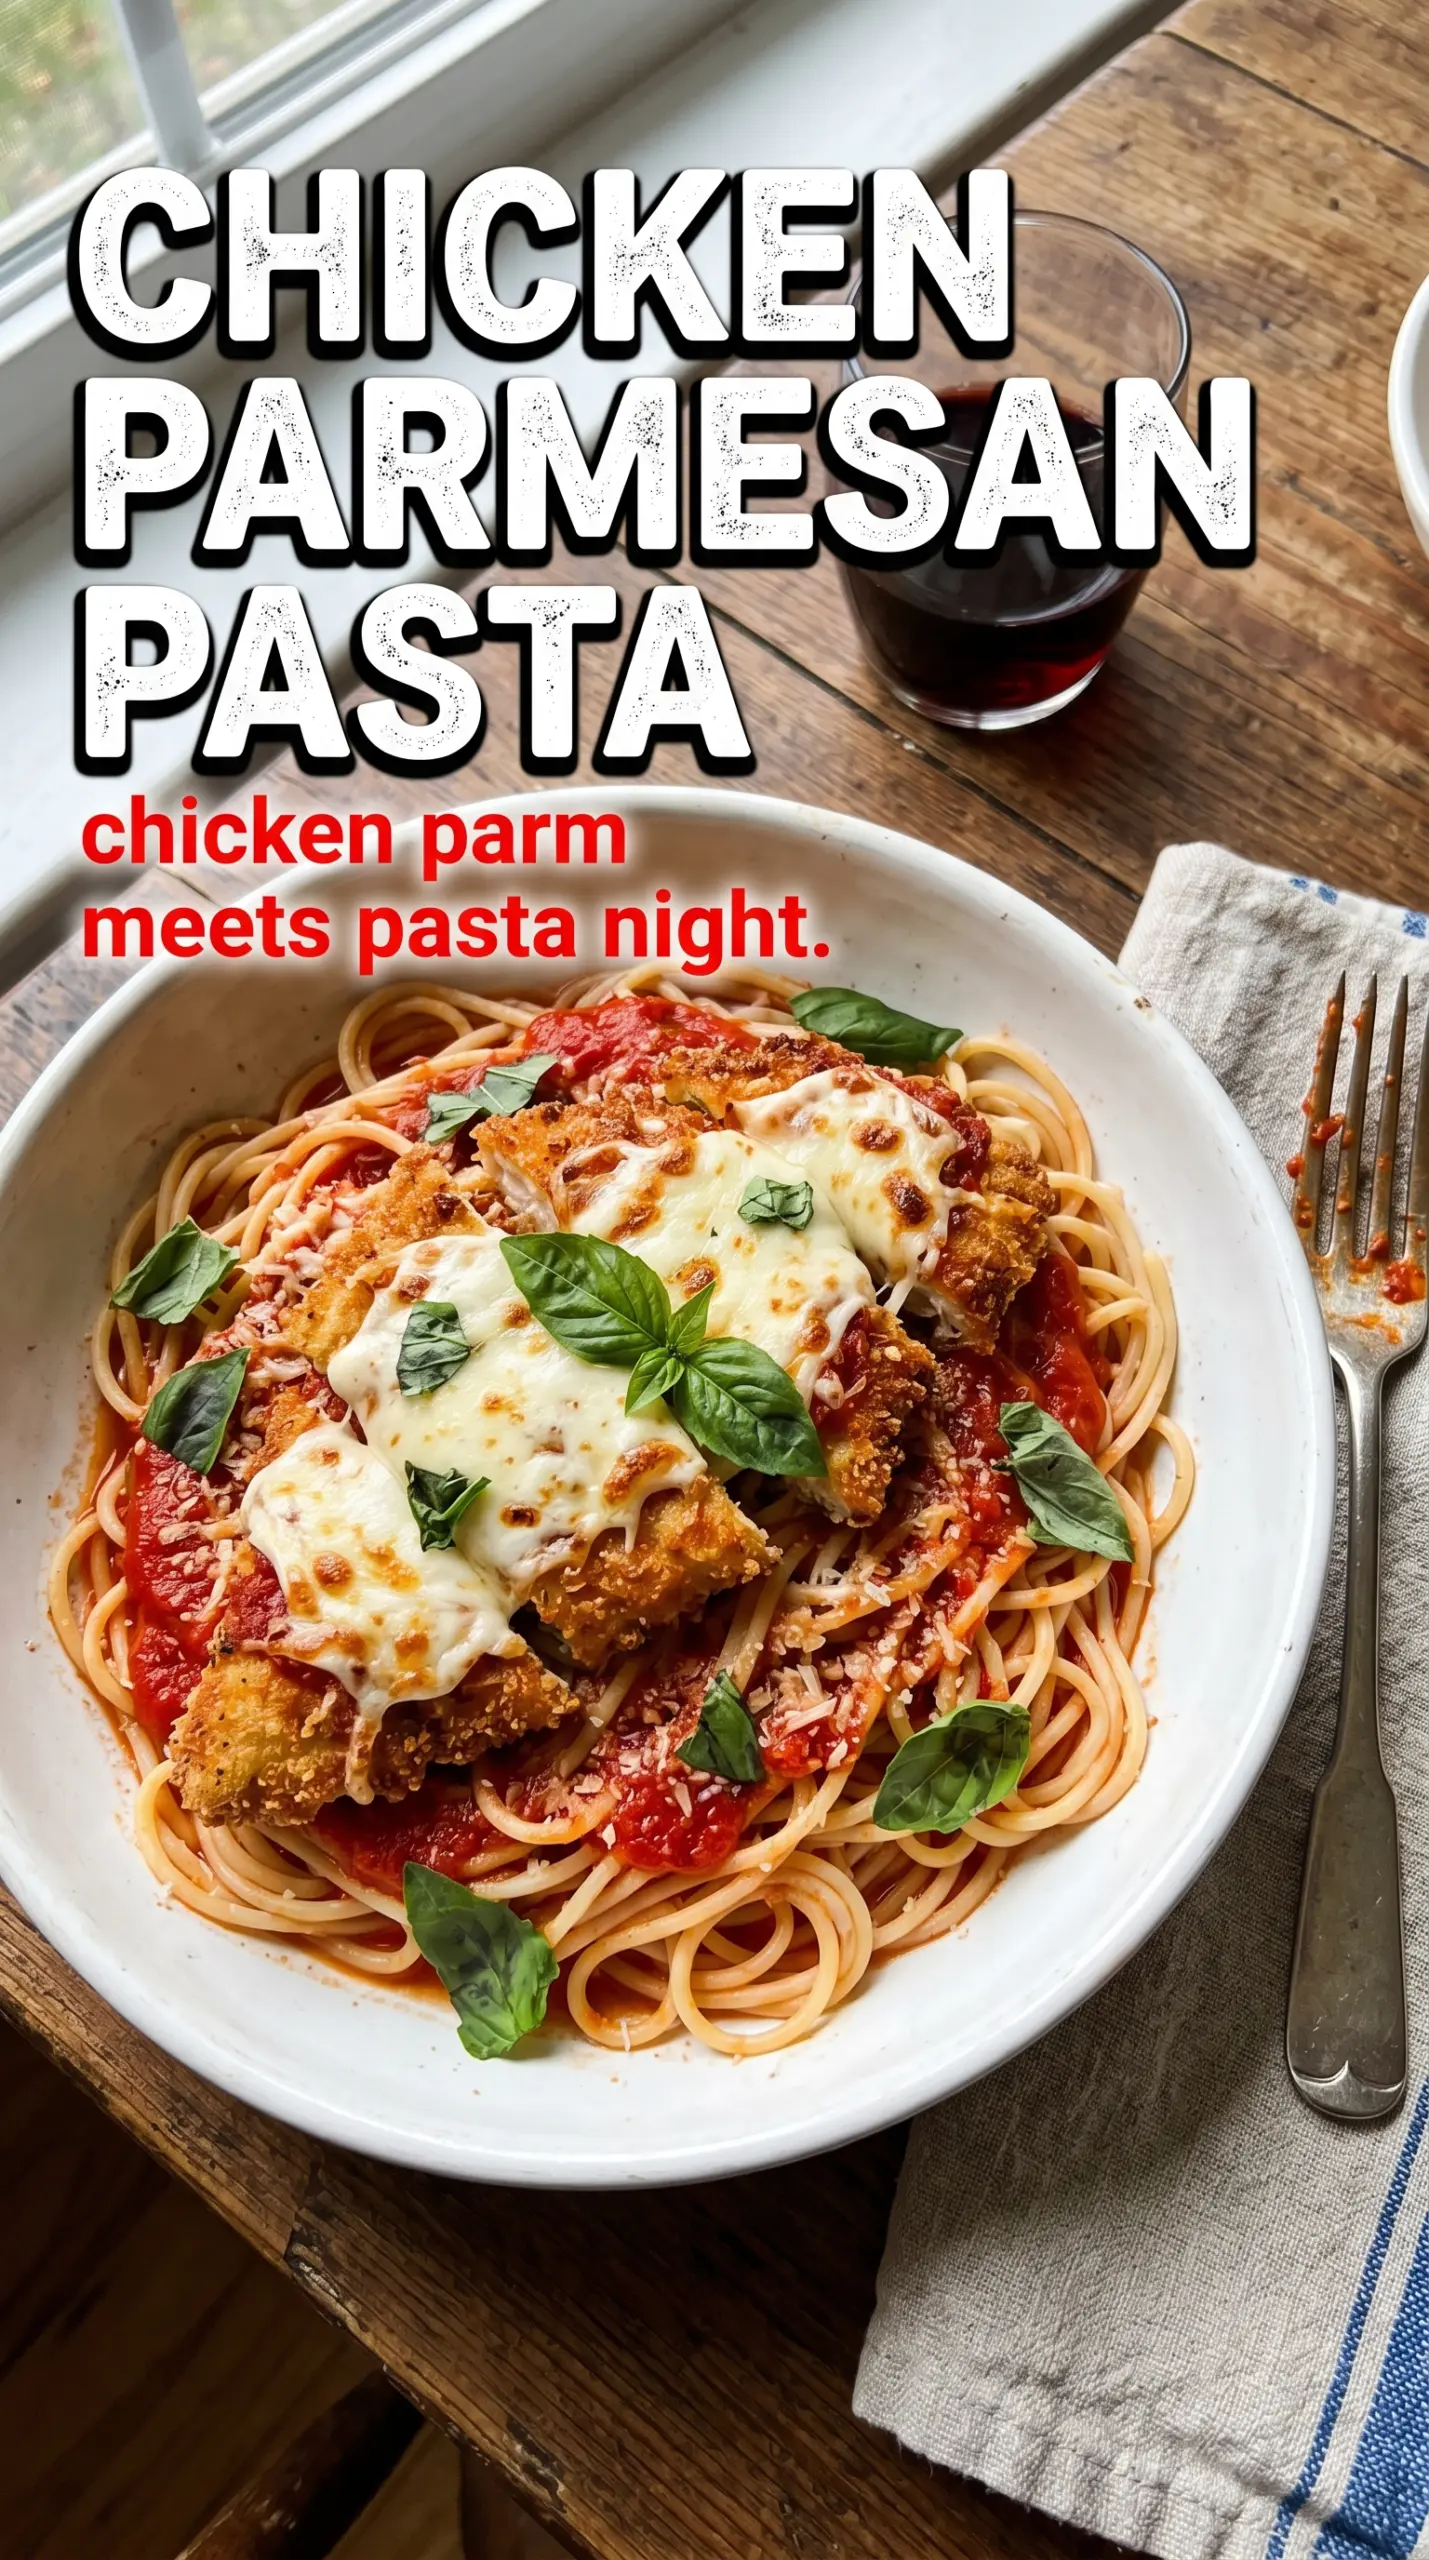
- Italian breadcrumbs bring the seasoning and the crisp outer layer. Plain crumbs work in a pinch, but they need more help from herbs and salt. If you only have plain breadcrumbs, add a little Italian seasoning and a pinch of garlic powder to the mix.
- Parmesan in the breading adds saltiness and helps the crust brown faster. Freshly grated Parmesan melts into the coating better than the shelf-stable kind, which can taste flat and gritty.
- Marinara sauce is doing the heavy lifting on moisture and flavor. Use one you’d actually eat on its own. A thin, overly sweet sauce makes the whole dish taste hollow, while a thicker marinara clings to the penne and keeps the casserole from getting watery.
- Mozzarella is there for stretch and that melted top everyone wants. Shred it yourself if you can; pre-shredded cheese often carries anti-caking agents that can slow melting and leave the top less smooth.
Building the Layers So the Casserole Bakes Up Right
Bread and Brown the Chicken
Coat the chicken pieces in flour, then egg, then the breadcrumb-Parmesan mixture so each layer has something to cling to. When the chicken hits the olive oil, it should sizzle right away. If the pan is crowded, the pieces steam and the coating slips off, so cook in batches if that’s what it takes. Pull them when they’re golden and the center is cooked through; they’ll finish in the oven, but they shouldn’t be raw when they go in.
Marry the Pasta and Sauce First
Toss the cooked penne with the marinara before it goes into the baking dish. That step matters more than it sounds like it should, because every noodle gets coated and protected from the dry heat of the oven. Spread it in an even layer in a greased 9×13 dish so the cheese melts uniformly instead of forming thick patches in the middle and bare spots at the edges.
Finish Under the Cheese
Arrange the chicken over the sauced pasta, then blanket the top with mozzarella and the remaining Parmesan. Bake just until the cheese melts, bubbles, and picks up a little color on the edges. If you leave it in too long, the chicken coating turns soft and the pasta dries out underneath, so watch for the cheese to go glossy and lightly golden, not browned and stiff.
Three Smart Ways to Adapt This Without Losing the Point
Gluten-Free Chicken Parmesan Pasta
Use a gluten-free flour blend for dredging, gluten-free breadcrumbs for the coating, and a pasta shape that holds up well in the oven. The texture will be a little less shattery than classic breadcrumbs, but you still get a crisp crust if the oil is hot and the chicken isn’t crowded in the pan.
Chicken Thigh Version for a Juicier Bite
Boneless skinless thighs work well here if you want richer flavor and a little more insurance against overcooking. Cut them into similar bite-sized pieces and keep an eye on browning, since thighs can handle a touch more time in the pan without drying out.
Make-Ahead Assembly for Busy Nights
You can fry the chicken and cook the pasta earlier in the day, then assemble and bake right before dinner. Keep the chicken uncovered in the fridge so the crust doesn’t turn damp, and toss the pasta with sauce only when you’re close to baking so it stays from getting gummy.
Storage and Reheating
- Refrigerator: Store leftovers in an airtight container for up to 4 days. The chicken coating softens a bit, but the flavor holds up well.
- Freezer: This freezes best before baking. Assemble, wrap tightly, and freeze for up to 2 months, then bake from thawed so the center heats evenly.
- Reheating: Reheat covered in a 350°F oven until hot, then uncover for the last few minutes if you want the top to re-melt. The microwave works, but it makes the breading soft fast.
Questions I Get Asked About This Recipe
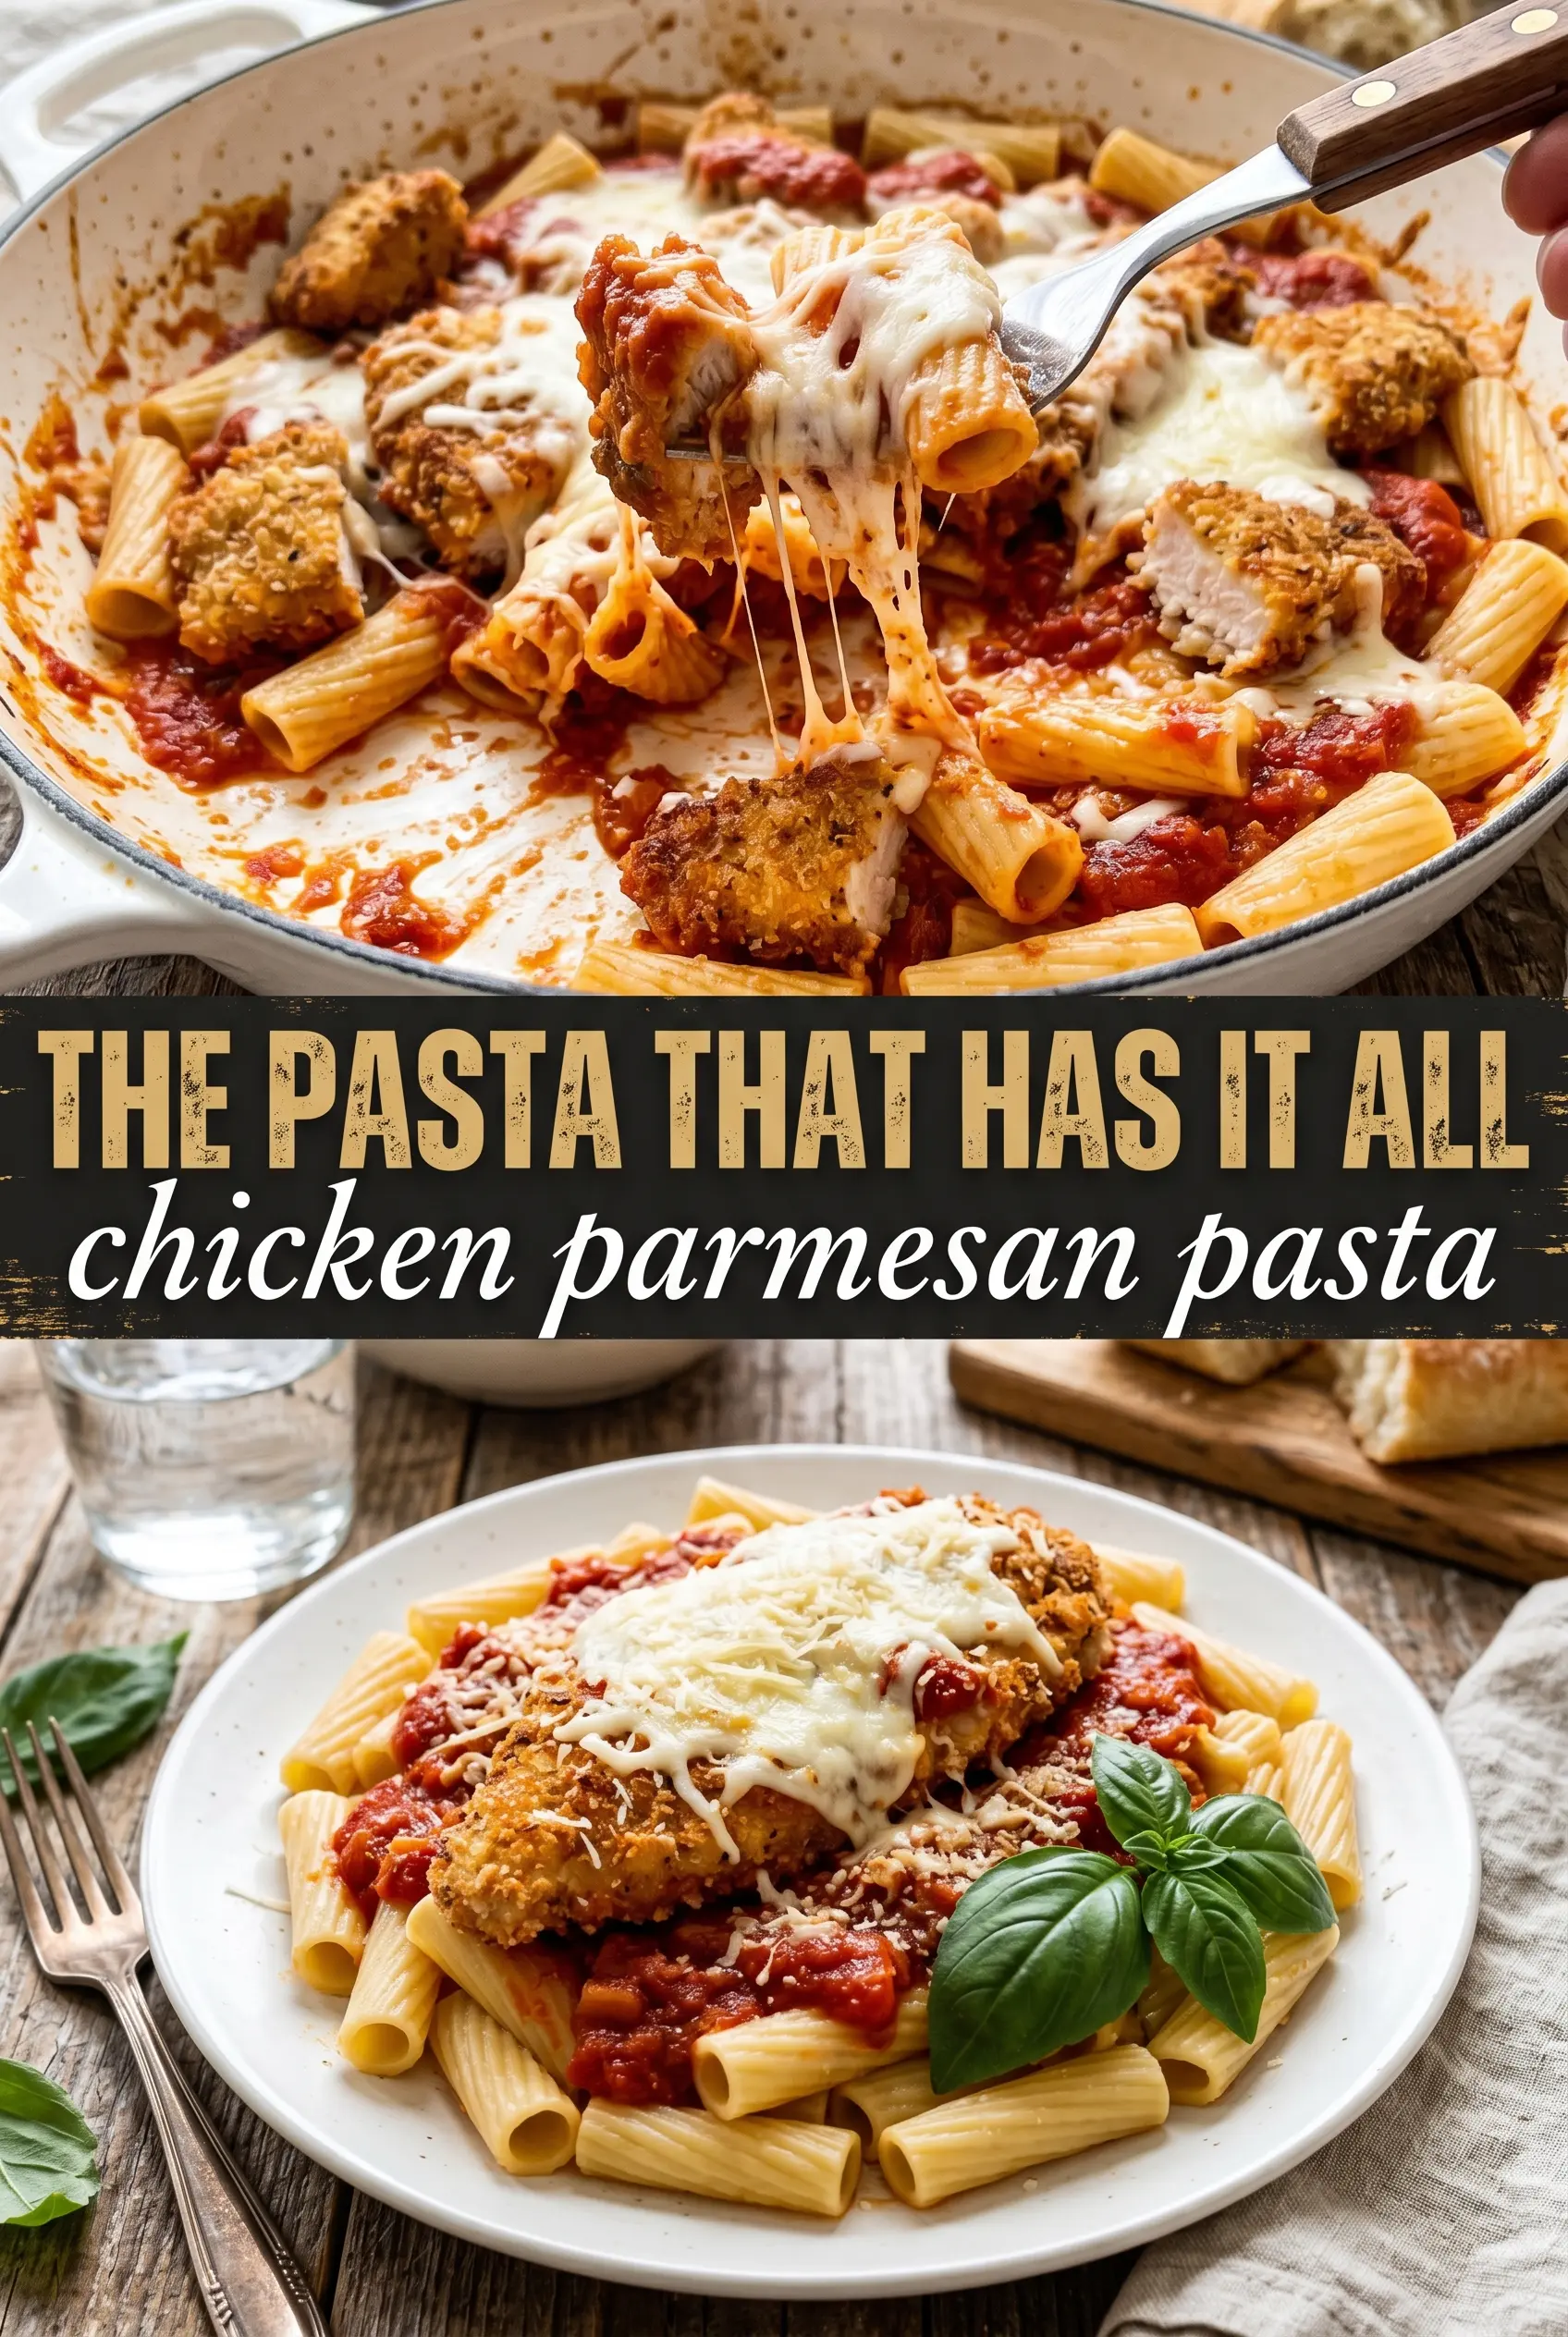
Chicken Parmesan Pasta
Ingredients
Equipment
Method
- Dredge the bite-sized chicken pieces in flour, then dip them in the beaten eggs so they’re evenly coated with no dry spots.
- Coat the egged chicken in breadcrumbs mixed with 1/2 cup grated Parmesan, pressing lightly to help the crumbs adhere.
- Pan-fry the breaded chicken in olive oil over medium-high heat for 3-4 minutes per side until golden and cooked through, then drain on paper towels.
- Toss the cooked penne with marinara sauce, then pour into a greased 9x13 baking dish to form an even layer.
- Arrange the crispy chicken pieces over the pasta so the breaded tops are visible across the surface.
- Top with shredded mozzarella and the remaining Parmesan for a bubbly, browned cheese layer.
- Bake at 375°F for 20-22 minutes until the cheese is melted and golden, with bubbling edges along the dish.
- Garnish with fresh basil immediately after baking so the flavor stays bright.