Sticky Cherry Dr Pepper BBQ Chicken hits that sweet-smoky balance that keeps people reaching for one more piece. The glaze clings to the chicken in lacquered layers, with cherry preserves giving it a deeper fruitiness than plain soda barbecue sauce ever manages. When it’s done right, the edges are browned and tacky, the meat stays juicy, and the sauce tastes bold enough to stand up to grilled chicken without turning flat or overly sweet.
The trick is building the sauce first so it can reduce before it ever touches the chicken. Dr Pepper brings spice and caramel notes, cherry preserves add body and a little tart sweetness, and apple cider vinegar keeps the whole thing from becoming candy-like. I also like to reserve part of the sauce for serving, because once the chicken goes on the grill, the glaze that hits the heat gets deeper and stickier than the sauce you start with.
Below, I’ll show you how to layer the glaze so it turns shiny instead of scorched, which cuts of chicken work best, and how to keep the sauce from burning before the chicken is cooked through.
The sauce thickened up beautifully and the cherry flavor didn’t disappear on the grill. I basted it in the last 10 minutes like the recipe said, and the chicken came off with that sticky lacquered finish we were hoping for.
Save this Cherry Dr Pepper BBQ Chicken for the nights when you want a glossy, fruit-kissed glaze with real grill flavor.
The Reason the Glaze Stays Sticky Instead of Turning Watery
The sauce has to reduce before it goes near the chicken. That’s the difference between a glossy glaze that clings and a thin, sugary mop that runs straight off the skin and burns on the grates. Simmering the BBQ sauce with Dr Pepper and cherry preserves cooks off some of the liquid while concentrating the fruit, spice, and smoke into something that can stand up to direct heat.
The other detail that matters is timing. If you brush on the sauce too early, the sugars in the preserves and soda will darken fast and can scorch before the chicken is cooked through. Start with seasoned chicken over medium heat, then layer the glaze during the last 10 minutes so each coat tightens into a shine instead of turning bitter.
What the Dr Pepper and Cherry Preserves Are Doing Here
- Dr Pepper — This does more than sweeten the sauce. The spice and caramel notes give the glaze depth, and the carbonation helps it simmer into something slightly lighter before it thickens. A regular cola can work in a pinch, but it won’t bring the same cherry-adjacent flavor or complexity.
- Cherry preserves — These are what make the sauce feel special instead of just sweet barbecue chicken. They add body, real fruit flavor, and a jammy texture that helps the glaze cling. Use a good-quality preserve if you can; the fruit flavor shows up clearly after it reduces.
- BBQ sauce — Pick one you already like on its own, because this recipe concentrates it. A smoky sauce plays best here. If your sauce is very sweet, lean harder on the vinegar to keep the glaze balanced.
- Chicken thighs and drumsticks — Dark meat holds up best on the grill and stays juicy while the sauce builds in layers. Breast meat can be used, but it cooks faster and dries out more easily, so you’ll need a closer eye on the temperature.
Building the Glaze in Layers, Not All at Once
Reducing the Sauce First
Combine the BBQ sauce, Dr Pepper, cherry preserves, vinegar, Worcestershire, and garlic powder in a saucepan and let it simmer over medium heat for about 10 minutes. You’re looking for a sauce that lightly coats the back of a spoon and looks a little shiny, not thick like jam. If it still pours like water, keep it going another few minutes, because thin sauce disappears on the grill.
Getting the Chicken Ready for the Heat
Season the chicken pieces with salt and pepper before they hit the grill. This step matters more than it looks like it should, because the glaze is mostly about surface flavor, and the chicken itself still needs seasoning underneath. Grill over medium heat so the skin renders and browns without blackening before the meat is done.
Brushing on the Final Coats
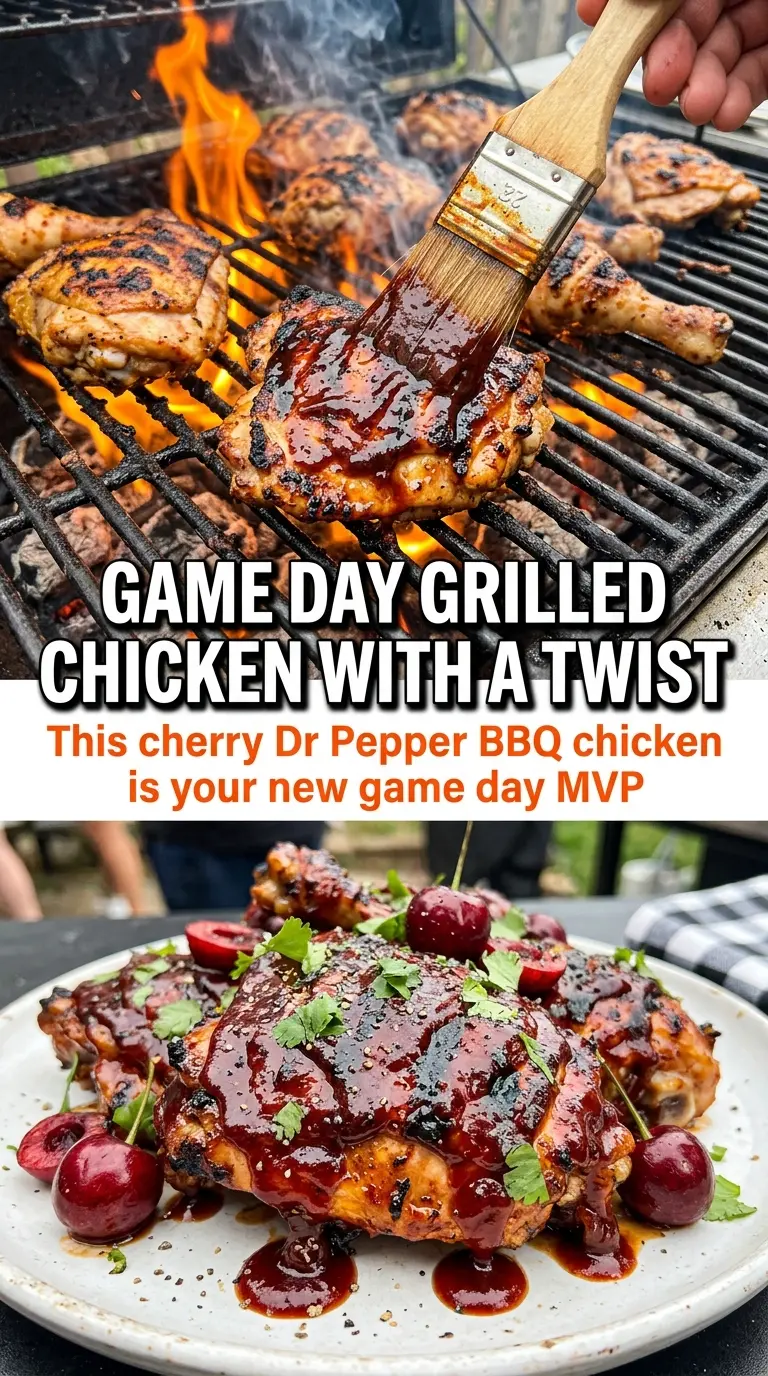
Brush the sauce on during the last 10 minutes, turning the chicken and building up two or three thin layers. Thin coats glaze better than one heavy coat, which tends to slide off and char in spots. Pull the chicken when the thickest part reaches 165°F, then let the pieces sit for a minute or two so the juices settle before you plate them.
Serving with the Reserved Sauce
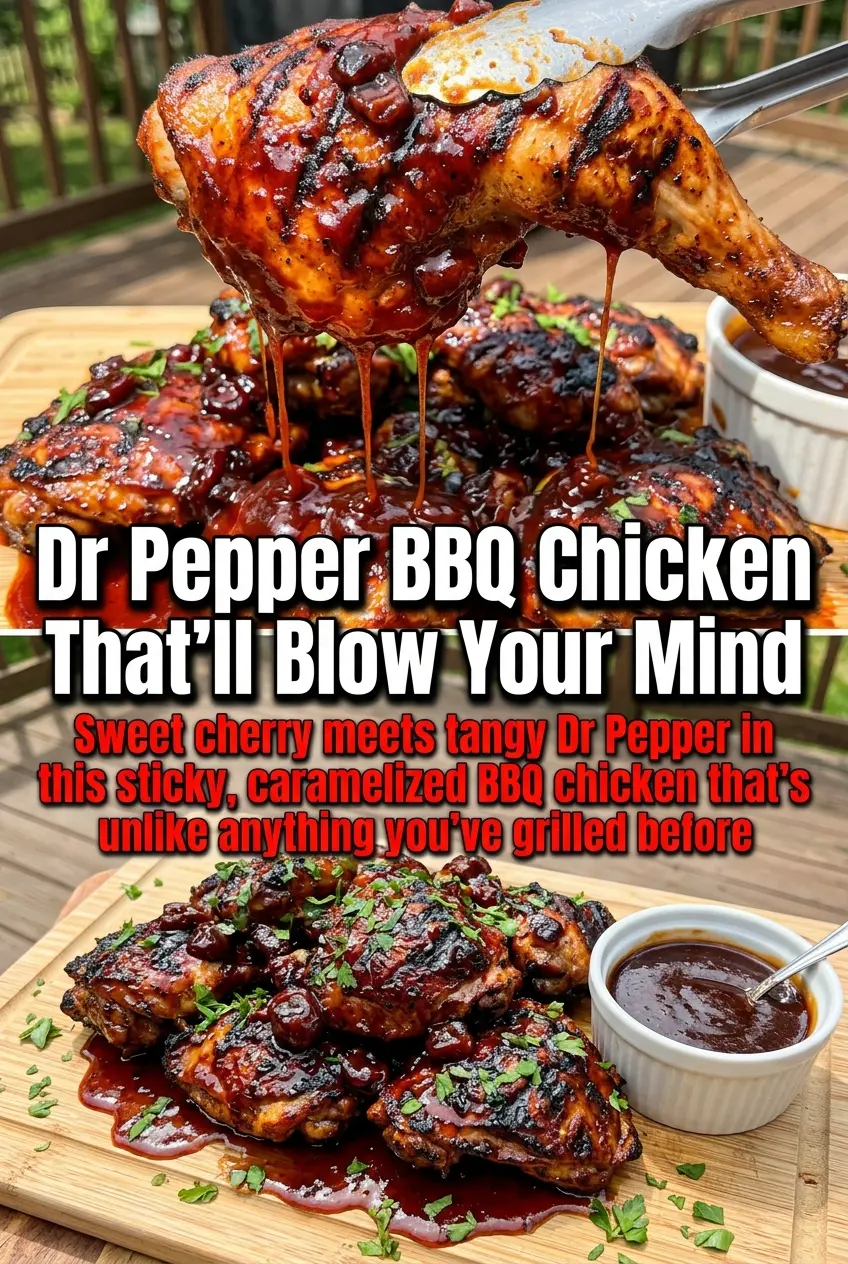
Keep the reserved sauce for the table instead of using it on raw chicken. That gives you a fresh, glossy finish over the cooked glaze and lets people add more cherry barbecue flavor without overcooking the coating. Fresh cherries on top are more than garnish here; they echo the sauce and make the whole platter look as good as it tastes.
Three Ways to Adjust the Recipe Without Losing What Makes It Good
Use boneless chicken thighs for faster weeknight cooking
Boneless thighs cook faster and still stay juicy, which makes them the easiest swap if you want the same glaze with less grill time. Start checking them early, because they’ll go from done to dry quicker than bone-in pieces. You’ll lose a little of the deep chicken flavor you get from the bone, but the sauce carries the dish well.
Make it dairy-free and gluten-free with the right BBQ sauce
The recipe is naturally dairy-free, and it can stay gluten-free if your BBQ sauce and Worcestershire sauce are labeled gluten-free. That matters because those two bottles are where hidden gluten usually shows up. The flavor stays the same, so this is an easy cleanup rather than a compromise.
Swap in cherry cola if that’s what you have
Cherry cola gives you a similar sweet-fruity base, though it usually tastes a little softer and less spiced than Dr Pepper. If the soda is sweeter than Dr Pepper, add a touch more vinegar so the sauce doesn’t turn cloying. It works well when you want the cherry note to lead.
Move it to the oven if grilling isn’t an option
Bake the chicken on a rack at 400°F until nearly done, then brush with sauce and broil briefly to set the glaze. The broiler gives you the sticky edges you’d normally get from the grill, but it moves fast, so stay close. This is the best backup when you want the same glossy finish indoors.
Storage and Reheating
- Refrigerator: Store leftovers in an airtight container for up to 4 days. The glaze will thicken as it chills.
- Freezer: Freeze cooked chicken for up to 2 months. Wrap pieces well and freeze with a little extra sauce so the surface doesn’t dry out.
- Reheating: Reheat covered in a 300°F oven until hot, or warm gently in a skillet with a spoonful of reserved sauce. High heat will dry the chicken and burn the sugars in the glaze before the middle is warm.
Answers to the Questions Worth Asking
Cherry Dr Pepper BBQ Chicken
Ingredients
Equipment
Method
- Combine BBQ sauce, Dr Pepper, cherry preserves, apple cider vinegar, Worcestershire sauce, and garlic powder in a saucepan.
- Simmer over medium heat for 10 minutes until slightly thickened, stirring occasionally, then reserve half for serving (warm and keep ready).
- Season chicken pieces with salt and pepper.
- Grill over medium heat for 20-25 minutes, turning occasionally, until cooked through and developing grill marks.
- Brush chicken generously with sauce in the last 10 minutes, building up layers of glaze with each brush for a deep mahogany sheen.
- Remove when internal temperature reaches 165°F and serve with the reserved sauce and fresh cherries.