Cheesy scalloped potatoes come out at their best when the slices turn silky and tender underneath a deeply browned, bubbling top. The magic is in the contrast: thin potato layers that soak up the cream, then a crust of Gruyere and cheddar that bakes into something sharp, nutty, and just a little crisp at the edges. When they’re done right, the spoon slides through in clean ribbons instead of collapsing into a loose pile.
This version leans on Yukon gold potatoes because they hold their shape while still going soft and velvety in the oven. The cream mixture is seasoned before it ever hits the pan, which matters more than people think; the potatoes need that flavor all the way through, not just on top. Dijon adds a quiet tang that keeps the sauce from tasting flat, and a little nutmeg gives the whole dish a warmer finish without turning it into anything you’d notice on its own.
Below, I’ve included the one baking cue that keeps the sauce from going watery and the cheese from overbrowning before the potatoes are tender. If scalloped potatoes have ever come out dry on top and undercooked in the middle, this method fixes that.
The potatoes were tender all the way through and the sauce stayed creamy instead of separating. I baked it covered first like you said, and the top came out golden without drying out the middle.
Love the golden Gruyere-and-cheddar crust on these cheesy scalloped potatoes? Save it to Pinterest for the next time you need a creamy potato side that bakes up rich, tender, and deeply browned.
The Part Most Scalloped Potatoes Get Wrong: Heat and Coverage
The biggest mistake with scalloped potatoes is rushing the bake with the dish uncovered too soon. Potatoes need steady heat and trapped steam at the start so the slices soften all the way through before the top has a chance to brown. If you skip that covered phase, the top can look finished while the center still feels firm and chalky.
Pressing the potatoes down into the cream matters too. Those top slices should be mostly submerged before the foil goes on. If they’re sitting high and dry, they’ll bake unevenly and you’ll lose that creamy, layered texture that makes the dish worth serving.
- Foil-covered baking — This is what cooks the potatoes through without scorching the cheese. The foil traps moisture, which keeps the cream from reducing too fast and gives the starch time to soften.
- Thin, even slices — A mandoline helps, but a sharp knife works if you keep the slices close to the same thickness. Uneven slices mean some pieces turn mushy while others stay firm.
- Yukon gold potatoes — They hold together better than russets and give the finished dish a creamier bite. Russets can work in a pinch, but they break down more and make the texture softer and less tidy.
What Each Ingredient Is Actually Doing in the Dish

- Yukon gold potatoes — These are the backbone of the recipe. They stay intact in the oven and turn buttery without needing a lot of extra fat.
- Heavy cream and whole milk — The cream gives richness, while the milk keeps the sauce from feeling heavy. You can swap in half-and-half for the milk, but don’t replace both with lighter dairy or the sauce will thin out too much.
- Gruyere — This cheese melts into a smooth, nutty layer and browns beautifully. It’s worth buying for this dish because the flavor is deeper than a mild melting cheese.
- Sharp cheddar — This brings the familiar cheesy bite and helps the top brown with more flavor. Use a block and shred it yourself if you can; pre-shredded cheese often melts less smoothly.
- Dijon and thyme — Dijon sharpens the cream just enough to keep the dish from tasting flat, and thyme cuts through the richness. Neither one should dominate, but both make the sauce taste finished instead of one-note.
- Nutmeg — A small amount rounds out the dairy and gives the sauce that classic scalloped-potato warmth. Too much will make the dish taste perfumed, so keep it at a whisper.
Building the Layers So the Center Cooks Before the Top Burns
Whisk the Cream Mixture First
Start by mixing the cream, milk, garlic, Dijon, thyme, nutmeg, salt, and pepper in a bowl before anything touches the baking dish. That way every layer gets seasoned as the liquid moves through the potatoes. If you wait to season later, the flavor stays on the surface and the middle tastes bland.
Layer and Press, Don’t Just Pour
Arrange the potatoes in overlapping rows so the slices have support and bake evenly. Once the cream mixture is in, press the potatoes down with the back of a spoon so the liquid comes up around the layers. If the top looks dry before baking, it will bake dry; the liquid needs to reach most of the surface.
Cover for the First Bake
Tightly covered foil is what turns this from a brittle casserole into scalloped potatoes with a tender center. Bake until the potatoes are almost soft when pierced with a knife, then uncover. That first long bake is doing the quiet work, and it’s the part people often cut short.
Add the Cheese at the End
Scatter the Gruyere and cheddar only after the potatoes are nearly done. If the cheese goes on from the start, it can brown too fast and turn greasy before the potatoes finish cooking. The final uncovered bake should leave you with bubbling edges, a golden top, and potatoes that yield all the way through without any resistance.
How to Adjust These Scalloped Potatoes Without Losing the Creamy Texture
Dairy-Free Version
Use full-fat canned coconut milk in place of the cream and milk, then swap the cheeses for a good dairy-free melting blend. The dish will be a little sweeter and less classic in flavor, but the coconut milk still gives enough body to coat the potatoes without turning watery.
Extra Sharp and Savory
If you want a stronger cheese flavor, replace half the cheddar with an extra half-cup of Gruyere and add a pinch more salt. This makes the top more nutty and less familiar in the best way, but keep the balance with the milk or the sauce can feel heavy.
Making It Ahead for a Crowd
You can assemble the dish up to a day ahead, cover it tightly, and refrigerate it before baking. Let it sit on the counter while the oven heats, since a cold baking dish takes longer to finish and can throw off the timing. Add a few extra minutes to the covered bake if it’s going in cold.
Storage and Reheating
- Refrigerator: Store leftovers covered for up to 4 days. The sauce will firm up as it chills, but it stays flavorful.
- Freezer: This freezes, but the cream sauce can separate a bit after thawing. Freeze in portions, tightly wrapped, if you need to, and expect a softer texture when reheated.
- Reheating: Reheat covered in a 325F oven until hot all the way through. The common mistake is blasting it uncovered in the microwave, which dries the potatoes and makes the cheese greasy.
Answers to the Questions Worth Asking
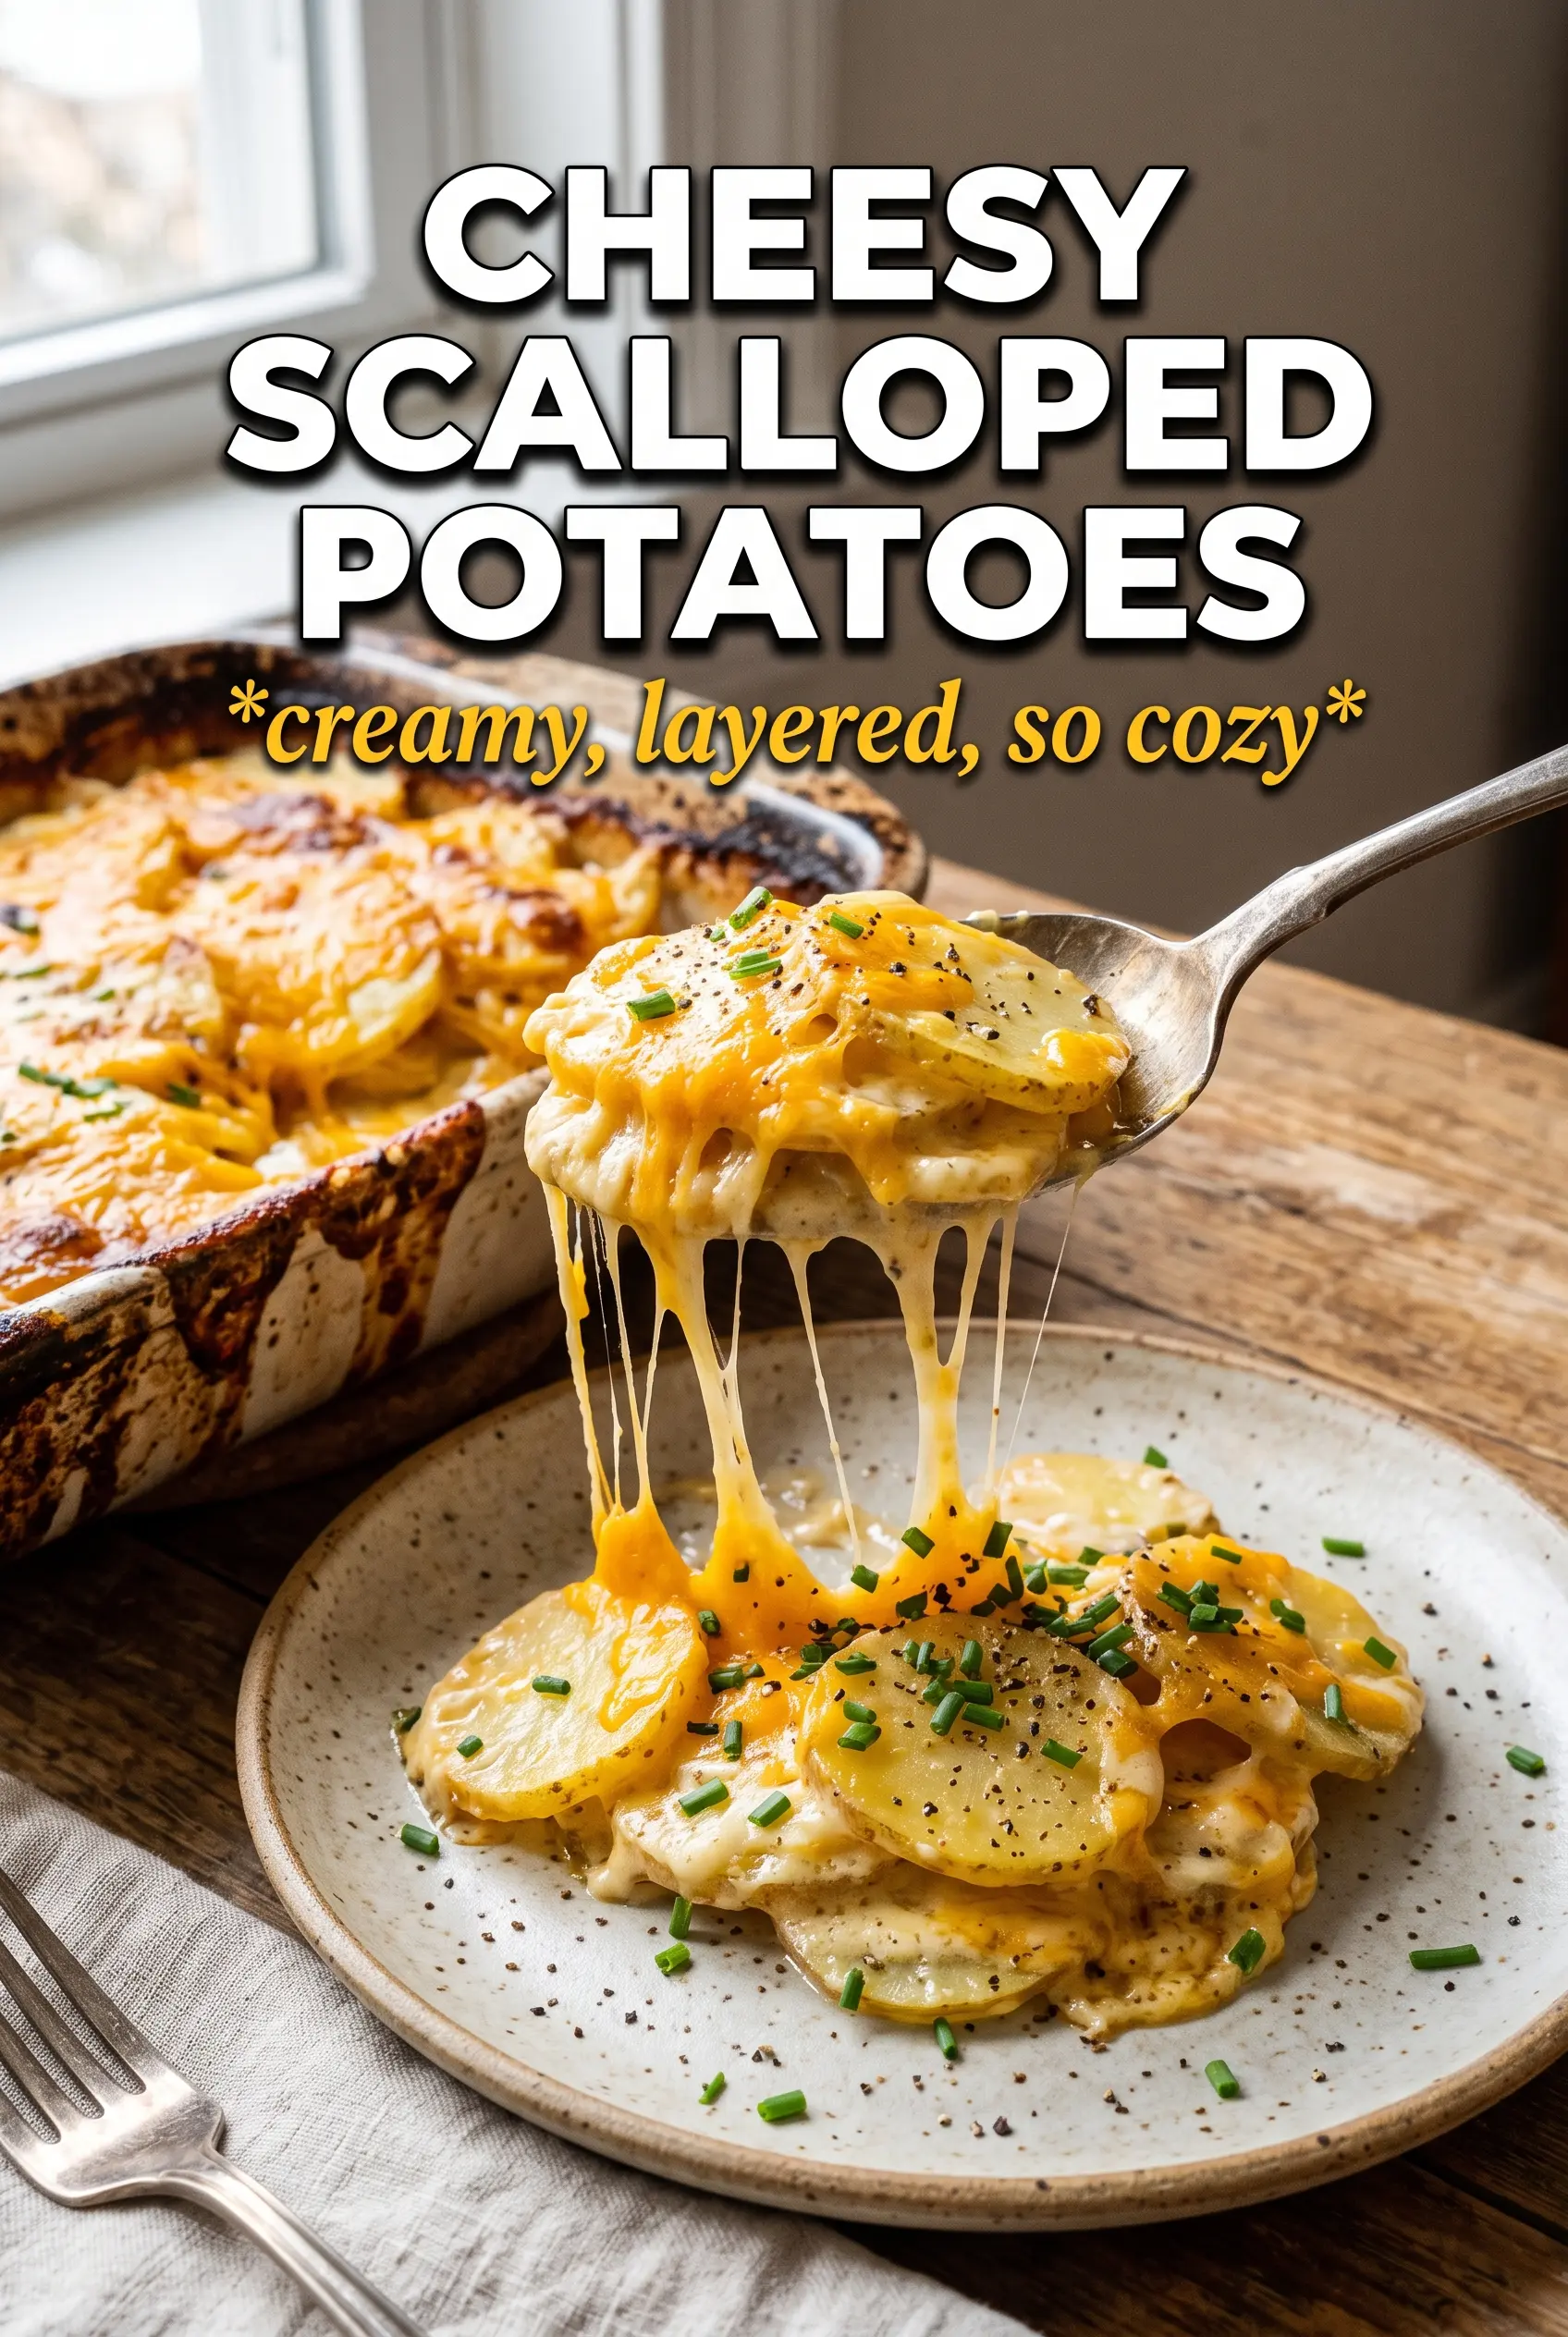
Cheesy Scalloped Potatoes
Ingredients
Equipment
Method
- Preheat the oven to 375F. Butter a 9x13 baking dish.
- Whisk cream, milk, garlic, Dijon, thyme, nutmeg, 1-1/2 teaspoons salt, and pepper until well combined. Use the mixture right away so it coats the potatoes evenly.
- Layer the potatoes in overlapping rows in the dish and pour the cream mixture over. Press the potatoes down to submerge so the top layers soften as they bake.
- Cover tightly with foil. Bake for 50 minutes at 375F so the potatoes begin to tenderize.
- Uncover and scatter both cheeses over the top. Bake 18-22 more minutes at 375F until the top is golden, bubbling, and the potatoes are completely tender.
- Rest the scalloped potatoes for 10 minutes before serving. This helps the cream sauce thicken slightly so the layers slice cleanly.