Golden tortillas, melted mozzarella, and garlicky chicken make these wraps the kind of lunch or fast dinner that disappears before you’ve even set the skillet down. The tortillas toast up crisp on the outside while the cheese melts into the chicken and holds everything together, so every bite gives you that warm, savory center with fresh romaine and tomato for crunch.
What makes this version work is the order. The chicken cooks first so it gets real color instead of steaming, then it’s tossed in garlic butter off the heat long enough for the garlic to stay fragrant instead of bitter. The final skillet toast matters too. It seals the wrap, melts the mozzarella, and gives the tortilla a clean, toasted finish that keeps the filling from sliding out the second you cut it.
Below, I’ve broken down the one part that matters most for texture, plus a few swaps that keep these wraps useful on busy nights when you need dinner to land fast.
The garlic butter on the chicken made these taste like something from a good deli, and the wrap actually stayed crisp after cutting. I used Caesar dressing and the cheese melted into the chicken perfectly.
Love the melty mozzarella and garlic butter chicken? Save these wraps for a fast skillet dinner that eats like a café sandwich.
The Trick to Keeping the Tortilla Crisp After the Fillings Go In
The wrap goes soft when the filling is too wet or too hot for too long. That’s the trap. The chicken should be juicy, not saucy, and the garlic butter needs just enough time to coat the meat without pooling in the skillet. If you load a tortilla with hot chicken straight from a wet pan, the steam has nowhere to go and the tortilla turns gummy before the cheese has a chance to bind everything together.
The skillet toast at the end fixes that, but only if the wrap is rolled tightly and placed seam-side down first. That first minute on the pan sets the shape. Once the seam is sealed, the second side gives you the golden crust and the mozzarella melts enough to act like glue instead of leaking out the cut edge.
What the Filling Ingredients Are Doing Here
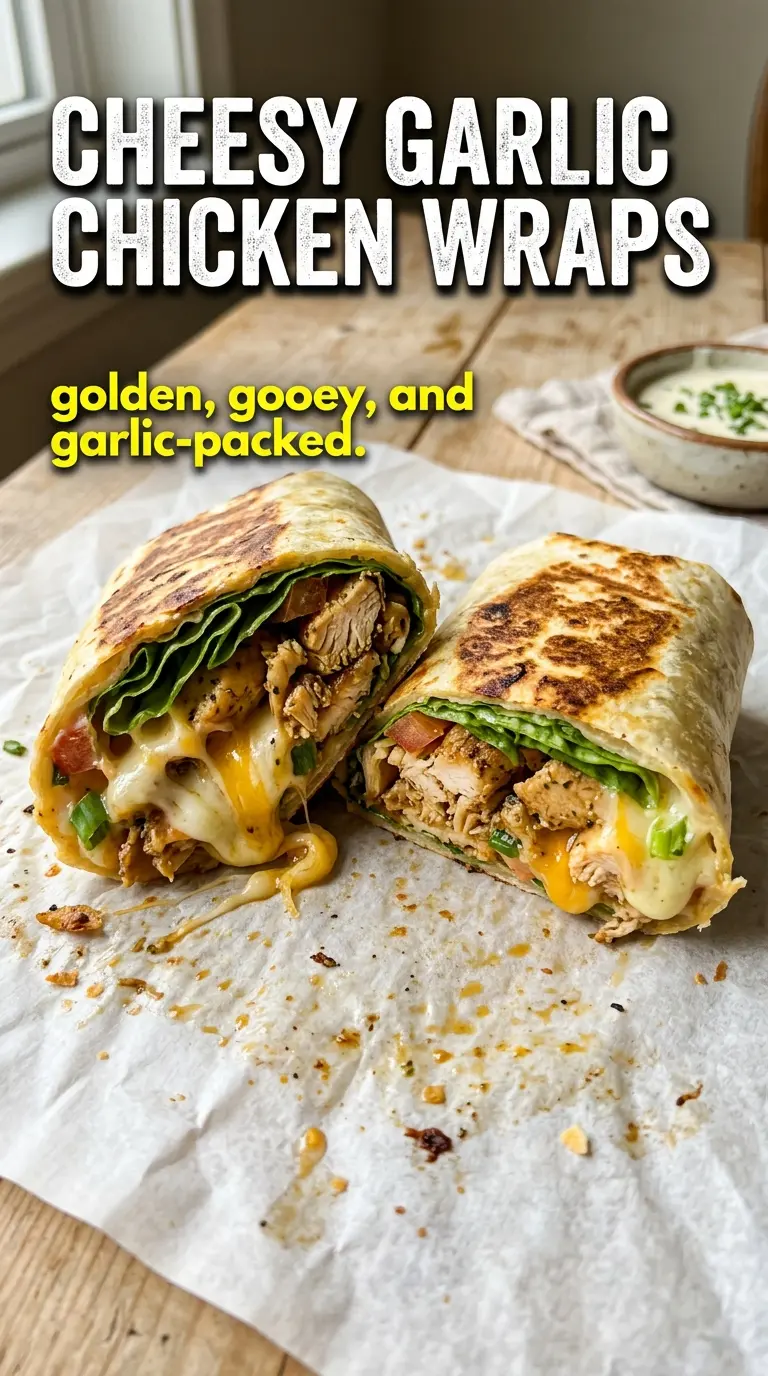
- Chicken breasts — Cut into strips, they cook quickly and stay easy to bite through inside a wrap. Chicken thighs work too if you want a little more richness, but they’ll take a minute or two longer and release a bit more fat in the pan.
- Butter and garlic — This is the flavor base, and it needs gentle heat. If the garlic browns, it turns sharp and bitter, so cook it just until fragrant and toss the chicken right away.
- Mozzarella — Freshly shredded mozzarella melts best and gives you those stretchy pockets that hold the wrap together. Pre-shredded works in a pinch, but it won’t melt as smoothly because of the anti-caking coating.
- Romaine and tomatoes — They bring crunch and freshness, but they also add moisture, so keep them on top of the cheese rather than right against the tortilla. That little barrier helps the wrap stay intact after toasting and slicing.
- Ranch or Caesar dressing — This is the creamy layer that ties the garlicky chicken to the cheese. Caesar gives you more savory depth; ranch is milder and a little more familiar. Either one works as long as you spread it thinly.
Building the Chicken, Garlic Butter, and Toasted Wrap in the Right Order
Cooking the Chicken Until It Browns, Not Steams
Season the chicken strips before they hit the pan, then cook them in butter over medium-high heat until the edges pick up color and the centers reach 165°F. If the pan looks crowded, the chicken will steam and go pale, so give the pieces room and work in batches if needed. You want golden spots on the outside and no pink in the middle. Pull the chicken out as soon as it’s done so it doesn’t dry out while the garlic butter comes together.
Making the Garlic Butter Without Burning It
Use the same skillet and lower the heat before the garlic goes in. Those browned bits from the chicken add a lot of flavor, but the garlic only needs about a minute in the leftover butter to turn fragrant. If it starts to brown, take the pan off the heat immediately. Stir the chicken back in, add the parsley, and coat everything while the butter is still glossy.
Filling and Toasting the Wrap
Warm the tortillas first so they bend instead of crack. Spread the dressing in a thin layer, then add the mozzarella before the chicken so the cheese melts directly around the warm filling. Roll the wrap tightly, place it seam-side down in a skillet, and toast until the tortilla is deeply golden and the cheese has started to ooze at the ends. Slice it too soon and the filling will spill; wait a minute after toasting if you want cleaner halves.
How to Change These Wraps Without Losing the Good Part
Dairy-Free Version
Swap the butter for olive oil or a plant-based butter, and use a dairy-free shredded mozzarella that melts well. The wrap will still toast nicely, but you’ll lose a little of the rich garlic-butter finish, so lean on the seasoning and keep the chicken well browned.
Use Chicken Thighs for a Juicier Bite
Boneless thighs bring a little more richness and stay tender even if you cook them a touch past perfect. They do release more fat, so drain off any excess before you add the garlic or the wrap can turn greasy instead of crisp.
Make It Gluten-Free
Use gluten-free tortillas that are made for folding and toasting, not the brittle kind that crack as soon as they heat up. Warm them slowly so they stay flexible, and keep the filling portion modest because smaller wraps seal better when the tortilla is a little less stretchy.
Turn It Into a Lower-Carb Bowl
Skip the tortilla and pile the garlic chicken over romaine with tomatoes, cheese, and a drizzle of dressing. You keep the same flavor and skip the skillet toast, which means the meal comes together even faster and stays lighter on the table.
Storage and Reheating
- Refrigerator: Store wrapped leftovers for up to 2 days. The tortilla softens a bit, and the lettuce loses some crunch, so these are best eaten sooner rather than later.
- Freezer: I don’t recommend freezing assembled wraps. The lettuce and tomato turn watery after thawing, and the tortilla takes on a soggy texture.
- Reheating: Warm leftovers in a dry skillet over medium-low heat until the tortilla crisps again and the center is hot. The microwave will melt the cheese, but it also makes the wrap limp, which is the fastest way to lose the texture that makes these worth eating.
Answers to the Questions Worth Asking
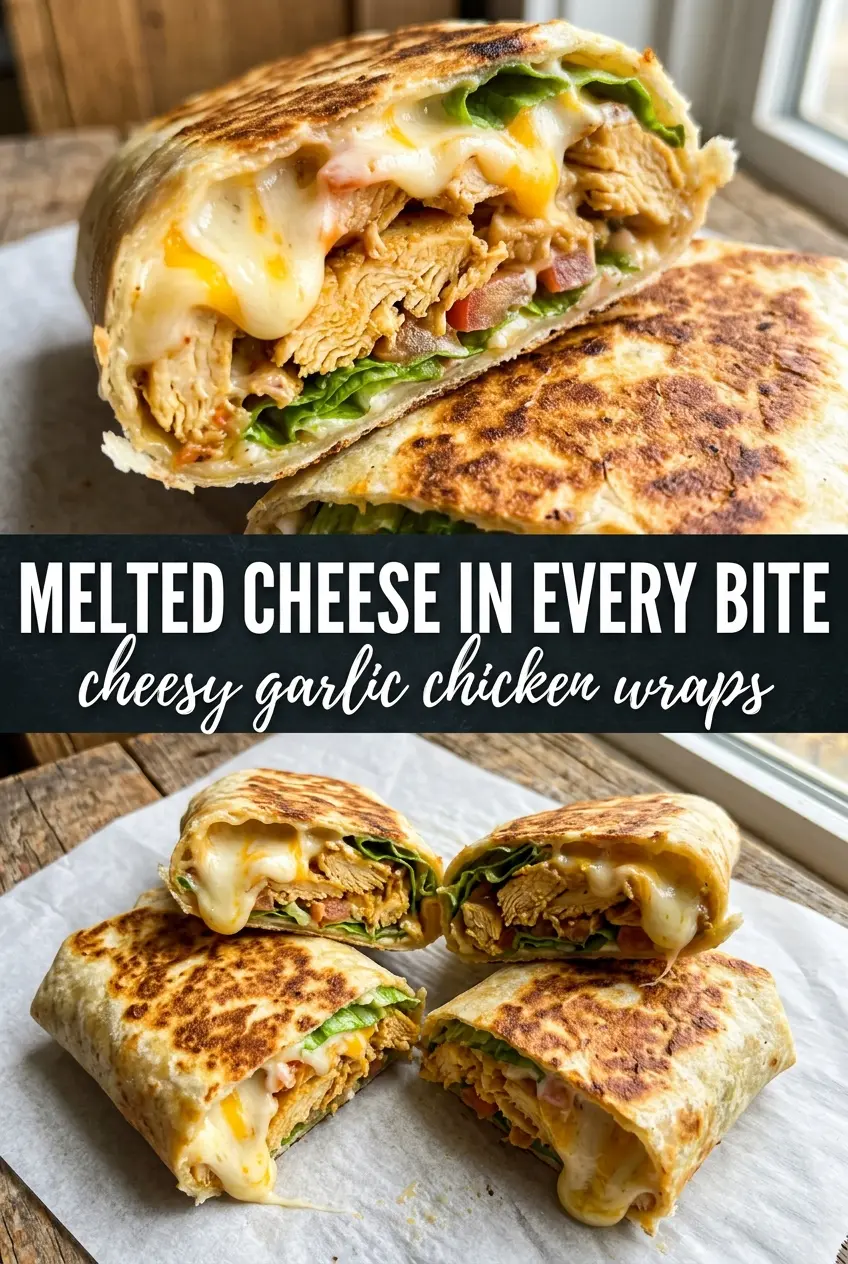
Cheesy Garlic Chicken Wraps
Ingredients
Equipment
Method
- Season the chicken strips with salt and pepper, then cook them in 2 tablespoons butter in a skillet over medium-high heat for 5-6 minutes until golden and cooked through to 165°F, stirring as needed so the pieces brown evenly. Visual cue: the chicken turns opaque and develops browned edges.
- In the remaining 2 tablespoons butter, cook the minced garlic for 1 minute until fragrant, then toss the cooked chicken strips in the garlic butter and stir in the chopped parsley. Visual cue: the garlic smells sharp and turns slightly glossy; the parsley streaks look bright green.
- Warm the tortillas until pliable so they roll without cracking, then spread ranch or Caesar dressing over each tortilla. Visual cue: the tortillas flex easily when you fold them.
- Layer shredded mozzarella, garlic chicken strips, romaine, and halved cherry tomatoes on each tortilla, keeping a little space at the edges for a tight roll. Visual cue: the cheese forms a layer that can melt as the wrap toasts.
- Roll tightly and toast seam-side down in a skillet over medium heat for 2 minutes per side until golden and the cheese is melted. Visual cue: the seam browns and the cut line would show melted cheese ready to stretch.
- Slice diagonally and serve immediately. Visual cue: melted cheese pulls from the diagonal cut as the wrap is served hot.