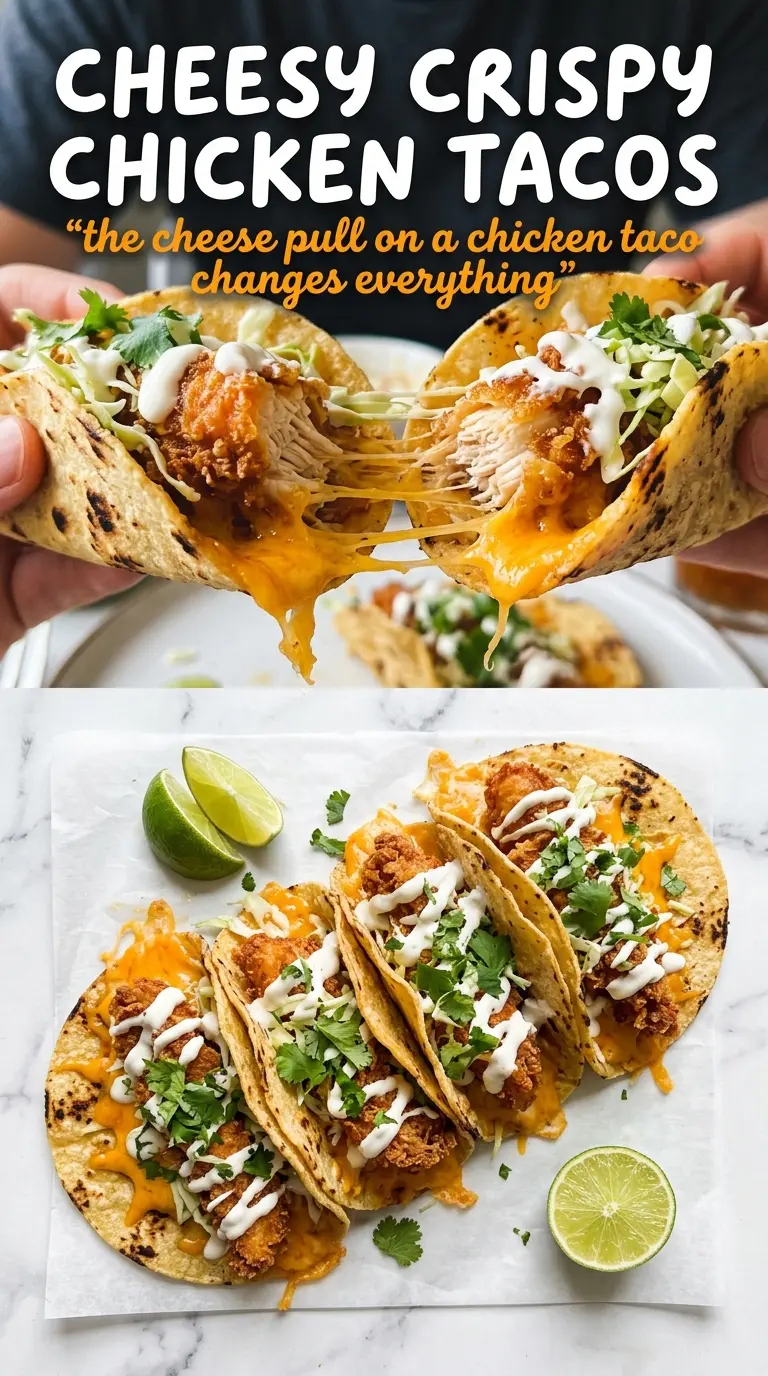
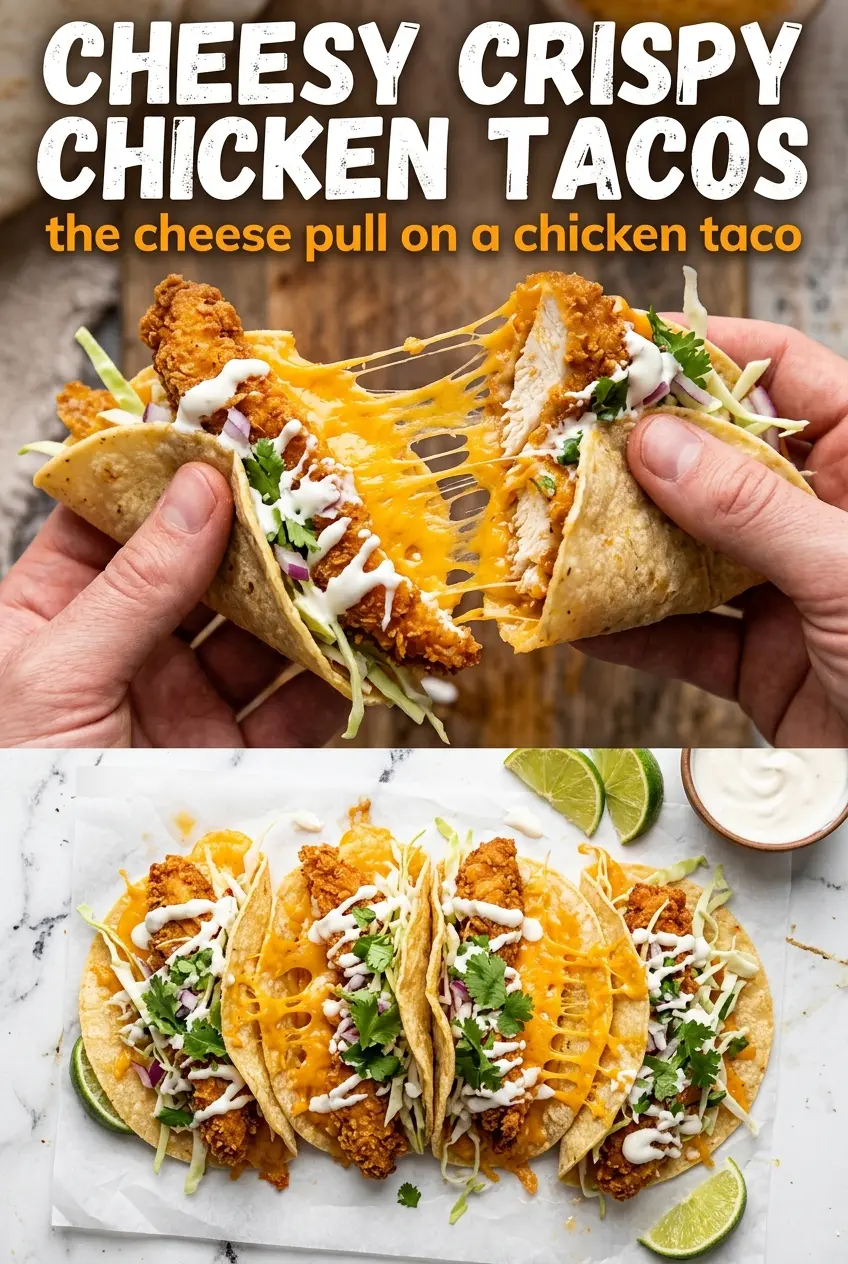
Crispy chicken tacos hit a different level when the chicken is fried until deeply golden, then tucked into warm corn tortillas with cheese that melts into the crust and holds everything together. The result is crunchy on the outside, juicy in the middle, and messy in the best possible way. A squeeze of lime at the end cuts through the richness so every bite stays bright instead of heavy.
What makes this version work is the double layer of cheese: a little under the chicken and a little over it. That gives you a taco that seals a bit when it hits the skillet, so the filling doesn’t slide out the second you pick it up. The seasoned flour keeps the coating light and crisp, and frying at the right temperature keeps the chicken from going greasy or pale.
Below you’ll find the frying cues that keep the chicken tender, the skillet trick that melts the cheese fast, and a few variations if you want to change the heat, the tortilla, or the toppings without losing the crunch.
The chicken stayed crisp even after I added the cheese and warmed the tacos in the skillet. That little extra melt on the second side made them hold together instead of spilling everywhere.
Save these cheesy crispy chicken tacos for the nights when you want a crunchy fried taco with a true cheese pull.
The Trick to Keeping the Chicken Crisp After It Hits the Tortilla
The biggest mistake with crispy chicken tacos is letting the crust steam itself soft before the tacos even reach the table. Once fried chicken sits on a plate with no airflow, the coating starts losing its crunch fast, especially if it lands under a pile of cheese too early. The fix is simple: drain the chicken well, then assemble the tacos right before the final skillet warm-up so the crust gets a quick second blast of heat instead of a long wait.
The other thing that matters here is tortilla management. Corn tortillas need to be warm enough to fold without cracking, but not so hot or damp that they collapse. If the tortilla is fragile, the cheese won’t seal the taco cleanly, and the filling will push out the side when you turn it in the pan.
What the Flour, Egg, and Cheese Are Each Doing Here
- Chicken breasts — Cut them into bite-size pieces so they cook quickly and stay juicy. Thighs work too, but breasts give a cleaner bite and a lighter feel inside the taco.
- All-purpose flour — This is what creates the crisp shell around the chicken. A gluten-free 1:1 flour blend can work, but the coating will usually be a little more delicate.
- Eggs — The egg gives the flour something to cling to. Without it, the breading tends to fall off in the oil instead of forming that tight, craggy coating.
- Oaxaca or mozzarella — Oaxaca melts best and gives you those long stretchy strands. Mozzarella is the easiest backup if that’s what you have, but use low-moisture shredded cheese so the taco doesn’t turn watery.
- Corn tortillas — They bring the right flavor and hold up better than flour tortillas once the tacos hit the skillet. Warm them first so they bend instead of tearing at the fold.
- Lime, onion, cilantro, and lettuce — These are the finish, not decoration. The lime cuts the richness, and the fresh toppings keep the tacos from feeling heavy after the fried chicken and cheese.
Frying, Filling, and Melting Without Losing the Crunch
Coating the Chicken Evenly
Season the chicken before it goes anywhere near the flour so every piece tastes like more than just the coating. Dip each piece into the egg first, then press it into the flour so the surface looks dry and shaggy instead of wet and slick. That rough coating turns into the crackly crust you want after frying. If the flour layer feels gummy, the chicken was too wet going in, and the breading will slip off in the oil.
Frying to a Deep Golden Color
Heat the oil to 350°F and keep it there as you fry in batches. If the oil is too cool, the chicken absorbs grease and turns heavy; if it’s too hot, the outside browns before the center is cooked. You’re looking for a deep golden crust and chicken that sounds active and lively in the oil, not a violent sputter. Drain it on paper towels or a rack as soon as it comes out so the coating stays crisp.
Building the Taco So It Seals
Warm the tortillas first, then add a little cheese, the fried chicken, and another layer of cheese before folding. That top-and-bottom cheese layer helps glue the taco together once it hits the skillet. Press the folded tacos into a hot pan just long enough for the cheese to melt and the tortilla to pick up light browned spots. If you leave them too long, the tortilla dries out and the filling gets squeezed out instead of staying in place.
The Final Lime-and-Herb Finish
Top the tacos with lettuce, onion, and cilantro after they come off the skillet. Fresh toppings go on last because they stay bright and crisp that way. A squeeze of lime right before serving wakes up the fried chicken and cuts through the cheese. Skip the lime and the tacos taste flatter, especially after the second layer of melted cheese.
How to Adjust These Tacos for Different Nights and Different Pantries
Gluten-Free Crunch
Swap the all-purpose flour for a gluten-free 1:1 blend and keep the chicken pieces small so the coating stays secure. The texture will still be crisp, though a little more fragile than the original. Corn tortillas already keep this close to gluten-free, but check the cheese and seasonings if you’re serving someone with a sensitivity.
Spicier Chicken Tacos
Add cayenne or a little smoked paprika to the flour for more heat and a deeper color. The flavor gets bolder without changing the process, and the cheese keeps the spice from feeling sharp. If you like heat with some warmth instead of burn, chili powder plus a pinch of cayenne is the sweet spot.
Baked Instead of Fried
Bake the coated chicken on a well-oiled sheet pan at high heat until it turns golden and cooked through, then proceed with the tacos as written. You lose a little of the shattering crust from frying, but you still get a crisp exterior and an easier cleanup. Use the broiler briefly at the end if you want more browning.
Storage and Reheating
- Refrigerator: Store the fried chicken separately for up to 3 days. The tacos themselves are best assembled fresh because the tortillas soften once they sit with the cheese.
- Freezer: The cooked chicken freezes well for up to 2 months. Freeze it in a single layer first so the coating doesn’t get crushed, then reheat from frozen or thawed before assembling.
- Reheating: Reheat the chicken in a hot oven or air fryer until the crust crisps back up. Avoid the microwave for the chicken if you want the breading to stay crunchy; it turns soft fast and the whole taco loses the best part.
Answers to the Questions Worth Asking
Cheesy Crispy Chicken Tacos
Ingredients
Equipment
Method
- Cut the boneless chicken breasts into bite-sized pieces, then season with salt and pepper. Make sure each piece is lightly coated so it fries evenly.
- In a shallow dish, combine all-purpose flour, garlic powder, and chili powder. Stir until the dry mixture looks evenly speckled.
- Dip the seasoned chicken pieces in beaten large eggs, then dredge in the seasoned flour. Press lightly so a thin, even coating clings to the surface.
- Heat vegetable oil to 350°F in a suitable frying setup, watching for steady bubbling. The oil is ready when it holds a consistent temperature around 350°F.
- Fry the chicken in batches until golden and cooked through, about 6-8 minutes total. Turn as needed and look for deep golden color and no pink in the thickest pieces.
- Drain the fried chicken on paper towels. You should see excess oil quickly absorbed while the crust stays crisp.
- Warm the small corn tortillas and place a small portion of shredded Oaxaca or mozzarella cheese in the center of each. The cheese should start softening from the heat but not fully melt yet.
- Add the fried chicken on top, then add more shredded Oaxaca or mozzarella cheese over the chicken. Build the taco so the cheese sits where you want it to pull when melted.
- Fold the tortillas in half to enclose the filling. Keep them snug so the cheese holds in the center.
- Briefly warm the filled tortillas in a hot cast iron skillet to melt the cheese, about 1-2 minutes per side. Flip when the outside looks lightly crisp and the cheese is visibly soft and stretchy.
- Top the tacos with shredded lettuce, diced onion, and cilantro. Scatter evenly for fresh crunch and color.
- Serve with lime wedges on the side. Squeeze over the tacos just before eating for bright acidity.