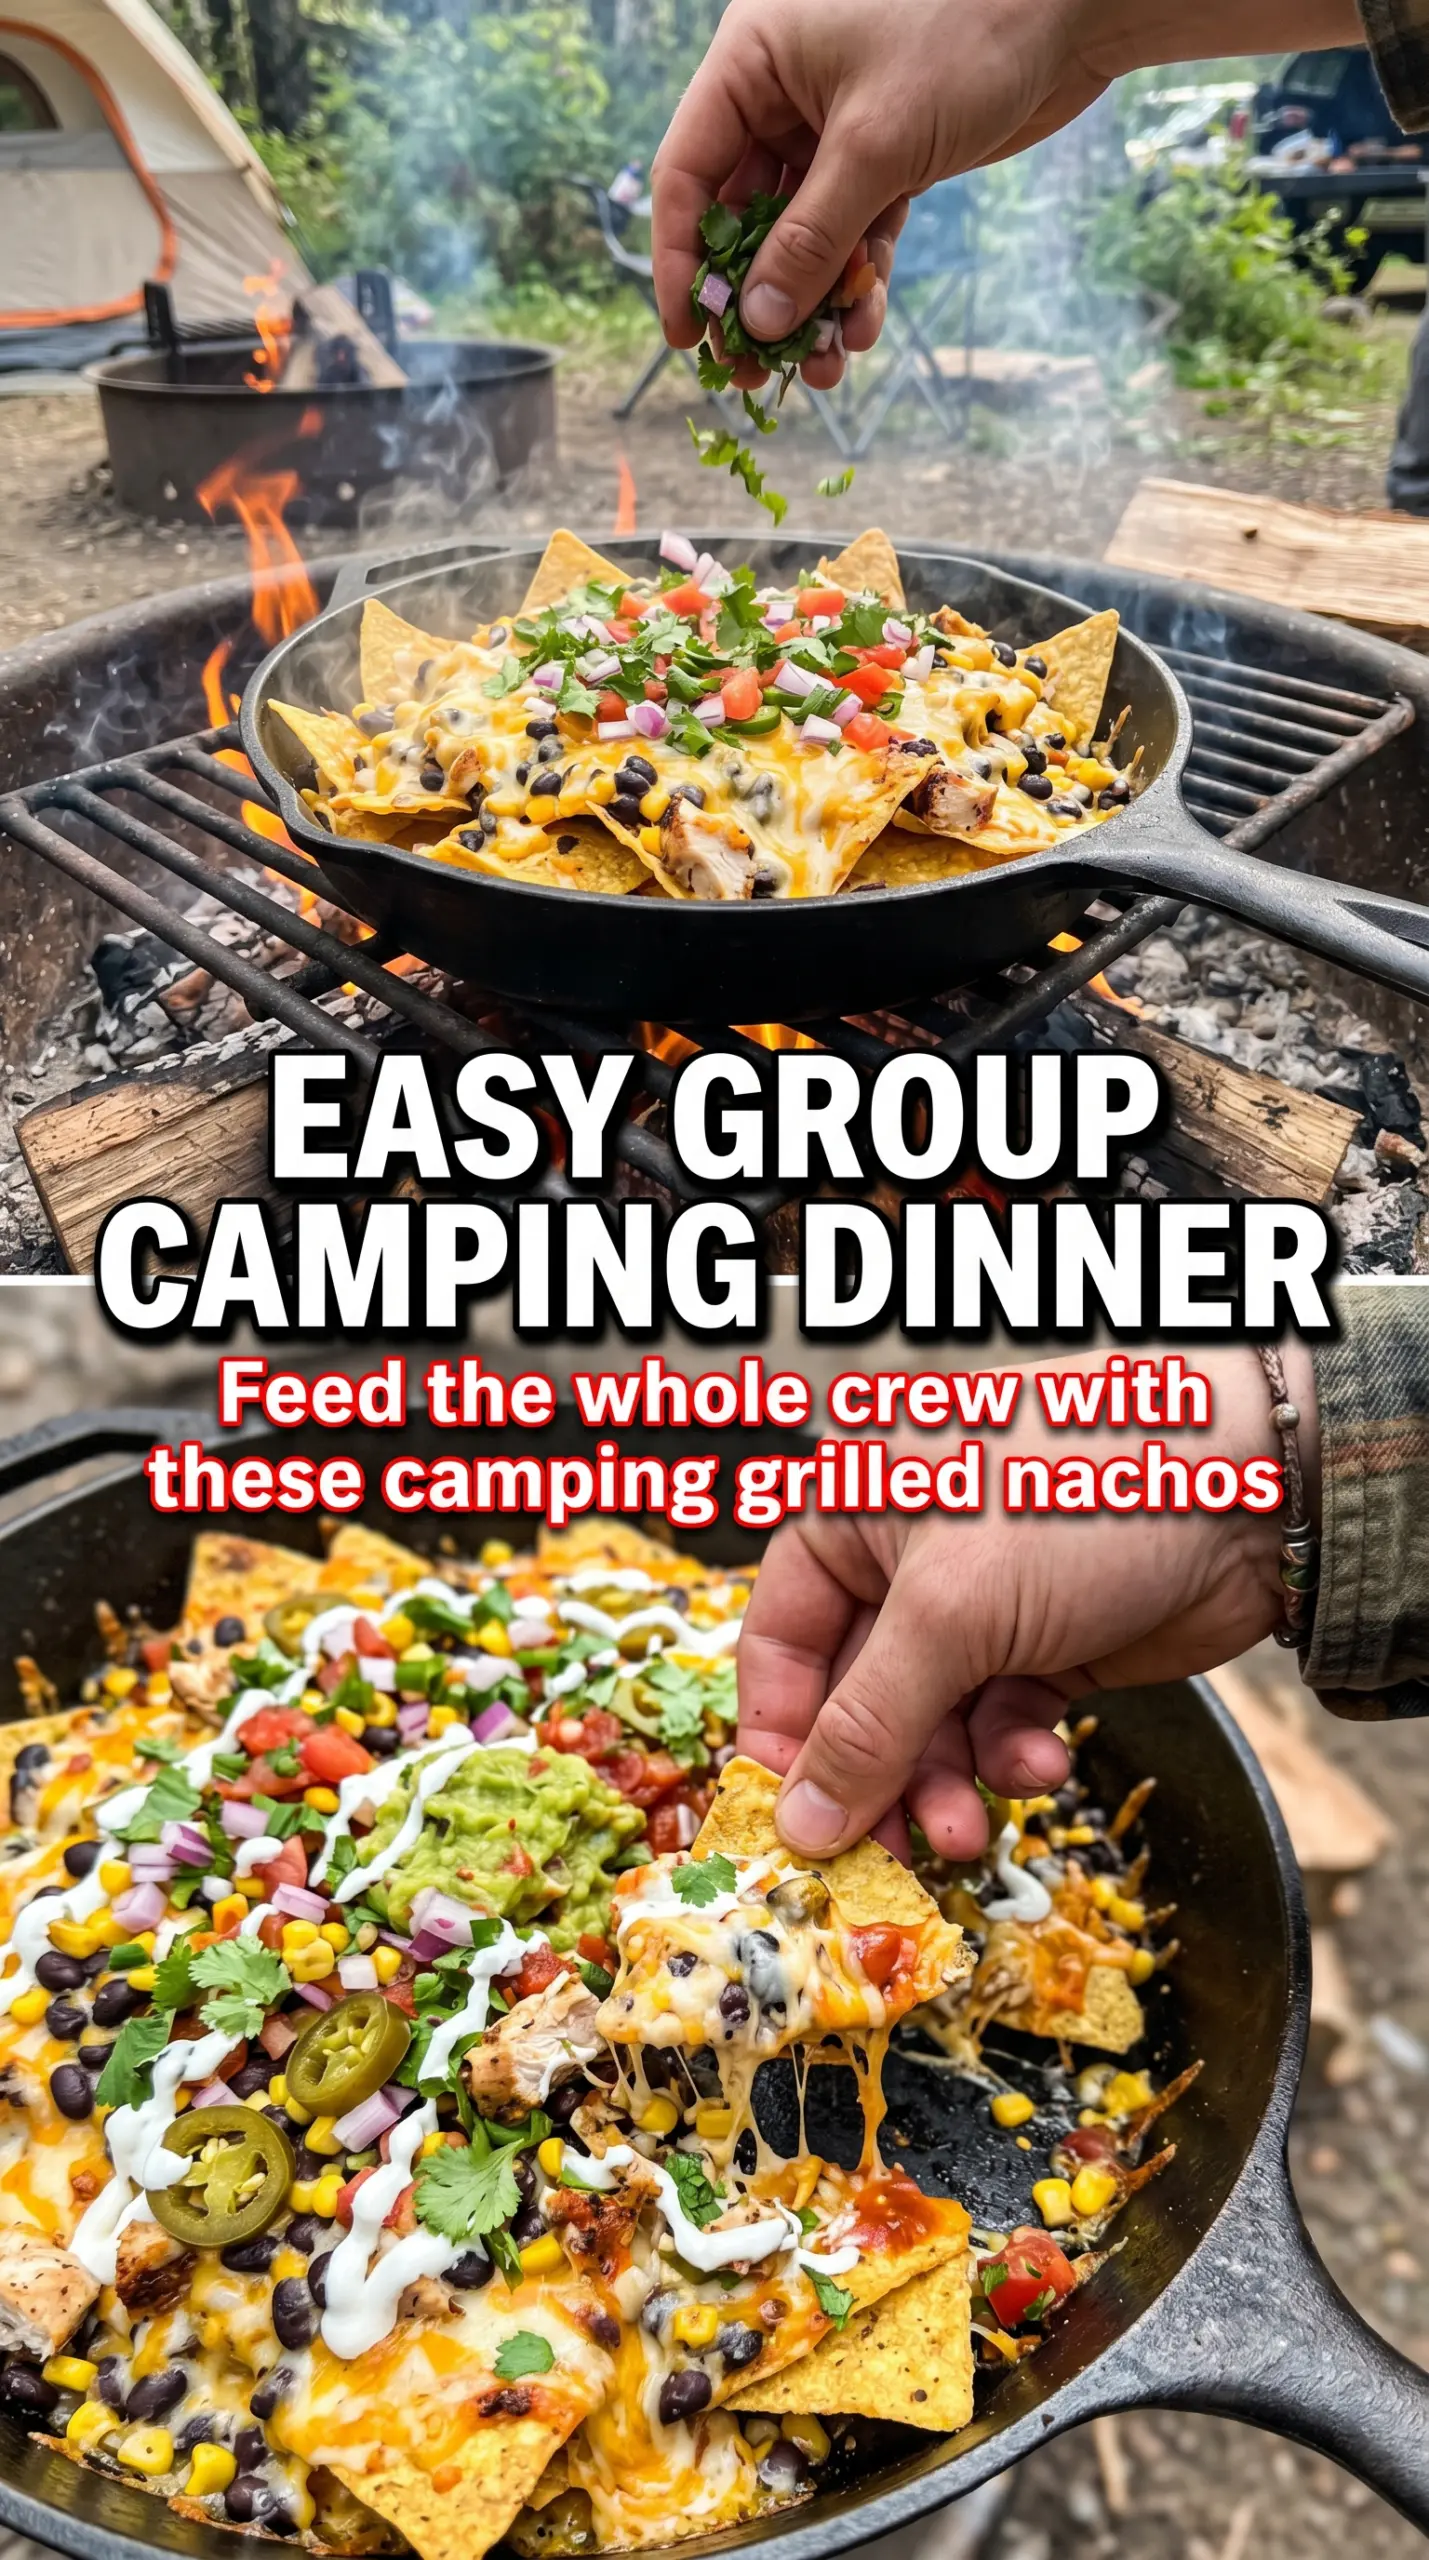
Camping grilled nachos hit the table fast, but they still taste like you planned ahead. The chips stay sturdy under the heat, the cheese melts into every layer, and the beans and seasoned beef turn a simple snack into a full meal that people keep circling back to. When the pan comes off the grill grate with the cheese bubbling at the edges, it feels like camp cooking at its best: easy, smoky, and built for sharing.
The trick is in the layering and the heat. A disposable aluminum pan keeps cleanup painless, but it also helps the nachos heat evenly if you don’t pile everything into one heavy middle layer. Half chips, half toppings, then repeat. That keeps the bottom from turning soggy before the top has a chance to melt. The salsa, sour cream, and jalapeños go on after the pan comes off the fire so they stay bright and cool against the hot cheese.
Below you’ll find the small decisions that make these nachos work over a campfire, plus the easiest way to adapt them if you’re cooking for a mixed crowd or want to swap the beef for something lighter.
I was worried the chips would go soft, but layering everything in the aluminum pan kept the bottom crispy and the cheese melted all the way through. The beans and beef made it filling enough for dinner, and the lime at the end pulled it together.
Keep these campfire grilled nachos in your back pocket for an easy one-pan dinner with crispy chips and bubbling cheese.
The reason these nachos stay crisp over a campfire
Most nachos fail outdoors for the same reason they fail in the oven: too much weight in one layer and too much time on the heat. Once the bottom chips soften, everything turns into one heavy sheet. Layering half the chips, then half the toppings, then repeating gives the cheese a chance to melt before the chips underneath give up their crunch.
The pan matters here, too. A large disposable aluminum pan spreads the heat better than a deep bowl or a crowded skillet, and it makes it easier to lift the nachos off the grate before the edges scorch. Medium campfire heat is the sweet spot. If the fire is too hot, the cheese on top melts before the layers below catch up, and you’ll end up with browned edges and underheated centers.
What each topping is doing in the pan
- Tortilla chips — Use thick chips if you can. Thin ones break under the weight of the beef and beans before the cheese has time to glue everything together. If all you have are thinner chips, build the pan a little more loosely so the bottom layer isn’t compressed.
- Shredded Mexican cheese blend — This is the melt that holds the whole pan together. Pre-shredded cheese works fine here, and that’s one place where convenience is worth it outdoors. A blend with Monterey Jack and cheddar gives you better melt and more flavor than a single sharp cheese.
- Black beans — They add body and make the nachos feel like a meal instead of a snack. Drain them well so the extra liquid doesn’t soften the chips. If you want a smoother texture, rinse them first and pat them dry in a towel.
- Cooked ground beef — Season it before it goes into the pan. Plain beef tastes flat against the chips and cheese. This is also the easiest spot to swap in seasoned ground turkey or a meatless crumble if that’s what you have on hand.
- Salsa, sour cream, jalapeño, cilantro, and lime — These finish the nachos after cooking, which keeps the top fresh and the heat balanced. If you put the salsa on early, it leaks into the chips and dulls the texture. The lime is not optional in my kitchen; it wakes up the whole pan.
Getting the campfire heat right before the cheese goes on
Build the base in two thin layers
Start with half the chips, then half the cheese, beans, and beef, and repeat. You want the layers to look full but not packed down, because compressed nachos steam instead of crisp. If the pan is overloaded, the heat can’t move through it evenly and the bottom turns limp before the top melts.
Cook over medium heat, not flames
Set the pan on the grill grate over medium campfire heat, not directly in licking flames. You should hear a gentle sizzle and see the cheese beginning to soften at the edges after a few minutes. If the fire is too aggressive, slide the pan to a cooler section or raise it higher, because burnt chips happen fast outdoors.
Finish when the cheese is bubbling through the middle
Eight to ten minutes is the target, but the visual cue matters more than the clock. The cheese should be fully melted and bubbling in spots across the center, not just around the rim. Pull it off the heat as soon as that happens, because the pan keeps cooking for a minute after it comes off the grate.
Make it vegetarian without losing the hearty part
Skip the beef and double the black beans, or add seasoned pinto beans for a softer, creamier bite. You still get a filling pan, but the flavor leans more toward smoky beans and melted cheese instead of a meaty nacho plate.
Use ground turkey or chicken for a lighter version
Season the meat well before it goes into the pan, because leaner meat needs more help than beef. The texture stays close to the original, but the final pan tastes a little cleaner and less rich.
Make them gluten-free with the right chips
Most tortilla chips are naturally gluten-free, but check the label if you’re cooking for someone with an allergy. The rest of the ingredients fit cleanly into a gluten-free pan without changing the method.
Add more heat without changing the method
Layer in pickled jalapeños, a little hot sauce, or pepper jack cheese if your crowd likes more kick. The key is to add heat in the layers or as a topping after cooking, not by drowning the pan in salsa before it hits the fire.
Storage and Reheating
- Refrigerator: Store leftovers in a sealed container for up to 2 days. The chips soften, but the flavor still holds up.
- Freezer: I don’t recommend freezing assembled nachos. The chips turn stale and the toppings separate once thawed.
- Reheating: Reheat on a sheet pan in a 375°F oven for a few minutes until the cheese loosens again. Avoid the microwave if you want any crunch left.
Answers to the questions worth asking
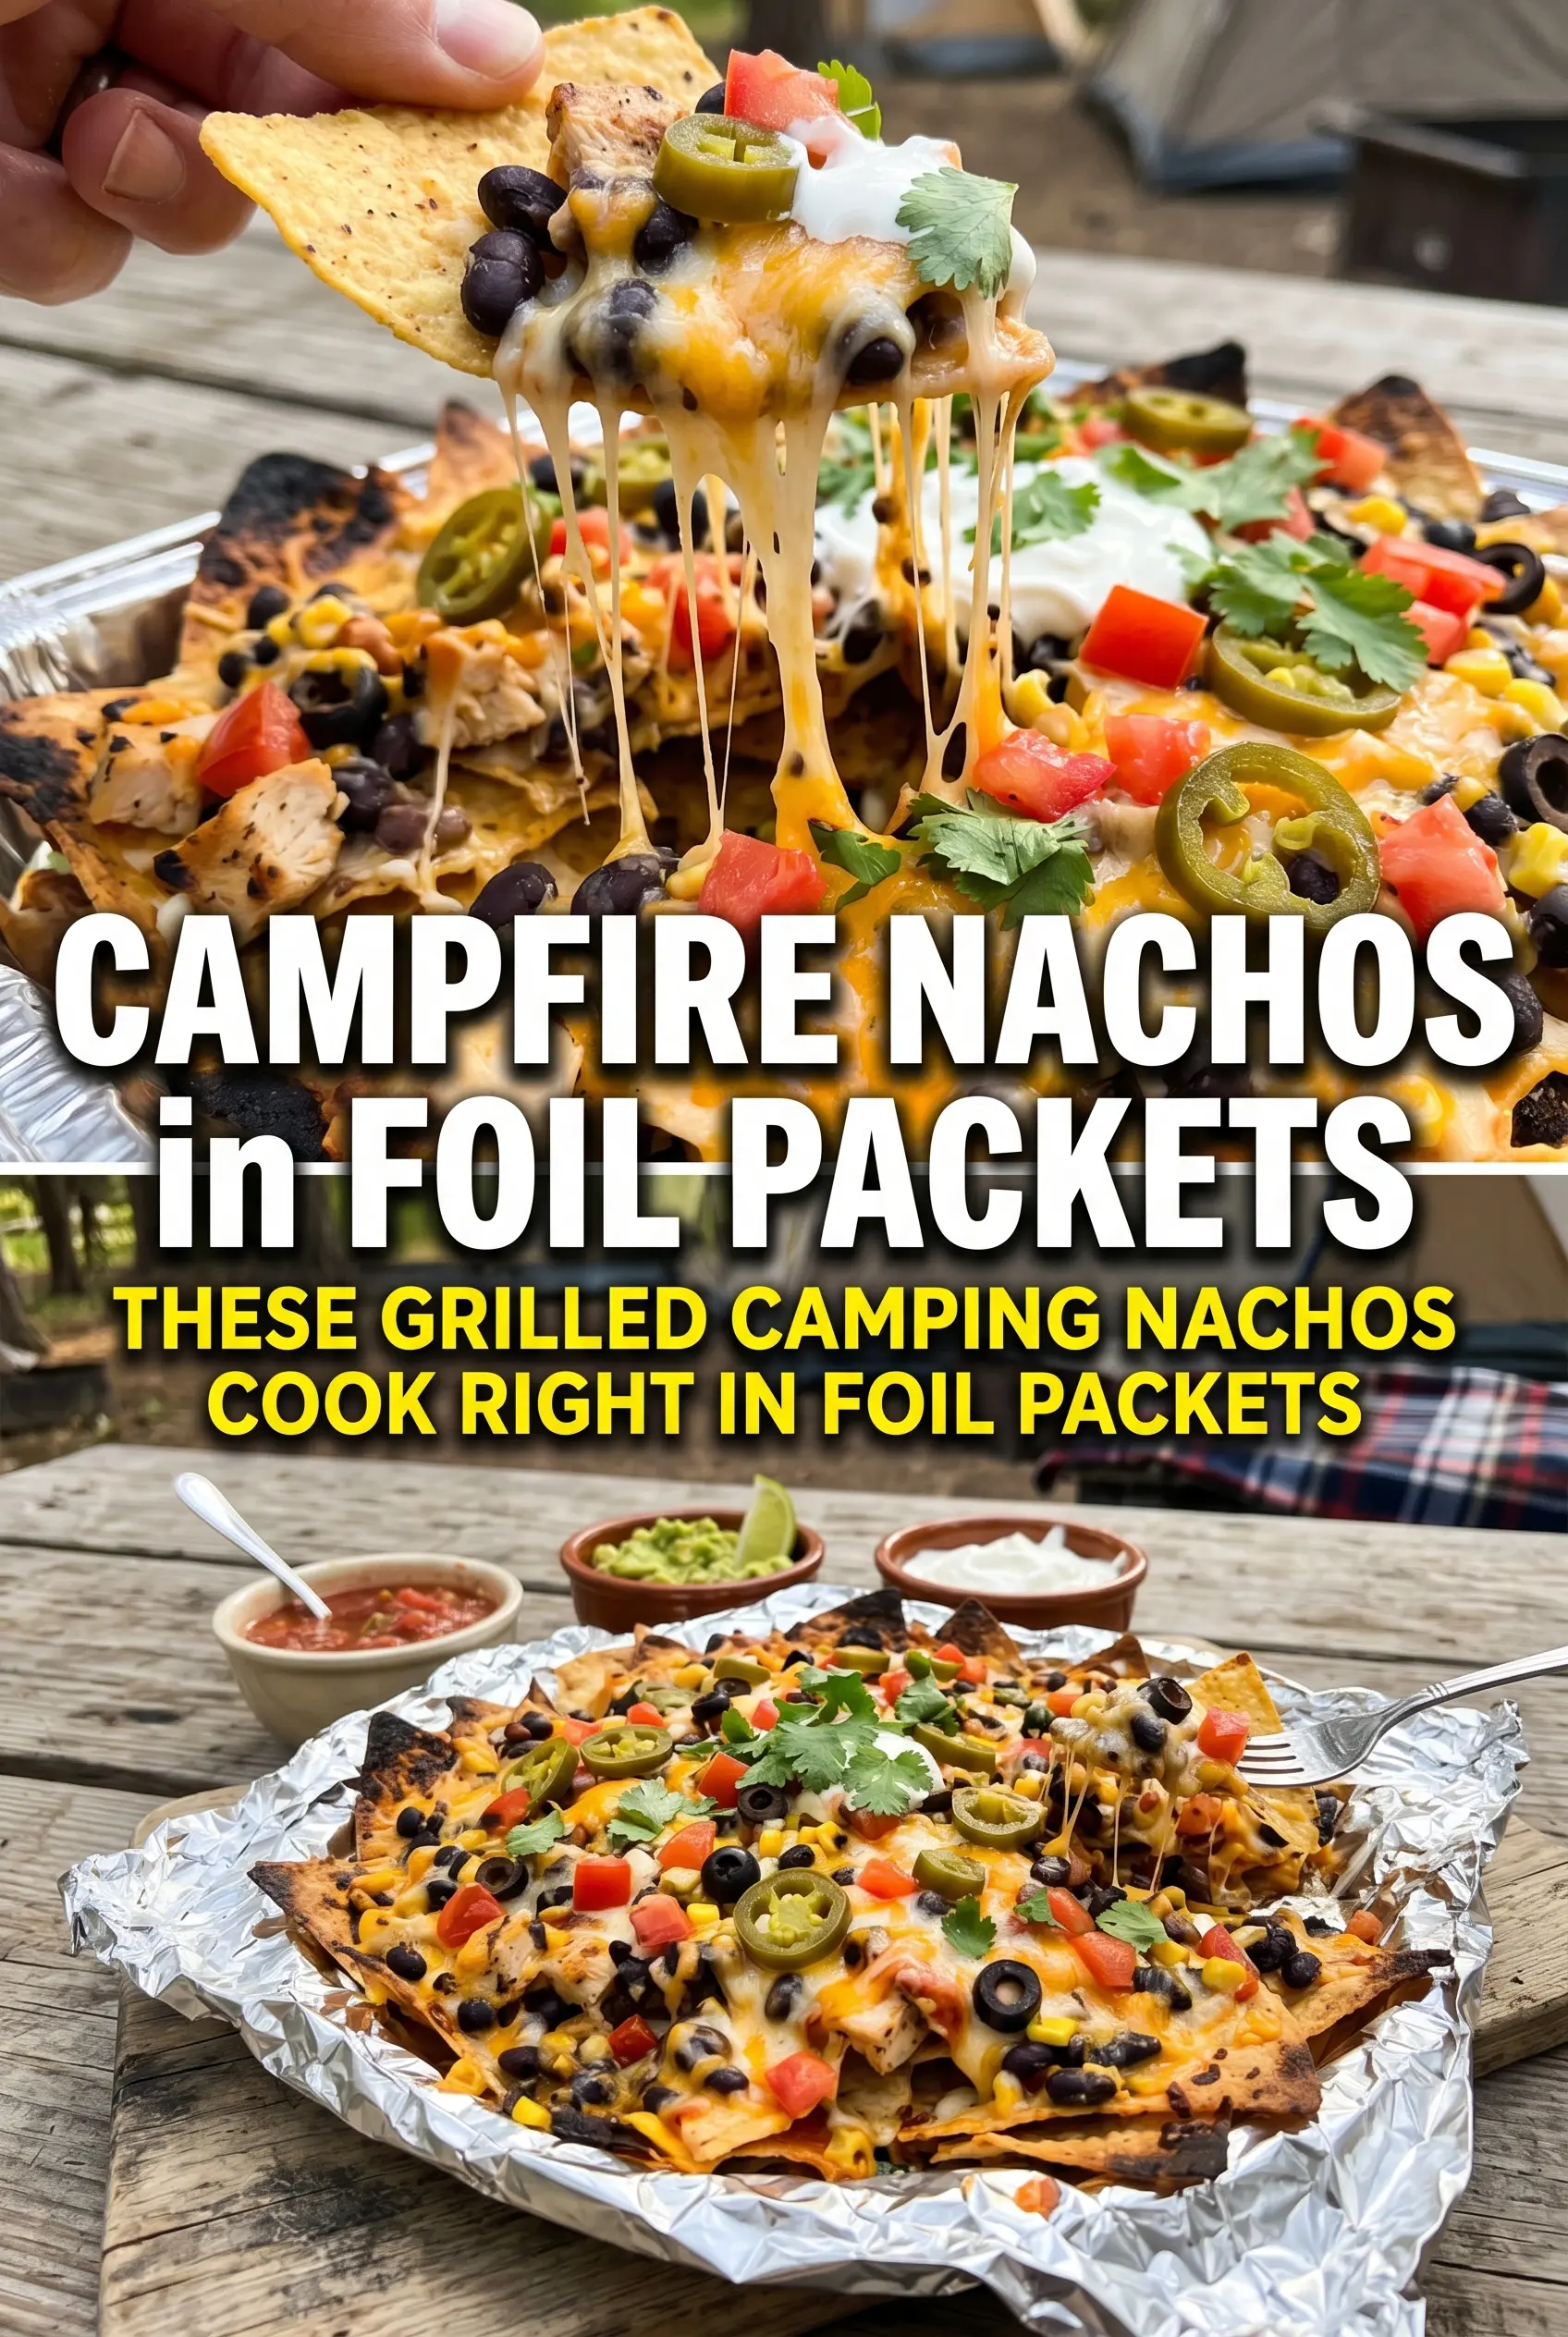
Camping Grilled Nachos
Ingredients
Equipment
Method
- Line a large disposable aluminum pan with half the tortilla chips, spreading them into an even layer for full coverage (visual cue: chips are evenly distributed).
- Layer half the shredded Mexican cheese blend over the chips, then add half the drained black beans and half the cooked ground beef (visual cue: toppings are visible and form an even mound).
- Repeat the layers with the remaining tortilla chips, remaining cheese, remaining black beans, and remaining ground beef (visual cue: top layer is covered with cheese).
- Place the pan on the grill grate over medium campfire heat (visual cue: you can see heat and movement under the pan).
- Cook for 8-10 minutes until the cheese is melted and bubbly (visual cue: cheese is fully melted and bubbling across the surface).
- Remove from the heat and top with salsa, spreading it over the nachos (visual cue: salsa adds bright red spots).
- Spoon on the sour cream in small dollops (visual cue: white swirls contrast against the melted cheese).
- Scatter the sliced jalapeño and chopped cilantro over the top (visual cue: green flecks and jalapeño slices are evenly visible).
- Serve immediately with lime wedges on the side (visual cue: lime wedges are ready to squeeze over the top).