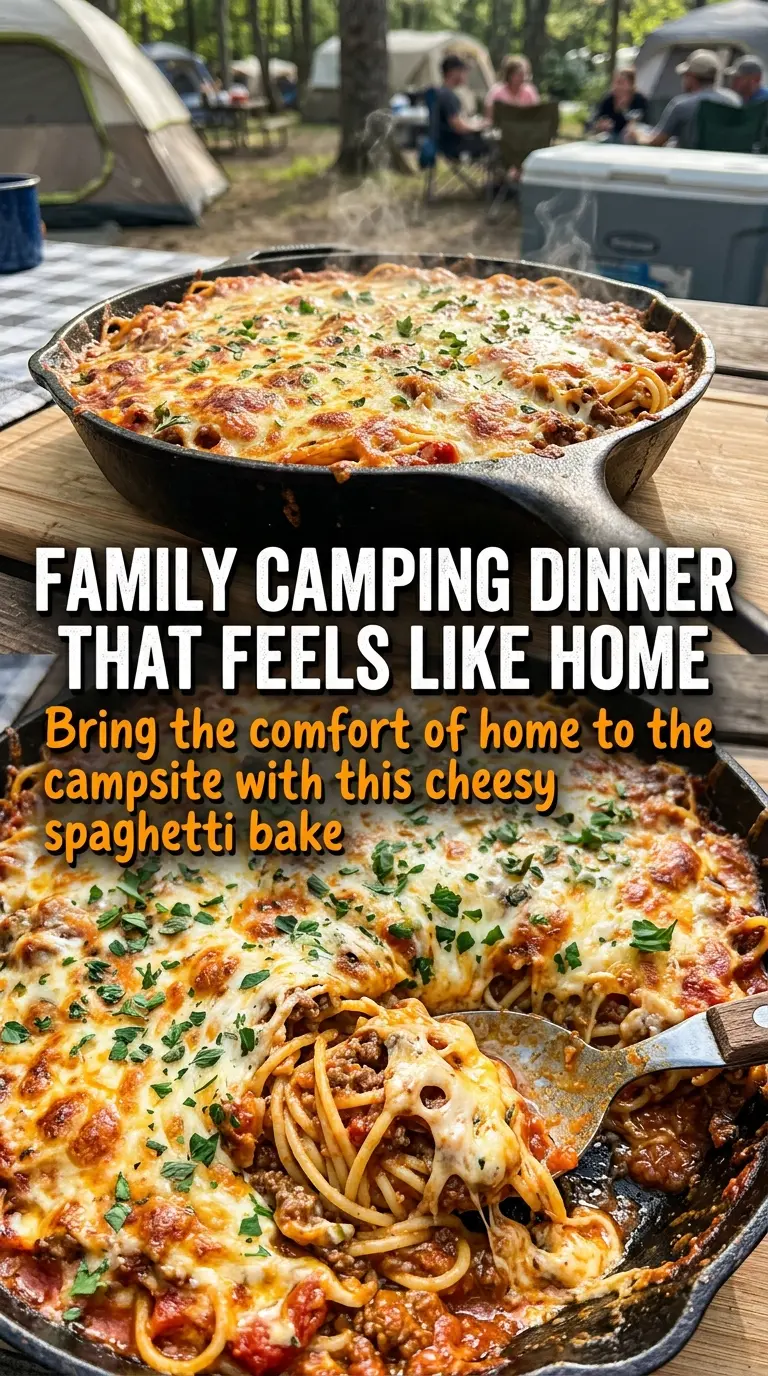
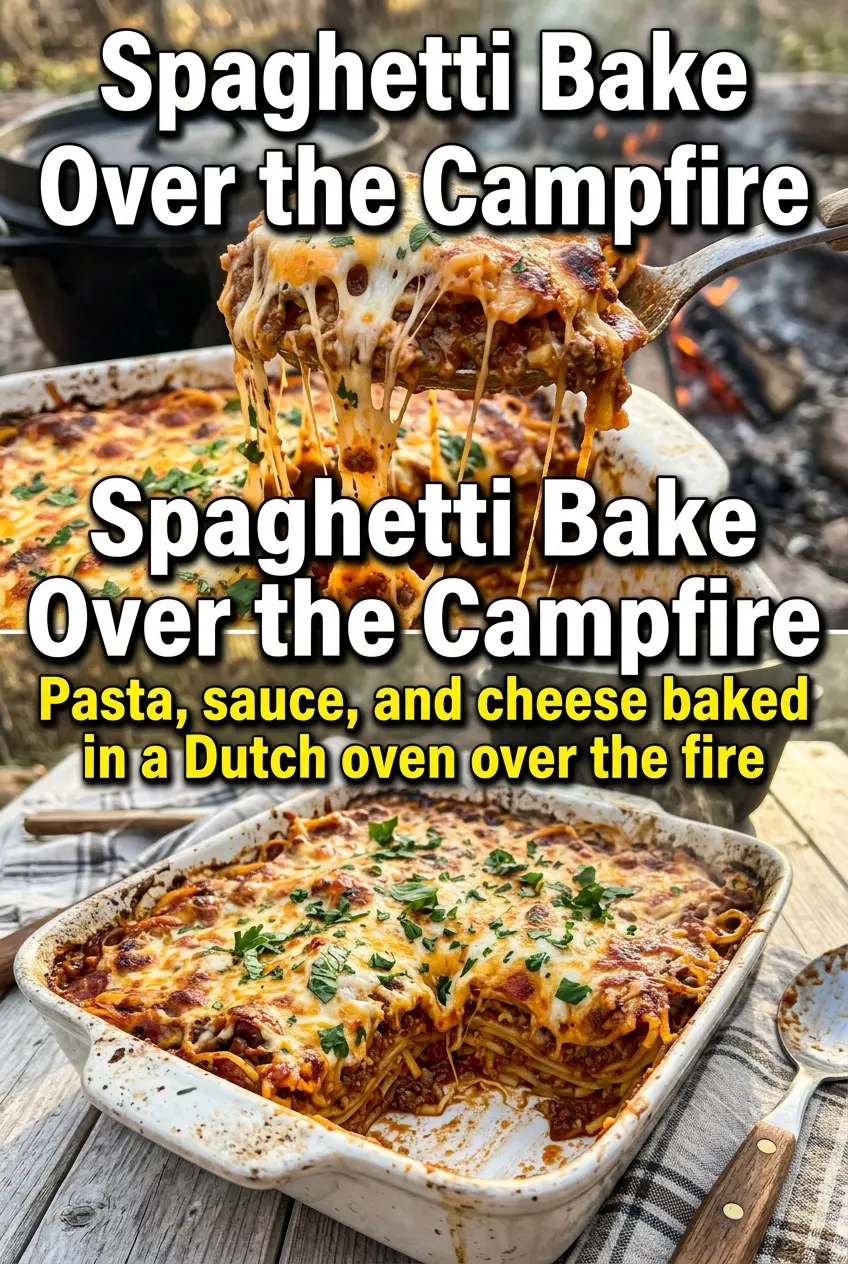
Cheesy, saucy spaghetti baked under a blanket of melted mozzarella is the kind of campfire dinner that gets people circling back for seconds before the lid even comes off. The pasta stays hearty, the meat sauce clings to every strand, and the top turns golden and bubbly in a Dutch oven the way oven-baked pasta always should. It feeds a crowd without feeling fussy, which is exactly why it earns a spot in the regular rotation.
The trick is keeping the pasta cooked before it goes into the Dutch oven and not drowning the mixture in extra liquid. The sauce needs to be thick enough to coat the spaghetti, because the coals give you heat, not a big simmering pot of water to reduce things for you. A little Parmesan on top adds a salty edge that keeps the whole dish from tasting flat after all that cheese melts together.
Below, I’ll walk through the part that matters most: how to keep the bottom from scorching while the top turns properly bubbly. I also included a few practical swaps for making this work with different cheeses, different meats, or a camp setup that runs hotter than expected.
The cheese got perfectly bubbly on top without burning the bottom, and the spaghetti held together beautifully in the Dutch oven. I was worried it would turn dry, but the sauce stayed saucy right through serving.
Save this campfire spaghetti bake for the next Dutch oven dinner when you want bubbling cheese and a crowd-sized pasta dish with almost no cleanup.
The Part Where Most Dutch Oven Pasta Goes Wrong
Campfire pasta fails when people treat the Dutch oven like a stovetop pot. There’s no steady simmer here, and if the sauce is too loose, the bottom layer gets watery before the cheese on top has a chance to melt. The other common mistake is packing in raw pasta. It won’t cook evenly in this setup, and you end up with hard pieces hiding under the top layer.
This version works because everything is already cooked and the Dutch oven is doing the last job only: warming the sauce, melding the flavors, and melting the cheese into a proper blanket. Covering the pot and putting coals on the lid gives you heat from both directions, which helps the top brown without leaving the middle cold. Keep an eye on the edges. If you hear aggressive sizzling, the heat is too hot and the bottom needs less direct coal contact.
What Each Ingredient Is Actually Doing Here
- Ground beef — This gives the bake its backbone and keeps it from feeling like plain sauced pasta. Brown it well enough to pick up some color, then drain the excess fat so the final dish doesn’t turn greasy in the Dutch oven.
- Spaghetti sauce — Use a jarred sauce you already like eating on its own, because it’s carrying most of the seasoning here. A thicker sauce is best; thin sauce can make the pasta soggy before the cheese finishes melting.
- Cooked spaghetti — This is non-negotiable for campfire baking. Al dente pasta holds its shape and absorbs just enough sauce without turning mushy under the lid.
- Mozzarella and Parmesan — Mozzarella gives you that stretchy, melted top, while Parmesan adds sharpness and a little salt. Don’t skip the Parmesan unless you want a softer, flatter finish.
- Italian seasoning and garlic powder — These build depth fast without needing a long simmer. They’re especially useful outdoors, where you don’t have the luxury of simmering the sauce down for half an hour.
How to Build the Dutch Oven So the Bottom Stays Tender
Brown the Beef First
Cook the beef in a skillet over the campfire until it’s no longer pink and you can see browned bits on the meat. Those browned edges add flavor, but the grease underneath can make the bake heavy, so drain off the excess before mixing. If you leave it all in, the cheese melts into an oily layer instead of a clean, stretchy top.
Mix the Pasta While It’s Still Warm
Toss the cooked spaghetti with the sauce, beef, half the mozzarella, Italian seasoning, and garlic powder while the pasta is still warm. Warm noodles absorb the sauce better, which helps the whole dish taste integrated instead of like separate layers. If the noodles have clumped, loosen them before adding the cheese so you don’t end up with dry pockets in the center.
Cover and Cook with Controlled Heat
Spray the Dutch oven, spread in the pasta mixture, and finish with the remaining mozzarella and Parmesan. Set the lid on tightly, then place coals underneath and on top, but don’t overdo the bottom heat or the edges will scorch before the cheese melts. You’re looking for steady bubbling around the sides and a lid that lifts to reveal cheese that’s fully melted, not browned in spots unless your coals are running very gentle.
Let It Rest Before Serving
Give the bake about 5 minutes off the heat before you scoop it. That rest lets the sauce settle back into the pasta so it doesn’t run everywhere when you cut into it. If you serve it straight from the coals, the cheese stretches nicely but the whole thing can collapse into a looser pile on the plate.
How to Adapt This for Different Camps and Appetite Sizes
Make It Turkey-Based
Swap the ground beef for ground turkey and brown it the same way, but add a small extra pinch of salt or a splash of olive oil if the turkey is lean. The result is lighter and a little less rich, though you’ll lose some of the deep beefy flavor that makes the original feel hearty.
Go Vegetarian Without Losing the Bake
Use a thick vegetarian pasta sauce and add sautéed mushrooms or chopped zucchini for body. You still want something with texture in place of the beef, or the dish turns soft and one-note under all that cheese.
Gluten-Free Pasta Works Here
Use a sturdy gluten-free spaghetti and cook it just to al dente before assembling. GF pasta can turn soft faster than wheat pasta, so don’t let it sit in the sauce too long before it goes into the Dutch oven.
Storage and Reheating
- Refrigerator: Store leftovers in an airtight container for up to 4 days. The pasta will soak up more sauce as it sits, so expect a slightly firmer texture the next day.
- Freezer: It freezes well for up to 2 months if packed in a freezer-safe container. Freeze it in portions for easier reheating, because a whole frozen block takes longer to warm through without drying out.
- Reheating: Reheat covered in a 325°F oven or in a skillet with a splash of water or extra sauce. Don’t blast it on high heat, or the cheese tightens up before the center is hot.
Questions I Get Asked About This Recipe
Campfire Spaghetti Bake
Ingredients
Equipment
Method
- Brown the ground beef in a skillet over campfire until fully cooked, then drain excess fat.
- Keep the heat steady so the beef browns rather than steams.
- Mix the cooked spaghetti, browned beef, spaghetti sauce, half the mozzarella, Italian seasoning, and garlic powder until evenly combined.
- Spray the Dutch oven with cooking spray, add the spaghetti mixture, and spread it into an even layer.
- Top with the remaining mozzarella and the Parmesan cheese in an even layer for a golden, bubbly finish.
- Cover the Dutch oven and place it on campfire coals, with coals on top of the lid, then cook for 30-35 minutes until the cheese is melted and bubbly.
- Let the bake cool for 5 minutes before serving so the layers set.