Campfire sandwiches hit the sweet spot between simple and satisfying: crisp, buttery bread on the outside, hot melted cheese in the middle, and smoky grill marks that make the whole thing taste like you planned ahead. When the fire is steady and the sandwich is built with the butter on the outside, you get a sturdy crust without losing the gooey center.
The trick is heat control. A campfire grate over medium heat gives the bread time to toast before the cheese scorches, and layering cheese on both sides of the meat helps hold the sandwich together as it softens. Thin deli slices work better than thick cuts here because they warm through fast and don’t bulldoze the bread.
Below, I’ve included the little details that matter most outdoors: how to keep the bread from burning, what to do if your fire runs hot, and a few ways to adapt the sandwich when you’re packing different fillings for the trip.
The bread went golden before the cheese started leaking out, and the ham and turkey stayed hot without getting dry. We made these twice on our camping trip because they held together so well over the fire.
Save this campfire sandwich for the next outdoor lunch when you want toasted bread, melted cheese, and smoky grill marks without hauling extra gear.
The Part That Keeps the Bread Crispy Instead of Soggy
A campfire sandwich only works if the outside gets enough heat to toast before the fillings steam the bread from the inside. Buttering the bread on the outside is what gives you that protective crust. Put the butter on the wrong side and the sandwich can soften fast, especially once the cheese starts melting.
Layering cheese on both sides of the meat matters more than it sounds. It helps anchor the ham and turkey so the sandwich doesn’t slide apart when you flip it, and it creates a sealed pocket that keeps the center hot. If your fire is running fierce, move the grate higher or wait until the flames calm down. The bread should sizzle gently, not blacken right away.
What Each Filling Is Actually Doing Here
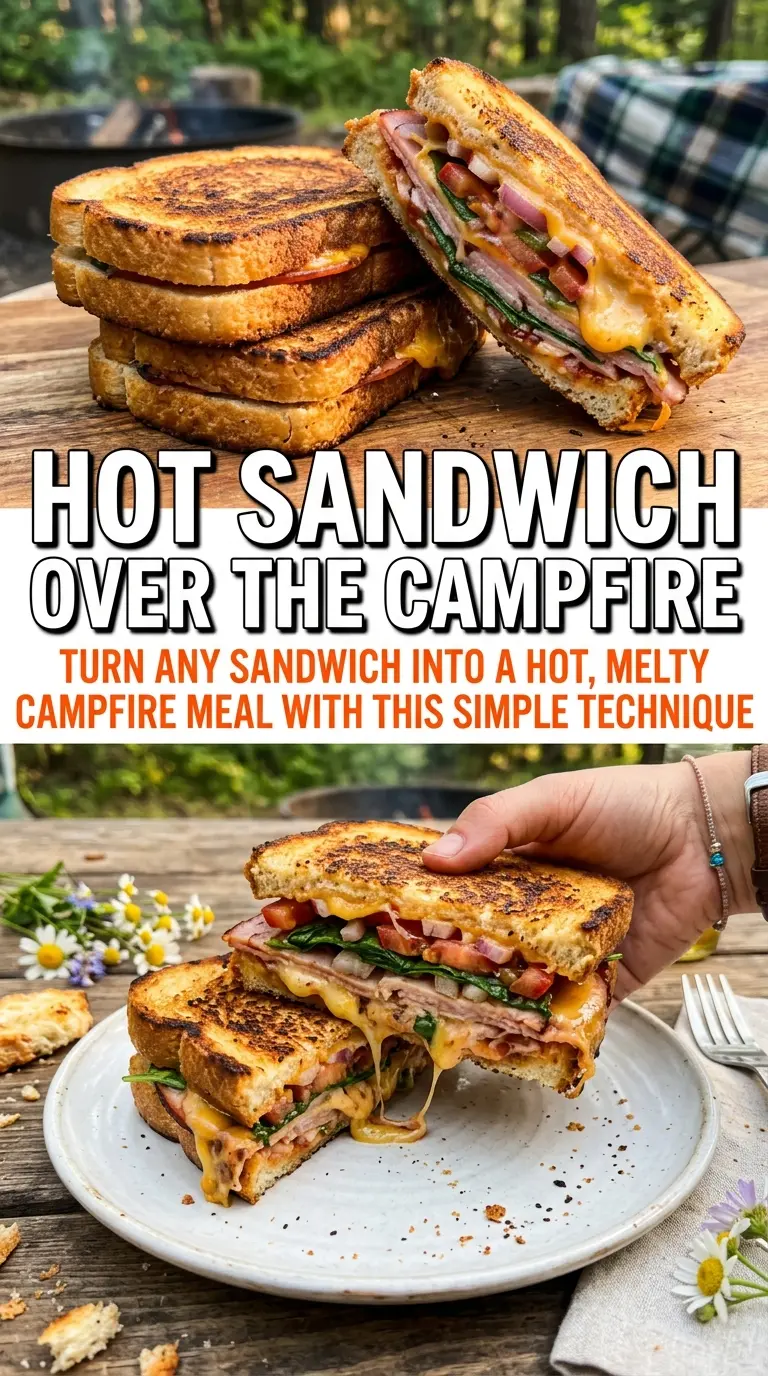
- Bread — Use a sturdy sandwich bread that can hold up to heat. Thin, soft sandwich bread can work, but it browns fast and tears more easily when you flip it over a grate.
- Butter — Softened butter spreads evenly and gives the best golden crust. If you’re cooking over a campfire and butter isn’t practical, mayonnaise on the outside also browns well, but it gives a different taste and less of that classic buttery finish.
- Cheese — Cheddar brings sharper flavor; Swiss melts a little more smoothly and stays mild. Pre-sliced deli cheese is easiest outdoors, but any slice that melts well will do the job.
- Ham and turkey — Thin deli slices warm through quickly and keep the sandwich balanced. If the meat is cut too thick, the bread can toast before the center gets hot.
- Mustard and mayo — These are optional, but they add moisture and a little tang. Keep the layer thin so the sandwich doesn’t slip or turn greasy as it grills.
Grilling the Sandwich So the Center Melts at the Same Pace as the Crust
Building the Sandwich Face Down
Butter one side of each bread slice, then build the sandwich with the butter facing out. That gives you bread, cheese, ham, turkey, cheese, bread, which is the order that keeps the fillings trapped and the exterior ready to brown. Don’t overload it with meat; a tall sandwich won’t press evenly and the center will lag behind the crust. If you’re adding mustard or mayo, spread it inside, not on the outside, so it doesn’t interfere with browning.
Managing the Fire
Set the sandwiches on a campfire grate over medium heat, not directly in active flames. You want steady radiant heat, the kind that toasts bread with a gentle hiss. If the grate is too close and the bread darkens in under a minute, lift it higher or let the fire settle. A good campfire sandwich takes a few minutes per side, not a quick blast.
Flipping and Finishing
After 4 to 5 minutes, lift a corner and check for deep golden color before turning. Flip carefully with a wide spatula, because the melted cheese can make the sandwich feel loose until both sides have set. Grill the second side until the bread is golden and the cheese is visibly melted at the edges. Pull it off the heat, rest it for a minute, then cut it in half so the cheese doesn’t pour straight out.
How to Adapt This for Different Trips and Tastes
Gluten-Free Campfire Sandwich
Use a gluten-free sandwich bread that’s sturdy enough to grill, since delicate loaves can crack when you flip them. Toasting over moderate heat matters even more here because gluten-free bread can go from pale to overdone quickly.
Dairy-Free Version
Swap the butter for a plant-based spread that browns well, and use a dairy-free cheese that melts instead of one that only softens. The texture changes a bit, but the outside still gets crisp if you keep the heat steady.
Vegetarian Grilled Sandwich
Replace the ham and turkey with sliced tomatoes, roasted peppers, or thinly sliced mushrooms that have been cooked off first. Raw vegetables add water, which can soften the bread, so anything juicy needs a little prep before it goes in.
Camping-Friendly Make-Ahead Assembly
You can build the sandwiches at home, wrap them tightly, and keep them chilled until you’re ready to grill. Don’t butter the bread more than a short time ahead if the weather is hot, since softened bread can get tacky and harder to handle.
Storage and Reheating
- Refrigerator: Store leftover sandwiches wrapped tightly for up to 2 days. The bread softens a little, but the flavor stays good.
- Freezer: I don’t recommend freezing fully cooked campfire sandwiches. The bread usually turns rubbery and the cheese texture suffers after thawing.
- Reheating: Reheat in a skillet over medium-low heat or back on a grate until the outside crisps again and the center warms through. Microwaving makes the bread limp and pulls all the crunch out of the sandwich.
Answers to the Questions Worth Asking
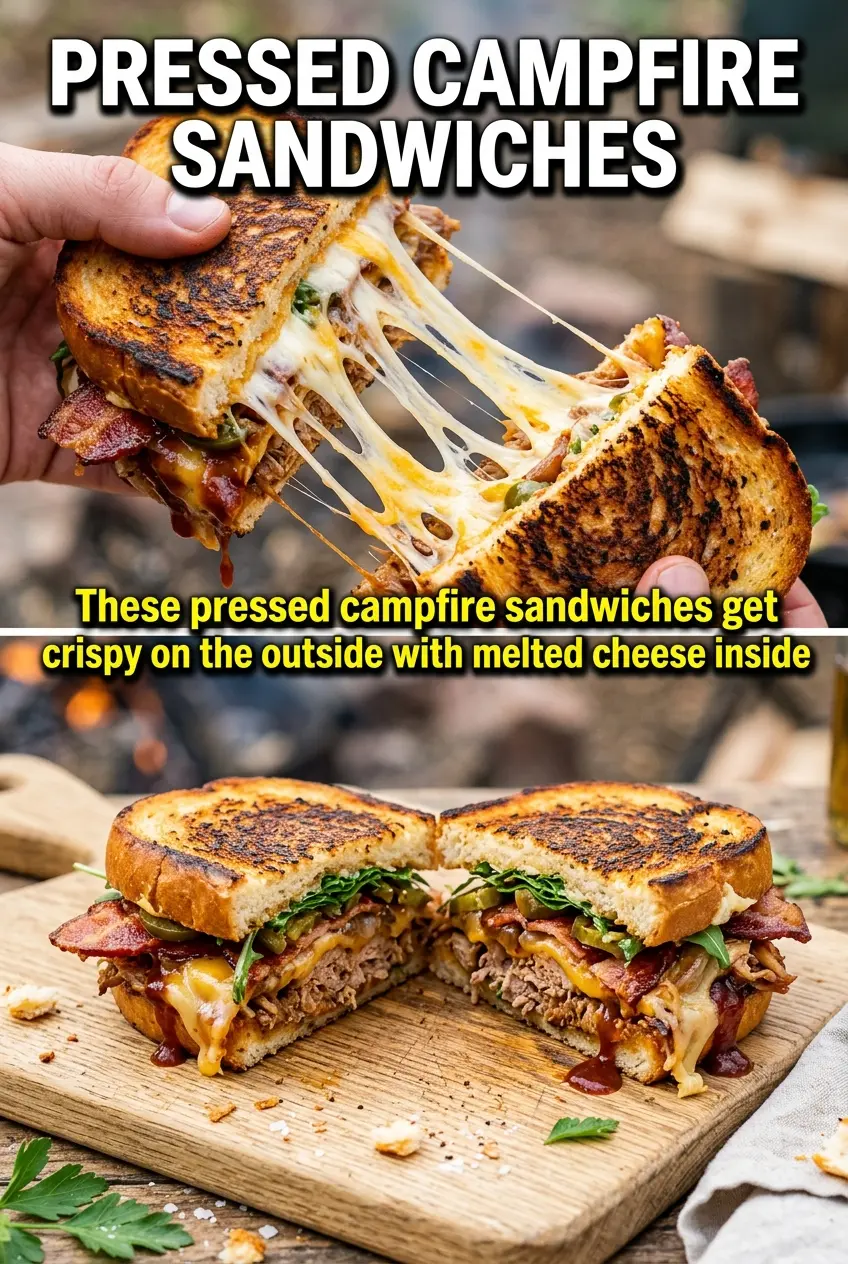
Campfire Sandwich
Ingredients
Equipment
Method
- Butter one side of each bread slice so it browns and seals on the grate. Set the slices aside with the buttered sides facing up as a visual cue.
- Optional: spread mustard and/or mayo on the unbuttered side of the bread. Use a light layer so the sandwich grills evenly without sliding.
- Build sandwiches with the butter-side out: place bread, add cheese, layer ham and turkey, then add more cheese and finish with bread. Press lightly to help the fillings stay put during grilling.
- Place sandwiches on a campfire grate over medium heat. Arrange them in a single layer so each one contacts the grate for clear grill marks.
- Grill for 4-5 minutes per side until the bread is golden and the cheese melts. Look for toasted edges and a gooey interior at the moment you flip.
- Remove from heat, cut in half, and serve hot. Cut right away so you can see the melted cheese stretch in the center.