Popcorn made in a coffee can over an open fire has the kind of rough-edged charm that makes people wander over with their bowls held out for seconds. The kernels pop fast, the smoke adds a little campfire character, and the whole thing feels more hands-on than dumping a bag into a pot. When it works, you get crisp popcorn with just enough toastiness to taste like the outdoors, not like a compromise.
The trick is ventilation and constant movement. Those small holes in the bottom let steam escape, which keeps the popcorn from turning chewy, and shaking the can keeps the kernels from scorching against one hot spot. Too much oil makes the popcorn greasy and heavy; too little and you’ll leave unpopped kernels behind. The goal is a thin, even coating on the kernels, not a puddle at the bottom.
Below, I’ve included the little details that matter most, including how to keep the can safe over the fire, what to do if the popping slows before everything is done, and a few easy ways to season it once it’s in the bowl.
The kernels popped evenly and the popcorn stayed crisp instead of soggy. My kids loved watching it pop over the fire, and the clean-up was easier than I expected.
Love the smoky crunch of this campfire popcorn in a can? Save it to Pinterest for your next camping night or backyard fire.
The Part That Keeps the Popcorn Crisp Instead of Steamy
Campfire popcorn can go wrong in one specific way: the kernels pop, but the finished snack comes out soft because the steam gets trapped inside the can. That’s why the ventilation holes matter. They let moisture escape while the kernels heat up, which gives you popcorn that stays light and crisp instead of turning dense and leathery.
The other mistake is holding the can too still. Even over steady flames, the bottom can develop hot spots fast. Keep it moving in small, constant shakes so the oil stays in motion and the kernels heat more evenly. When the popping slows to a few seconds between pops, get it off the fire right away. Leaving it over the heat after that is how you burn the last batch and end up with bitter popcorn.
What Each Part of the Setup Is Actually Doing
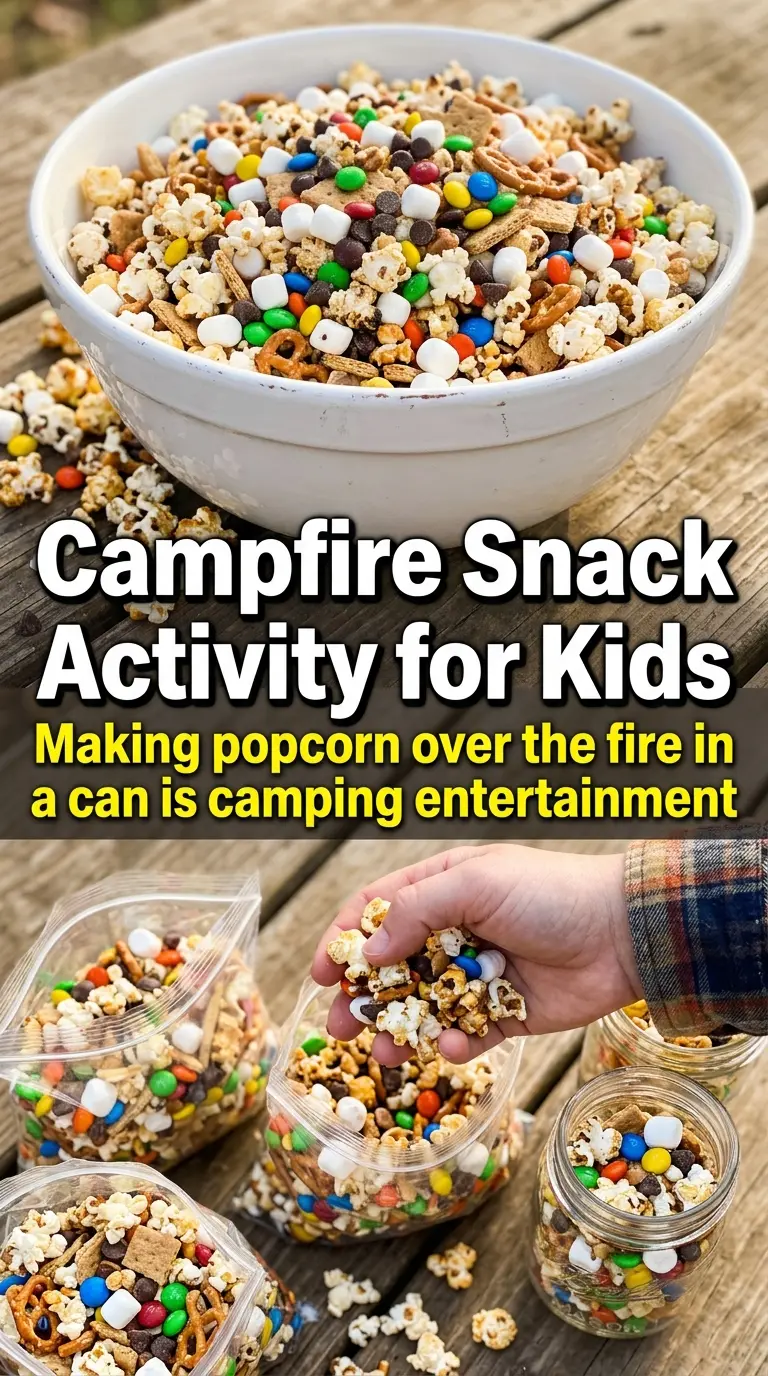
- Popcorn kernels — Fresh kernels pop more reliably and leave fewer old, stubborn hulls behind. If yours have been sitting in a cabinet for years, expect a few more unpopped kernels.
- Vegetable oil — This gives the kernels an even heat start and keeps them from sticking. Neutral oil works best here because campfire popcorn should taste like popcorn first, not like the oil you used.
- Large metal coffee can — The can acts like a tiny roaster, but metal is nonnegotiable. Don’t substitute anything coated, lined, or plastic in any way; it needs to handle direct heat safely.
- Coat hanger or sturdy wire — The wire is what makes the whole thing workable over fire. Use something stiff enough to support the can without sagging, and fasten it securely so you can shake without losing control.
- Salt and melted butter — Salt is best added right after popping while the popcorn is still warm. Butter is optional, but if you use it, drizzle lightly so you don’t wipe out the crisp texture you just worked for.
How to Pop It Over the Fire Without Burning the Batch
Punching and Prepping the Can
Start by punching several small holes in the bottom of the coffee can. They don’t need to be large; you just need enough airflow to let steam escape as the kernels pop. Add the kernels and oil, then secure the lid so nothing spills while you shake. If the lid is loose, hot kernels can jump out and the can becomes awkward to handle over the fire.
Shaking Over the Flames
Hold the can over the fire and keep it moving the entire time. You’re not trying to park it in one hot spot; you’re trying to heat the kernels evenly until the popping starts in earnest. Listen for the sound to build, then watch for the popping to slow down. Once it stretches to a few seconds between pops, pull the can away immediately so the last kernels don’t scorch.
Finishing and Seasoning
Take the lid off carefully, because hot steam will come out fast. Pour the popcorn into a bowl right away so it stops cooking in the can. Salt it while it’s hot, then add a little melted butter if you want a richer finish. If the popcorn tastes flat, it usually needs salt more than it needs more butter.
How to Change This Campfire Snack Without Losing the Crunch
Dairy-Free and Still Rich Enough
Skip the butter and finish with extra salt, smoked salt, or a light sprinkle of seasoning while the popcorn is still warm. You’ll lose the buttery finish, but the popcorn stays crisp and the campfire flavor comes through more clearly.
Use Coconut Oil for a Sweeter Note
Coconut oil works well if you want a slightly different flavor and better heat tolerance than some softer fats. It changes the taste a bit, so use it only if you want the popcorn to lean slightly sweet and roasty.
Season It Like Trail Mix
Once the popcorn is in the bowl, toss it with cinnamon sugar, ranch seasoning, chili powder, or grated Parmesan if you’re serving it away from the fire. Dry seasonings cling best while the popcorn is still warm and just a little glossy from the oil.
Storage and Reheating
- Refrigerator: Not ideal. Popcorn turns stale in the fridge fast and picks up moisture from the cold air.
- Freezer: I don’t recommend freezing it. The texture suffers once it thaws.
- Reheating: If the popcorn softens, spread it on a dry baking sheet and warm it in a low oven for a few minutes. Don’t cover it, or the steam will just soften it more.
Answers to the Questions Worth Asking
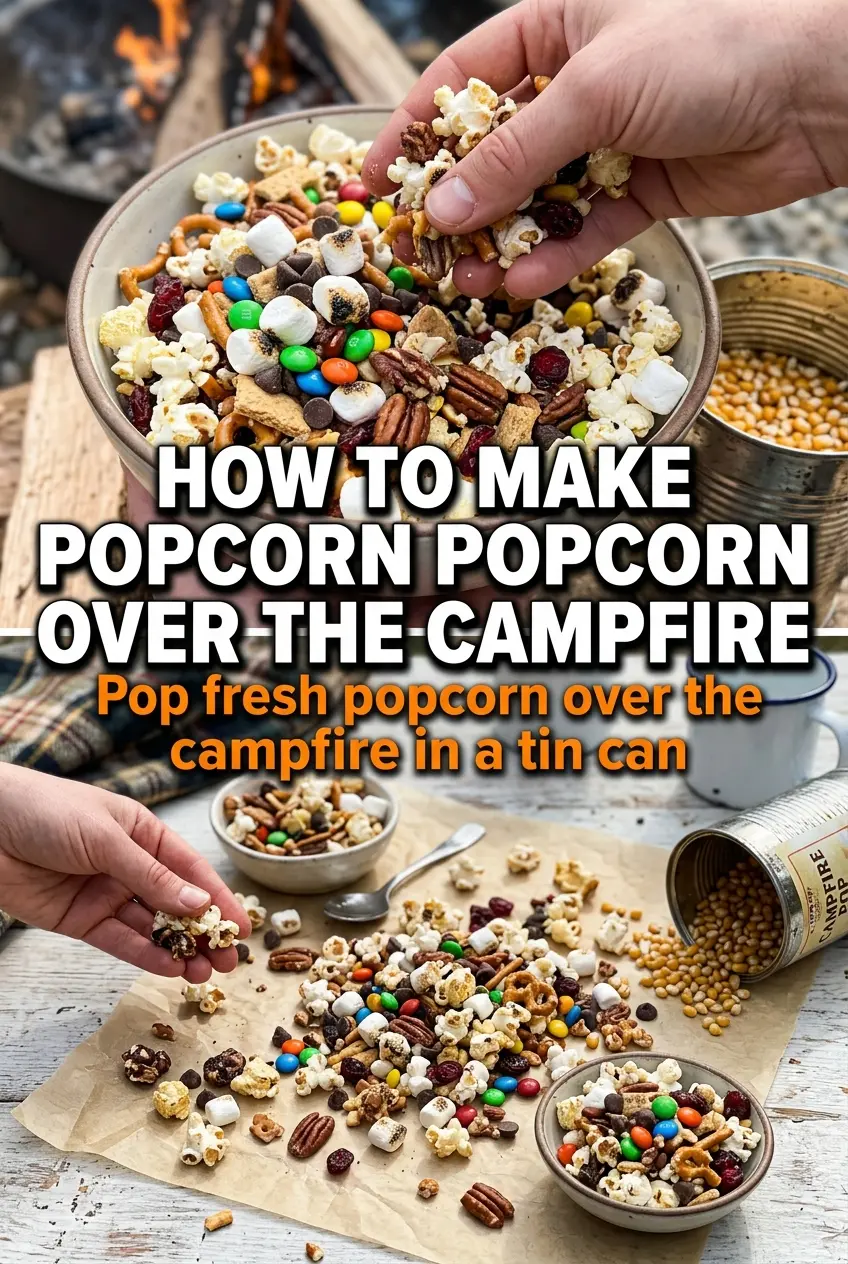
Campfire Popcorn in a Can
Ingredients
Equipment
Method
- Punch several small holes in the bottom of the can for ventilation, leaving enough airflow for steady popping (no visible loose metal edges).
- Add popcorn kernels and vegetable oil to the can, then secure the lid so the contents stay inside as it heats over the fire (kernels should be loose enough to move).
- Create a handle by wrapping wire around the can, ensuring it’s tight and stable so you can lift and shake safely over the flames (handle should not slip).
- Hold the can over the campfire, shaking constantly to keep kernels moving and to prevent scorching (8-10 minutes total; stop when popping slows and you can see fewer kernels bursting).
- Carefully remove the lid and pour popcorn into a bowl, letting steam settle for 5-10 seconds before finishing (watch for hot oil/steam).
- Season with salt and melted butter if desired, then toss gently until the popcorn looks evenly coated (finish right away while it’s hot).