Campfire nachos hit that sweet spot between casual and a little over the top: crisp chips underneath, molten cheese in every corner, and enough toppings to turn one skillet into a full meal. When they’re built right, the bottom chips stay sturdy enough to scoop, the top layer gets all the bubbly cheese pull, and the whole pan disappears faster than anything else at the fire.
The trick is layering. If you dump everything in at once, the chips on the bottom steam and collapse before the cheese has time to melt. Splitting the chips and toppings into two layers gives you better coverage without sacrificing crunch, and using a cast iron skillet helps the heat move evenly across the pan. I also like to keep the cold toppings for the end so the tomatoes stay bright, the sour cream stays cool, and the guacamole doesn’t disappear into the cheese.
Below you’ll find a straightforward way to build these so they hold together on the grate, plus a few practical swaps for making them work at camp, in the backyard, or straight from the oven at home.
The cheese melted right through the middle without turning the chips soggy, and the black beans plus beef made it hearty enough that everyone kept going back for “just one more scoop.”
Save these campfire nachos supreme for the next night you want a bubbling skillet of beef, beans, and cheese with no fussy cleanup.
The Layering Trick That Keeps Campfire Nachos Crispy
The biggest mistake with loaded nachos is treating them like a casserole. Once the chips sit under a heavy pile of hot toppings, they give up fast. Layering half the chips and toppings first, then repeating, spreads the weight out and gives the cheese a chance to glue everything together before the bottom turns soft.
Heat matters here too. Medium heat is enough to melt the cheese without scorching the chips nearest the grate. If the fire is roaring hot, wait it out. You want steady heat and a covered skillet if the wind is working against you, because the goal is melted cheese, not charred edges with cold centers.
- Cast iron skillet — This gives you even heat and enough depth to hold the toppings. A thin pan works in a pinch, but it won’t protect the chips as well.
- Taco-seasoned beef — The beef brings the bold, salty base that keeps this from tasting like plain chips and cheese. Leftover taco meat works perfectly.
- Black beans and corn — These stretch the skillet without making it feel skimpy. Drain them well so extra liquid doesn’t drip into the chips.
- Mexican cheese blend — Shredded cheese melts more evenly than blocks here. Pre-shredded is fine; just don’t use a low-moisture cheese that refuses to melt smoothly.
What Each Topping Is Actually Doing in the Skillet
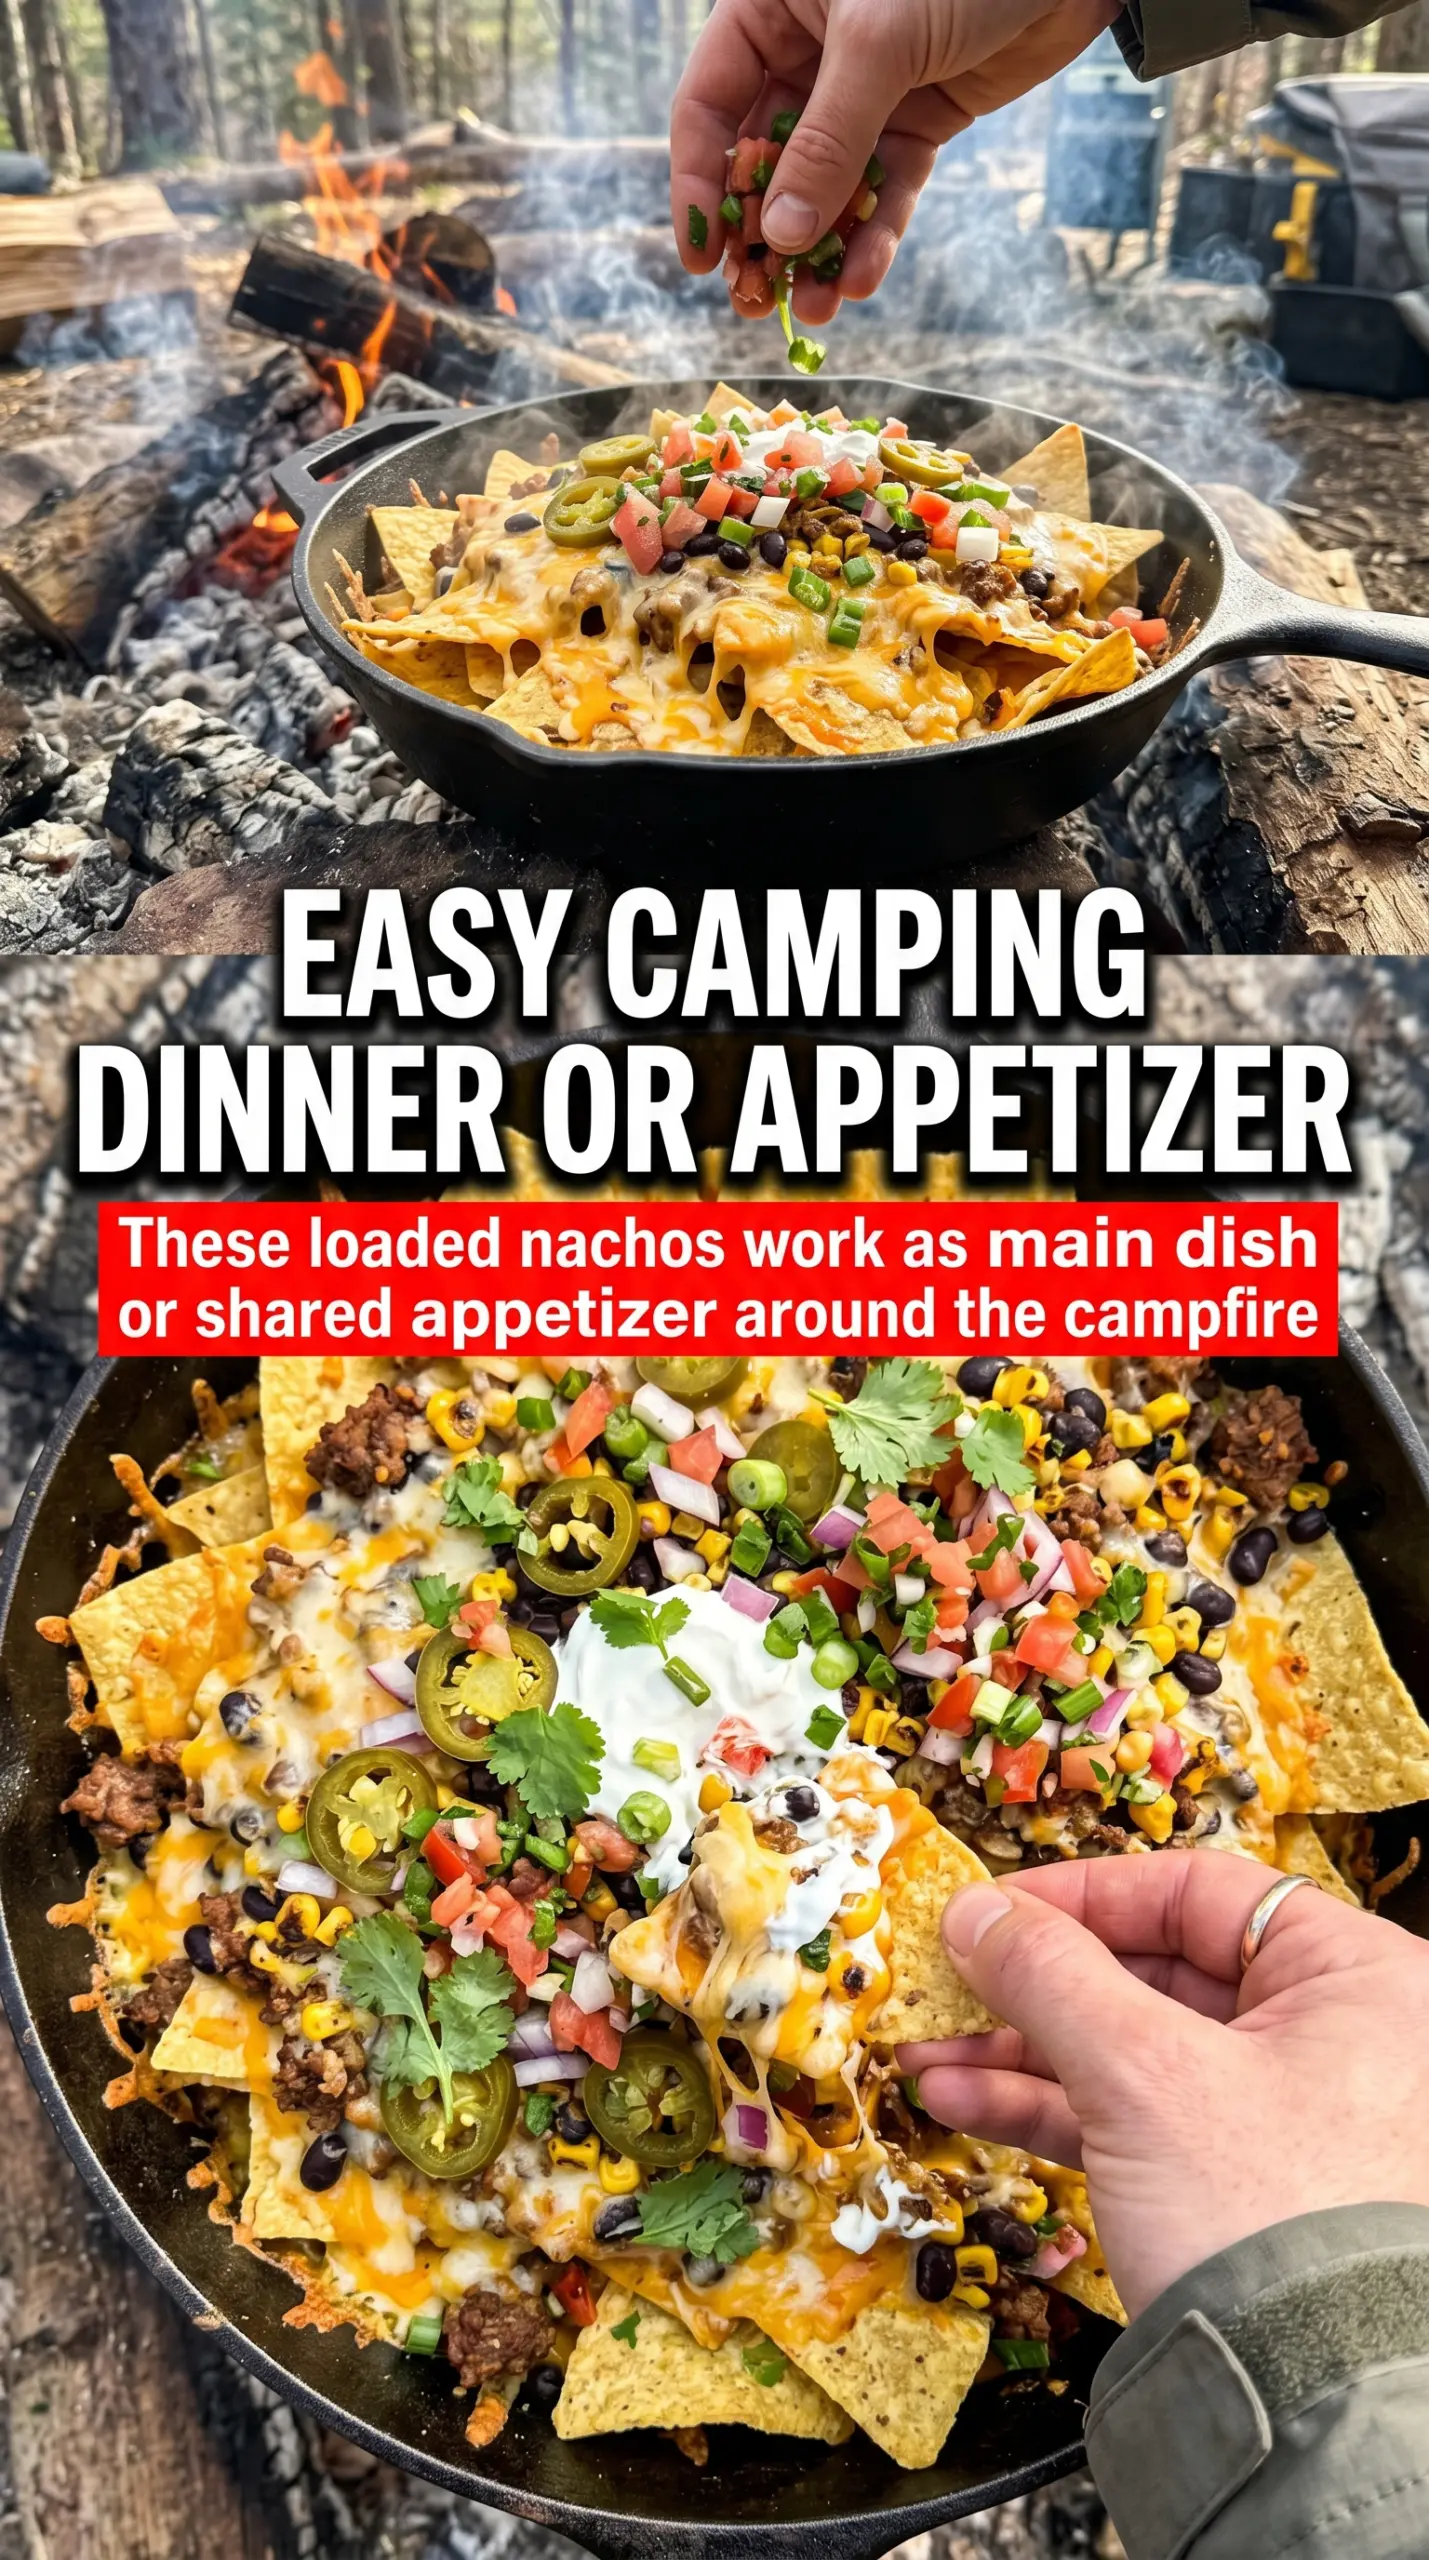
- Tortilla chips — Use sturdy restaurant-style chips, not the delicate thin kind. The thicker chip holds up better under the cheese and beef.
- Ground beef — This is the main source of heft. If you want a cleaner finish, drain off excess fat after browning so the bottom layer doesn’t get greasy.
- Tomatoes, jalapeños, sour cream, guacamole, and cilantro — These go on at the end for contrast. If you cook them, the tomatoes collapse and the fresh toppings lose the bright finish that makes the skillet feel complete.
- Lime wedges — A squeeze of lime wakes up the beef, beans, and cheese. It’s the one finishing touch that cuts through all the richness.
Building the Skillet So Nothing Turns Soggy
Start With a Sturdy Base
Spread half the chips in an even layer across the skillet, then add half the beef, beans, corn, and cheese. The goal is coverage, not perfection; there should be enough topping to hit every scoop, but not such a thick pile that the cheese can’t melt down through the middle. If the chips are crammed into a mound, the center heats unevenly and the bottom layer steams instead of toasting.
Repeat the Layers and Let the Heat Work
Add the remaining chips and repeat the toppings so the skillet feels full and balanced. Set it over medium campfire heat for 12 to 15 minutes, watching for the cheese to go glossy, then fully melted and bubbling around the edges. If the chips start darkening too quickly before the cheese melts, pull the skillet higher off the flame or move it to a cooler part of the grate.
Finish Cold and Serve Fast
As soon as the cheese is melted, pull the skillet off the heat and add the tomatoes, jalapeños, sour cream, guacamole, and cilantro. Those fresh toppings do their best work when they stay cool and bright. Serve immediately with lime wedges, because nachos wait for nobody — once the steam starts hanging over the pan, the chips soften fast.
How to Adapt This Skillet for Different Camps and Cravings
Make It Vegetarian
Swap the beef for an extra can of black beans, or use seasoned crumbled tofu or plant-based ground. You’ll lose some of the meaty depth, so add a little extra taco seasoning and a pinch of salt to keep the skillet bold enough to stand up to the cheese.
Make It Gluten-Free Without Changing the Method
Most tortilla chips are naturally gluten-free, but check the seasoning blend on the beef if you’re using a packet. Some taco seasonings hide wheat starch, and that’s the easiest place for this recipe to go sideways.
Use What You Have for the Fire Setup
A cast iron skillet gives the best result, but an aluminum pan works if that’s what you’ve got at camp. Keep the heat gentler and watch the bottom more closely, since thin pans can scorch before the cheese finishes melting.
Storage and Reheating
- Refrigerator: Store leftovers for up to 3 days. The chips soften, but the flavors still hold up well.
- Freezer: Not a good freezer recipe once it’s assembled. The fresh toppings and chips don’t thaw well, and the texture goes downhill fast.
- Reheating: Reheat the beef, beans, corn, and cheese base in a skillet or oven, then add fresh chips and toppings right before serving. If you try to microwave the whole thing, the chips turn limp and the cheese gets greasy.
Questions I Get Asked About This Recipe
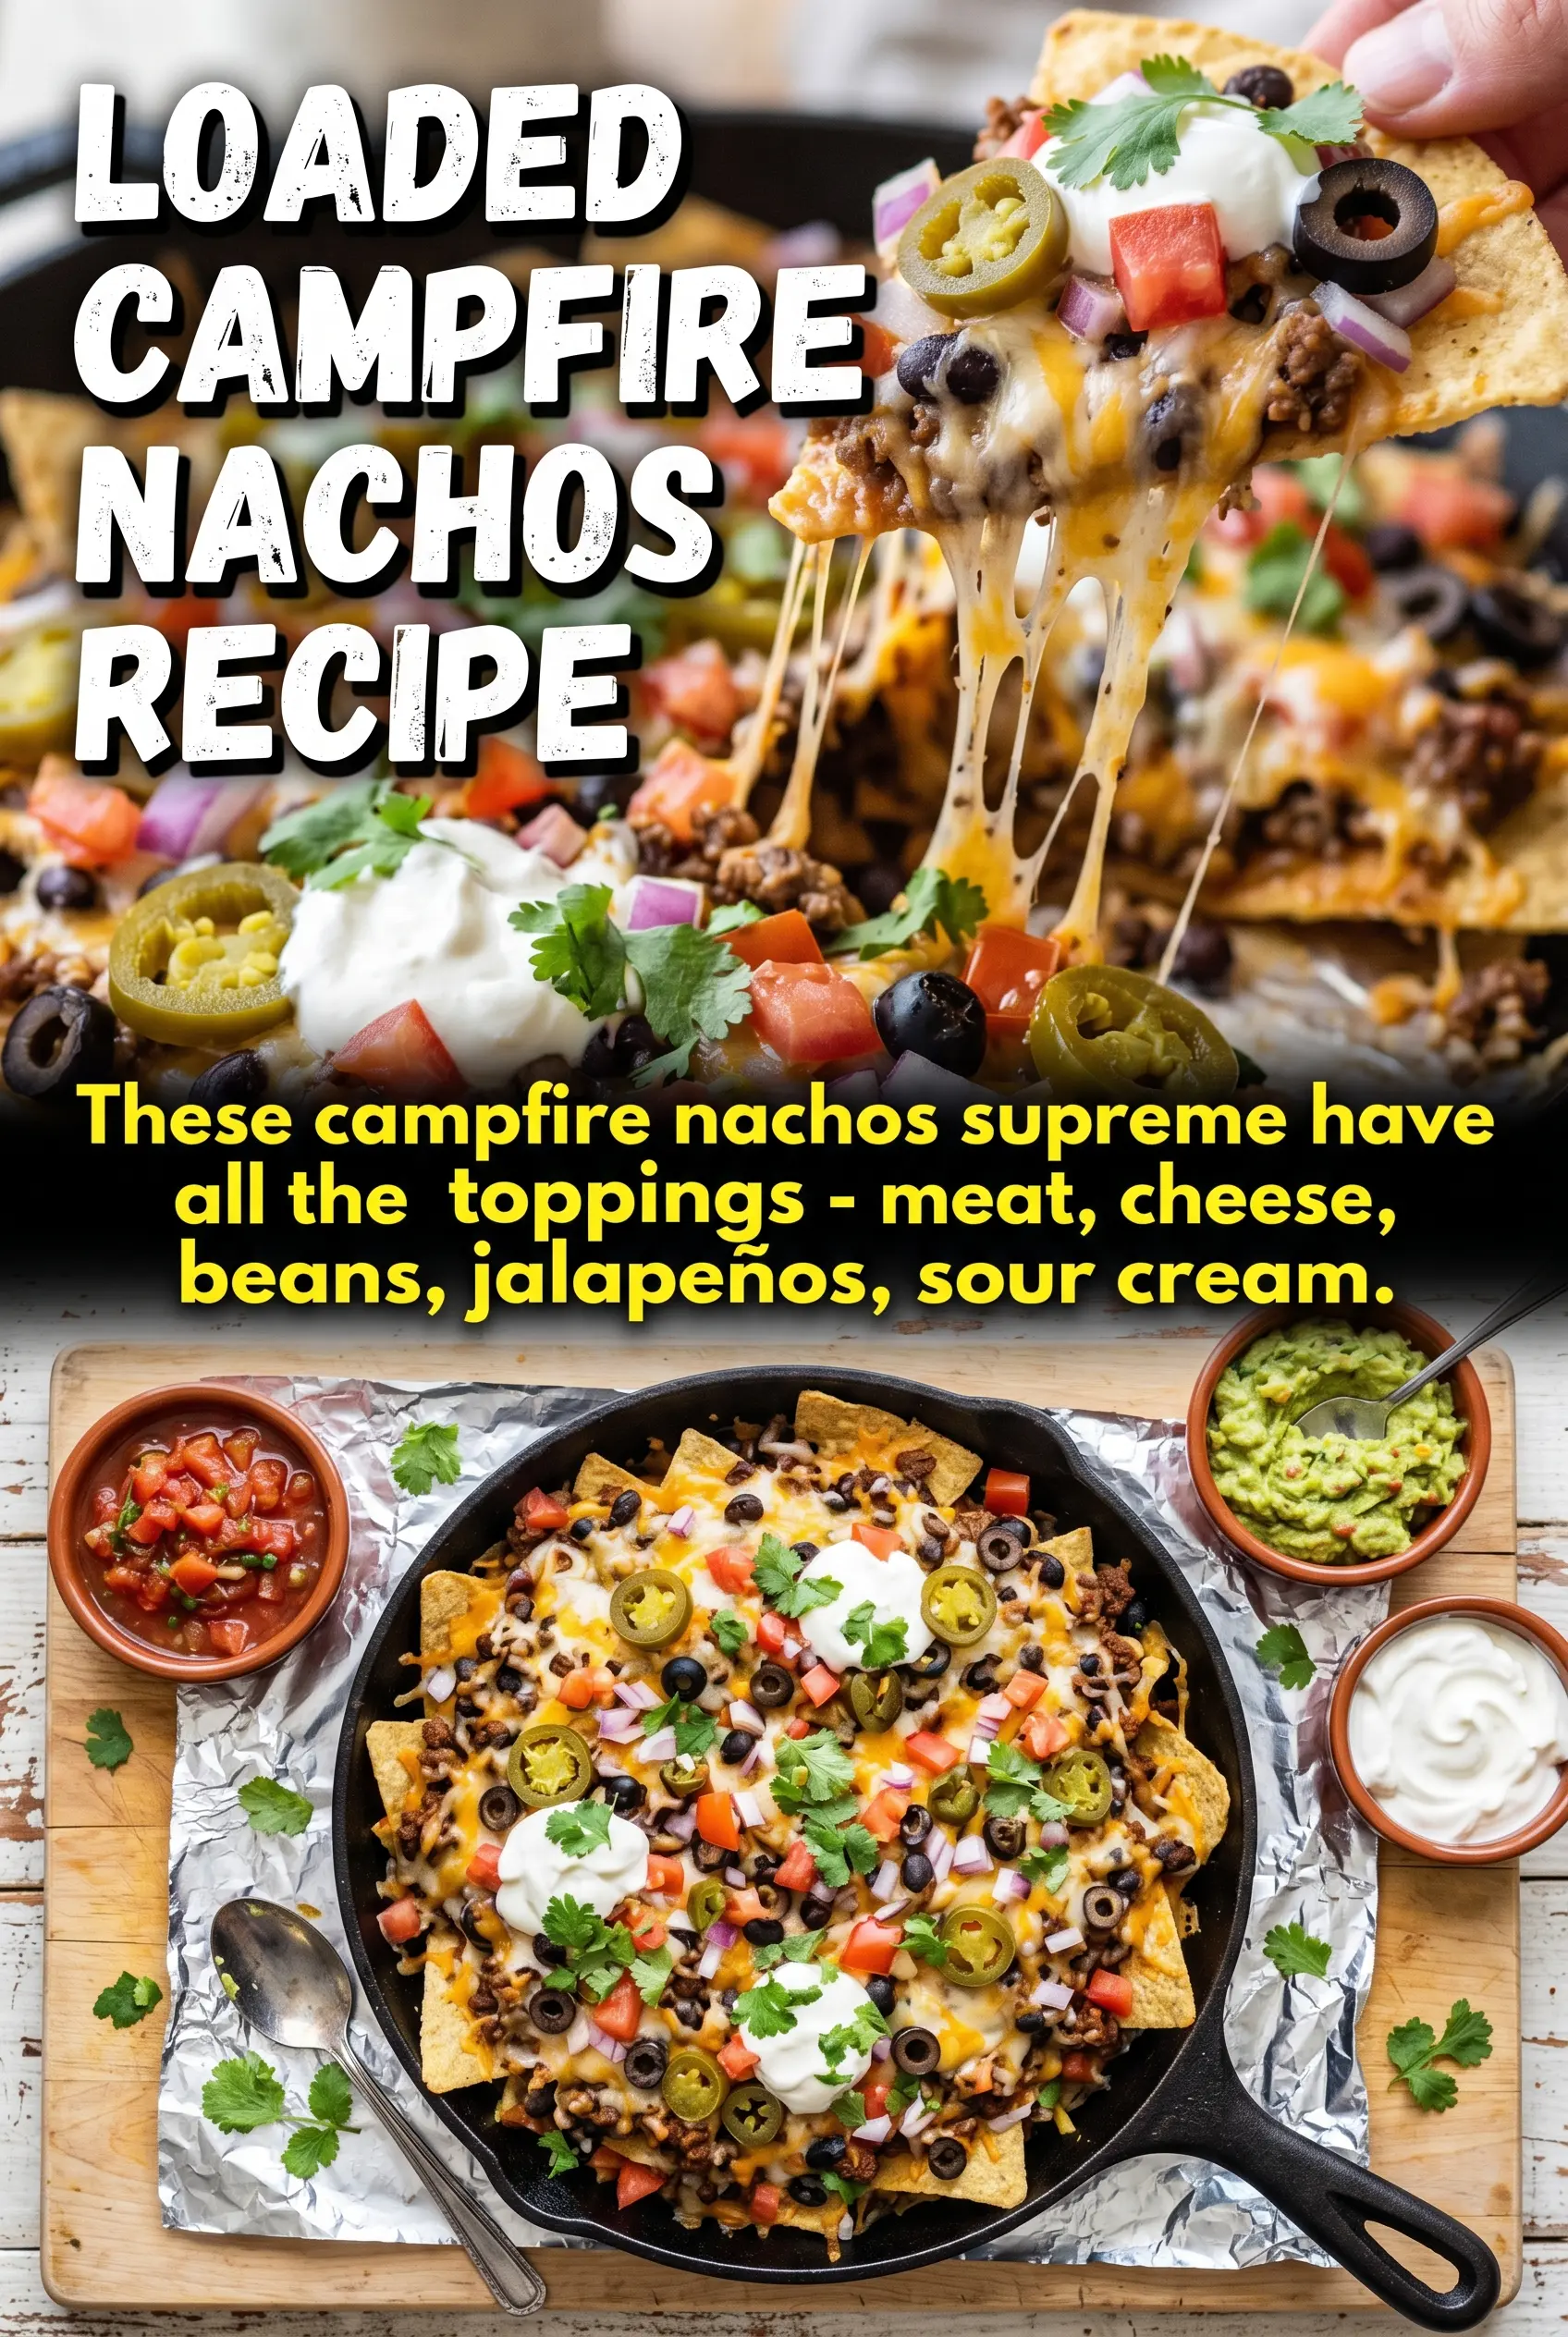
Campfire Nachos Supreme
Ingredients
Equipment
Method
- Layer half the tortilla chips in a large cast iron skillet or aluminum pan.
- Top with half the cooked ground beef, black beans, corn, and Mexican cheese blend.
- Add remaining chips and repeat toppings with the remaining ground beef, beans, corn, and cheese.
- Place the skillet on the campfire grate over medium heat for 12-15 minutes until the cheese melts and looks bubbly.
- Remove from heat and top with diced tomatoes and sliced jalapeño.
- Spoon sour cream and guacamole over the nachos in even dollops.
- Sprinkle chopped cilantro over the top for a fresh finish.
- Serve immediately with lime wedges on the side.