Hot dogs over a campfire hit that sweet spot between simple and satisfying: a smoky char on the outside, a juicy snap when you bite in, and a toasted bun that picks up just enough of the fire’s edge. They’re the kind of food that disappears fast because nobody is standing around waiting for dinner to get fancy.
The trick is keeping the hot dogs moving. Set them too close to the flame and the outside will blister before the center is hot. Hold them over the coals or just above the flames, rotate often, and let the heat work gradually. That gives you the charred spots people want without turning the casing tough or splitting the hot dog open.
Below, I’ve included the small details that make campfire hot dogs easier to manage, plus a few topping ideas that work especially well when you’re cooking outdoors and don’t want a pile of extra prep.
I’ve made these over our fire pit twice now, and rotating them like you said kept the skins from splitting. The buns got just a little toasted and the hot dogs had that perfect campfire char without drying out.
These campfire hot dogs with toasted buns are the easiest outdoor dinner for a fire-pit night.
The Part That Keeps Campfire Hot Dogs From Splitting Open
The biggest mistake with campfire hot dogs is hanging them in direct flames and walking away. The casing tightens fast, then splits, and all the good juices leak out before the center has a chance to heat through. Coals are steadier than flames, but either way the fix is the same: keep the hot dogs moving and use medium heat from a little distance.
Rotation matters more than speed here. You want a slow, even turn so the skin darkens in spots without burning in one place. If the hot dog starts to drip or hiss aggressively, it’s too close. Pull it up higher and let the heat finish the job.
What Each Topping Is Doing for These Hot Dogs
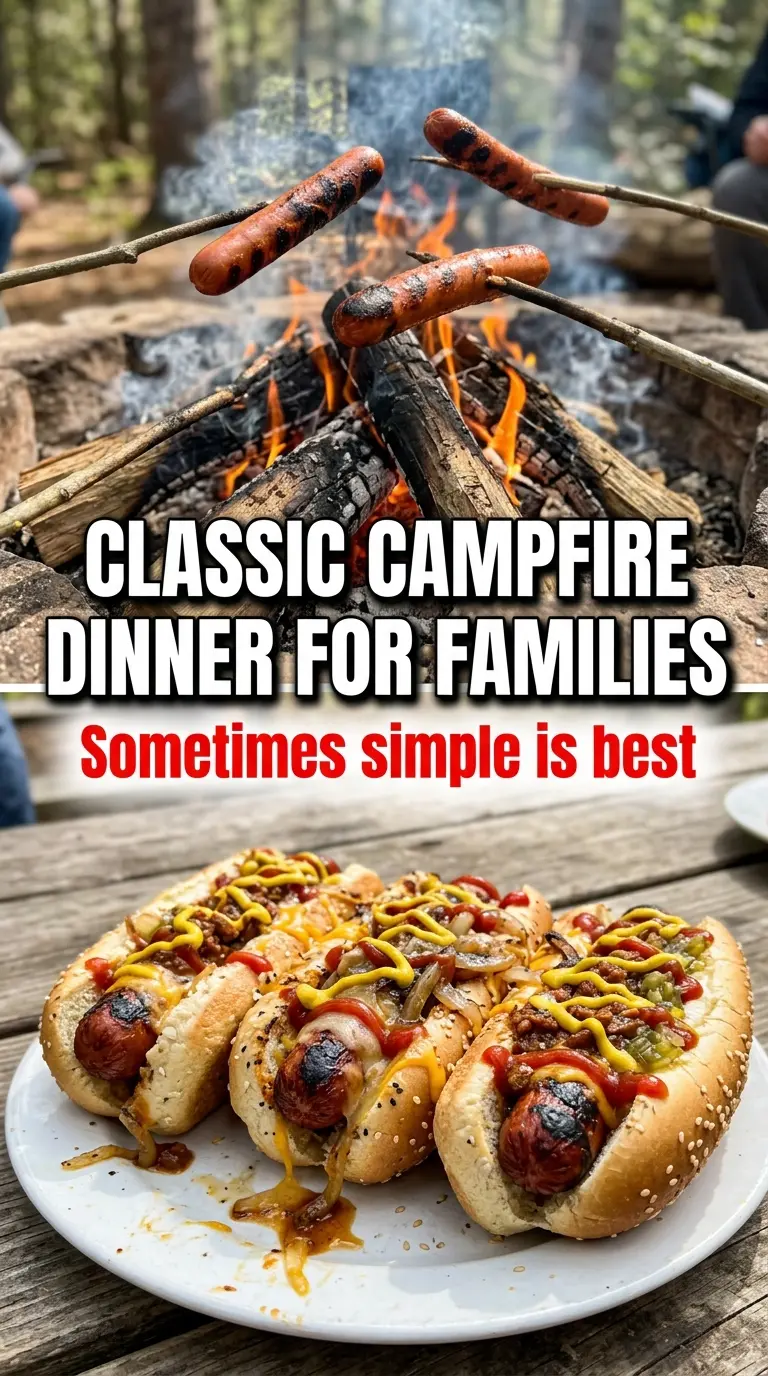
- Hot dogs — Standard franks work best because they hold their shape on a stick and get that classic snap when heated through. Beef dogs give a deeper, meatier flavor; all-beef or smoked versions are especially good over an open fire.
- Buns — Soft buns are fine, but slightly sturdier ones tear less once you load them with toppings. If you’re making a big camp batch, split-top buns toast nicely over the fire and give you a little more structure.
- Mustard, ketchup, and relish — These cover the classic balance of tang, sweetness, and crunch. Use whatever you like, but don’t pile on too much before serving or the bun will go soggy fast outdoors.
- Shredded cheese, onions, chili, sauerkraut, jalapeños — These turn a basic hot dog into a fuller meal. Chili and cheese make the messiest but most satisfying version; sauerkraut and mustard keep things sharper and lighter; jalapeños add heat without needing any extra prep beyond slicing.
How to Roast the Hot Dogs Without Burning the Outside
Skewering for Control
Run each hot dog lengthwise on a roasting stick or long fork so it stays secure while you turn it. A stable hold matters more than speed here, because a wobbly hot dog is harder to rotate evenly and more likely to fall into the fire. Push the skewer in firmly, but don’t split the hot dog open down the middle.
Roasting Over the Fire
Hold the hot dogs over flames or coals and rotate them every few seconds. You’re looking for a light blistering and scattered char marks, not a blackened shell. If the outer skin is browning too fast, lift the hot dog higher above the heat. Eight to ten minutes is usually enough, but the real cue is a hot center and a skin that looks lightly crisped.
Toasting the Buns and Building the Dogs
Toast the buns briefly over the fire if you want a little crunch. Watch them closely because they go from warmed to scorched in a hurry. Once the hot dogs are hot through, tuck them into the buns and add your condiments right away. The best campfire hot dog is served immediately while the bun is still warm and the skin still has that fresh-off-the-fire texture.
How to Adjust These for Different Camp Nights
Chili Cheese Campfire Hot Dogs
Spoon warm chili over the finished hot dogs and top with shredded cheese while the sausage is still hot enough to melt it. This version is richer and a little messier, so it works best when everyone is eating right away instead of carrying plates around the campsite.
Dairy-Free and Gluten-Free Campfire Hot Dogs
Use hot dogs and buns that fit your dietary needs, then lean on mustard, relish, onions, sauerkraut, and jalapeños for topping. This keeps the same campfire flavor and texture without changing the cooking method at all.
Sauerkraut and Mustard Dogs
Skip the sweeter condiments and go heavy on mustard and sauerkraut for a sharper, more savory hot dog. The acidity cuts through the richness of the sausage, which is a nice change when you’ve been eating a lot of grilled meat at camp.
Storage and Reheating
- Refrigerator: Cooked hot dogs keep for 3 to 4 days in the fridge, though the buns are best fresh. Store toppings separately so nothing gets soggy.
- Freezer: The cooked hot dogs can be frozen, but the texture is better if you freeze them without buns. Wrap tightly and thaw in the fridge before reheating.
- Reheating: Warm the hot dogs gently in a skillet, over low campfire heat, or in the microwave. High heat dries them out and makes the casing split, which is the main thing to avoid on round two.
Questions I Get Asked About This Recipe
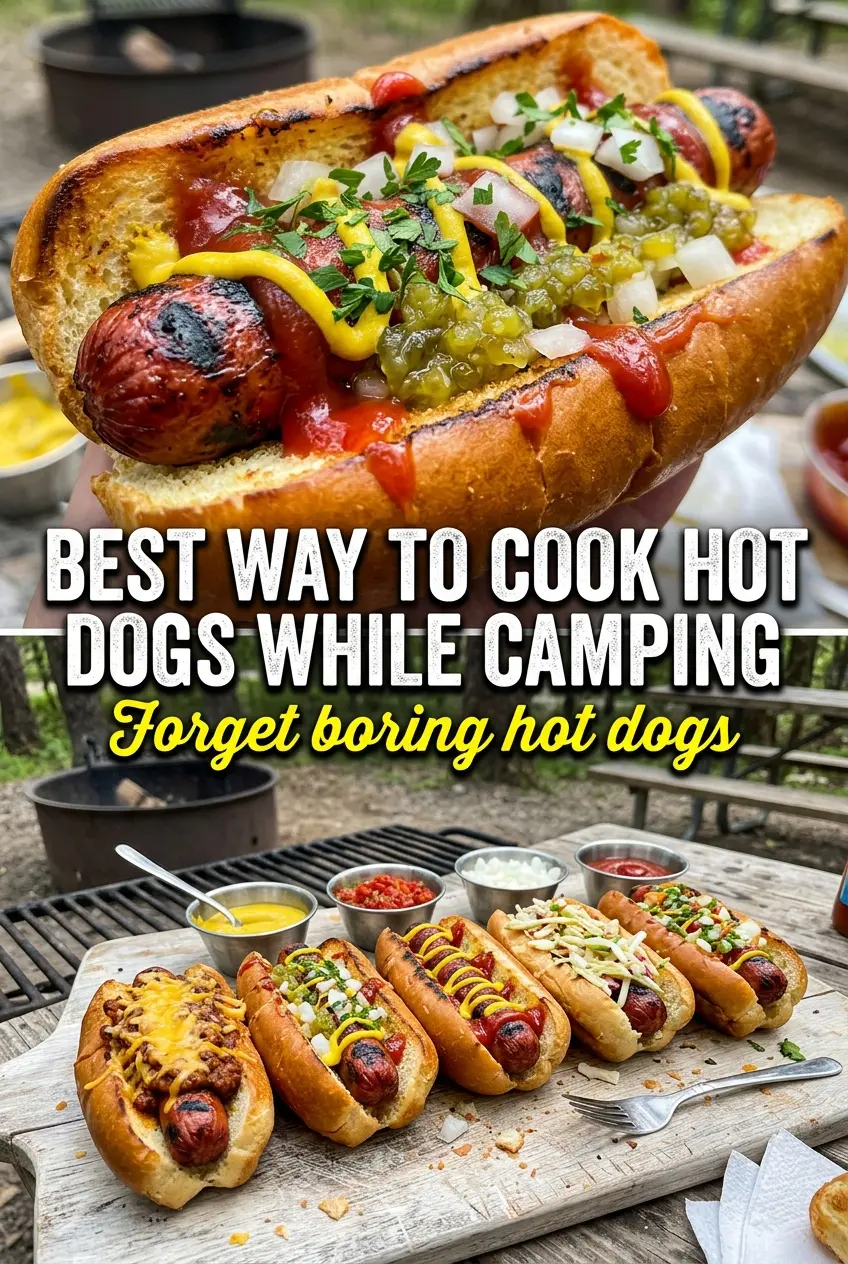
Camping Hot Dogs
Ingredients
Equipment
Method
- Skewer each hot dog lengthwise on a roasting stick or long fork. Keep the hot dog centered so it roasts evenly over the coals.
- Hold the hot dogs over campfire flames or coals, rotating frequently, for 8-10 minutes until heated through and slightly charred. Look for charred spots and a hot, steamy interior.
- Toast buns briefly over the fire if desired. Stop as soon as the cut sides look lightly toasted and warm.
- Place hot dogs in buns and add desired condiments and toppings. Arrange toppings so they melt or warm from the hot dog heat.
- Serve immediately while hot. The best bites come right after roasting when the char is fresh.