Campfire grilled cheese hits that sweet spot between simple and special: crisp, buttery bread on the outside and molten cheese that stretches when you pull the halves apart. Over an open fire, the sandwich picks up a little smoky edge that a stovetop version never quite matches, and that contrast is what keeps this one in the rotation.
The trick is controlling the heat. Too close to the flames and the bread burns before the cheese softens; too far away and you end up with pale bread and stubborn slices inside. Medium heat on a grate or in a cast iron skillet gives you the time you need for the cheese to melt evenly while the bread turns deeply golden. Softened butter also matters because it spreads in a thin, even layer instead of tearing the bread.
Below you’ll find the best way to set up the fire, what kind of cheese melts most reliably, and the small timing cue that keeps the sandwich from going from perfect to scorched in a minute.
The bread went perfectly golden over the fire and the cheese melted all the way through without burning the edges. My kids asked for another one before we even packed up the camp chairs.
Save this campfire grilled cheese for the next time you want a smoky, golden sandwich with a real cheese pull.
The Heat Window That Keeps the Bread Golden and the Cheese Melted
Campfire cooking punishes impatience. If the heat is too fierce, the butter burns before the cheese has time to soften. If the heat is too low, the bread dries out while the center stays stiff. The sweet spot is steady medium heat, where you can hear a gentle sizzle and see the bottom slice turn from pale to deep gold in about four to five minutes.
Cast iron helps because it evens out hot spots from the fire and gives the bread direct, reliable contact. A grate works too, but it asks for a little more attention since the heat shifts as the coals change. The goal isn’t a hard crust; it’s a sandwich that feels crisp at the first bite and gives way to fully melted cheese right after that.
- Bread — A sturdy sandwich bread holds up best over the fire. Thin, soft bread can collapse before the cheese melts, while something too thick may brown slowly and leave you waiting on the center.
- Cheese — American melts the smoothest and gives you that classic stretch. Cheddar and Swiss work too, but choose slices, not shredded cheese, so the filling melts evenly instead of leaking out early.
- Butter — Softened butter spreads in a thin coat and helps the bread brown evenly. Cold butter tears the bread; melted butter runs off and leaves patchy spots.
How to Build the Sandwich So the Fire Works With You
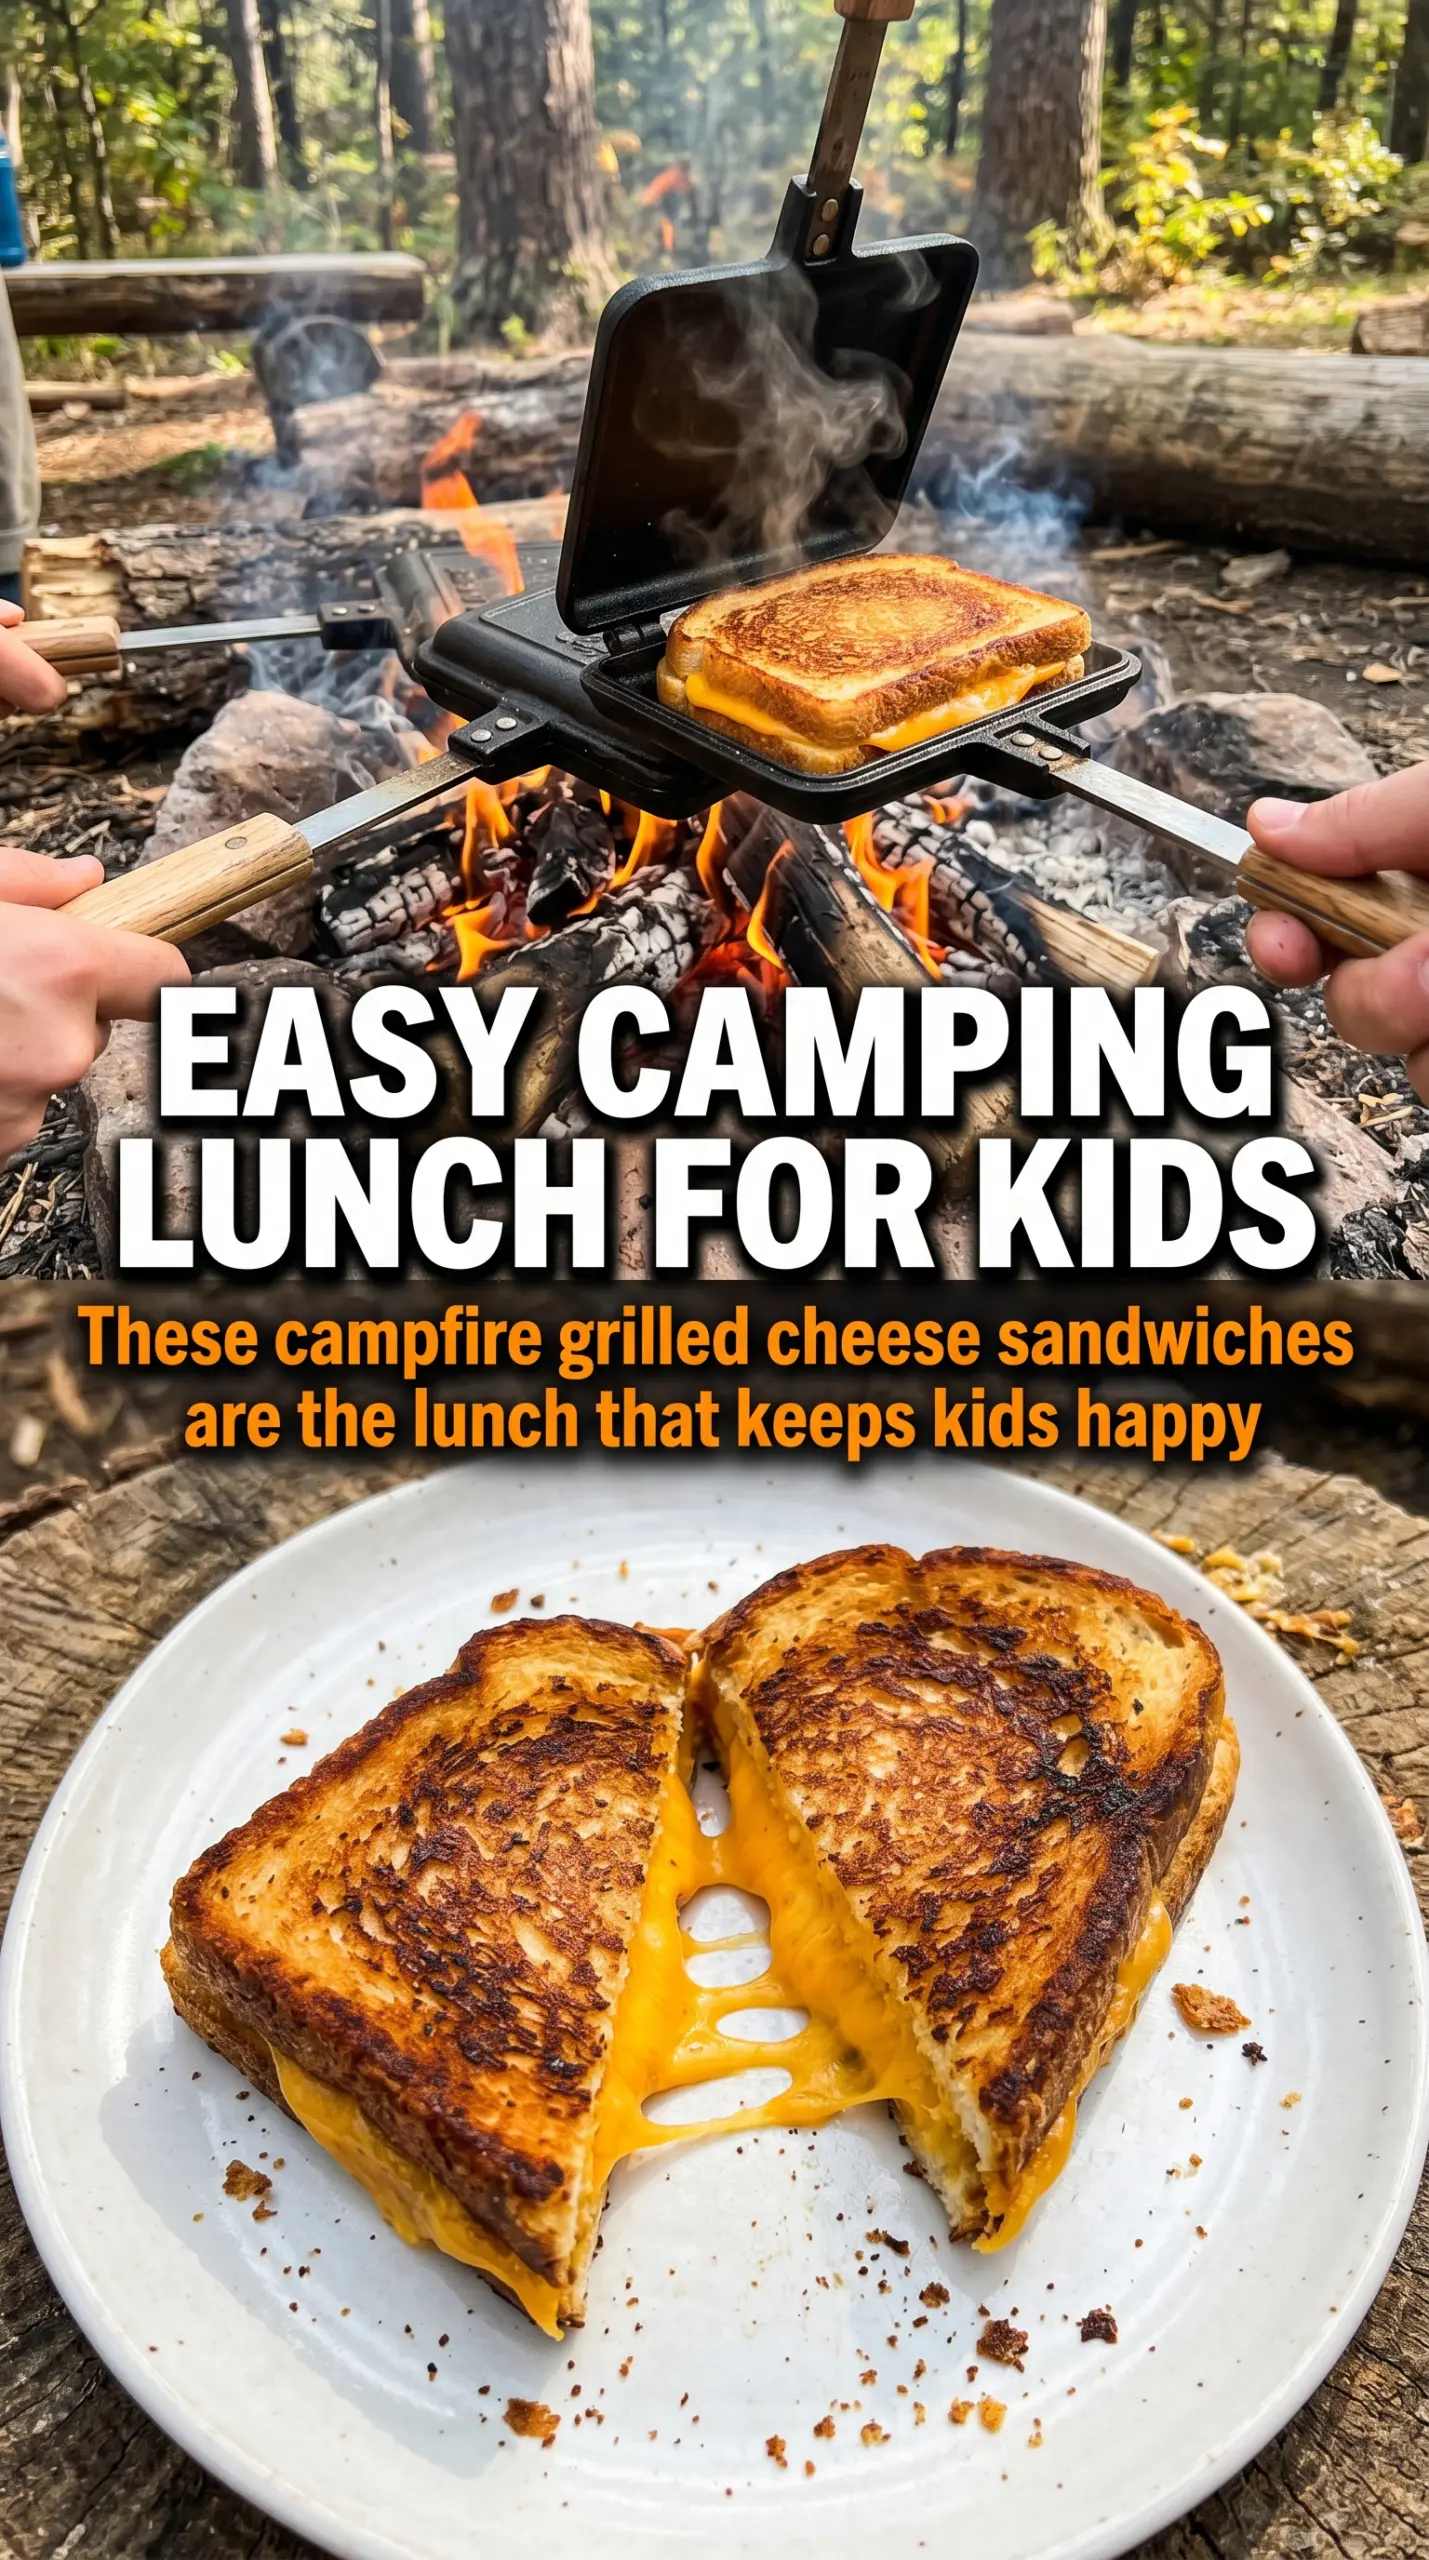
Butter one side of each slice of bread all the way to the edges. That edge coverage matters more than people think, because bare corners are the first places to dry out or catch. Stack the cheese between the unbuttered sides, then keep the buttered sides facing out so they hit the heat directly.
Setting Up the Fire
Let the flames settle down before the sandwiches go anywhere near the grate. You want hot coals or a calm, steady fire, not a rolling flare-up. If the fire is licking high enough to char marshmallows in seconds, it will char your bread faster than the cheese can soften.
Cooking the First Side
Set the sandwich on the grate or in a cast iron skillet and leave it alone until the bottom has a deep golden color and the edges look dry and set. Peek too often and you lose heat, which slows the melt. If the bread is browning too fast, move it to a cooler part of the fire instead of turning it immediately.
Flipping and Finishing
Turn the sandwich once and cook the second side until it matches the first. A gentle press with the spatula helps the slices fuse without squeezing out the cheese. When you cut it open, the center should be fully melted and glossy, not stiff or greasy.
Make It with Sharp Cheddar
Sharp cheddar brings a bigger, tangier bite, but it doesn’t melt quite as smoothly as American. Slice it thin and keep the heat moderate so it softens before the bread over-browns.
Dairy-Free Campfire Grilled Cheese
Use a plant-based butter and a dairy-free slice that melts well, not a crumbly block-style substitute. The sandwich still browns nicely, but the melt will be a little softer and less stretchy than the original.
Add Bacon or Tomato
Cooked bacon adds salt and crunch, while thin tomato slices bring juiciness. Pat the tomato dry first or the bread will steam instead of toast.
Storage and Reheating
- Refrigerator: Store leftovers up to 2 days. The bread softens as it sits, so expect less crunch after chilling.
- Freezer: Not a great freezer recipe. The bread turns soggy after thawing and the cheese texture gets grainy.
- Reheating: Warm in a skillet over low heat until the outside crisps back up and the center melts again. High heat burns the bread before the cheese loosens.
Answers to the Questions Worth Asking
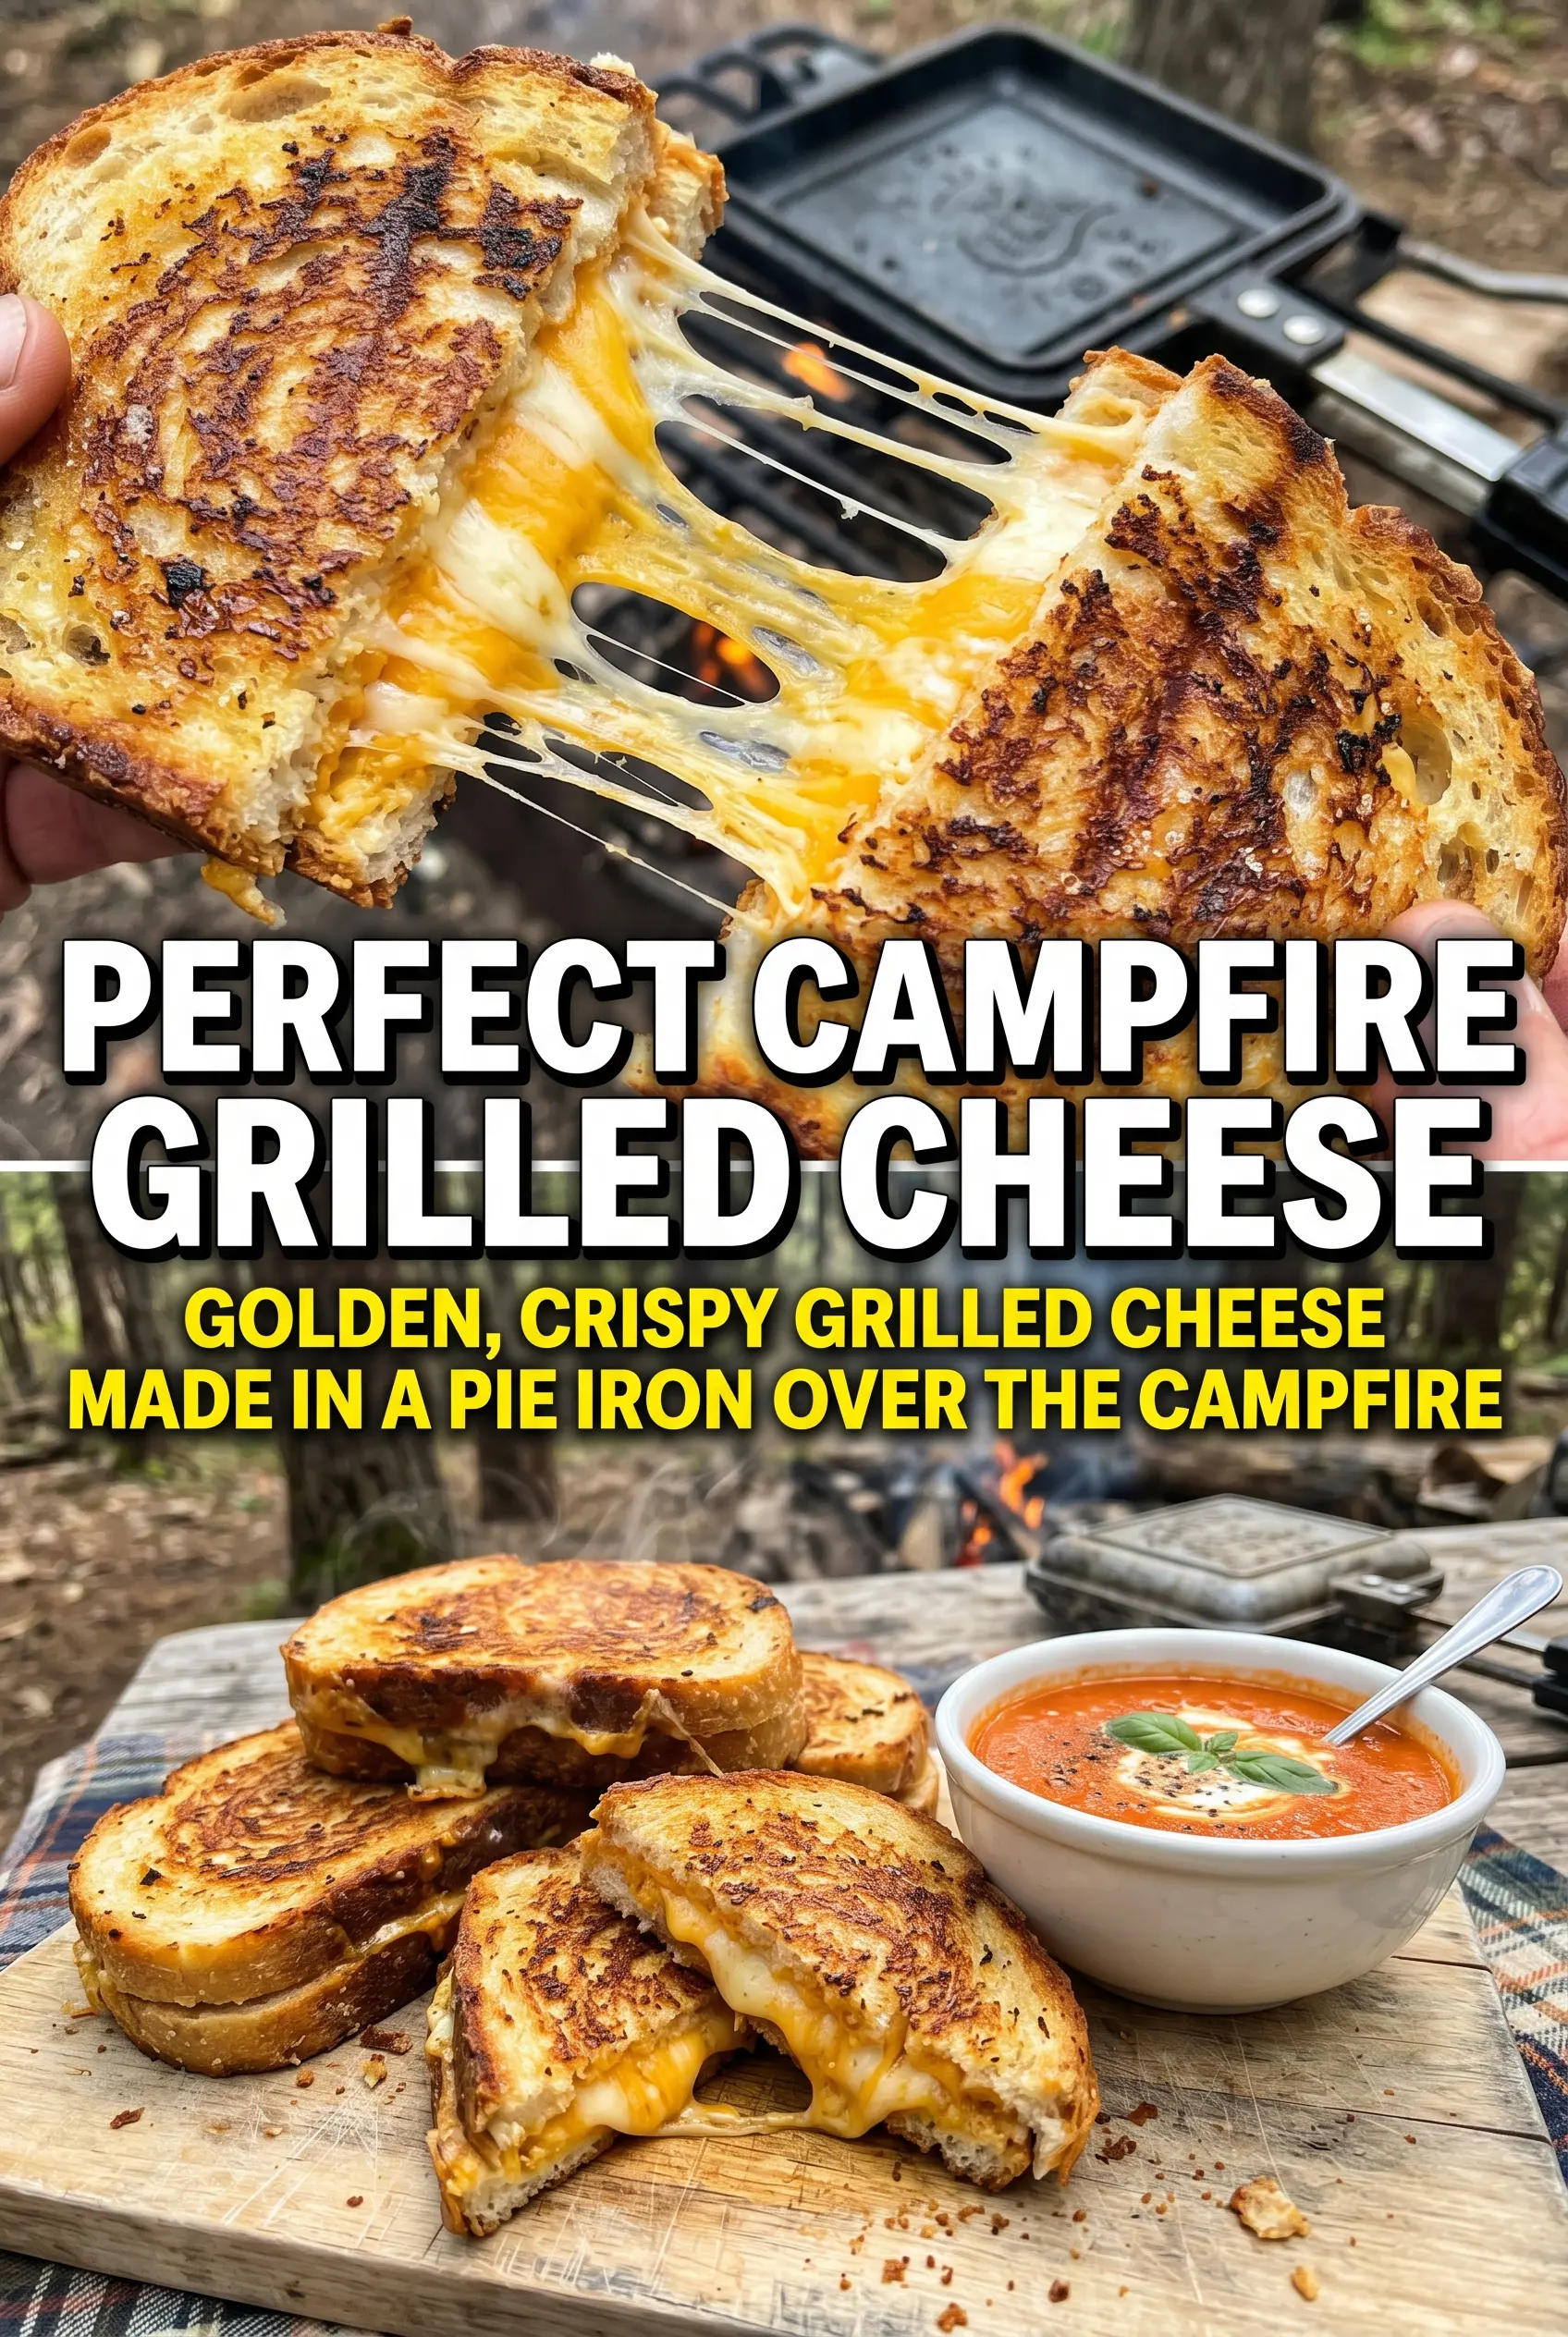
Campfire Grilled Cheese
Ingredients
Equipment
Method
- Butter one side of each bread slice generously so the outside will brown in the heat.
- Layer cheese between two bread slices with the buttered sides on the outside to create a sealed sandwich.
- Place the sandwiches on the campfire grate or in a cast iron skillet over medium heat, then cook for 4-5 minutes until the first side is golden brown and the cheese starts to melt.
- Flip the sandwiches and cook for 4-5 minutes more until both sides are golden and the cheese is fully melted with stretchy pull.
- Remove from the heat, cut in half, and serve hot for the cleanest cheese pull.