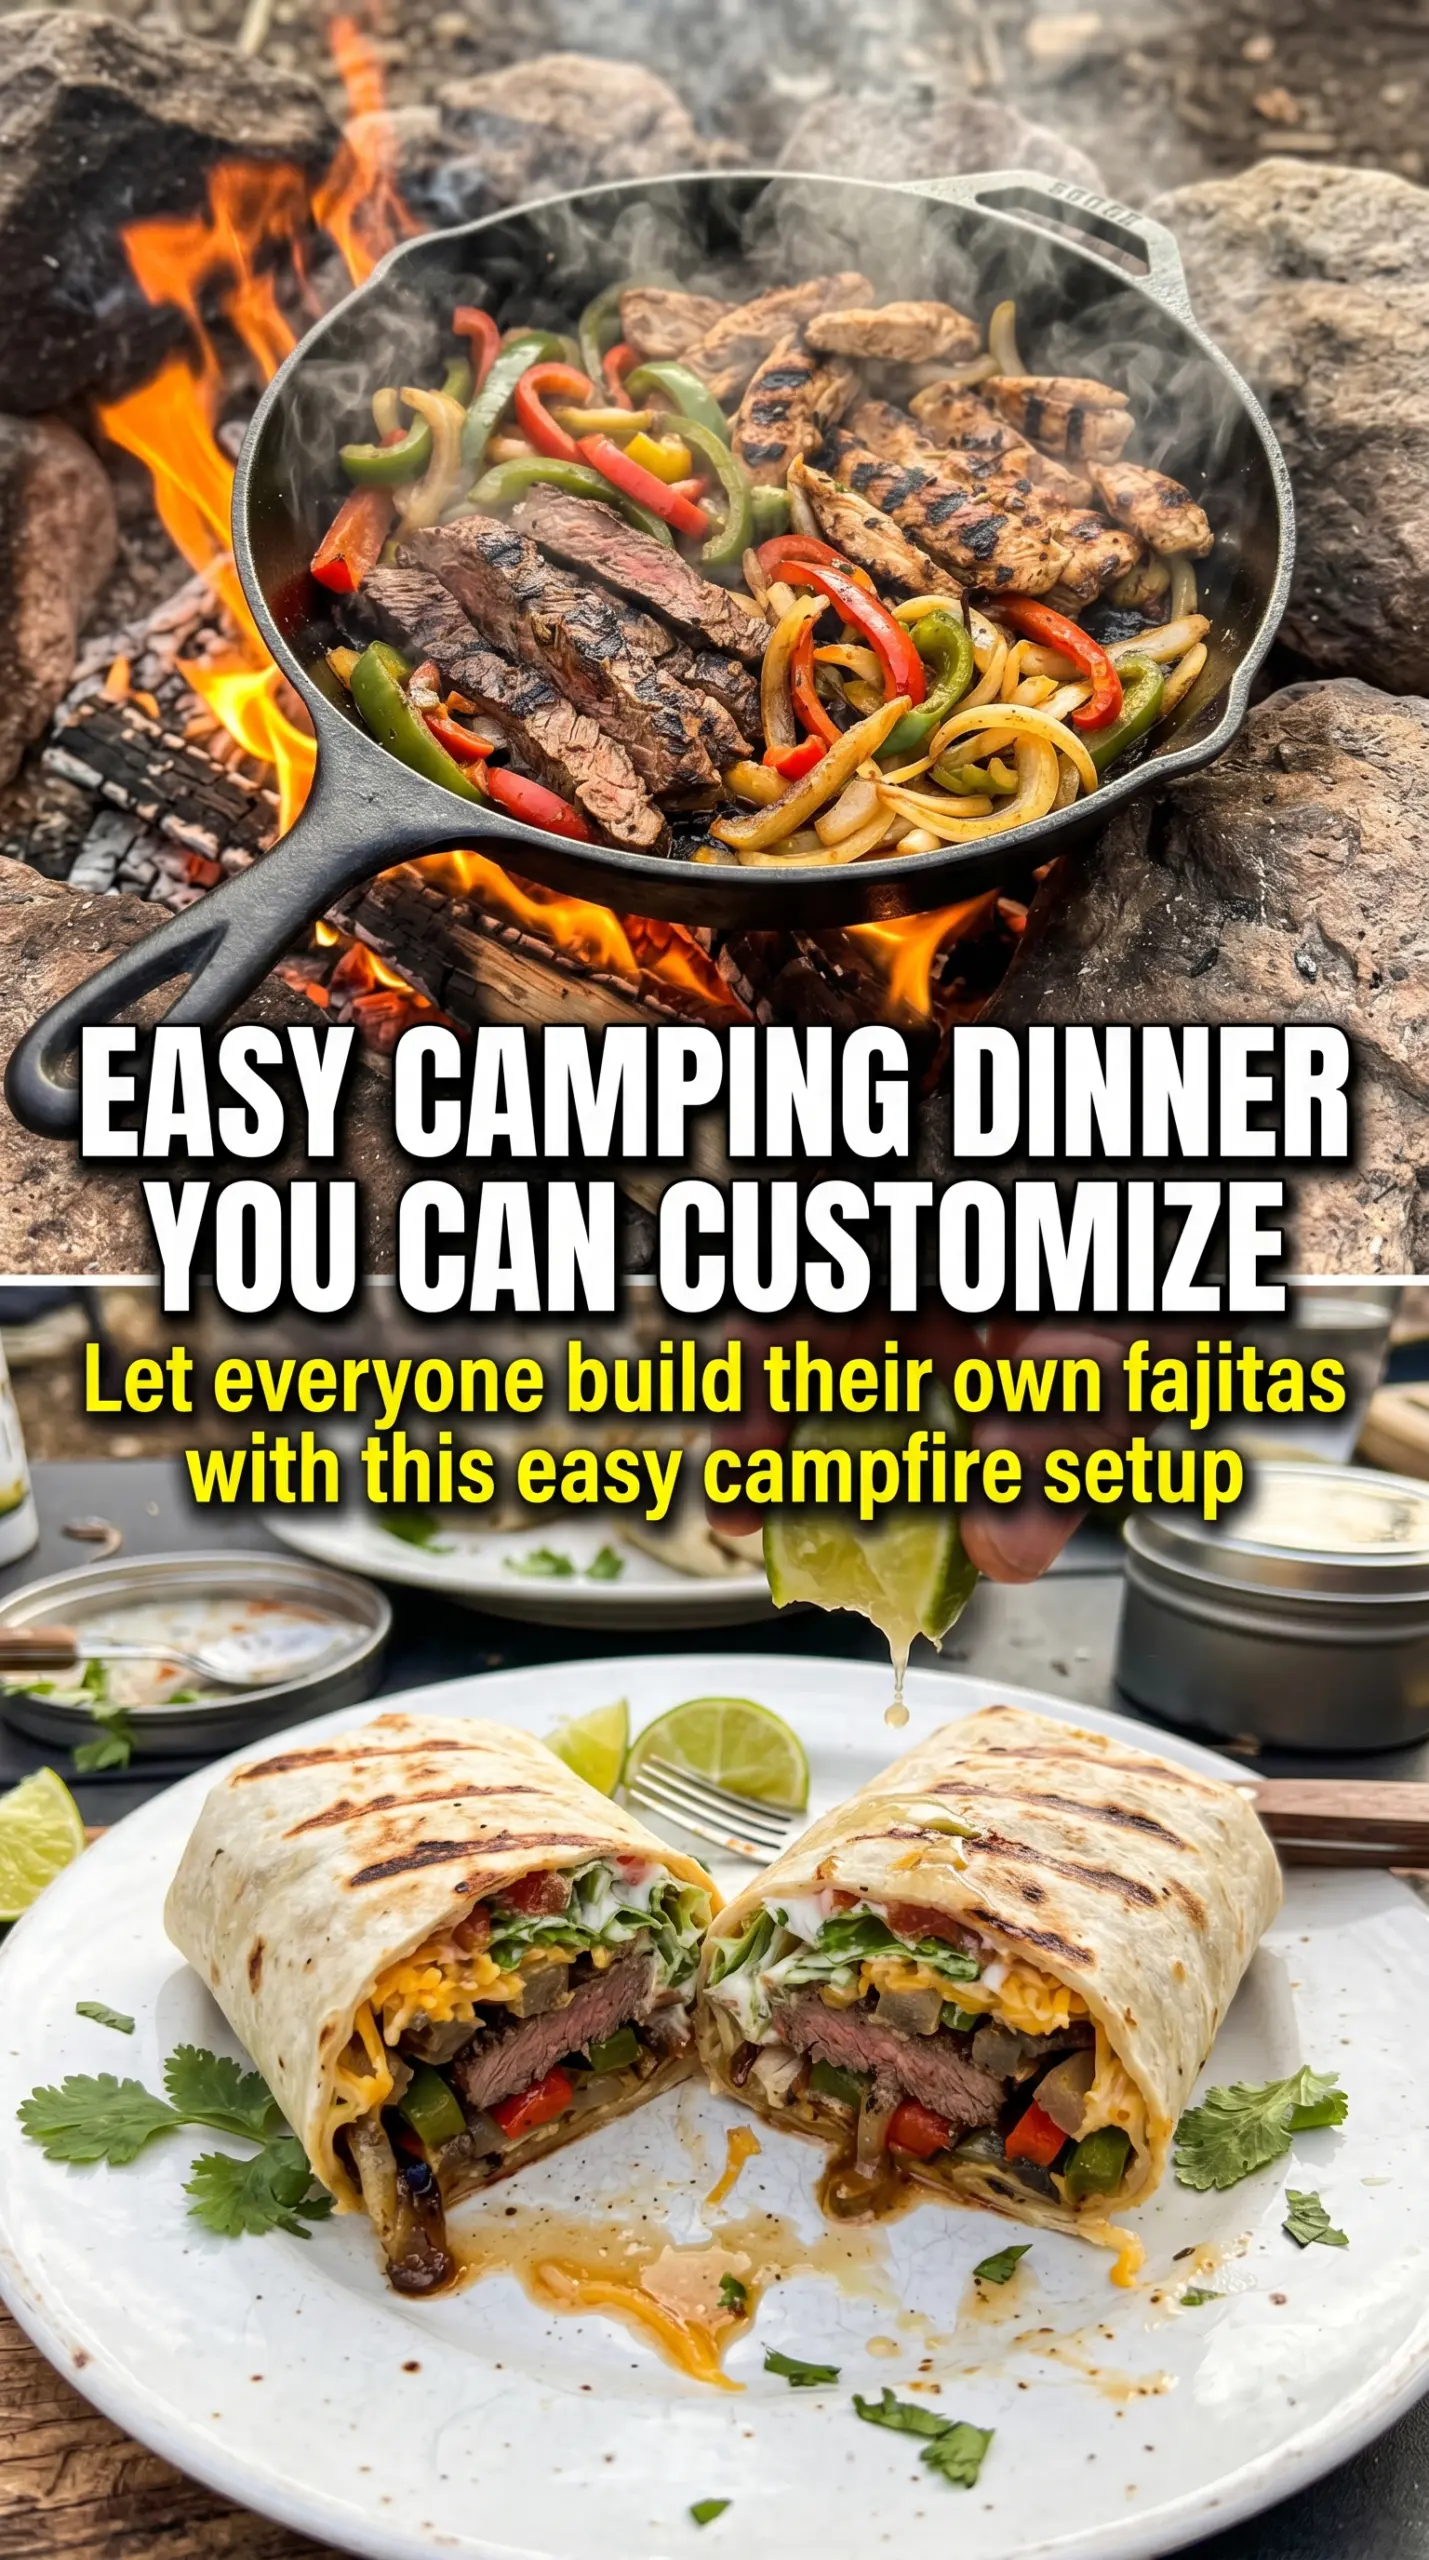
Sizzling campfire fajitas hit the table with the kind of smell that pulls everyone in before you even set the skillet down. The best version has browned meat, peppers that still keep a little bite, and onions that soften just enough to turn sweet at the edges. Wrapped in a warm tortilla with a squeeze of lime, it feels like a proper meal, not just something thrown together at the campsite.
What makes this work is the order. The meat goes in first and gets out of the pan before the vegetables soften too much, so nothing turns gray or soggy. A hot cast iron skillet gives you the charred edges you want over a campfire, and slicing the chicken or steak thin means it cooks quickly without drying out. From there, the peppers and onions pick up all that seasoned fond left behind in the pan.
Below you’ll find the little details that matter most outdoors, including how hot the skillet needs to be, how to keep the tortillas warm, and a few simple swaps if you’re cooking for a mixed crowd.
The peppers stayed crisp-tender and the steak picked up a great char from the skillet. We squeezed lime over the top and ate the whole pan with warm tortillas.
Campfire fajitas with charred peppers, juicy meat, and warm tortillas for your next skillet dinner around the fire.
The Reason the Meat Comes Out Before the Peppers
The biggest mistake with fajitas in a camp skillet is crowding everything in at once. Meat and vegetables need different timing, and if they share the pan too early, the skillet cools down and everything steams instead of browning. Pulling the meat out first keeps it juicy, then the vegetables can soften and char in the seasoned fat left behind without overcooking the protein.
Cast iron matters here because it holds heat long enough to recover after each addition. If your fire is running low, let the skillet sit over the hotter part of the grate for a minute before adding the vegetables. You want to hear an immediate sizzle when they hit the pan. If they only whisper, the skillet isn’t ready yet.
What Each Ingredient Is Actually Doing in These Fajitas
- Chicken breast or steak — Either one works, but slice it thin so it cooks fast over open heat. Steak gives you a richer, beefier bite; chicken stays lighter and picks up the seasoning well. If you’re using steak, cut across the grain after slicing so it stays tender.
- Bell peppers — Use a mix of colors if you can. They don’t just look better; the sweeter red and yellow peppers balance the char from the fire. Slice them into even strips so they cook at the same pace as the onions.
- Onions — They turn soft and sweet once they pick up the hot oil and browned bits from the meat. Yellow onions are the most forgiving, but white onions give a sharper bite if that’s what you like. Slice them thick enough that they don’t collapse into mush.
- Fajita seasoning — This is the backbone of the dish, so use a blend that tastes good on its own. If your seasoning is salty, hold back on extra salt until the end. Homemade or store-bought both work as long as the blend has enough chili powder, garlic, and cumin to stand up to the fire.
- Flour tortillas — Flour tortillas hold up better than corn here because they stay pliable and wrap around the filling without cracking. Warm them over the fire right before serving so they stay soft and a little blistered. Cold tortillas make even great fajitas feel flat.
- Lime wedges and toppings — Lime wakes everything up after the smoky cook, and cool toppings like sour cream or guacamole balance the heat. Don’t pile everything on at once; a little lime and one or two toppings keep the fajita flavor front and center.
Getting the Skillet Hot Enough Without Burning Dinner
Heating the Pan Over the Fire
Set the cast iron skillet over a steady bed of coals or a strong grate, then let it heat before anything goes in. A drop of oil should shimmer right away and move easily across the pan. If the oil smokes hard before the meat goes in, the fire is too aggressive and you risk scorching the seasoning before the skillet can do its job. Aim for hot, not raging.
Searing the Meat First
Add the sliced meat in an even layer and leave it alone long enough to brown. Stirring too early keeps it from developing those dark edges that make fajitas taste like fajitas. When the pieces lose their raw look and pick up color, they can come out of the skillet. If the pan gets crowded, cook the meat in two batches so it browns instead of braising.
Cooking the Peppers and Onions
Once the meat is out, add the peppers and onions to the same pan and let them hit the hot surface. They should soften and pick up a few charred spots at the edges while still keeping some shape. If they’re browning too quickly, move the skillet to a cooler part of the fire and keep them moving. You want tender, not limp.
Bringing Everything Back Together
Return the meat to the pan and toss it with the vegetables just long enough to reheat and coat in the juices. This last step should take only a minute or two. Any longer and the meat can dry out again. Serve it straight from the skillet while the edges are still sizzling and the tortillas are warm.
How to Adjust Campfire Fajitas for Different Camps and Crowds
Swap in Steak for a Deeper Smoky Bite
Use skirt, flank, or sirloin sliced thin across the grain. Steak picks up char beautifully and gives the fajitas a richer finish, but it can dry out if it sits in the skillet too long, so pull it the moment it loses its raw color and let the vegetables finish without it.
Make It Dairy-Free Without Losing the Finish
Skip the sour cream and cheese, then lean harder on salsa, guacamole, and extra lime. You still get plenty of richness from the meat juices and oil, and the fresh toppings keep the fajitas from tasting heavy. This is the easiest adaptation because the core skillet method doesn’t change at all.
Use Corn Tortillas for a Gluten-Free Version
Corn tortillas work fine if you warm them carefully over the fire so they stay flexible. They tear more easily than flour tortillas, so double them up when loading on the filling. The flavor is a little earthier and more rustic, which fits a campfire meal nicely.
Scale Up for a Bigger Group
If you’re feeding a crowd, cook the meat in batches and keep it covered on the cool side of the fire while the vegetables finish. Trying to do everything at once cools the skillet down and ruins the char. The finished fajita mixture can sit loosely covered for a few minutes without losing much texture, so the last tortillas can be warmed before serving.
Storage and Reheating
- Refrigerator: Store leftovers in an airtight container for up to 3 days. The peppers will soften a bit more, but the flavor holds well.
- Freezer: The cooked fajita filling freezes for up to 2 months, though the peppers and onions will be softer after thawing. Freeze it in a flat, sealed bag for faster cooling and easier reheating.
- Reheating: Warm the filling in a skillet over medium heat with a small splash of oil. Don’t microwave it if you want to keep the texture; open flame or skillet heat brings back the best edge on the meat and keeps the vegetables from turning watery.
Answers to the Questions Worth Asking
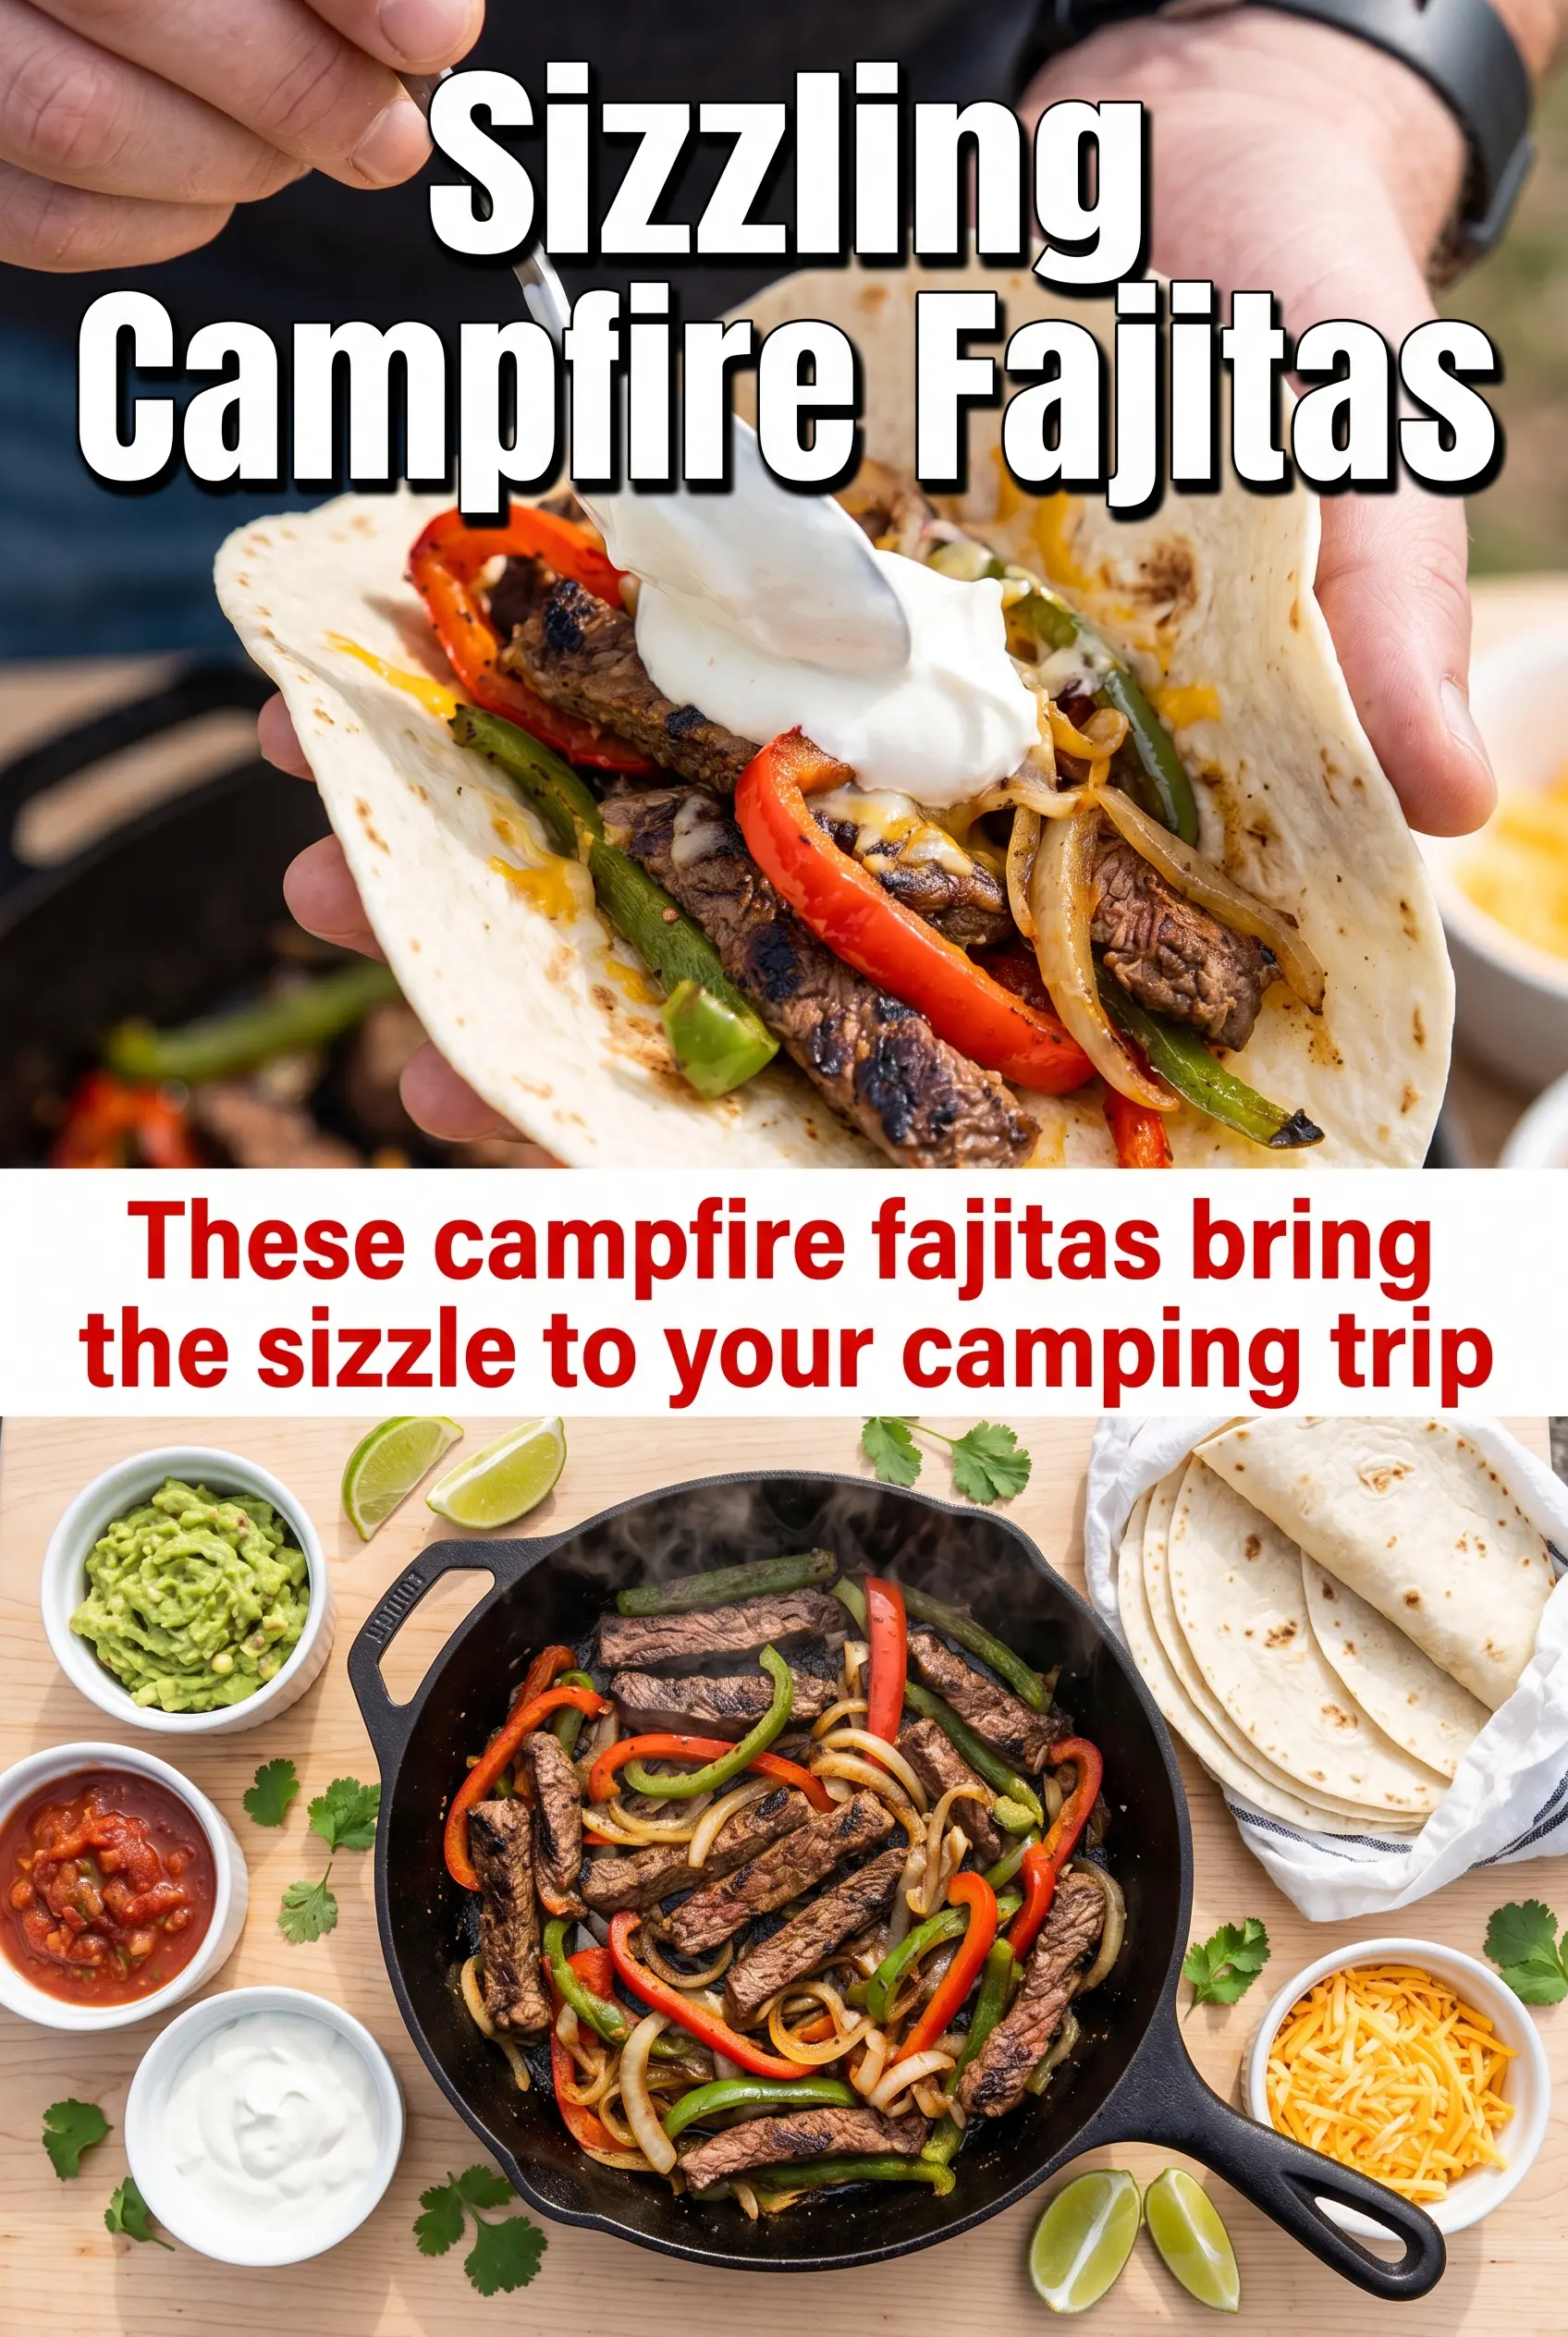
Campfire Fajitas
Ingredients
Equipment
Method
- Heat the oil in a large cast iron skillet over the campfire until it’s shimmering.
- Season the sliced chicken breast or steak with fajita seasoning, then add it to the hot skillet.
- Cook for 8-10 minutes, stirring as needed, until browned and cooked through; remove to a plate.
- Add the sliced bell peppers and onions to the skillet and cook for 8-10 minutes until tender and slightly charred.
- Return the cooked meat to the skillet and toss until everything is combined and sizzling.
- Warm the flour tortillas over the fire until pliable, about 30-60 seconds per side.
- Serve the fajita mixture in warmed tortillas with sour cream, guacamole, salsa, cheese, cilantro, and lime wedges.