Caramelized on the outside and pull-apart tender inside, a properly roasted Boston butt pork roast gives you everything people hope for in slow-cooked pork: a dark, seasoned bark, juicy shreds, and pan juices that taste like they spent all day earning their keep. The long roast turns a tough cut into something rich and forgiving, with enough fat to stay moist and enough surface area to build serious flavor.
The trick is treating the pork butt like a big, seasoned roast first and a shreddable finished dish second. A dry rub with brown sugar, paprika, garlic, onion, cumin, and cayenne builds a crust that deepens in the oven, while a little cider vinegar in the pan keeps the environment from drying out and helps the drippings stay useful. Low heat is what does the work here. High heat would tighten the meat before the collagen has time to melt.
Below, I’ll show you the doneness cue that matters more than the clock, how to keep the bark from turning soggy, and what to do with the juices so the finished pork tastes seasoned all the way through.
I roasted this overnight and the pork shredded with almost no effort. The bark stayed seasoned all the way through, and tossing the meat with the pan juices made it taste like actual pulled pork, not just plain roast pork.
Save this Boston butt pork roast for the next time you want barky, juicy pulled pork with almost no hands-on work.
The Bark Starts Before the Oven Does
The biggest mistake with a Boston butt pork roast is treating the seasoning like decoration. It isn’t. That dry rub is the bark, and the bark is where a lot of the payoff lives. Brown sugar helps the crust darken, paprika gives it color and smoke, and the salt needs time against the meat so the seasoning doesn’t just sit on the surface.
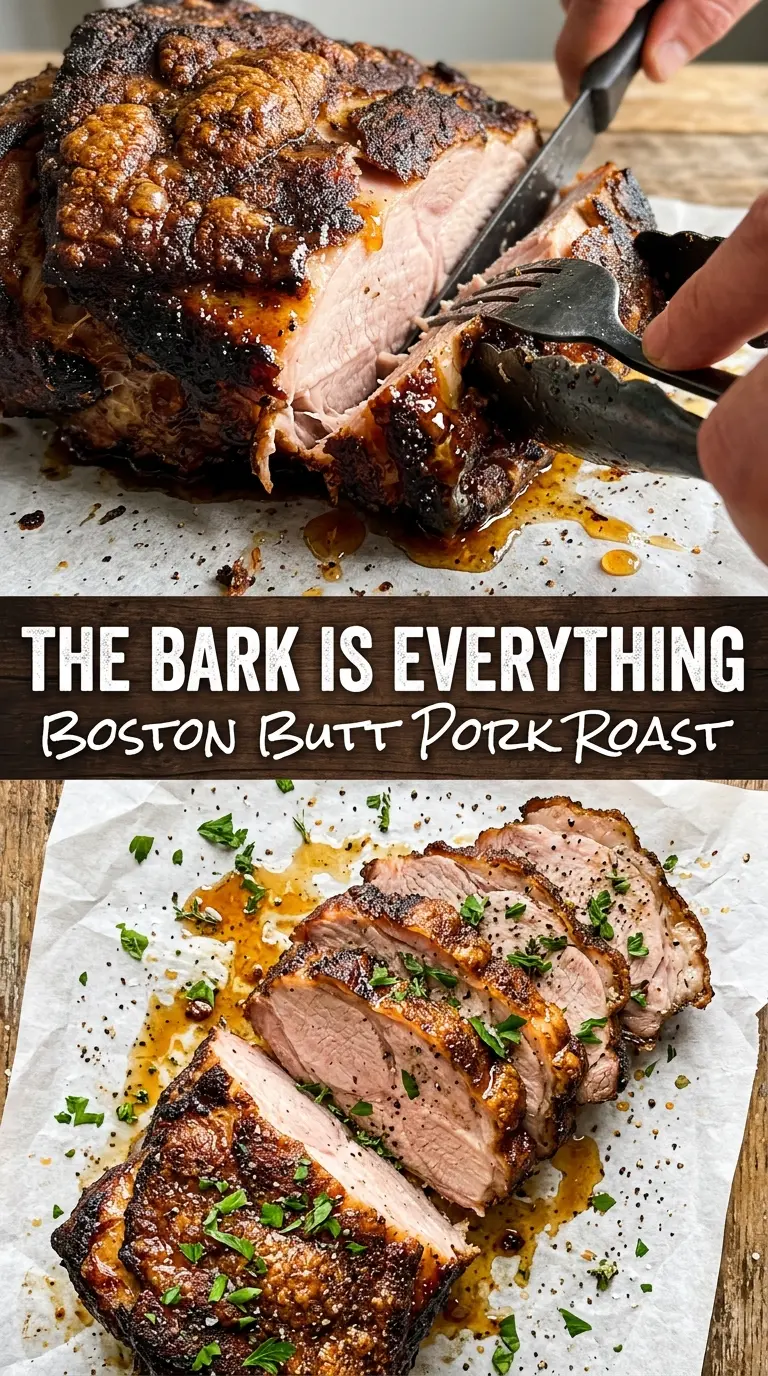
Roasting fat-side up matters because it gives the top layer a chance to baste itself slowly as the fat renders. The covered roast won’t get crisp during the cook, but it does need that tightly sealed environment so the collagen can melt without the surface drying out. The crust gets built in the final product when you shred the meat and mix it with the reduced pan juices.
- Pork butt — Bone-in gives you a little more insurance against drying out, and the bone makes it easier to judge when the meat is fully tender. Boneless works too, but it tends to cook a little faster and can lose shape more quickly.
- Brown sugar — This helps the outside caramelize and balances the smoke from the paprika. Dark brown sugar gives a deeper molasses note; light brown sugar keeps it a little cleaner.
- Smoked paprika — This is doing more than color work. It gives the roast that slow-smoked impression even if you’re using the oven. Regular paprika will work in a pinch, but it won’t give the same depth.
- Apple cider vinegar — This keeps the pan from drying out and adds a sharp edge that cuts through the richness. Don’t swap in plain water unless you have to; you’ll lose the little bit of tang that makes the drippings taste fuller.
What Each Ingredient Is Actually Doing in This Pork Dish
- Pork (pat dry for browning) — Pat completely dry so it browns instead of steams. Even thickness ensures uniform cooking.
- Oil or butter (the browning medium) — High-heat oil essential for proper searing. Creates pan flavor.
- Seasonings (salt, pepper, spices) — Build flavor boldly. Lean pork needs bold seasoning.
- Aromatics (garlic, ginger, herbs) — Cook with fat to bloom flavors. Become the foundation.
- Sauce or liquid (broth, cream, or glaze) — This keeps lean pork from drying. Balance richness with acid.
- Vegetables (if using) — Layer by cooking time so everything finishes together.
- Acid (vinegar, wine, citrus, or soy) — This brightens and prevents heavy pork flavor.
- Proper doneness (145°F with slight pink center) — Pork is safe and stays juicy here. Higher temps dry it out.
The Hours That Turn a Pork Shoulder Into Pulled Pork
Seasoning and Resting the Rub
Mix the rub until the spices are evenly blended and the sugar breaks up into the salt and paprika. Coat every surface of the pork butt, pressing the seasoning into the fat cap and into any seams in the meat. If you have time, refrigerate it overnight uncovered or lightly wrapped so the surface starts to dry out and the seasoning settles in. That little rest is one of the reasons the crust tastes seasoned instead of dusty.
Slow Roasting Under a Tight Seal
Set the pork fat-side up in a roasting pan and pour the vinegar around the bottom, not over the top. Cover the pan tightly with foil so steam stays inside and the roast braises in its own environment without losing too much moisture. At 275°F, the meat will look stubborn for hours before it suddenly starts feeling soft; that’s normal. Don’t chase color at this stage. You’re waiting for tenderness, not browning.
Knowing When It’s Actually Done
Use temperature as a guide, but trust the texture first. Around 195–205°F, the meat should slide apart with little resistance when you twist a fork into it. If it feels tight or stringy, it needs more time even if the thermometer says it’s close. Pork butt is full of connective tissue, and that tissue has to melt before shredding will feel effortless.
Resting, Shredding, and Bringing It Back Together
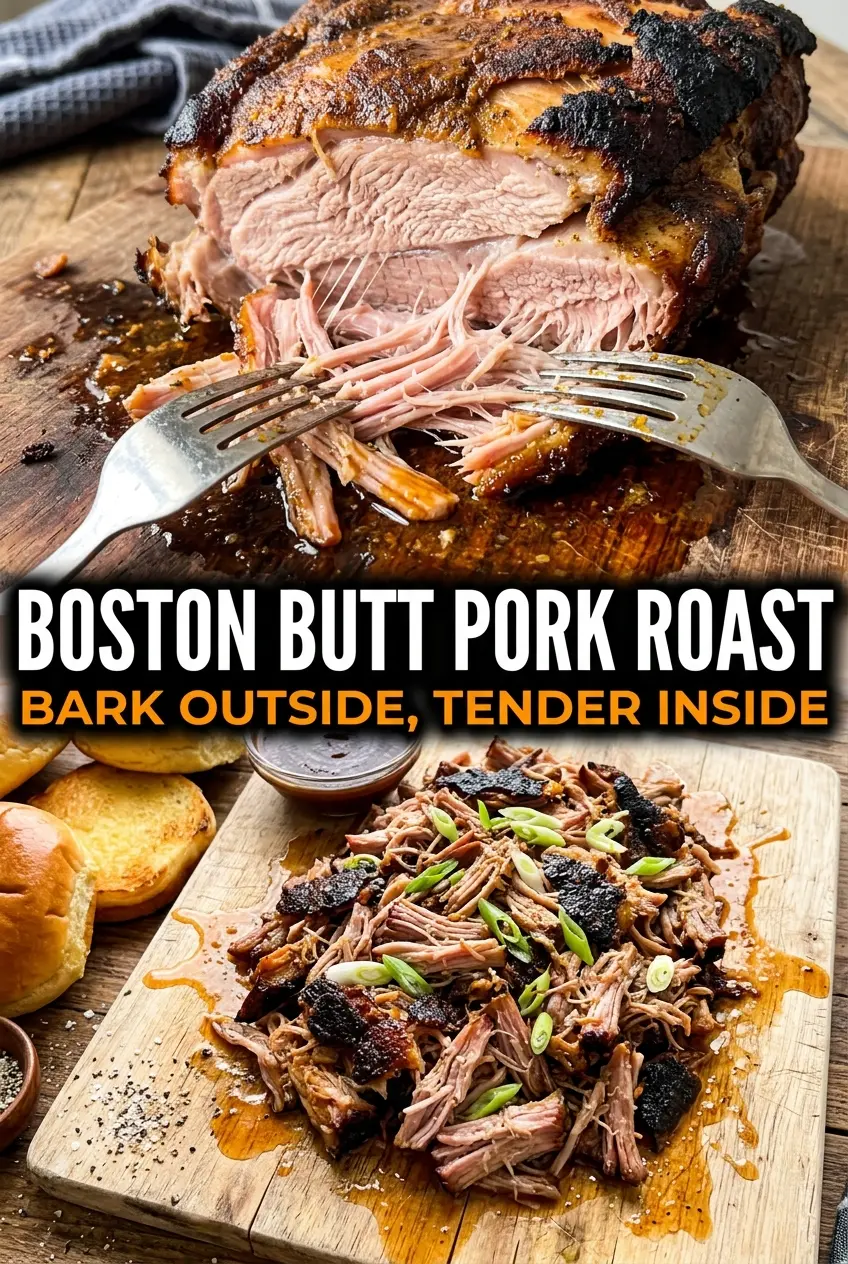
Let the roast rest uncovered for 30 minutes so the surface settles and the steam can escape. If you shred it straight from the oven, the meat can collapse into a wet pile and you’ll lose the bark. Pull it apart with two forks, discard any big pockets of fat, then toss the meat with the pan juices. That final mix is what turns a pan of cooked pork into something that tastes finished instead of separate parts.
How to Adapt This Pork Butt Without Losing What Makes It Work
For a spicier roast
Increase the cayenne to 2 teaspoons or add a teaspoon of chipotle powder. That keeps the same rub structure but gives the bark a sharper heat that works especially well with barbecue sauce.
For a lower-sugar version
Cut the brown sugar in half and add an extra tablespoon of smoked paprika. You’ll get a less candy-like crust and a slightly drier bark, but the roast will still be deeply seasoned and shred beautifully.
For gluten-free serving
The roast itself is naturally gluten-free, so the only place to watch is the barbecue sauce and buns. Use a certified gluten-free sauce and serve it over rice, on baked potatoes, or on gluten-free rolls.
For make-ahead pulled pork
Shred the meat, mix in the juices, and chill it in a shallow container so it cools quickly. The flavor gets even better the next day, and the fat will lift to the top so you can skim any excess before reheating.
Storage and Reheating
- Refrigerator: Store the shredded pork for up to 4 days. Keep it with the pan juices so it stays moist instead of drying into strings.
- Freezer: Freezes well for up to 3 months. Portion it into freezer bags with a little juice, press out the air, and flatten the bags so they thaw evenly.
- Reheating: Reheat covered in a low oven or on the stovetop with a splash of broth or extra pan juices. High heat is the mistake here; it squeezes out the moisture and turns the edges leathery before the center is hot.
Answers to the Questions Worth Asking
Boston Butt Pork Roast (Oven Pulled Pork)
Ingredients
Equipment
Method
- Mix brown sugar, smoked paprika, garlic powder, onion powder, cumin, cayenne, salt, and black pepper into a dry rub, then coat the pork butt thoroughly on all sides so every surface is covered.
- Cover the pork butt and refrigerate overnight if possible so the rub can adhere and season the meat.
- Preheat oven to 275°F.
- Place pork fat-side up in a roasting pan and pour apple cider vinegar around the bottom of the pan (not over the top of the fat) to create moisture during roasting.
- Cover tightly with foil and roast for 7–8 hours until the internal temperature reaches 195–205°F and the meat shreds easily.
- Rest the pork uncovered for 30 minutes so juices redistribute and the bark-like crust stays intact.
- Shred the pork with two forks, discarding excess fat as you work.
- Toss the shredded pork with the pan juices, then serve with BBQ sauce on brioche buns.