Blackstone smashed potatoes hit the plate with the kind of contrast that makes people reach for a second one before they’ve finished the first: shattering crisp edges, buttery centers, and all the salty, smoky toppings that belong on a loaded potato. The griddle gives you more surface contact than a baking sheet ever could, which is why these come out with those lacy, golden edges that stay crisp long enough to matter.
The trick is in the two-stage cooking. Boil the potatoes until they’re just tender enough to collapse under pressure, then let them dry off a bit before they hit the hot griddle. If they’re waterlogged, they steam instead of crisp. A mix of oil and butter gives you a higher-heat base with real flavor, while the garlic cooks right on the griddle so it perfumes the potatoes without burning in a pan of hot fat.
Below, I’ll walk through the little details that keep the potatoes from sticking, how to smash them without turning them into mashed potato piles, and a few smart variations if you want to keep them simple or pile them high with toppings.
The potatoes got those crispy, lacy edges on the griddle and stayed fluffy inside. I did the garlic right on the Blackstone like you said and it never burned.
These Blackstone smashed potatoes are all about the crispy edges and creamy centers that hold up under sour cream, cheddar, and chives.
The Secret to Crisp Edges Starts Before the Griddle
The biggest mistake with smashed potatoes is rushing them onto the griddle while they’re still wet. Steam is the enemy here. Once they’re fork-tender, drain them well and let them sit for a few minutes so the surface moisture can fade off; that dry exterior is what lets the potatoes blister instead of collapse.
Another thing people miss: smashing too hard turns them into a ragged mash and strips away the structure that gives you those crunchy edges. You want them flattened, not destroyed. A heavy spatula or potato masher works best because it spreads them evenly and keeps the center thick enough to stay creamy while the outside crisps.
What Each Topping Is Doing on These Loaded Potatoes
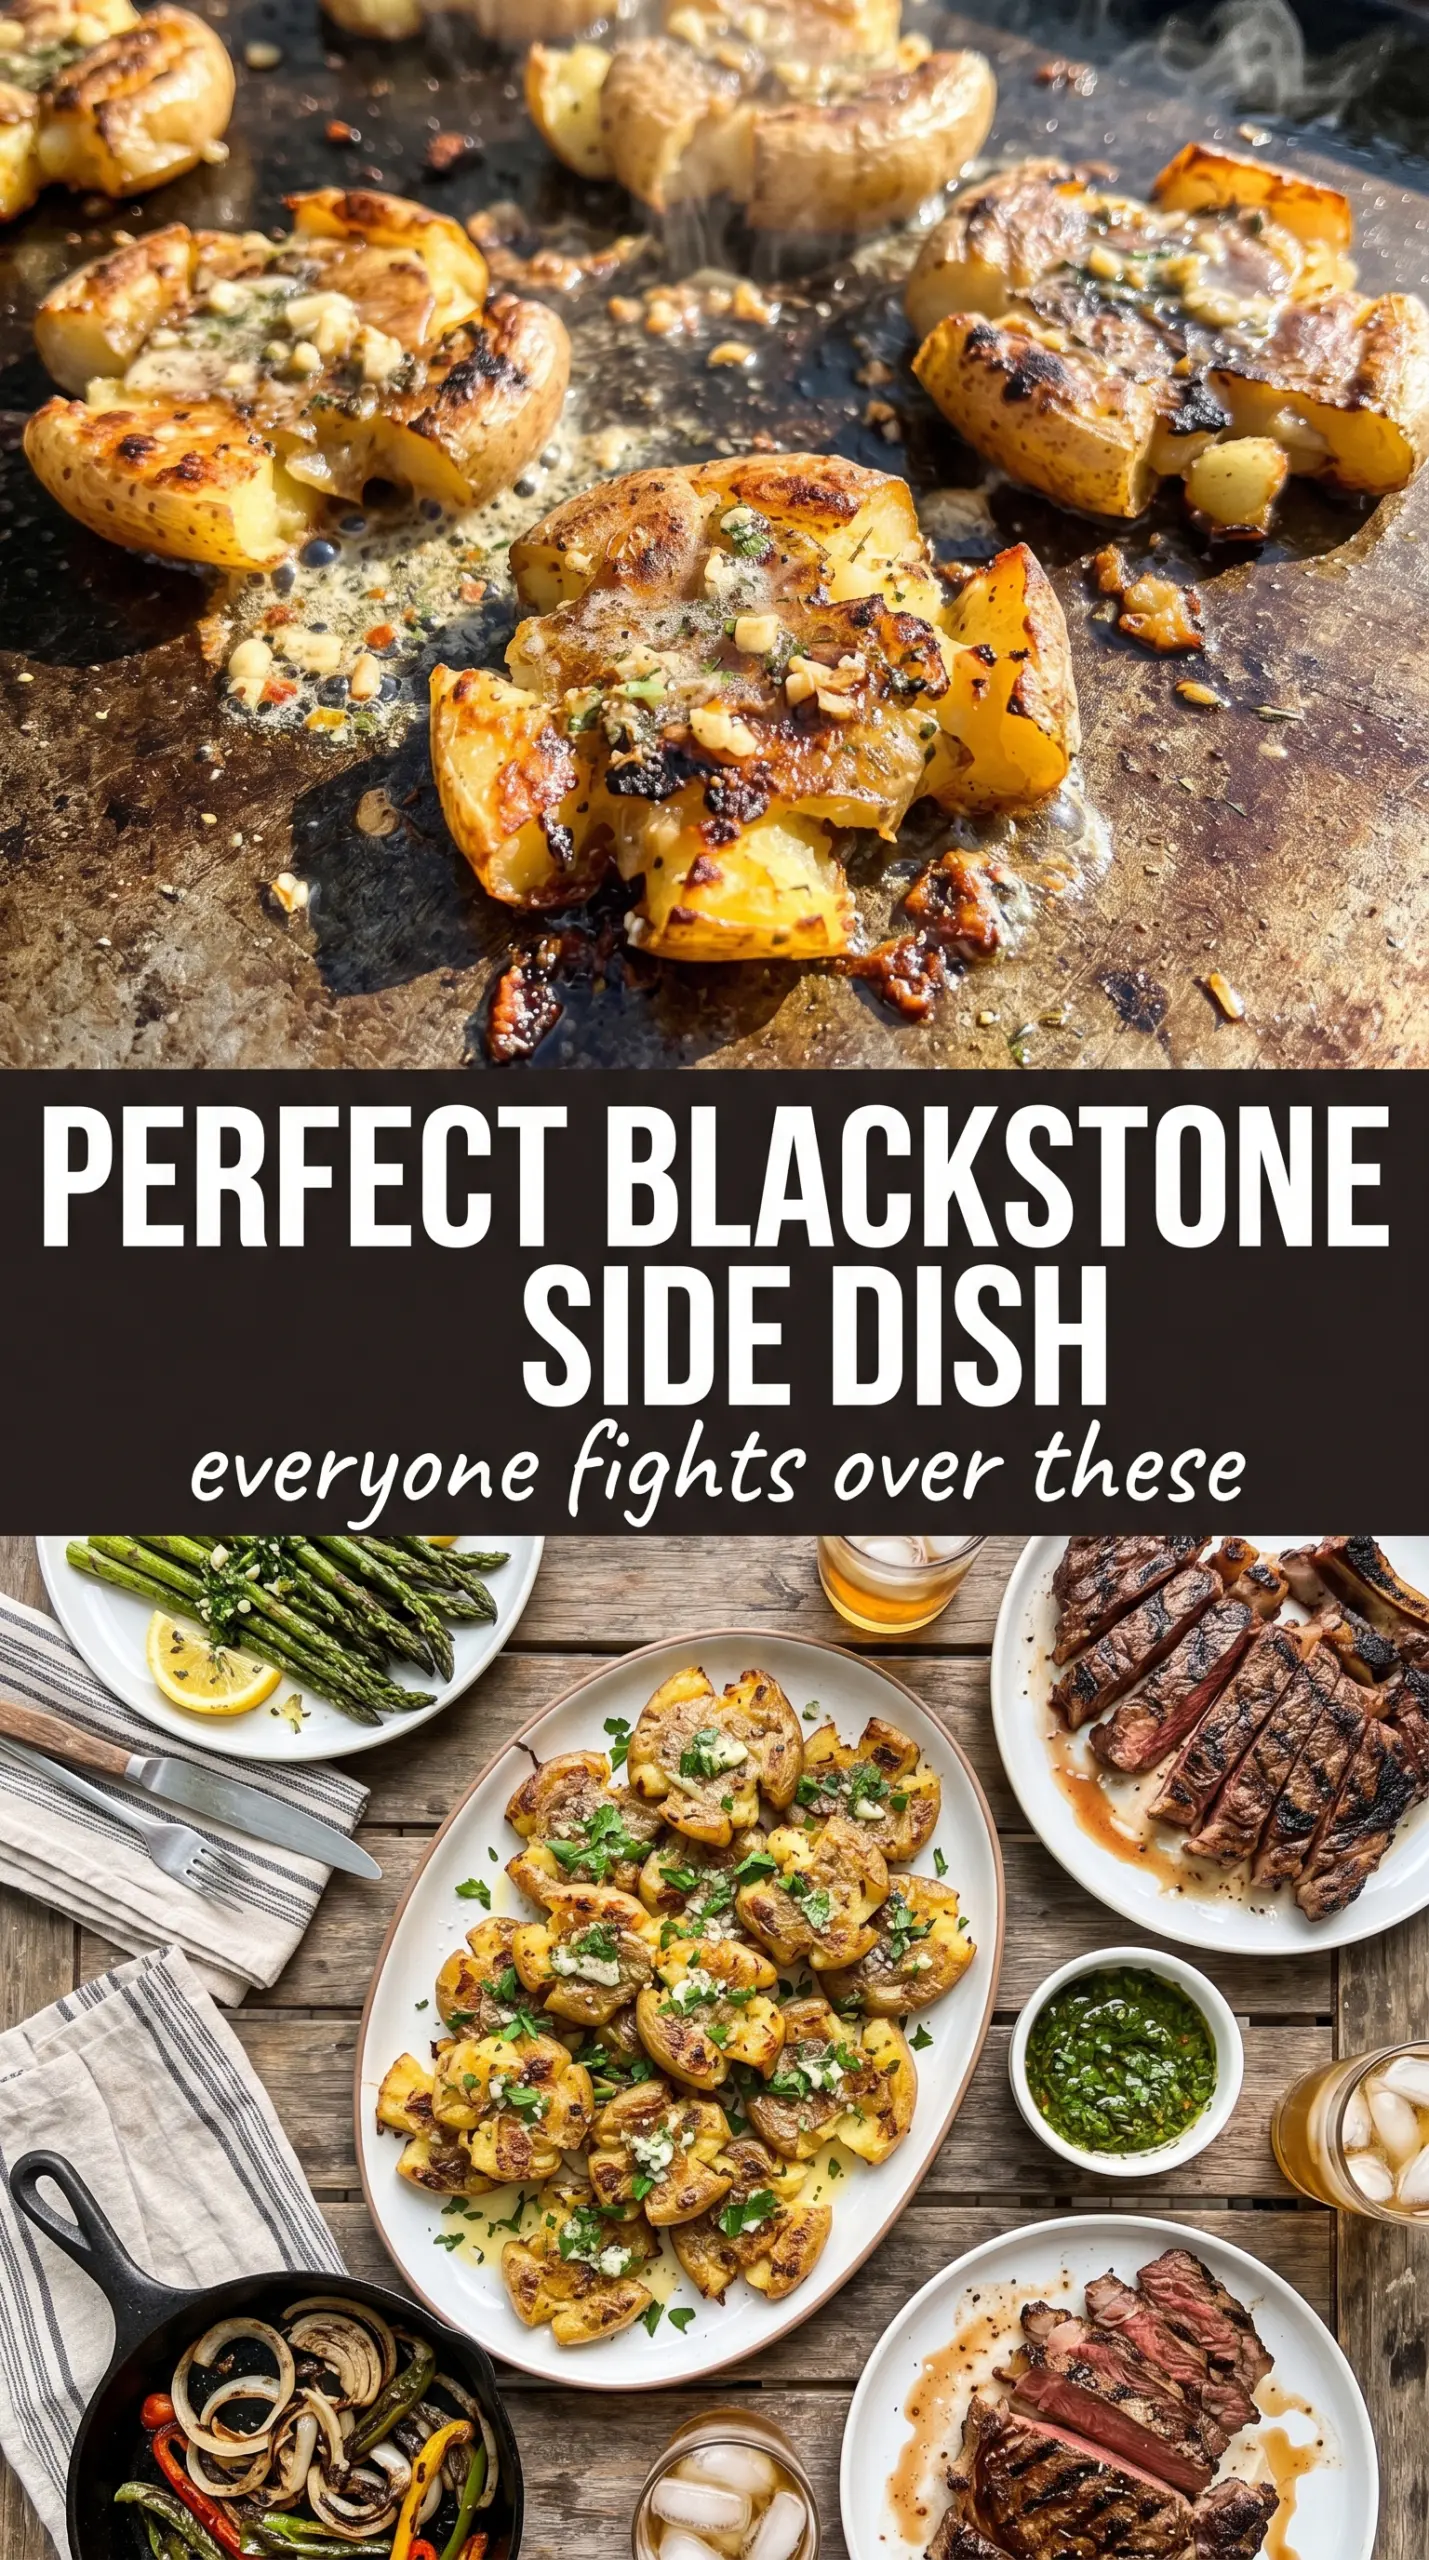
- Baby potatoes — Small potatoes are the right size because they cook through in the boil and still hold together when smashed. Larger potatoes can work, but they take longer to soften and don’t give you as many crispy edges per bite.
- Olive oil and butter — The oil helps the potatoes crisp without scorching, while the butter brings the flavor that makes these taste like more than just griddle potatoes. Don’t use all butter; it can brown too fast on a hot Blackstone and leave you with dark spots before the potatoes are fully crisp.
- Garlic — Minced garlic added around the potatoes on the griddle perfumes the whole batch, but it needs the potatoes’ moisture and fat to keep it from burning. If garlic browns too fast, move it into the oil and butter right after the potatoes go down, not before.
- Sour cream, cheddar, chives, and bacon bits — These turn the potatoes into loaded potatoes with cool, salty, sharp contrast. Use a good sharp cheddar if you want the topping to stand out; pre-shredded cheese works, but freshly shredded melts cleaner.
Getting the Crisp Without Losing the Creamy Center
Boiling Until Just Tender
Start the potatoes in salted water and cook them until a fork slides in with little resistance, but they’re not splitting apart. If they’re undercooked, they’ll resist the smash and tear unevenly on the griddle. If they’re overcooked, they’ll turn mushy before they ever crisp up. Drain them well and let them cool just enough that they’re easy to handle.
Smashing on a Hot Surface
Preheat the Blackstone to medium-high before the potatoes go down, then add the oil and butter so the fat shimmers across the surface. Set each potato down with a little room around it and press once with a heavy spatula or masher until it’s about half an inch thick. The edges should crack and spread a little; that’s what creates the crunchy fringe later.
Letting the First Side Set
Leave the potatoes alone for 6 to 7 minutes so the first side can turn deep golden and release from the griddle naturally. If you try to flip too early, they’ll stick and tear, which ruins the crust you worked for. Add the garlic around the potatoes during this stage so it softens in the fat without sitting directly under the hottest part of the griddle for too long.
Finishing and Topping
Flip the potatoes and cook the second side until it’s crisp and browned, another 5 to 6 minutes. Season them right off the griddle while the surface is still hot enough to catch the salt and pepper. Add the sour cream, cheddar, chives, and bacon bits at the end so the toppings stay fresh and the cheese starts to melt instead of disappearing into the pan.
How to Change These Up Without Losing the Crunch
Dairy-Free Griddle Potatoes
Use all olive oil instead of the butter and skip the sour cream and cheddar, or swap in dairy-free versions if you already keep them on hand. You’ll lose a little of the rich finish, but the potatoes still crisp beautifully because the browning comes from the hot griddle, not the dairy.
Extra-Simple Herb Potatoes
Skip the loaded toppings and finish with chopped chives, black pepper, and a pinch of flaky salt. This version keeps the focus on the crispy shell and creamy middle, which is the part that disappears first when these are on the table.
Bacon-Free Vegetarian Version
Leave out the bacon bits and add a little smoked paprika with the salt for a savory note that still feels substantial. The smoky edge helps replace some of the depth bacon would normally bring without changing the texture of the potatoes.
Storage and Reheating
- Refrigerator: Store leftovers in an airtight container for up to 4 days. They’ll lose some crispness, but the centers stay tender.
- Freezer: These freeze, but the texture softens after thawing. Freeze the cooked potatoes on a tray first, then transfer to a bag so they don’t clump together.
- Reheating: Reheat on a hot skillet, griddle, or in the oven at 425°F until the edges crisp back up. Don’t microwave them if you want the texture to survive; it makes the crust rubbery.
Questions I Get Asked About This Recipe
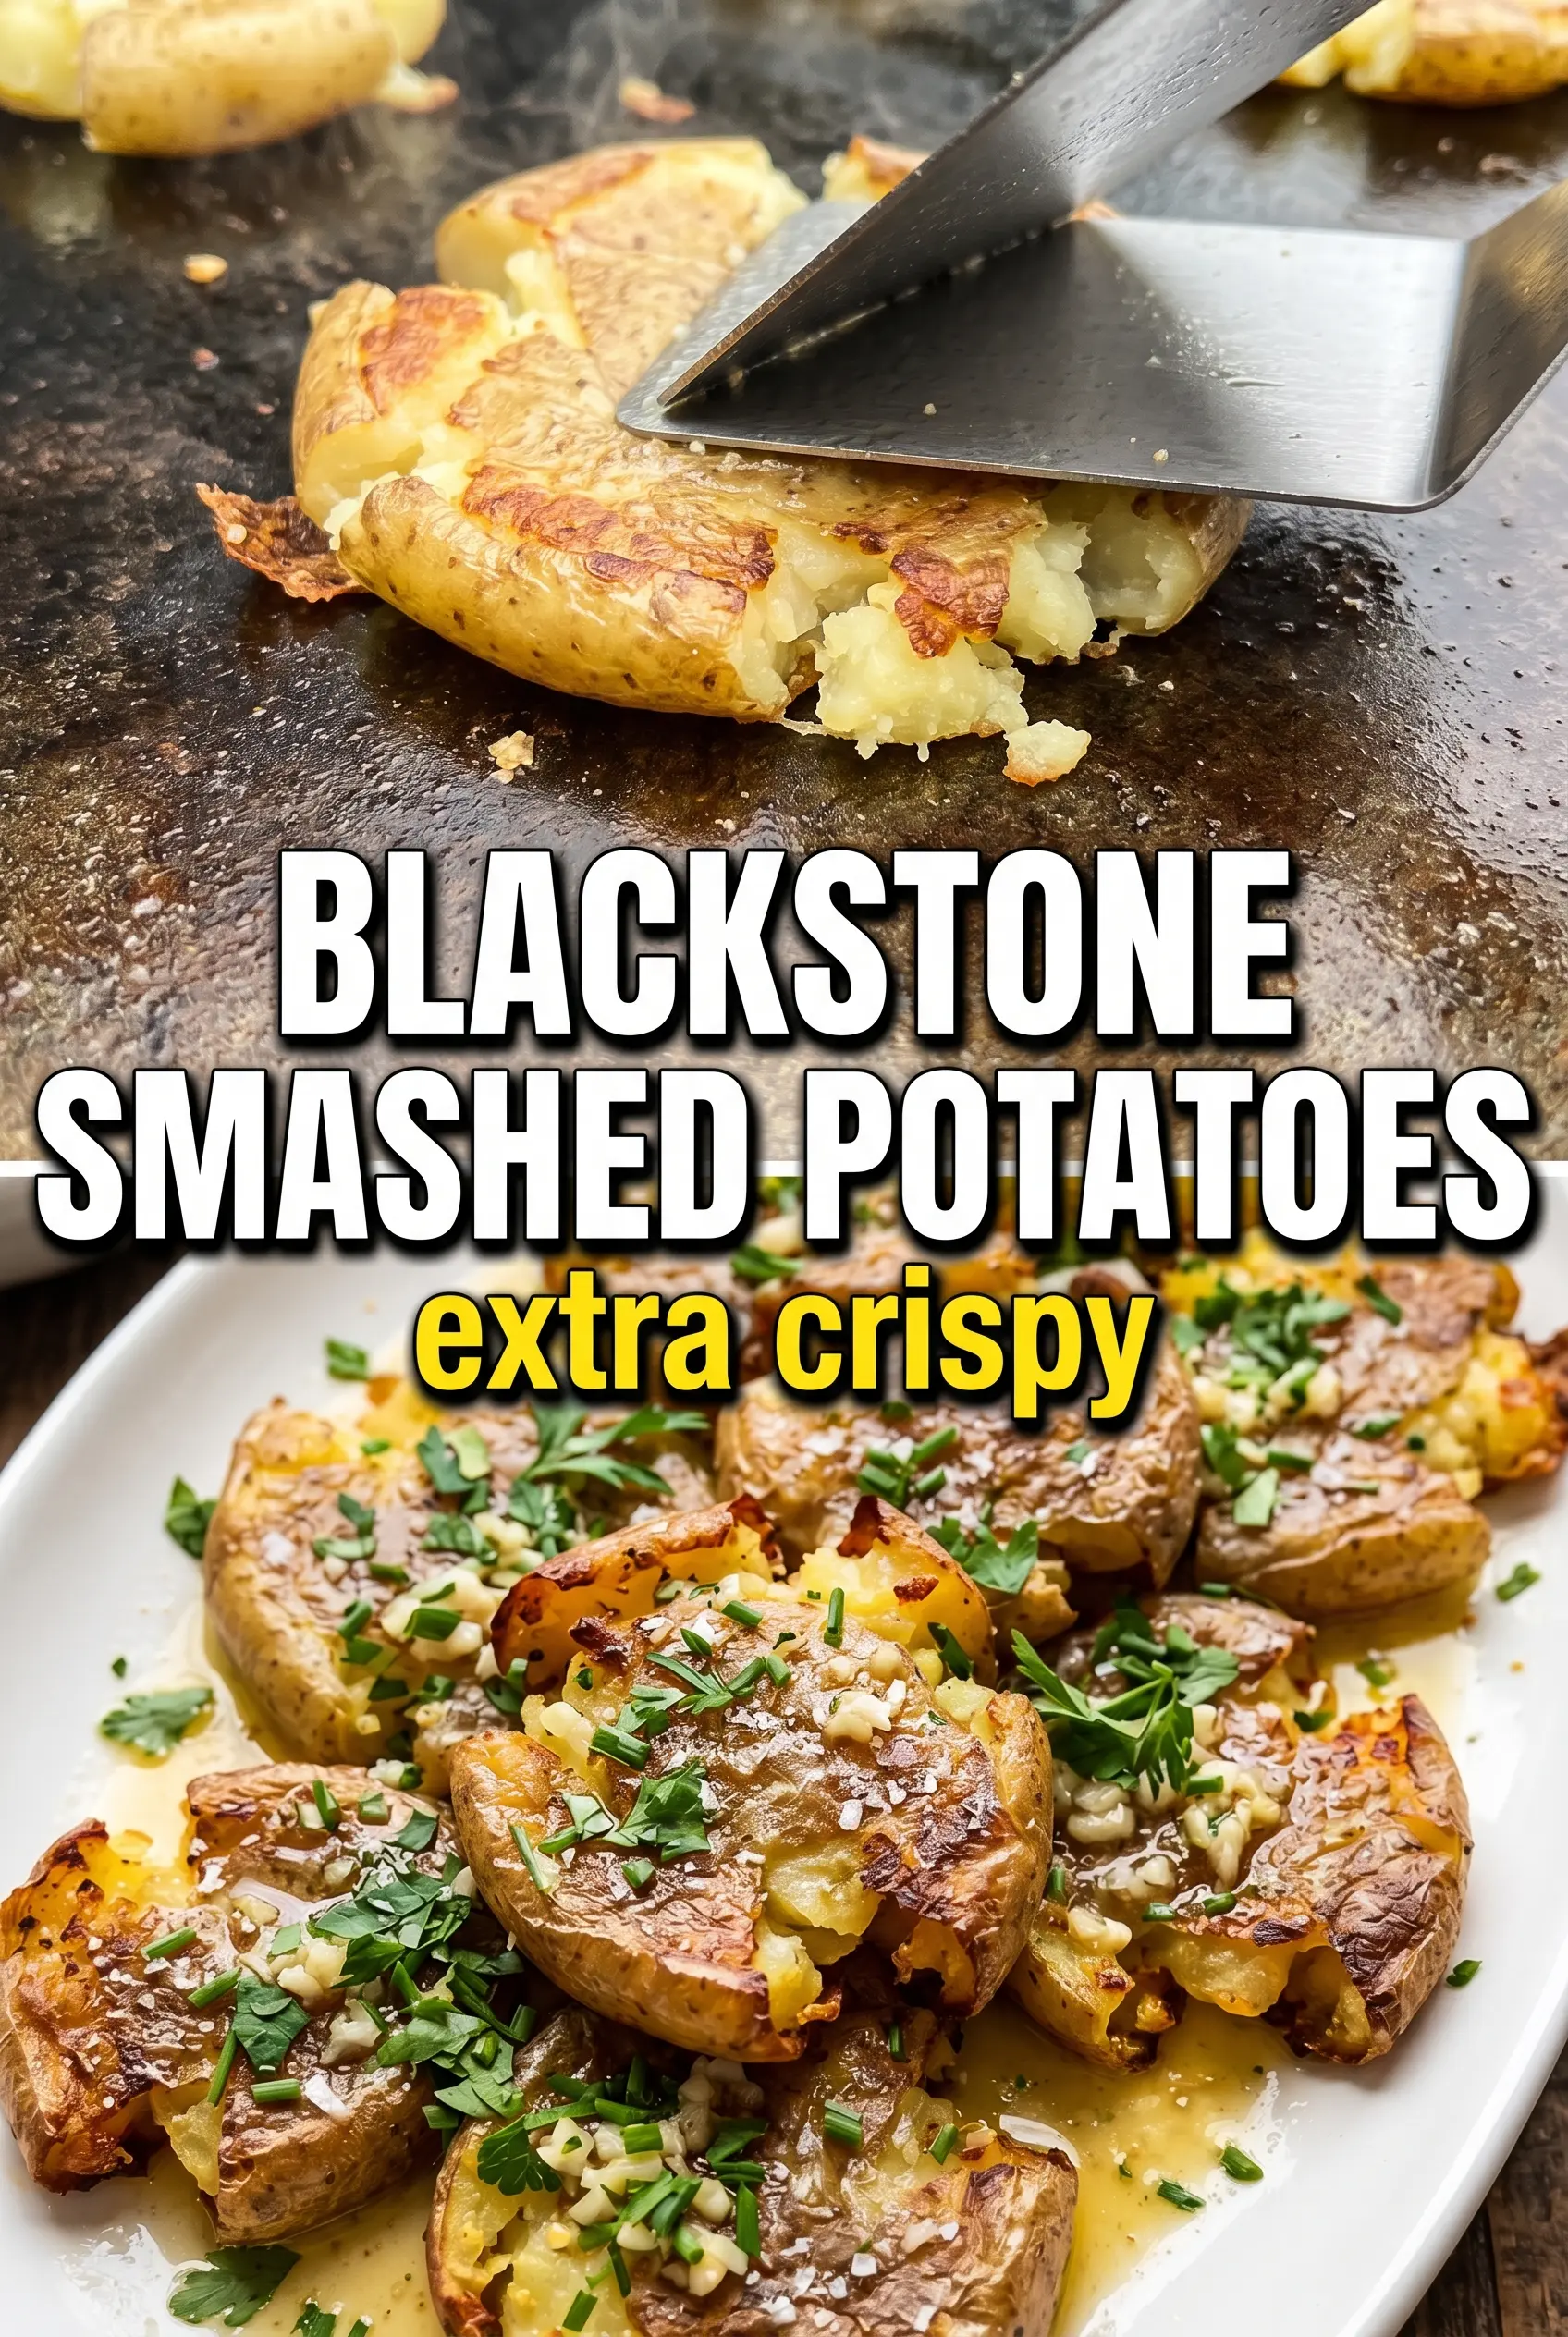
Blackstone Smashed Potatoes
Ingredients
Equipment
Method
- Bring a pot of water to a boil and add the baby potatoes, cooking until fork-tender, about 15-20 minutes. Drain and let cool slightly, so they can be smashed without falling apart.
- Heat a Blackstone griddle to medium-high and add the olive oil and butter. Wait until the butter starts to foam for a clear sizzling cue.
- Place the potatoes on the hot griddle and smash flat with a heavy spatula or masher. Keep an even thickness so the edges crisp evenly.
- Add the minced garlic around the potatoes and cook for 6-7 minutes, until the bottoms are crispy and golden. Look for browned edges at the contact points with the griddle.
- Flip the potatoes and cook another 5-6 minutes, until both sides are crispy. Continue cooking until the second side is also golden and firm.
- Season the crispy potatoes with salt and pepper to taste. Add seasoning right after the final flip so it clings to the hot surface.
- Top with sour cream, shredded cheddar cheese, chopped chives, and bacon bits. Serve immediately so the cheese stays creamy and the edges remain crisp.