Blackstone fries hit that sweet spot between crisp edges and fluffy centers, with enough griddle-kissed browning to make them taste like more than just potatoes and oil. When they’re done right, the outside stays snappy under the seasoning while the middle stays soft and steamy, which is exactly why they disappear fast the second they leave the griddle.
The trick is giving the potatoes a head start in cold water, then drying them until there’s no surface moisture left. That dry surface matters more than almost anything else here, because wet potatoes steam before they brown. The butter and oil combination also helps; the oil raises the heat tolerance, and the butter brings that rich, toasted flavor that makes these fries taste like something you’d order again.
Below, I’m walking through the part that matters most: how to get the fries moving from pale and floppy to deeply crisp without burning the seasoning. There’s also a section on swaps and storage, because fries are one of those foods people ask about after they’ve already piled their plate high.
The fries got that perfect crisp shell on the griddle and stayed fluffy inside. I followed the drying step exactly, and they browned evenly without sticking.
These Blackstone fries stay crisp on the edges and fluffy in the middle when you keep them in a single layer and season them right off the griddle.
The Dry Potato Step That Decides Whether These Fries Crisp or Steam
The biggest mistake with griddle fries is crowding them before the surface moisture is gone. Potatoes hold a lot of water, and if that water hits a hot griddle, you get pale fries that soften before they ever have a chance to brown. The cold soak pulls off extra starch, which helps the fries release more cleanly and cook more evenly, but the soak only works if you dry them thoroughly afterward.
Once the potatoes are dry, the other key move is leaving them alone in the first stretch of cooking. Moving them too soon breaks the crust before it sets. A true single layer matters here, too; overlapping fries trap steam and give you mixed textures on the same pan.
What the Oil, Butter, and Seasoning Are Actually Doing Here
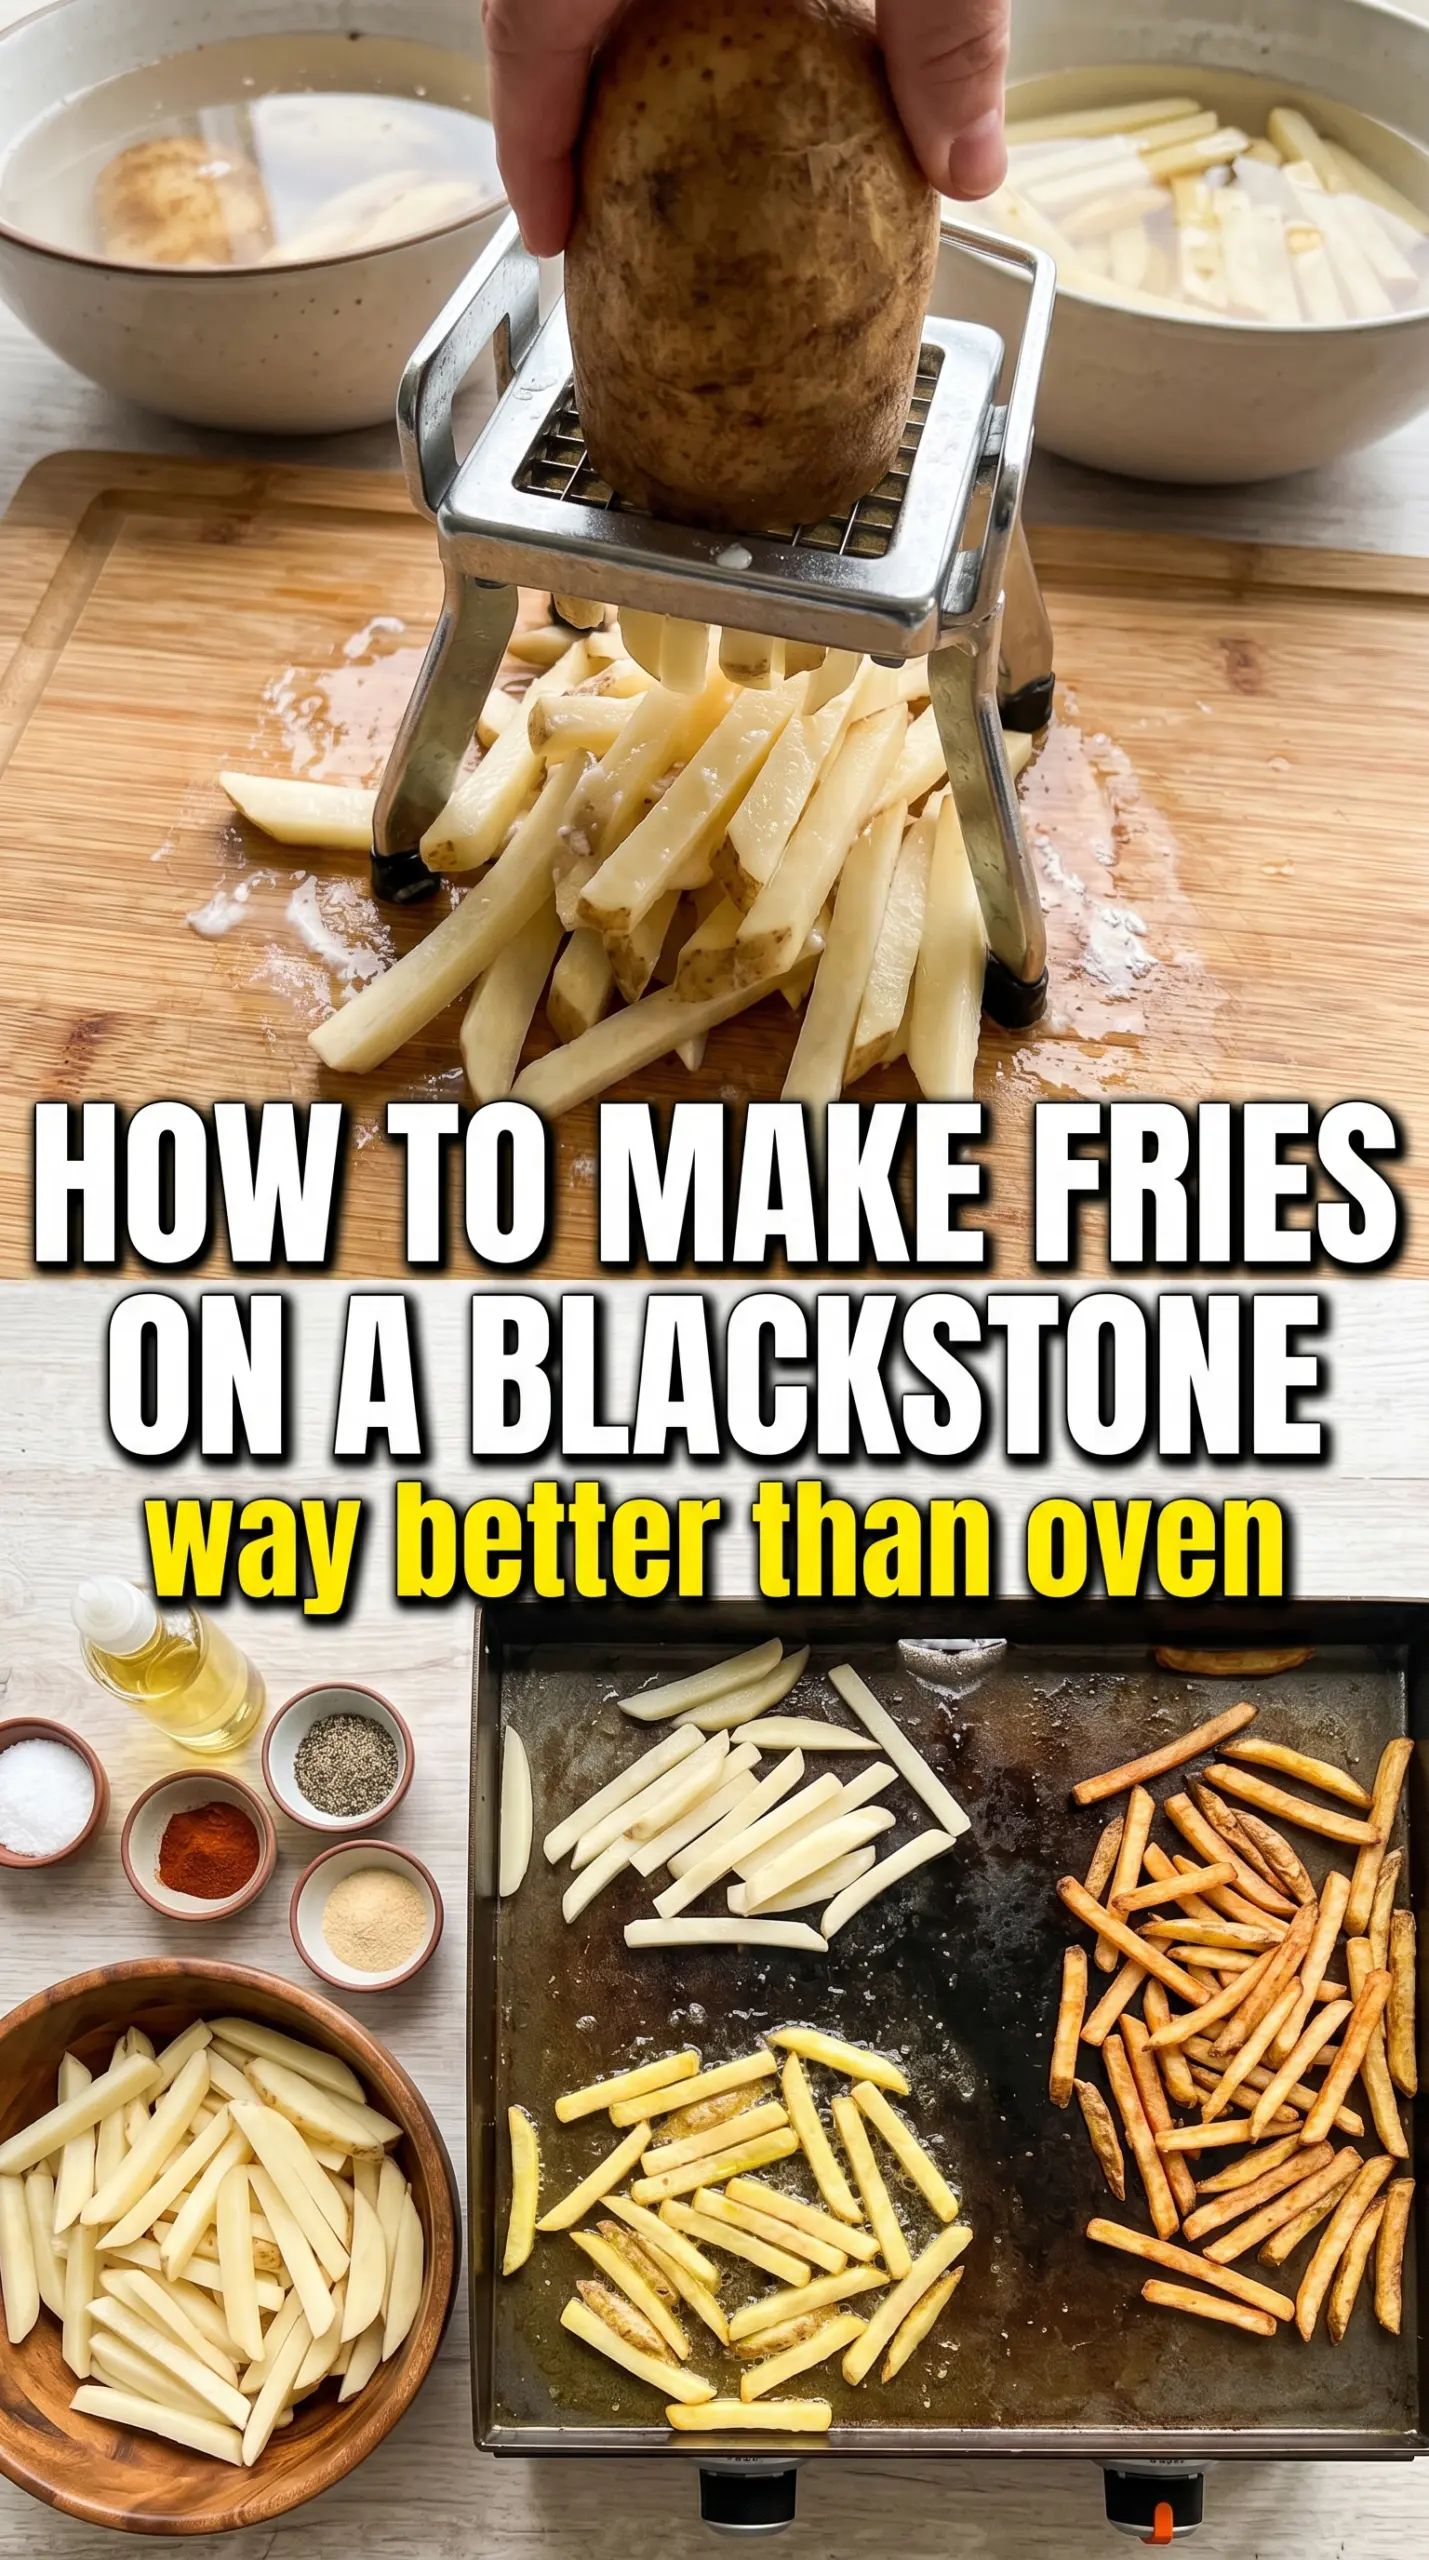
- Russet potatoes — These are the right potato for fries because they’re starchy and dry out into a fluffy center. Waxy potatoes hold their shape, but they don’t crisp the same way. If russets are all you have, peel them or leave the skins on for a more rustic finish.
- Vegetable oil — The oil carries the heat so the fries brown without scorching. Any neutral high-heat oil works here, but don’t swap in olive oil if your griddle runs hot; it can bring bitterness before the fries are done.
- Butter — Butter gives these fries their rich finish and helps the seasoning cling. It burns faster than oil, which is why the oil stays in the pan with it. If you use salted butter, ease up slightly on the final salt.
- Garlic powder, paprika, and onion powder — This blend gives the fries a savory crust without wet sauce. Garlic powder is the one that matters most for that classic griddle-fry taste, while paprika adds color and a little warmth. Smoked paprika works if you want a deeper, barbecue-style note.
- Fresh parsley — This is mostly about brightness and a clean look at the end. Add it after cooking so it stays green instead of turning dull in the heat.
The 20 Minutes That Actually Matter on the Griddle
Cutting and Soaking
Slice the potatoes into even 1/4-inch fries so they cook at the same pace. A quick soak in cold water is enough to pull off extra surface starch, which helps the fries brown instead of turning gummy. After soaking, drain them well and pat them dry until the towels come away nearly clean. If there’s moisture left on the fries, the griddle will fight you the whole way.
Preheating the Blackstone
Heat the griddle to medium-high before the fries go down, then add the oil and butter and let them shimmer together. You want the fat hot enough that a fry sizzles on contact, but not so hot that the butter smokes immediately. If the pan is too cool, the fries absorb fat and turn heavy instead of crisp. If it’s screaming hot, the outside browns before the centers soften.
Cooking Without Disturbing Them
Spread the fries in a single layer and leave them alone for 8 to 10 minutes. That untouched time is what gives the underside a crust worth flipping. When they’re ready, the bottoms will look golden and release easily from the griddle. If they stick hard, they need more time; forcing them early tears off the best part of the crust.
Flipping and Finishing the Seasoning
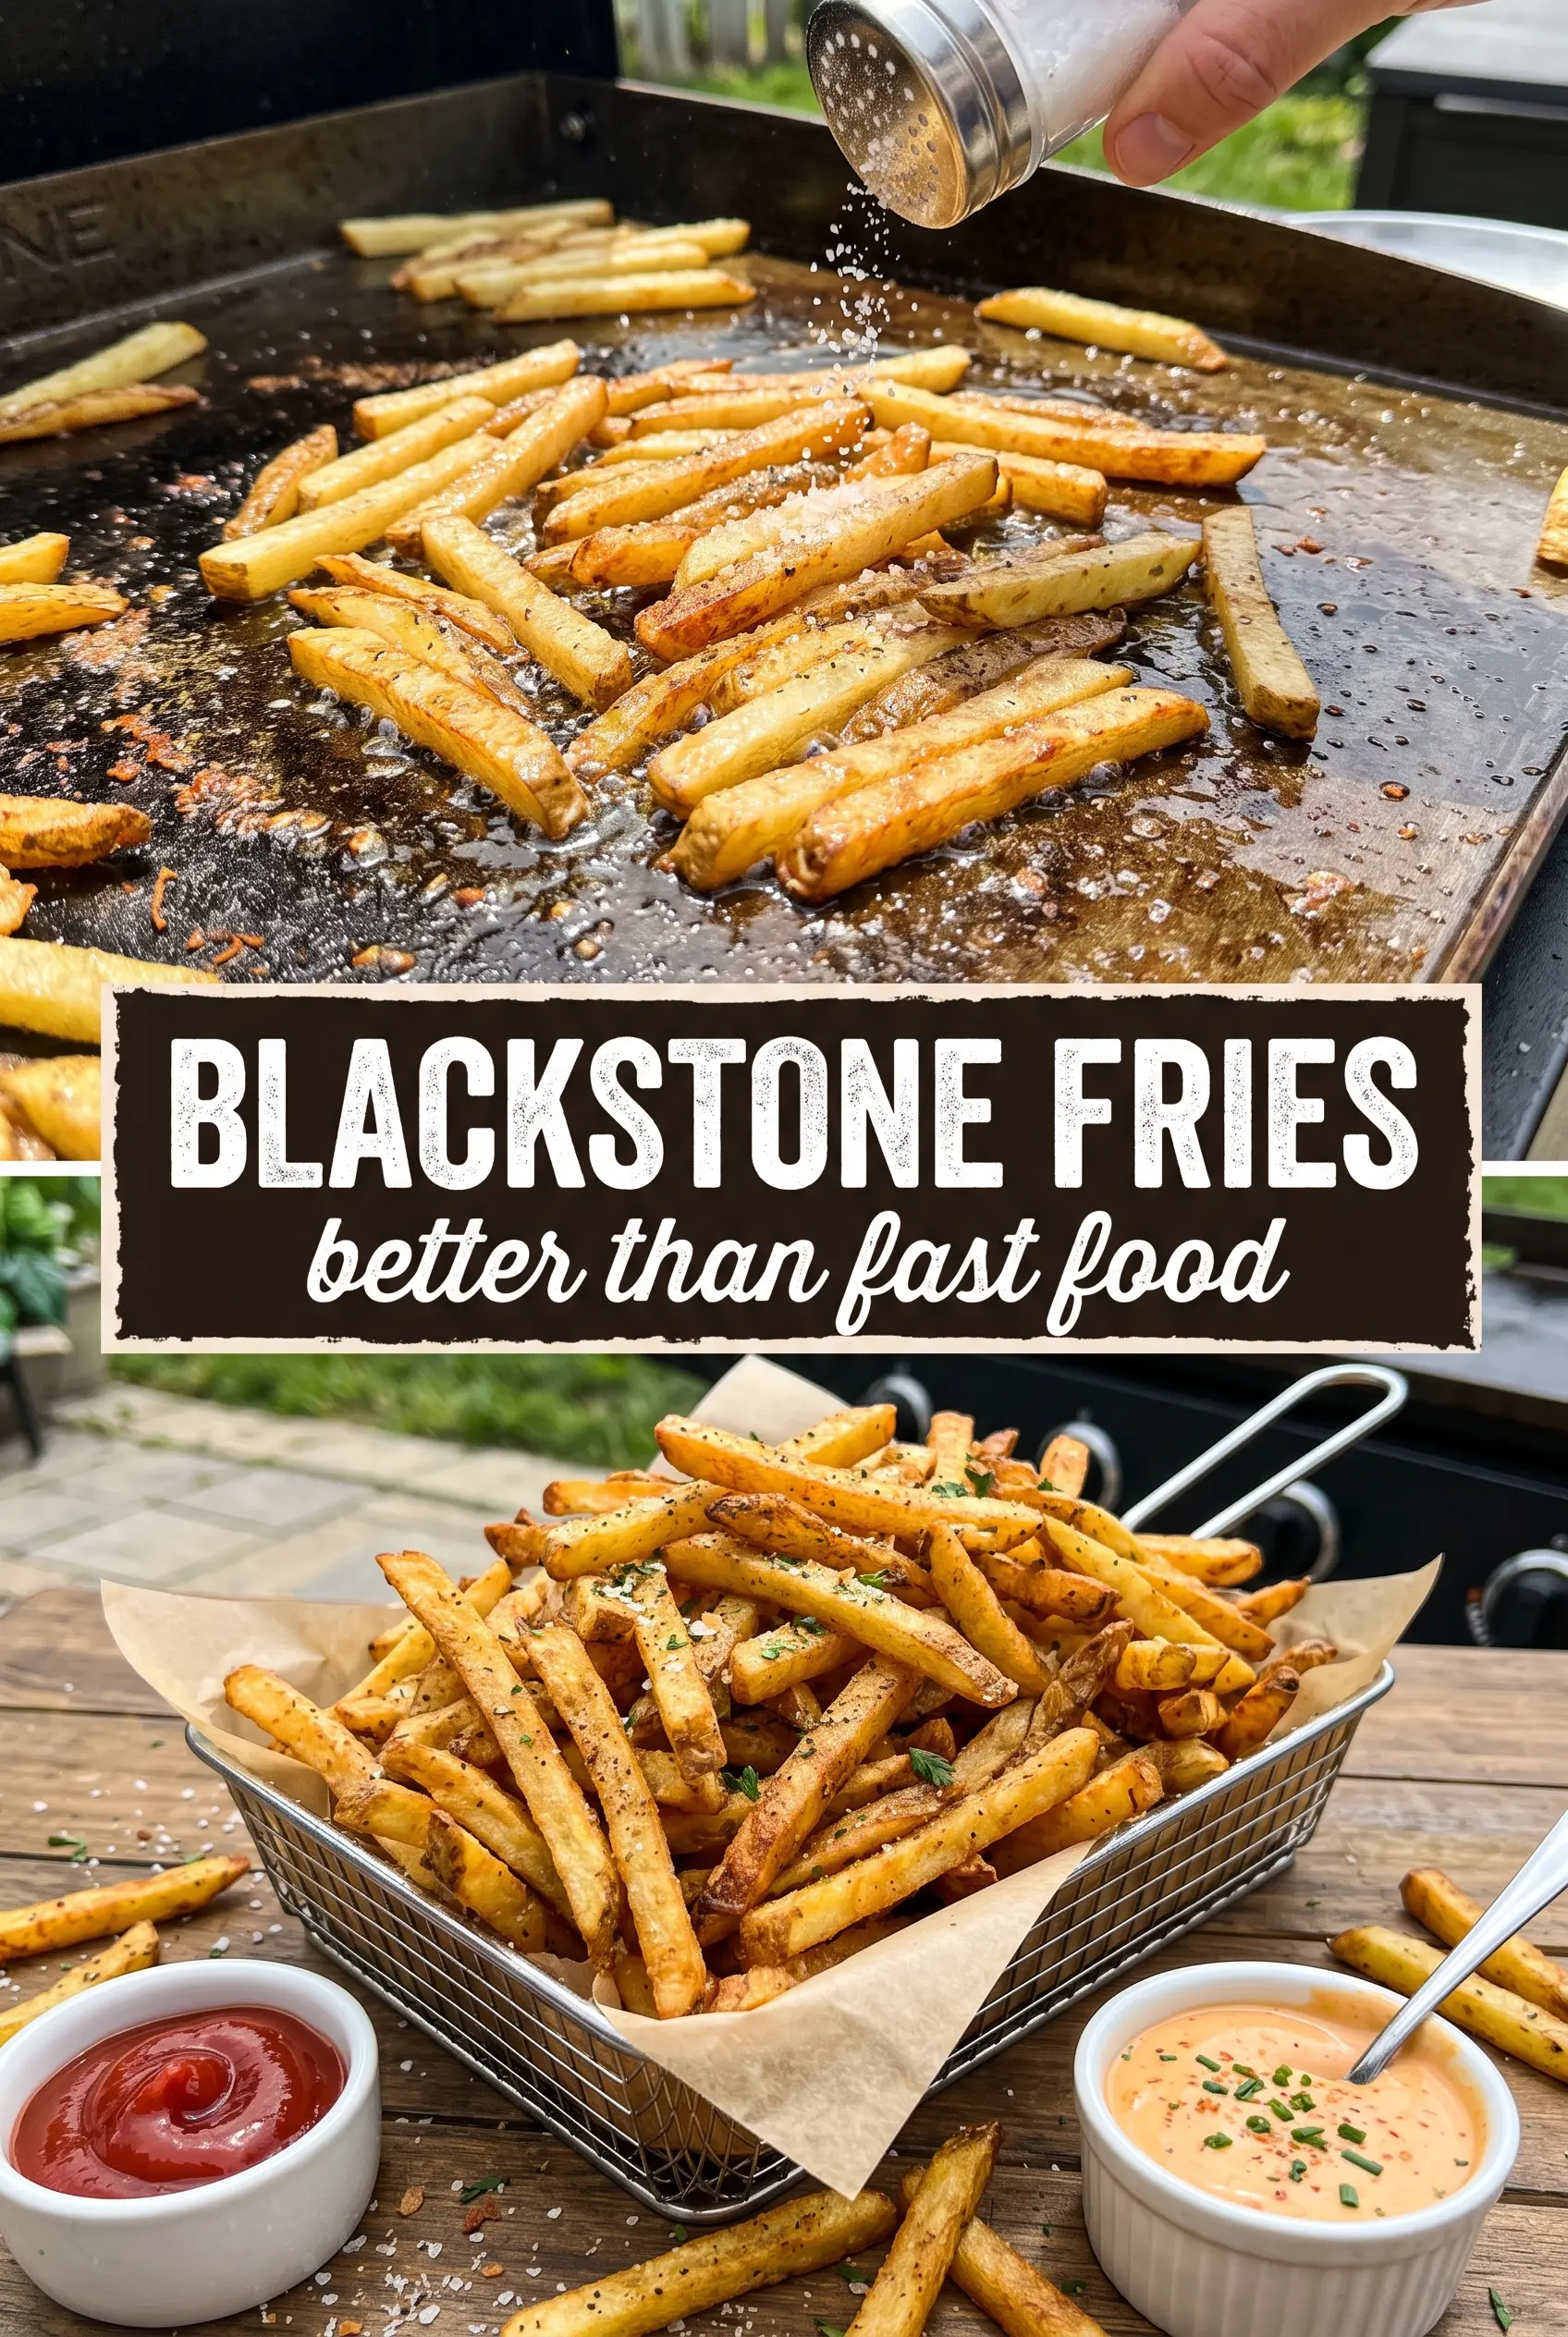
Flip the fries and cook another 8 to 10 minutes until both sides are deeply golden and crisp. Season immediately while the surface is still hot and lightly oily, because that’s when the spices grab instead of falling into the pan. Toss in the parsley at the end and serve right away with your dipping sauces. Fries wait on nobody.
How to Adapt These Fries for Different Crowds and Diets
Dairy-Free Griddle Fries
Leave out the butter and use all vegetable oil for a cleaner, more direct fry flavor. You’ll lose a little richness and that toasted butter note, but the fries will still crisp well if the griddle is properly hot. Add a tiny pinch more salt at the end to make up for the missing butter.
Smokier, Spicier Fries
Swap regular paprika for smoked paprika and add a pinch of cayenne if you want more heat. This pushes the fries toward a barbecue-style finish that works well next to burgers and grilled chicken. The only caution is not to go heavy enough that the seasoning overpowers the potato itself.
Oven-Finish for a Bigger Batch
If you need more fries than fit comfortably on the Blackstone, par-cook them on the griddle until lightly golden, then finish them on a sheet pan in a hot oven. That keeps the first batch from steaming while you work through the rest. The texture won’t be quite as griddle-crisp all the way through, but it solves the crowding problem.
Storage and Reheating
- Refrigerator: Store leftovers in an airtight container for up to 3 days. They’ll soften as they sit, which is normal for fries.
- Freezer: Fries freeze best before seasoning. Spread cooled fries on a tray, freeze until firm, then move them to a freezer bag for up to 2 months.
- Reheating: Reheat in a hot skillet, air fryer, or oven until the edges crisp again. Don’t microwave them unless you’re fine with soft fries; microwave heat steams the crust you worked to build.
Questions I Get Asked About This Recipe
Blackstone Fries
Ingredients
Equipment
Method
- Cut the russet potatoes into 1/4-inch thick fries and soak in cold water for 10 minutes, keeping them submerged so they release surface starch. Visual cue: the fries look slightly cloudy from the water and steam is not yet present.
- Pat the fries completely dry with a towel so they crisp instead of steaming. Visual cue: fries look dry and matte, with no wet shine.
- Heat the Blackstone griddle to medium-high and add the vegetable oil and butter until the butter starts to foam. Visual cue: you should see a light sizzle across the cooking surface.
- Spread the fries in a single layer and cook for 8-10 minutes without moving them. Visual cue: edges begin to set and you’ll see gentle steam as moisture escapes.
- Flip the fries and cook another 8-10 minutes until golden and crispy on all sides. Visual cue: fries are browned with crisp, textured surfaces.
- Season immediately with garlic powder, paprika, onion powder, salt, and pepper while the fries are hot so the coating sticks. Visual cue: seasoning darkens slightly on contact and steam rises visibly.
- Garnish with fresh parsley and serve with ketchup and other dipping sauces. Visual cue: a fresh green finish and a basket-style pile ready for dipping.