Golden-edged banana oatmeal bars with a soft, chewy center are the kind of breakfast I keep coming back to because they hold together well, travel well, and taste like something more substantial than a grab-and-go snack. The bananas bring the sweetness and moisture, the oats give the bars their structure, and a little nut butter keeps the texture tender instead of dry or crumbly.
What makes these work is the balance. The bananas need to be mashed until almost completely smooth so they blend into the oats instead of leaving pockets of wet fruit behind. The bars also need enough time to cool before slicing; cut them too early and they’ll seem underbaked even when they’re finished. Once cooled, they turn into clean, chewy squares with just enough give in the middle.
Below, you’ll find the small details that make the difference between bars that hold their shape and bars that fall apart, plus a few smart swaps if you want to change the mix-ins or make them dairy-free, nut-free, or extra hearty.
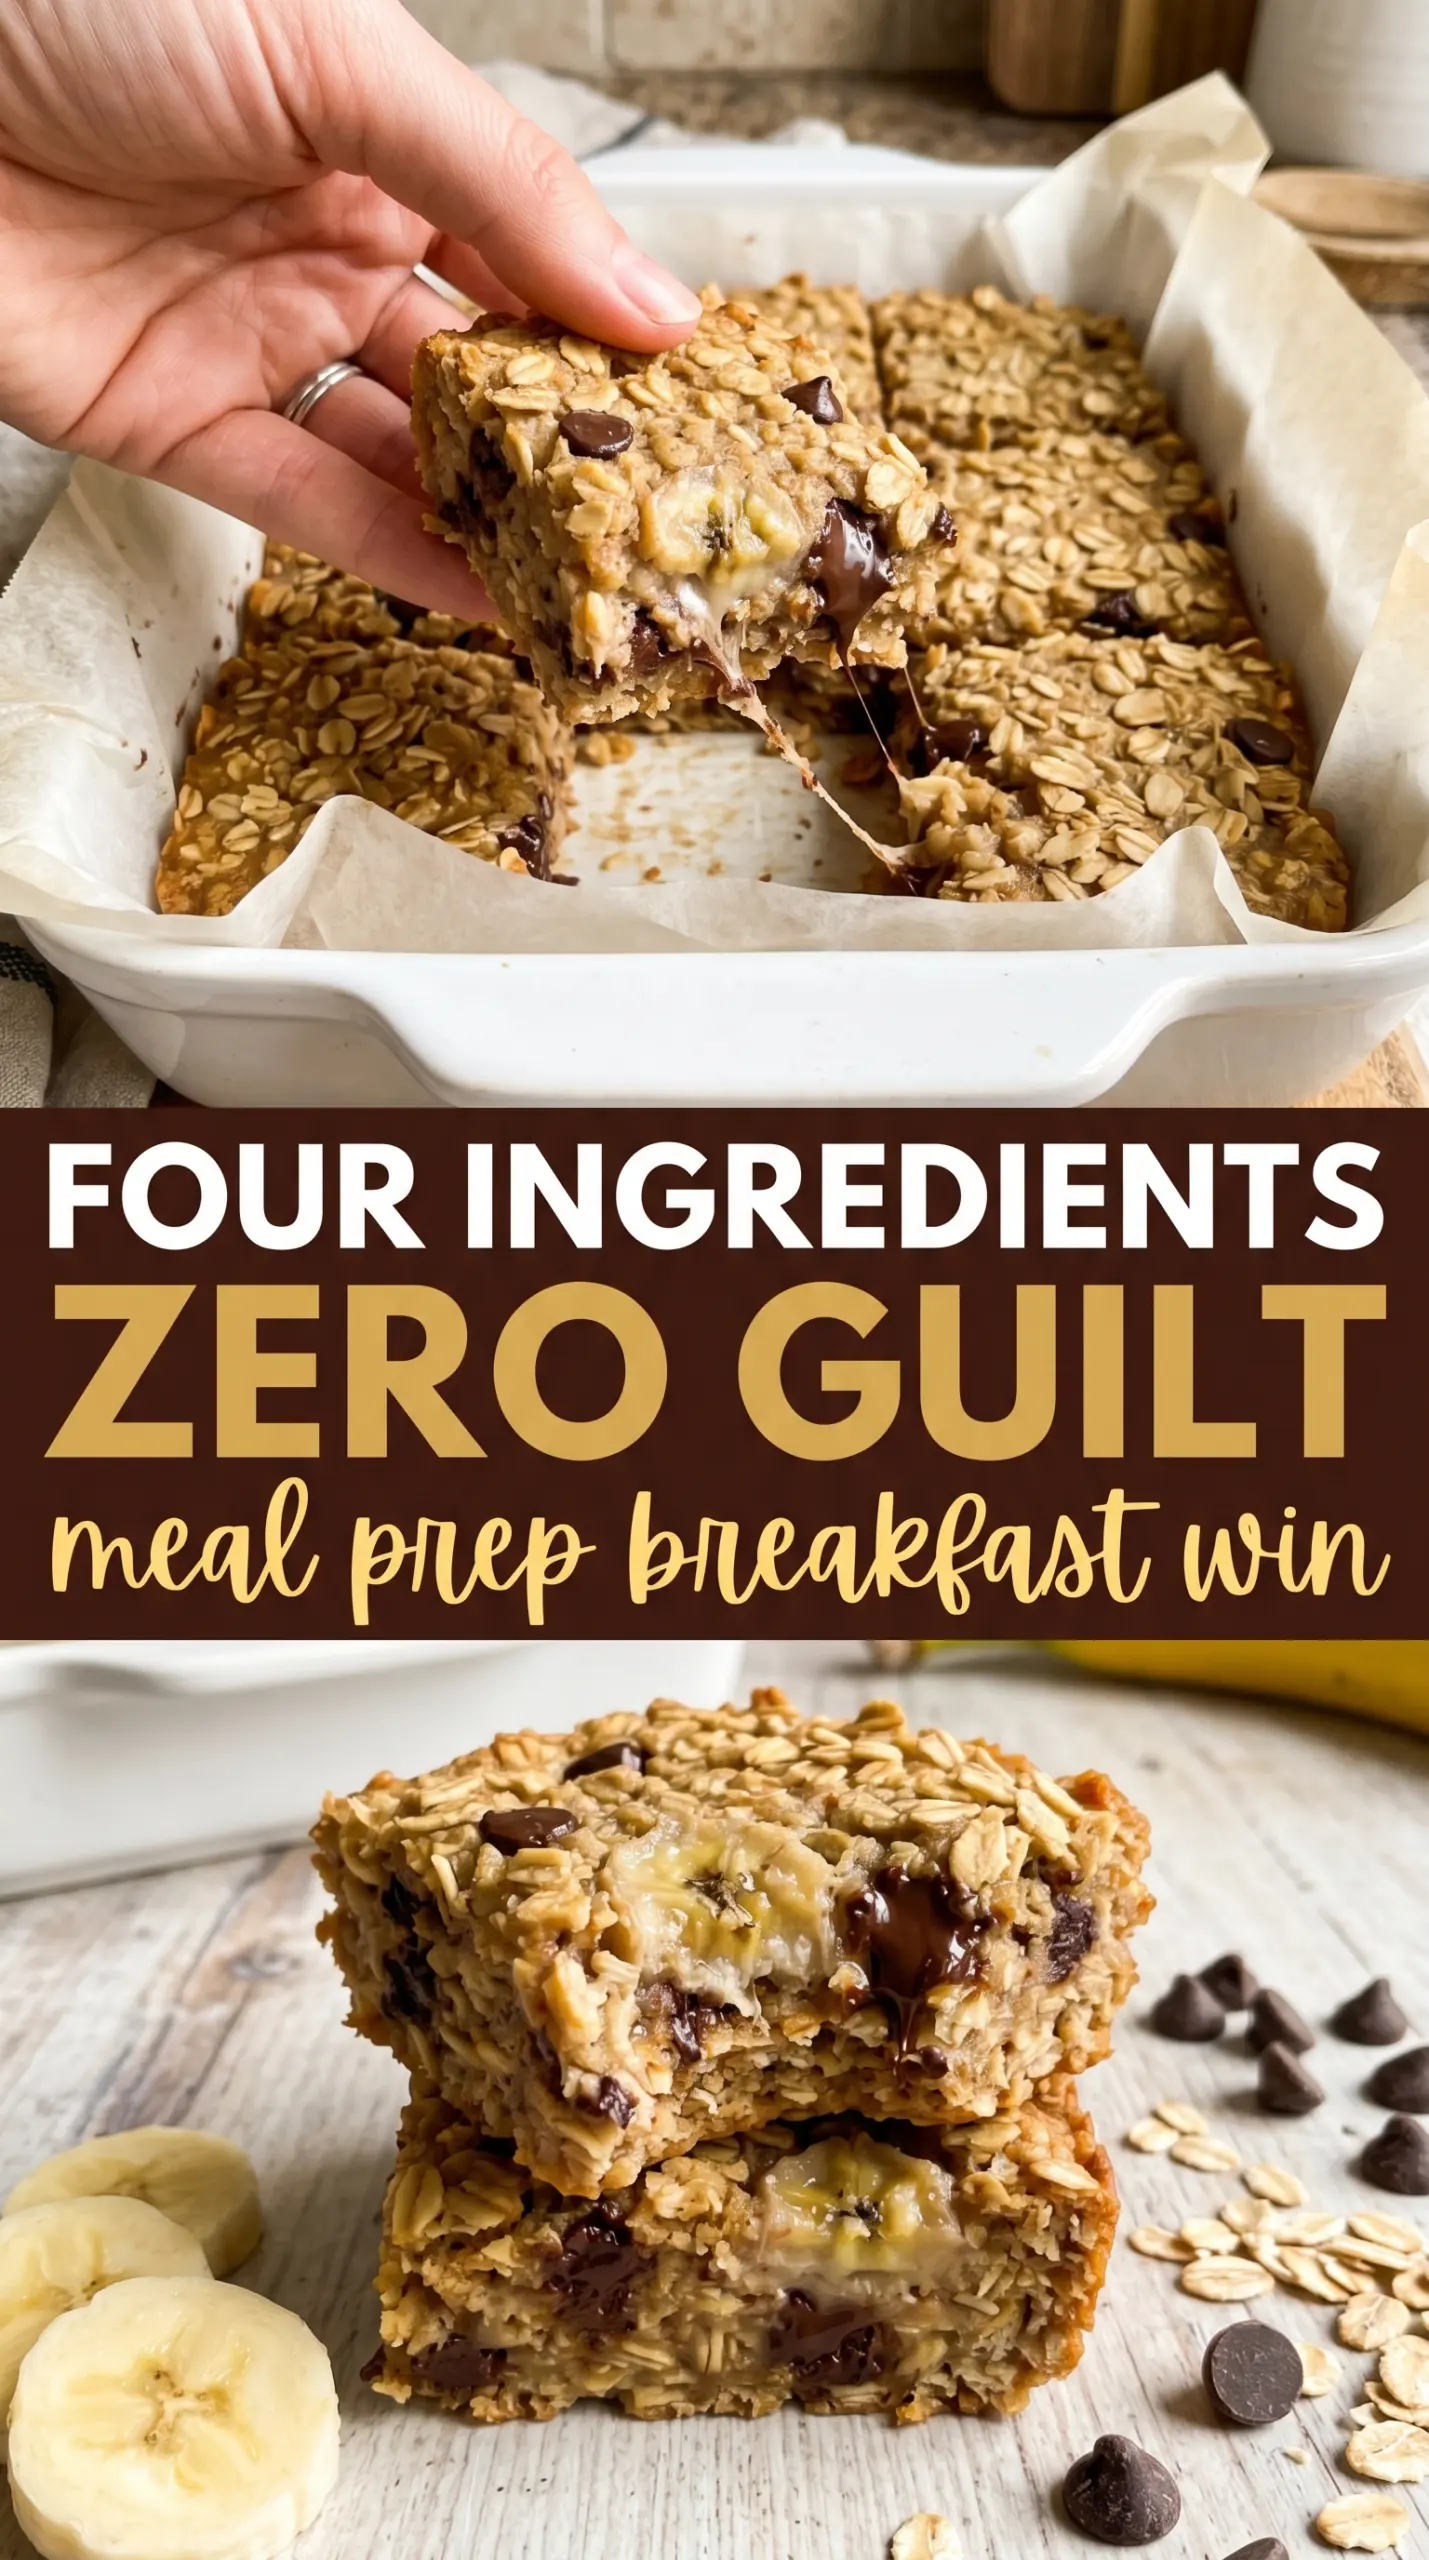
I baked these in an 8×8 pan and they came out thick, chewy, and held together perfectly after cooling. The chocolate chips stayed melty in the middle and my kids grabbed them all week for breakfast.
Love these chewy banana oatmeal bars? Save them to Pinterest for an easy breakfast bar that slices cleanly, packs well, and uses up ripe bananas.
The Trick to Bars That Hold Together Instead of Crumbling
Banana oat bars fail for one of two reasons: the bananas are too chunky, or the mixture never gets pressed and baked firmly enough. Large banana pieces create soggy spots that don’t set at the same rate as the oats, and loose packing leaves you with a tray of soft granola instead of bars.
The pan size matters too. An 8×8 pan makes thicker bars with a softer center, while a 9×13 pan gives you thinner bars that bake a little faster and cut into more squares. Both work, but you need to match the bake time to the thickness. Pull them when the edges are golden and the center no longer looks wet. They firm up a lot as they cool.
- Ripe bananas — The browner the peel, the sweeter and softer the bars will be. Underripe bananas don’t mash smoothly and won’t give the same moisture or flavor.
- Rolled oats — Old-fashioned oats give the best chewy texture. Quick oats work in a pinch, but the bars will be softer and a little less substantial.
- Nut butter — This is what gives the bars body and helps them slice cleanly. Peanut butter adds the strongest flavor; almond butter is milder. If you need a nut-free version, sunflower seed butter works well, though the taste is a little earthier.
- Honey or maple syrup — Either one binds the mixture and adds just enough sweetness. Honey makes the bars slightly firmer; maple syrup keeps them a touch softer.
- Chocolate chips, raisins, or nuts — These are optional, but they add texture and make the bars feel more finished. Fold them in at the end so they stay evenly distributed instead of sinking to the bottom.
What Each Ingredient Is Actually Doing in This Breakfast Dish
- Eggs (the binder and richness) — These create structure and add richness. Room temperature eggs incorporate better.
- Flour or base (the structure) — This holds everything together. Don’t overmix or the dish becomes tough.
- Butter or oil (the richness) — This creates tender texture and carries flavors. Room temperature butter creams better.
- Sugar or sweetener (the sweetness) — This adds flavor and helps create browning. Adjust based on other ingredients.
- Leavening (baking powder or soda) — This creates rise and light texture. Too much makes it taste bitter.
- Dairy (milk, yogurt, or cottage cheese) — This adds moisture and protein. Choose based on desired texture.
- Flavorings (vanilla, cinnamon, fruit, or savory elements) — These define the personality. Use quality flavorings.
- Proper baking temperature and time — This creates the right texture without burning. Use a thermometer or toothpick test.
Press, Bake, and Wait for the Bars to Set
Mix the Base Until It Looks Uniform
Mash the bananas in a large bowl until there are no big chunks left. Stir in the oats, honey or maple syrup, nut butter, vanilla, cinnamon, and salt until every oat is coated and the mixture looks thick and sticky. If the nut butter is cold and stiff, warm it briefly so it blends smoothly instead of leaving clumps behind.
Pack the Pan Harder Than You Think
Line the pan with parchment, then press the mixture in firmly and evenly. This step matters more than people expect; loose packing leads to crumbly bars, while a tight, level layer bakes into neat squares. Use the bottom of a measuring cup or your hand to flatten the top so the center matches the edges.
Bake Until the Edges Color and the Middle Sets
Bake at 350°F for 22 to 25 minutes, watching for golden edges and a center that looks set instead of shiny and wet. If you use a 9×13 pan, start checking early because the thinner layer will finish faster. The bars should still feel a little soft when you touch the center, but they shouldn’t jiggle like wet batter.
Cool Completely Before You Cut
Let the pan cool all the way before lifting out the slab and slicing it. This is the point where most people rush and end up with messy edges and broken bars. Once cooled, the oats and bananas finish tightening up, and the cuts come out clean.
How to Adapt These Banana Oatmeal Bars for Different Needs
Nut-Free Banana Oat Bars
Swap the peanut butter or almond butter for sunflower seed butter. The bars still hold together, but the flavor turns a little more toasty and earthy. If the seed butter is unsweetened, the bars may taste slightly less rich, so the chocolate chips become even more useful.
Gluten-Free Oat Bars That Stay Chewy
Use certified gluten-free rolled oats if you need these to stay fully gluten-free. Oats themselves are naturally gluten-free, but cross-contact is common. The texture stays the same as long as you stick with old-fashioned rolled oats instead of quick oats.
Extra-Protein Breakfast Bars
Stir in a handful of chopped nuts or replace part of the oats with a few tablespoons of ground flaxseed or chia seed. That thickens the mixture and gives the bars more staying power, but it also makes them denser. If you go this route, keep an eye on the bake time because the bars can dry out faster.
Storage and Reheating
- Refrigerator: Store in an airtight container for up to 5 days. They stay pleasantly chewy, though the oats will soften a little more by day two.
- Freezer: These freeze well. Wrap individual bars and freeze for up to 2 months, then thaw overnight in the fridge or at room temperature for a quick breakfast.
- Reheating: Warm in the microwave for 10 to 15 seconds if you want the chocolate chips soft again. Don’t overheat them or the bars dry out and lose that tender center.
Questions I Get Asked About These Banana Oatmeal Bars
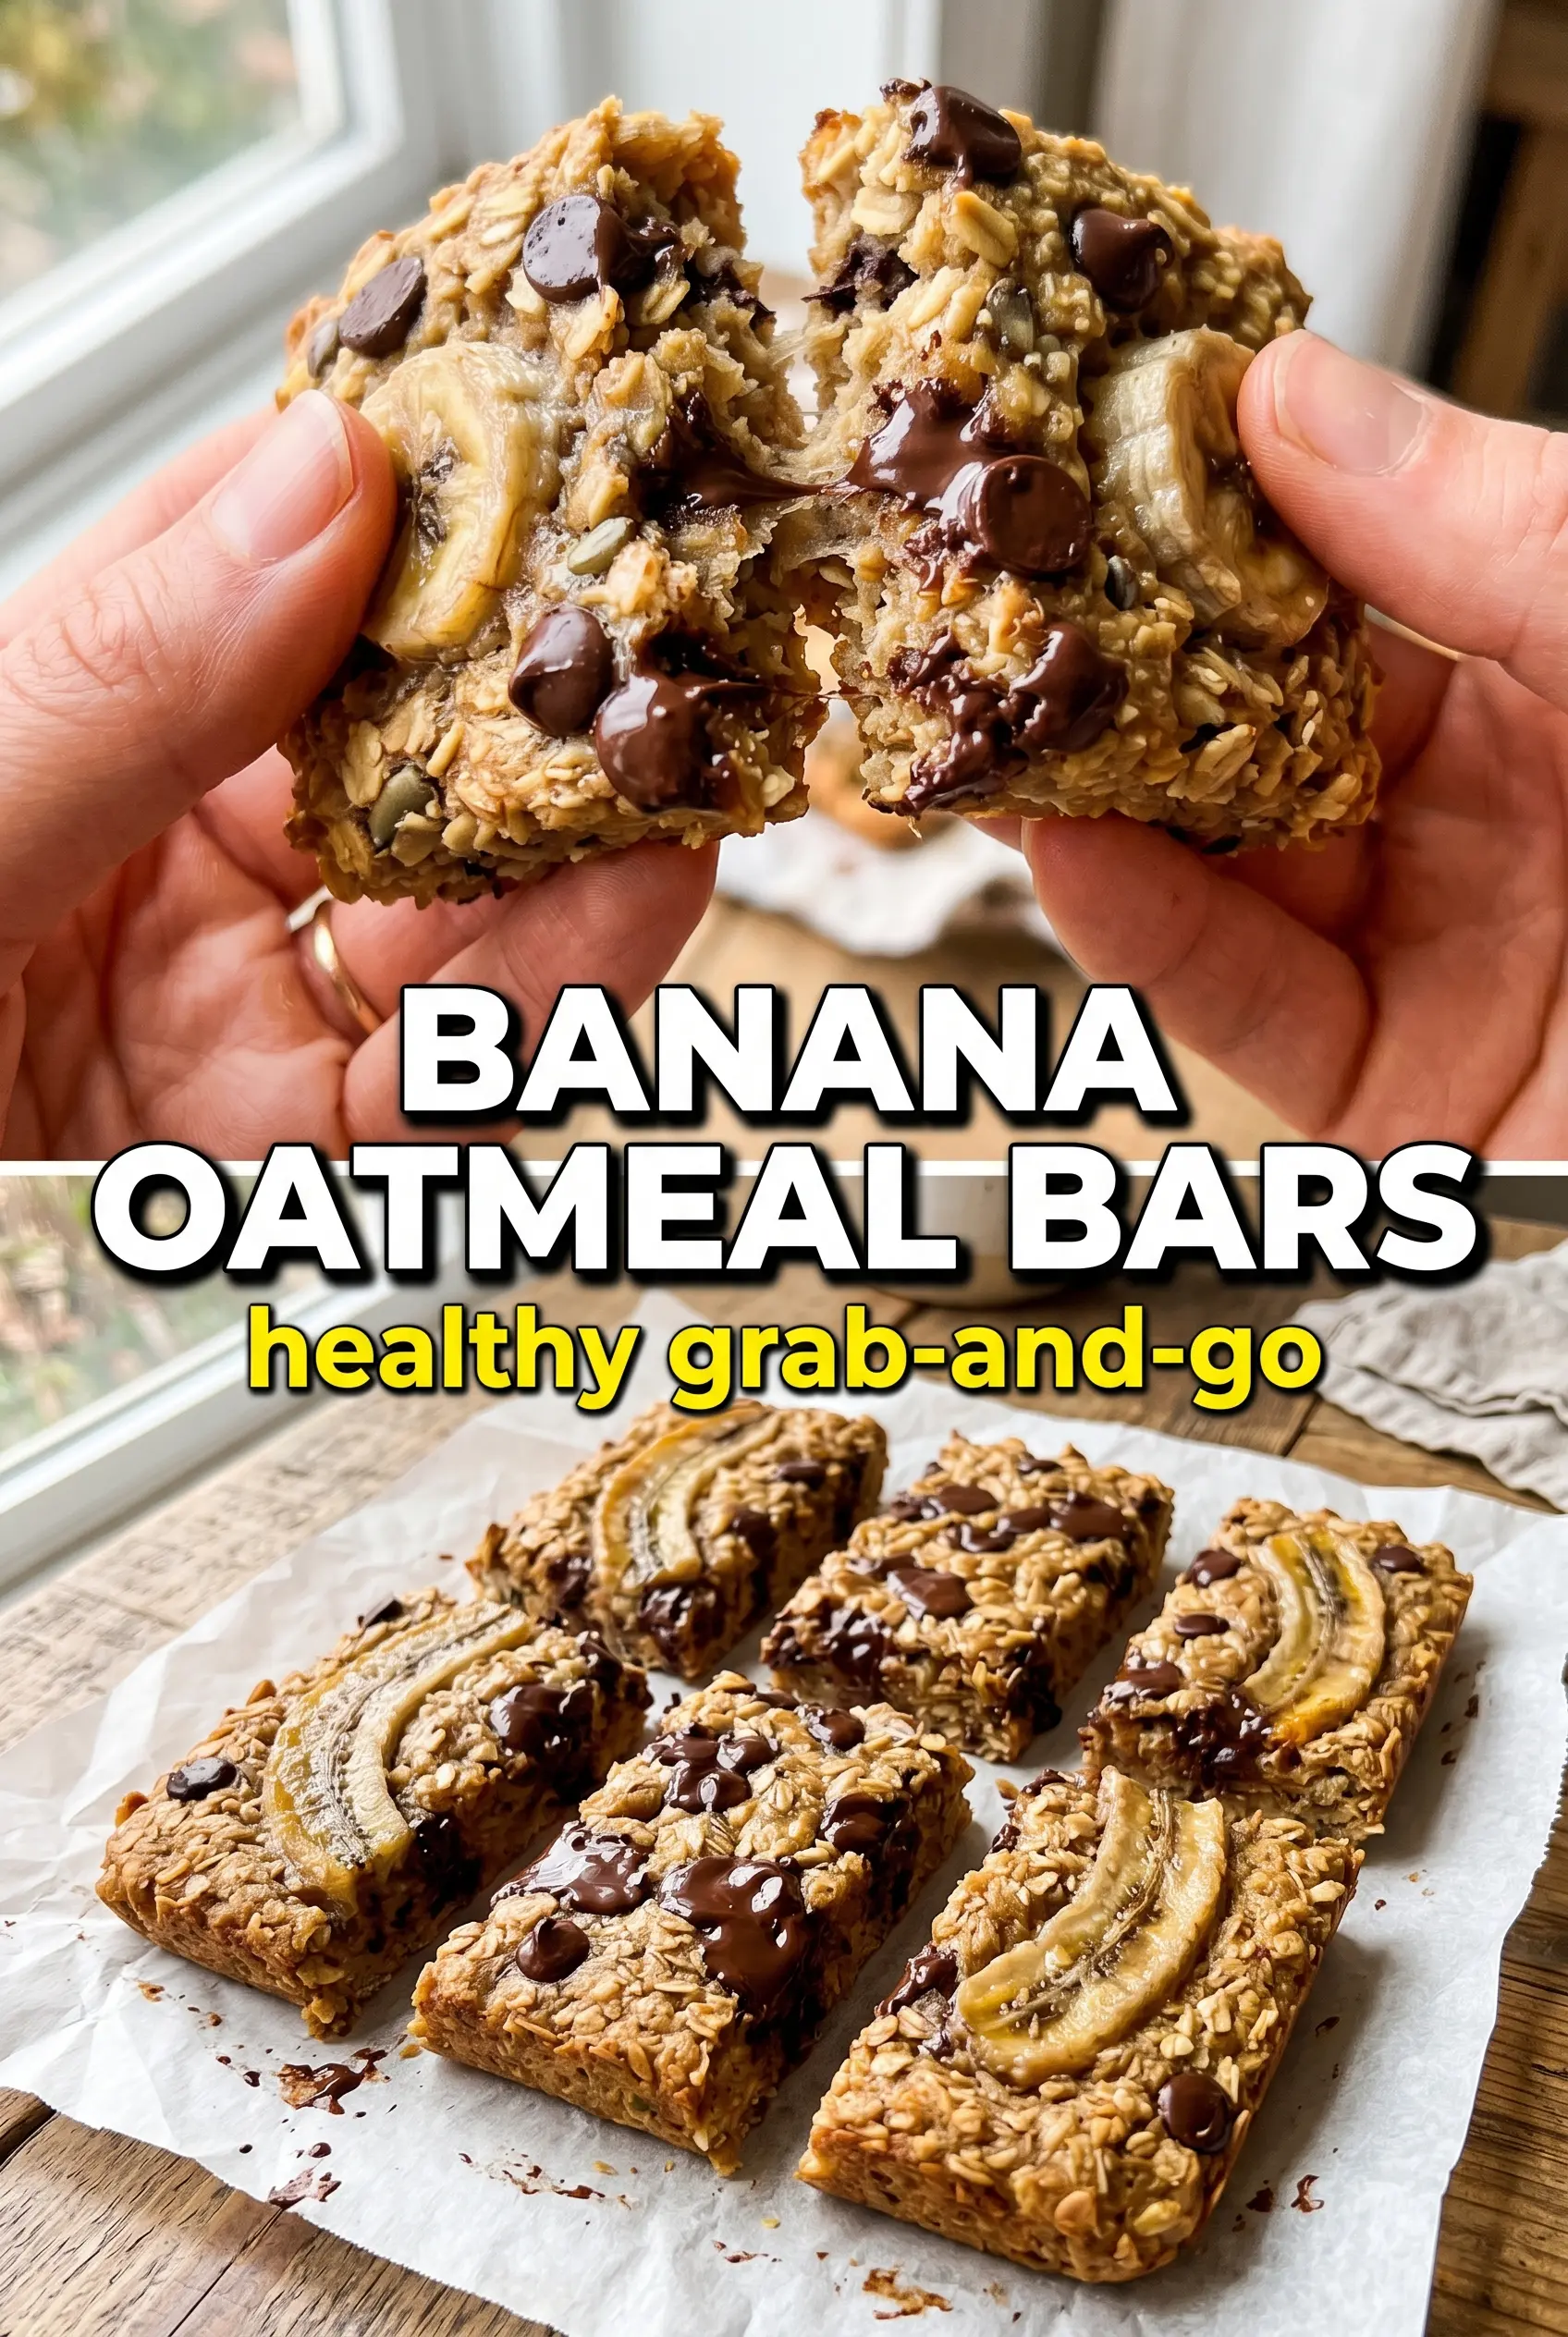
Banana Oatmeal Bars
Ingredients
Equipment
Method
- Preheat the oven to 350°F and line an 8x8 or 9x13 pan with parchment paper, leaving overhang for easy lifting.
- Mash the ripe bananas until completely smooth in a large bowl.
- Add rolled oats, honey (or maple syrup), peanut butter (or almond butter), vanilla extract, cinnamon, and salt, then mix until fully combined.
- Fold in chocolate chips, raisins, or chopped nuts if using.
- Press the mixture evenly into the pan and smooth the top.
- Bake for 22–25 minutes at 350°F, until the edges are golden and the center is set.
- Cool completely before cutting into bars so the center firms up for clean slices.